Charlie Hoodie and Tunic
Our latest blog on sewing with the Two Stitches patterns is the Charlie Hoodie. As we now have some lovely Alpine Jersey Fleece in stock this was an ideal opportunity try out this pattern. We chose the aqua/grey colourway
Before you start sewing read all the general instructions
The general instructions are helpful and remind you to wash and press your fabrics before you start – this allows for any shrinkage that might happen with the fabric!
Measure your child to check the best size to make
Seam allowances for this pattern is 5mm (1/4’’) which is much less than the big commercial pattern companies allow.
Sewing with stretch fabrics
Don’t be frightened of having a go at sewing stretch fabrics. You don’t need a special sewing machine a straight stitch and zigzag stitch are enough to make this top. If like me you do have an overlocker/serger it just makes the job a bit quicker. Most modern machines also offer different stretch stitches so just try them out on a spare piece of the fabric you are using and decide which works best for you. If yours doesn’t then a narrow zigzag stitch is fine.
Preparing the pattern
Trace the pattern size you want to make so you can keep the original pattern as a master copy and make a different size as the kids grow.
Cutting out
Cut
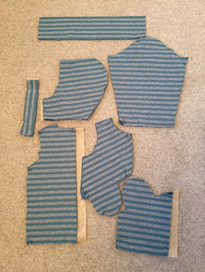
the fabric out following the layout diagrams in the instructions. I decided to
use the stripe of the fabric to give a chevron effect on the front centre seam so
cut front piece A out with the diagonal bottom seam along a stripe.

Making up
The following numbers match the numbered diagrams in your booklet.
1.1cm strips of interfacing cut and fused to wrong side of diagonal edges on pieces A and B
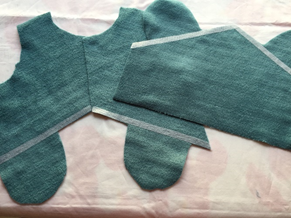

2.Centre line edges finished and then sewn together – finish sewing 5mm from bottom
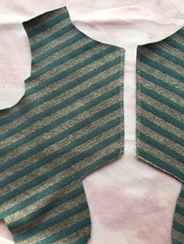
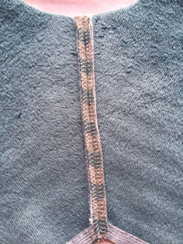


3.Pieces A and B sewn together and seam neatened. I used a normal zig zag stitch. Take care to pivot at the centre seam line to give a neat finish.


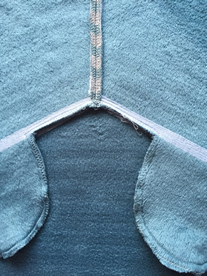
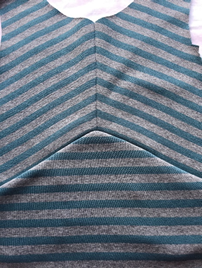
4 & 5. Add strips of interfacing at shoulder seams before sewing together.
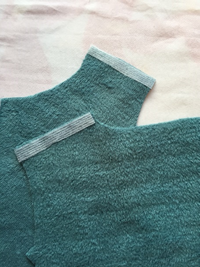
6. Prepare the sleeves. Making the cuff.
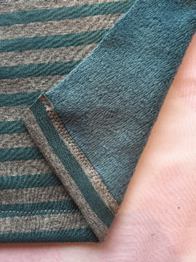


7. Attach the sleeves and neaten the edges together
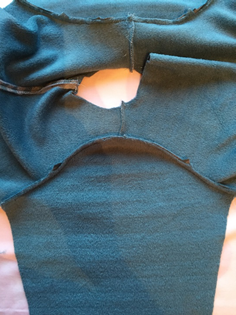
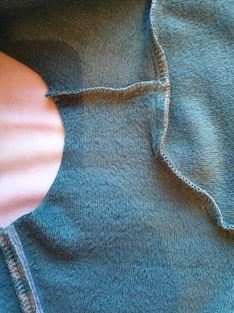


8. sew sleeve and side seams in one go. Make sure you keep the front seam between pieces A&B pointing down to the bottom of the hoodie.
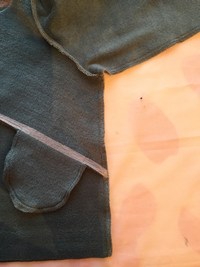


9 & 10 & 11 prepare the hood as per instructions.
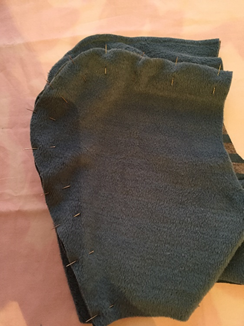
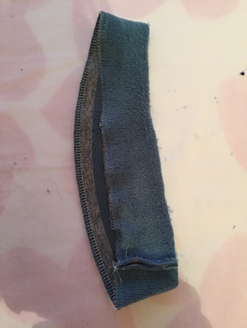
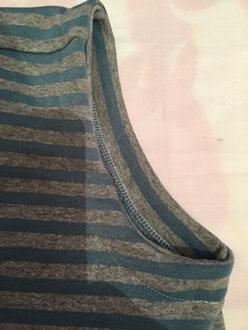
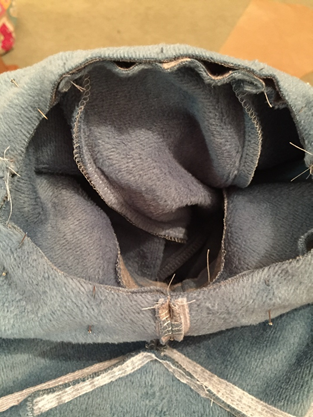
12 Attaching Hood. Put hood inside main body of Hoodie as described. Pin carefully easing out any fullness around the curve. When you sew keep stopping and check that the underneath is flat to avoid any annoying tucks forming.

Finish the hem as on the sleeve and its all done! A really cute sweatshirt hoodie.
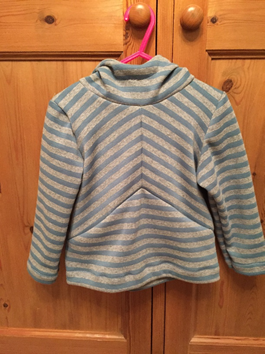
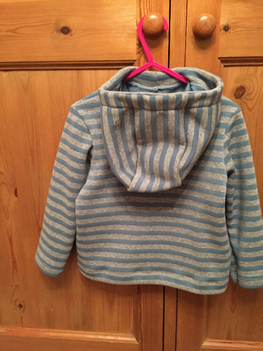
Please share a photo if you make a Charlie Hoodie. We love to see what you make.


