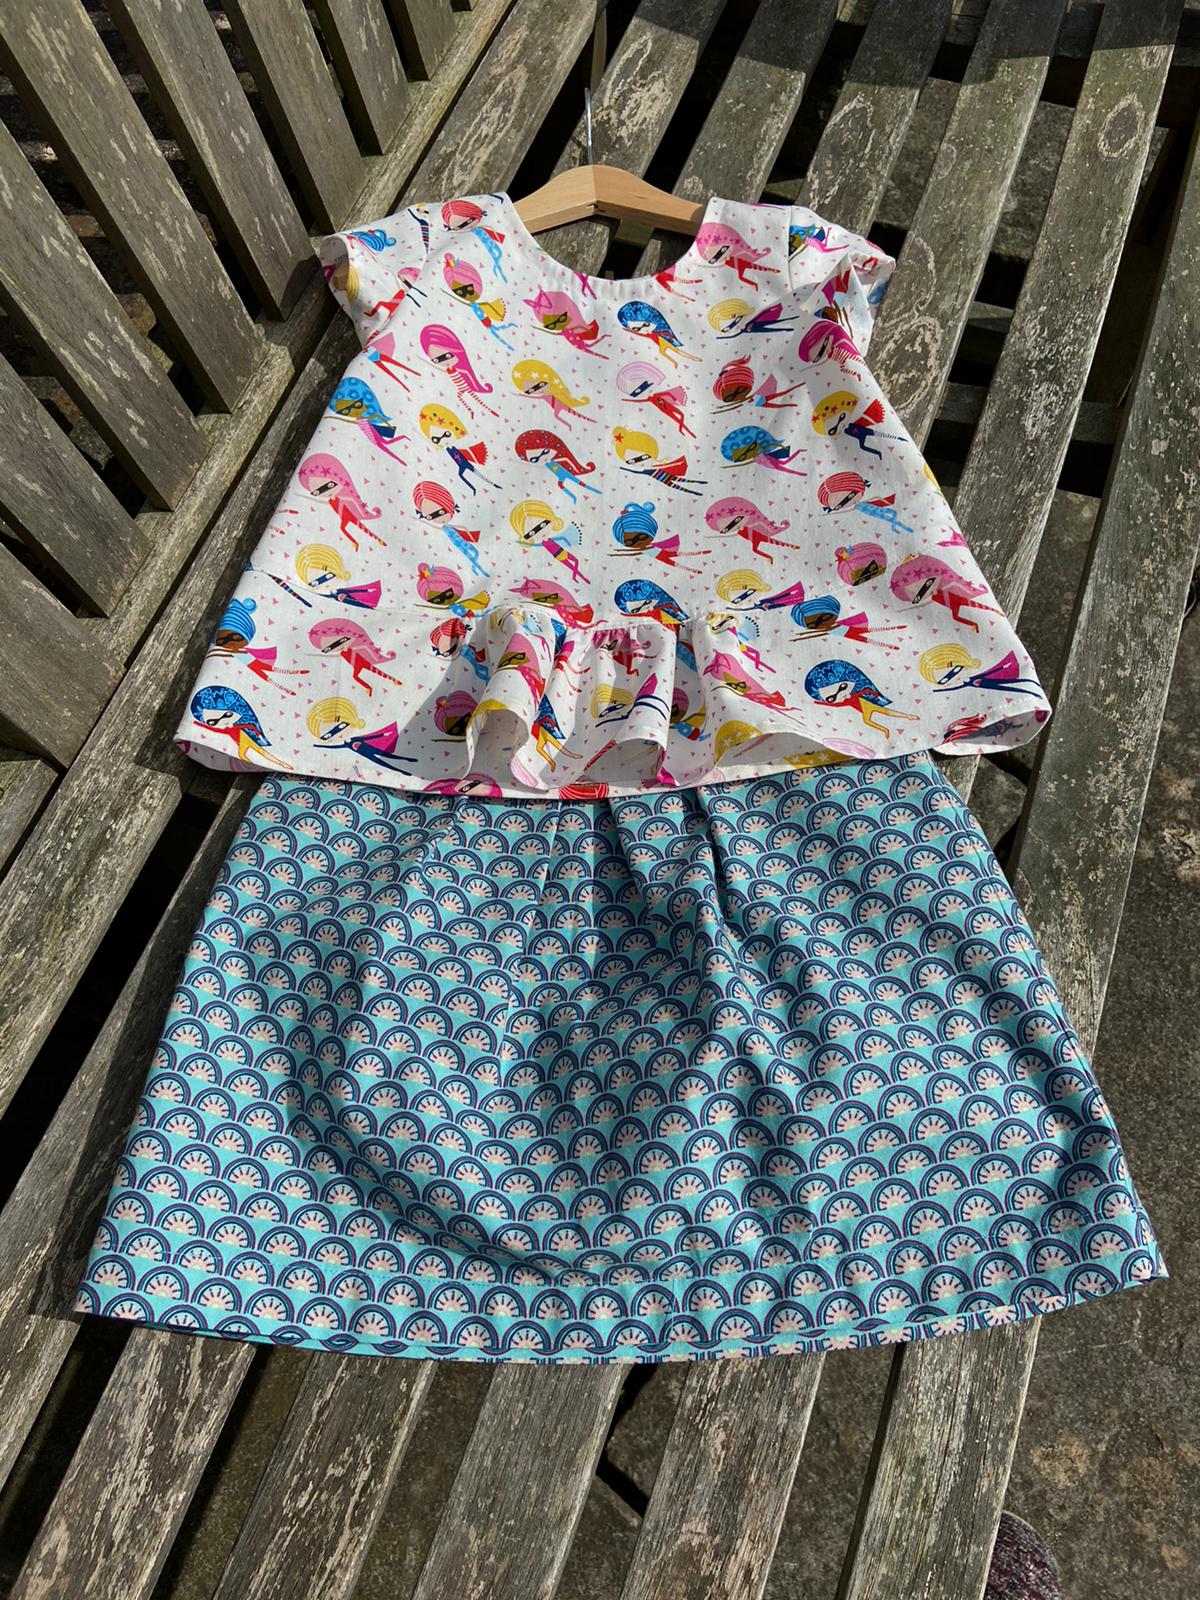
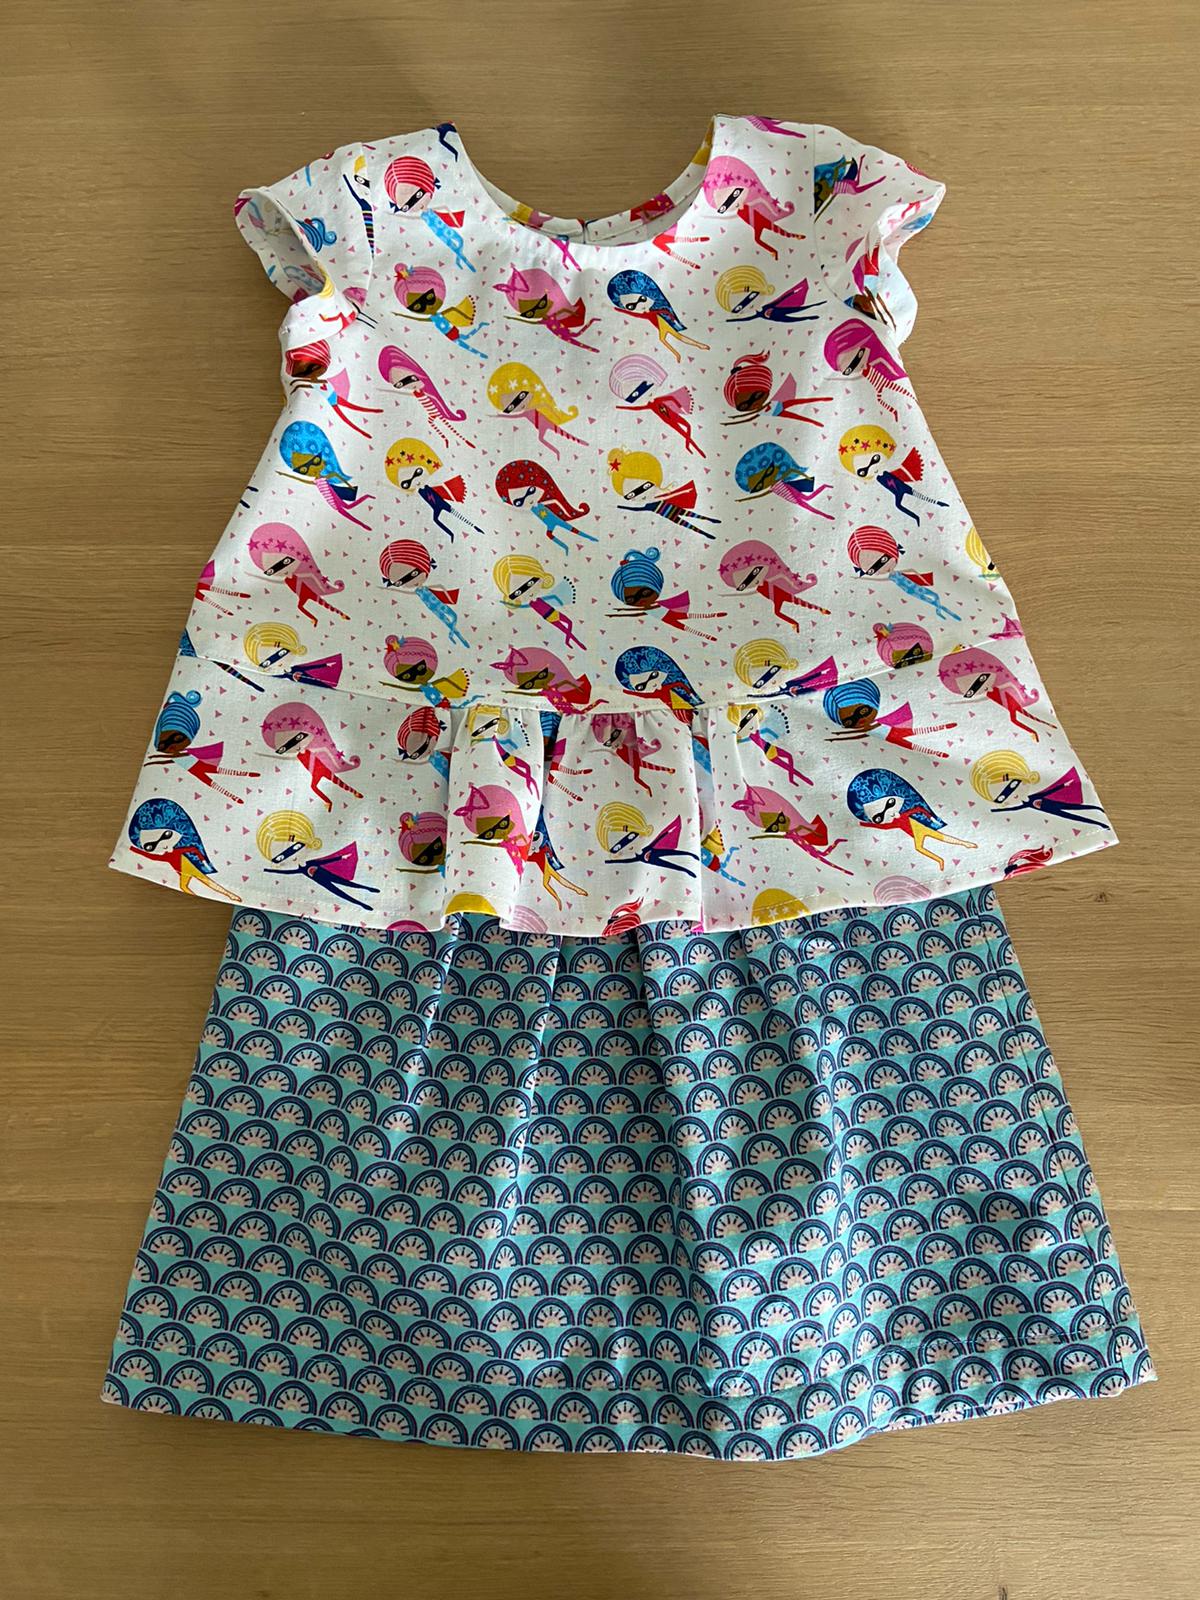
We have recently added a few more Oliver+S patterns to the shop so again thought it would be good to try them out. The one I chose to make first was the Butterfly Blouse and Skirt. Partly as I fell in love with the Dashwood Studio 'Supergirl' fabric and thought it would work well with the Butterfly blouse pattern. We then chose a simpler patterned fabric (Cotton and Steel 'Sahara' in Aqua) for the skirt.
The patterns come in a nice sturdy cardboard envelope with a difficulty rating shown on the back as a number of up to '4 scissors'. This one is rated as 1 scissor so relatively easy and I would agree it's nice and straightforward but still has some interesting touches.
Fabric amounts are clearly given on the back of the envelope along with the body measurements to help you decide on the best size to make for your child.
Amongst the suggested fabrics are quilting cotton, lawn and shirting which are in abundance on the website!
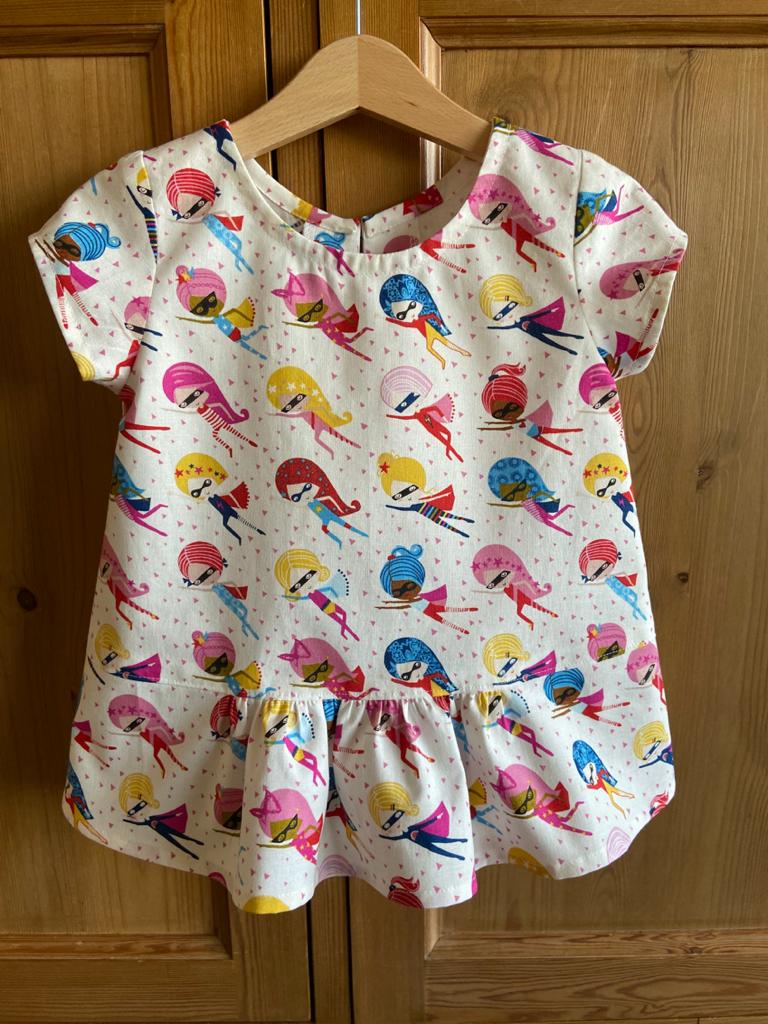
There are two sleeve options for the blouse a ruffled sleeve or cap sleeve, a simple back keyhole opening with a button and loop closure and a little gathered peplum at the front. The skirt is a pull on A line shape with front pleats (don't worry they are very simple) and an elasticated back.
I decided to make view B with the pretty cap sleeves. If you have never done sleeves before this pattern is a good place to start as the sleeves are attached to the top before the side seams are sewn up which is easier than setting sleeves into an armhole!
Inside the envelope you have the paper printed with the pattern pieces you will need and cutting out layouts. I recommend tracing the size pattern you need to use and keep the sheet as a master copy so you can re-use as your child grows. I use a roll of greaseproof/baking paper from the supermarket to trace my copies.
There is also a good set of instructions with clear line drawings to help you understand how the pieces all go together.
Read and follow the general instructions carefully as they are all good and will help you get a more professional finish to your blouse and skirt.
Please note that the seam allowances are all 1/2" or 1.3cm (not 5/8" or 1.5cm as found on commercial patterns)
Gathering Stitches (in glossary). They suggest loosening your machine tension slightly but I find that just setting your machine to a long stitch length works fine. Remember to leave long tails to pull up.
The Blouse
There are only a few points/suggestions I would add to the instructions:
Finish the neckline
Point 2. If you've not done this technique before I don't think its completely clear that when it says pin the open edge of the facing to the neckline it means both edges of the facing together as in photo below. Also you may find it easier to hand baste in place before machine sewing so there are no pins to get in the way.
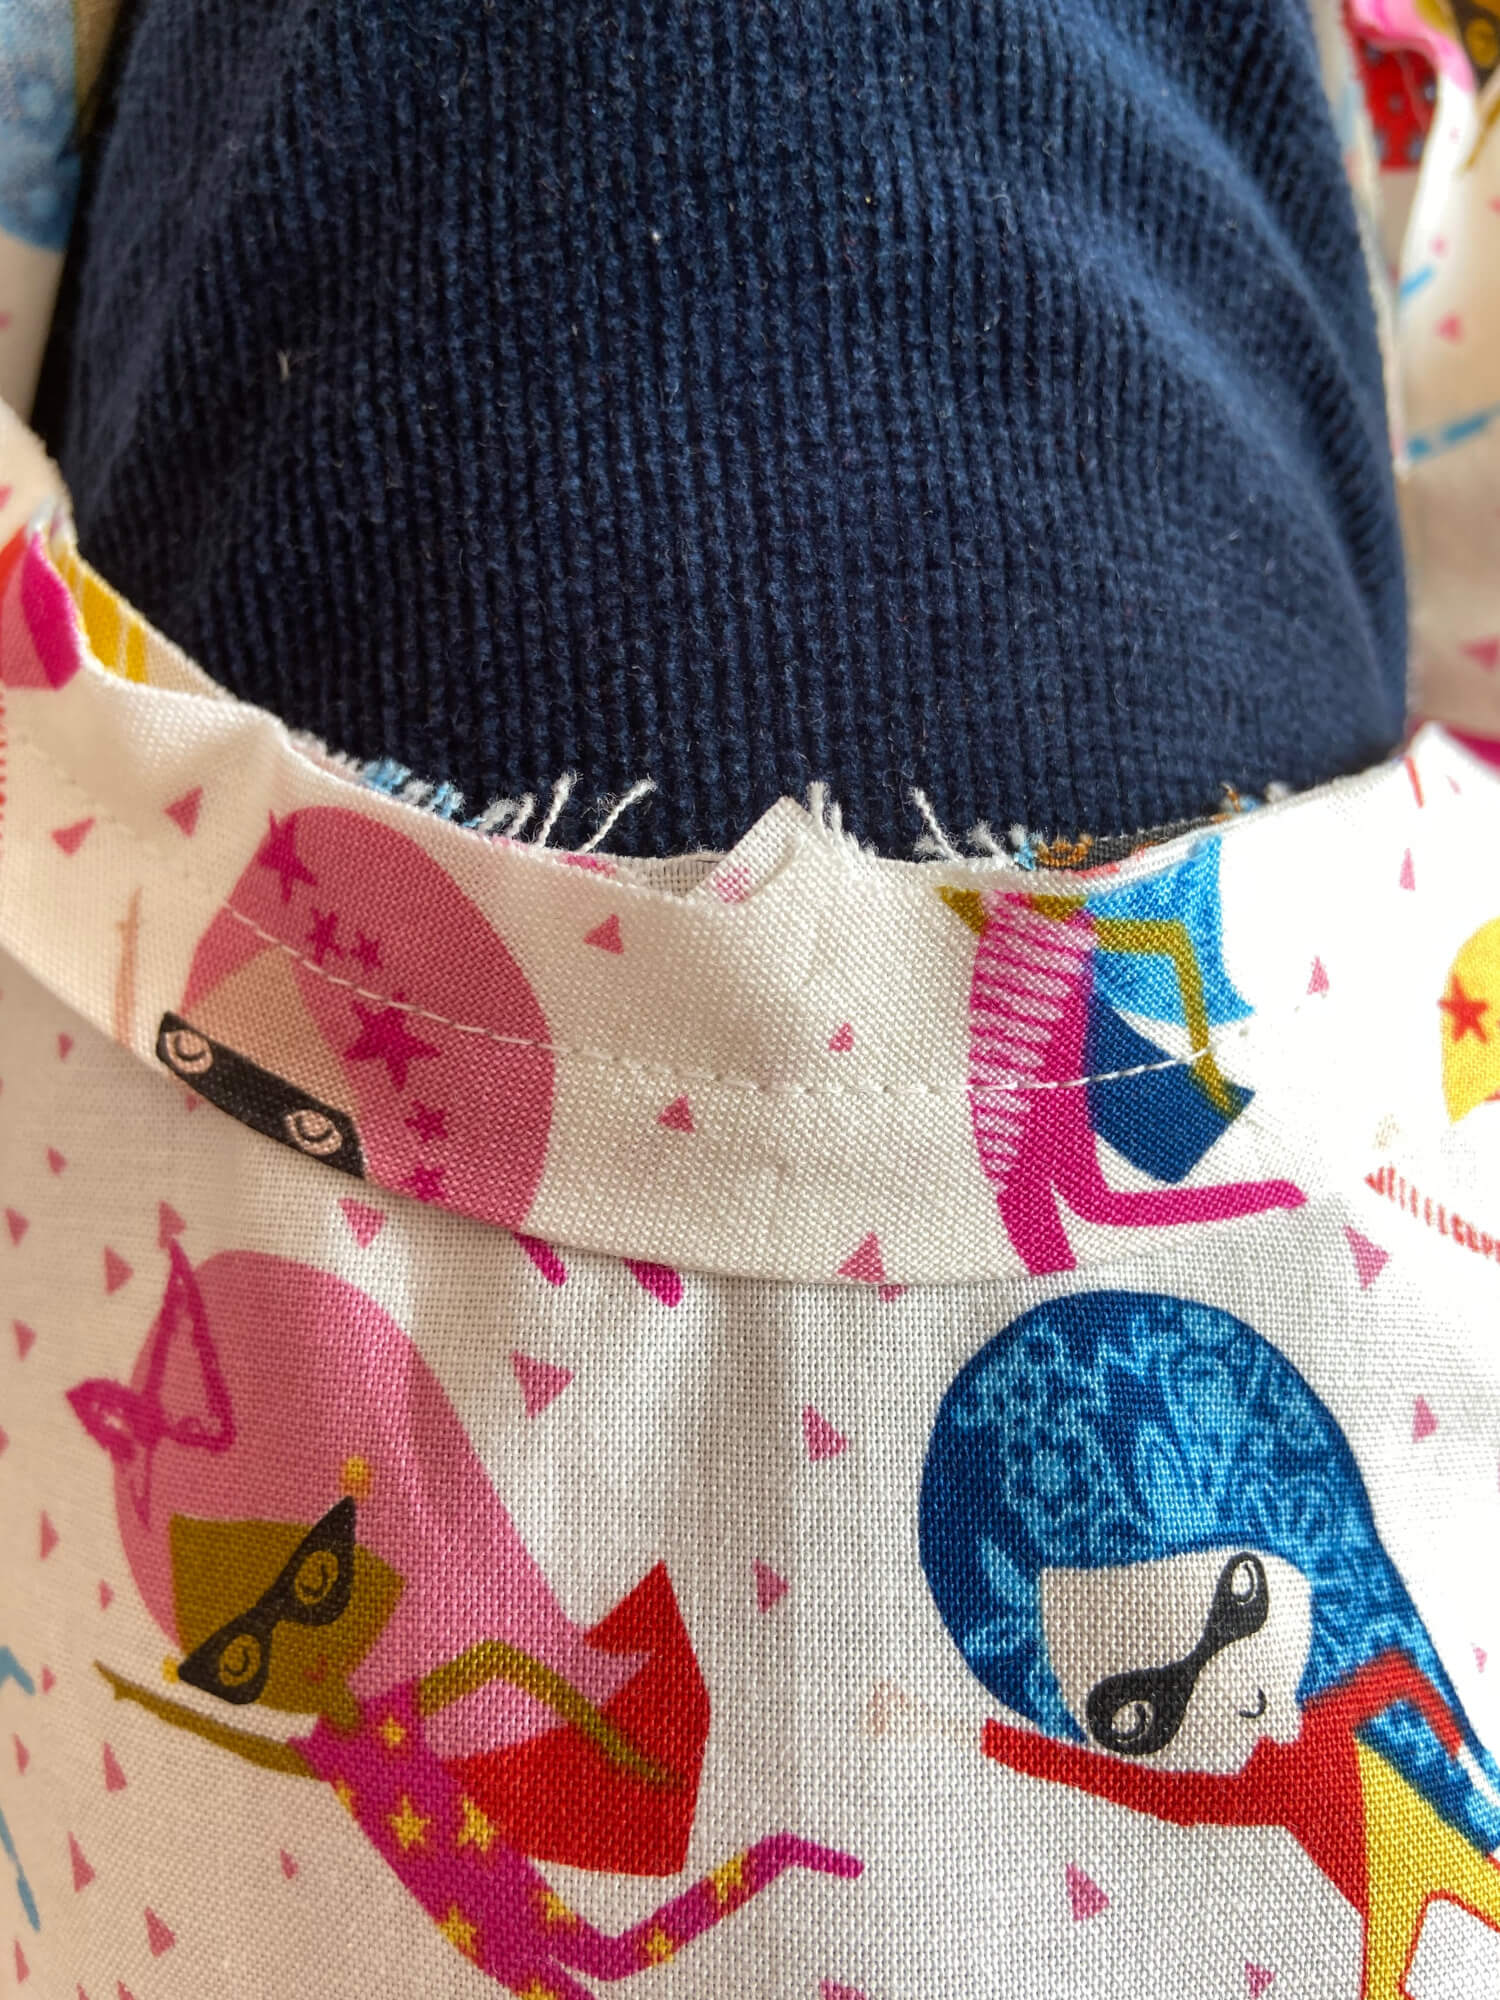
Point 4/5.Take time to make sure the folded ends are securely tucked in so they don't show. Again it may help to baste in place by hand before machine sewing in place.
Cap Sleeves
Point 3. The instructions are quite clear but if you've not put sleeves in before it may be a bit daunting. Take your time. Start by matching the centre notch on the sleeve to the shoulder seam, pin in place. Next match the front and back notches to the corresponding notches on the blouse and pin in place. Now gently pull the tails of both the gathering stitches at the same time until the sleeve fits the armhole. You shouldn't need to pull them up very much. Now ease the gathers so they are even and you don't have any puckers and pin in place. I find it helps to curve the blouse and sleeve over your finger slightly, with the blouse side next to your finger and the sleeve on top .See photo.
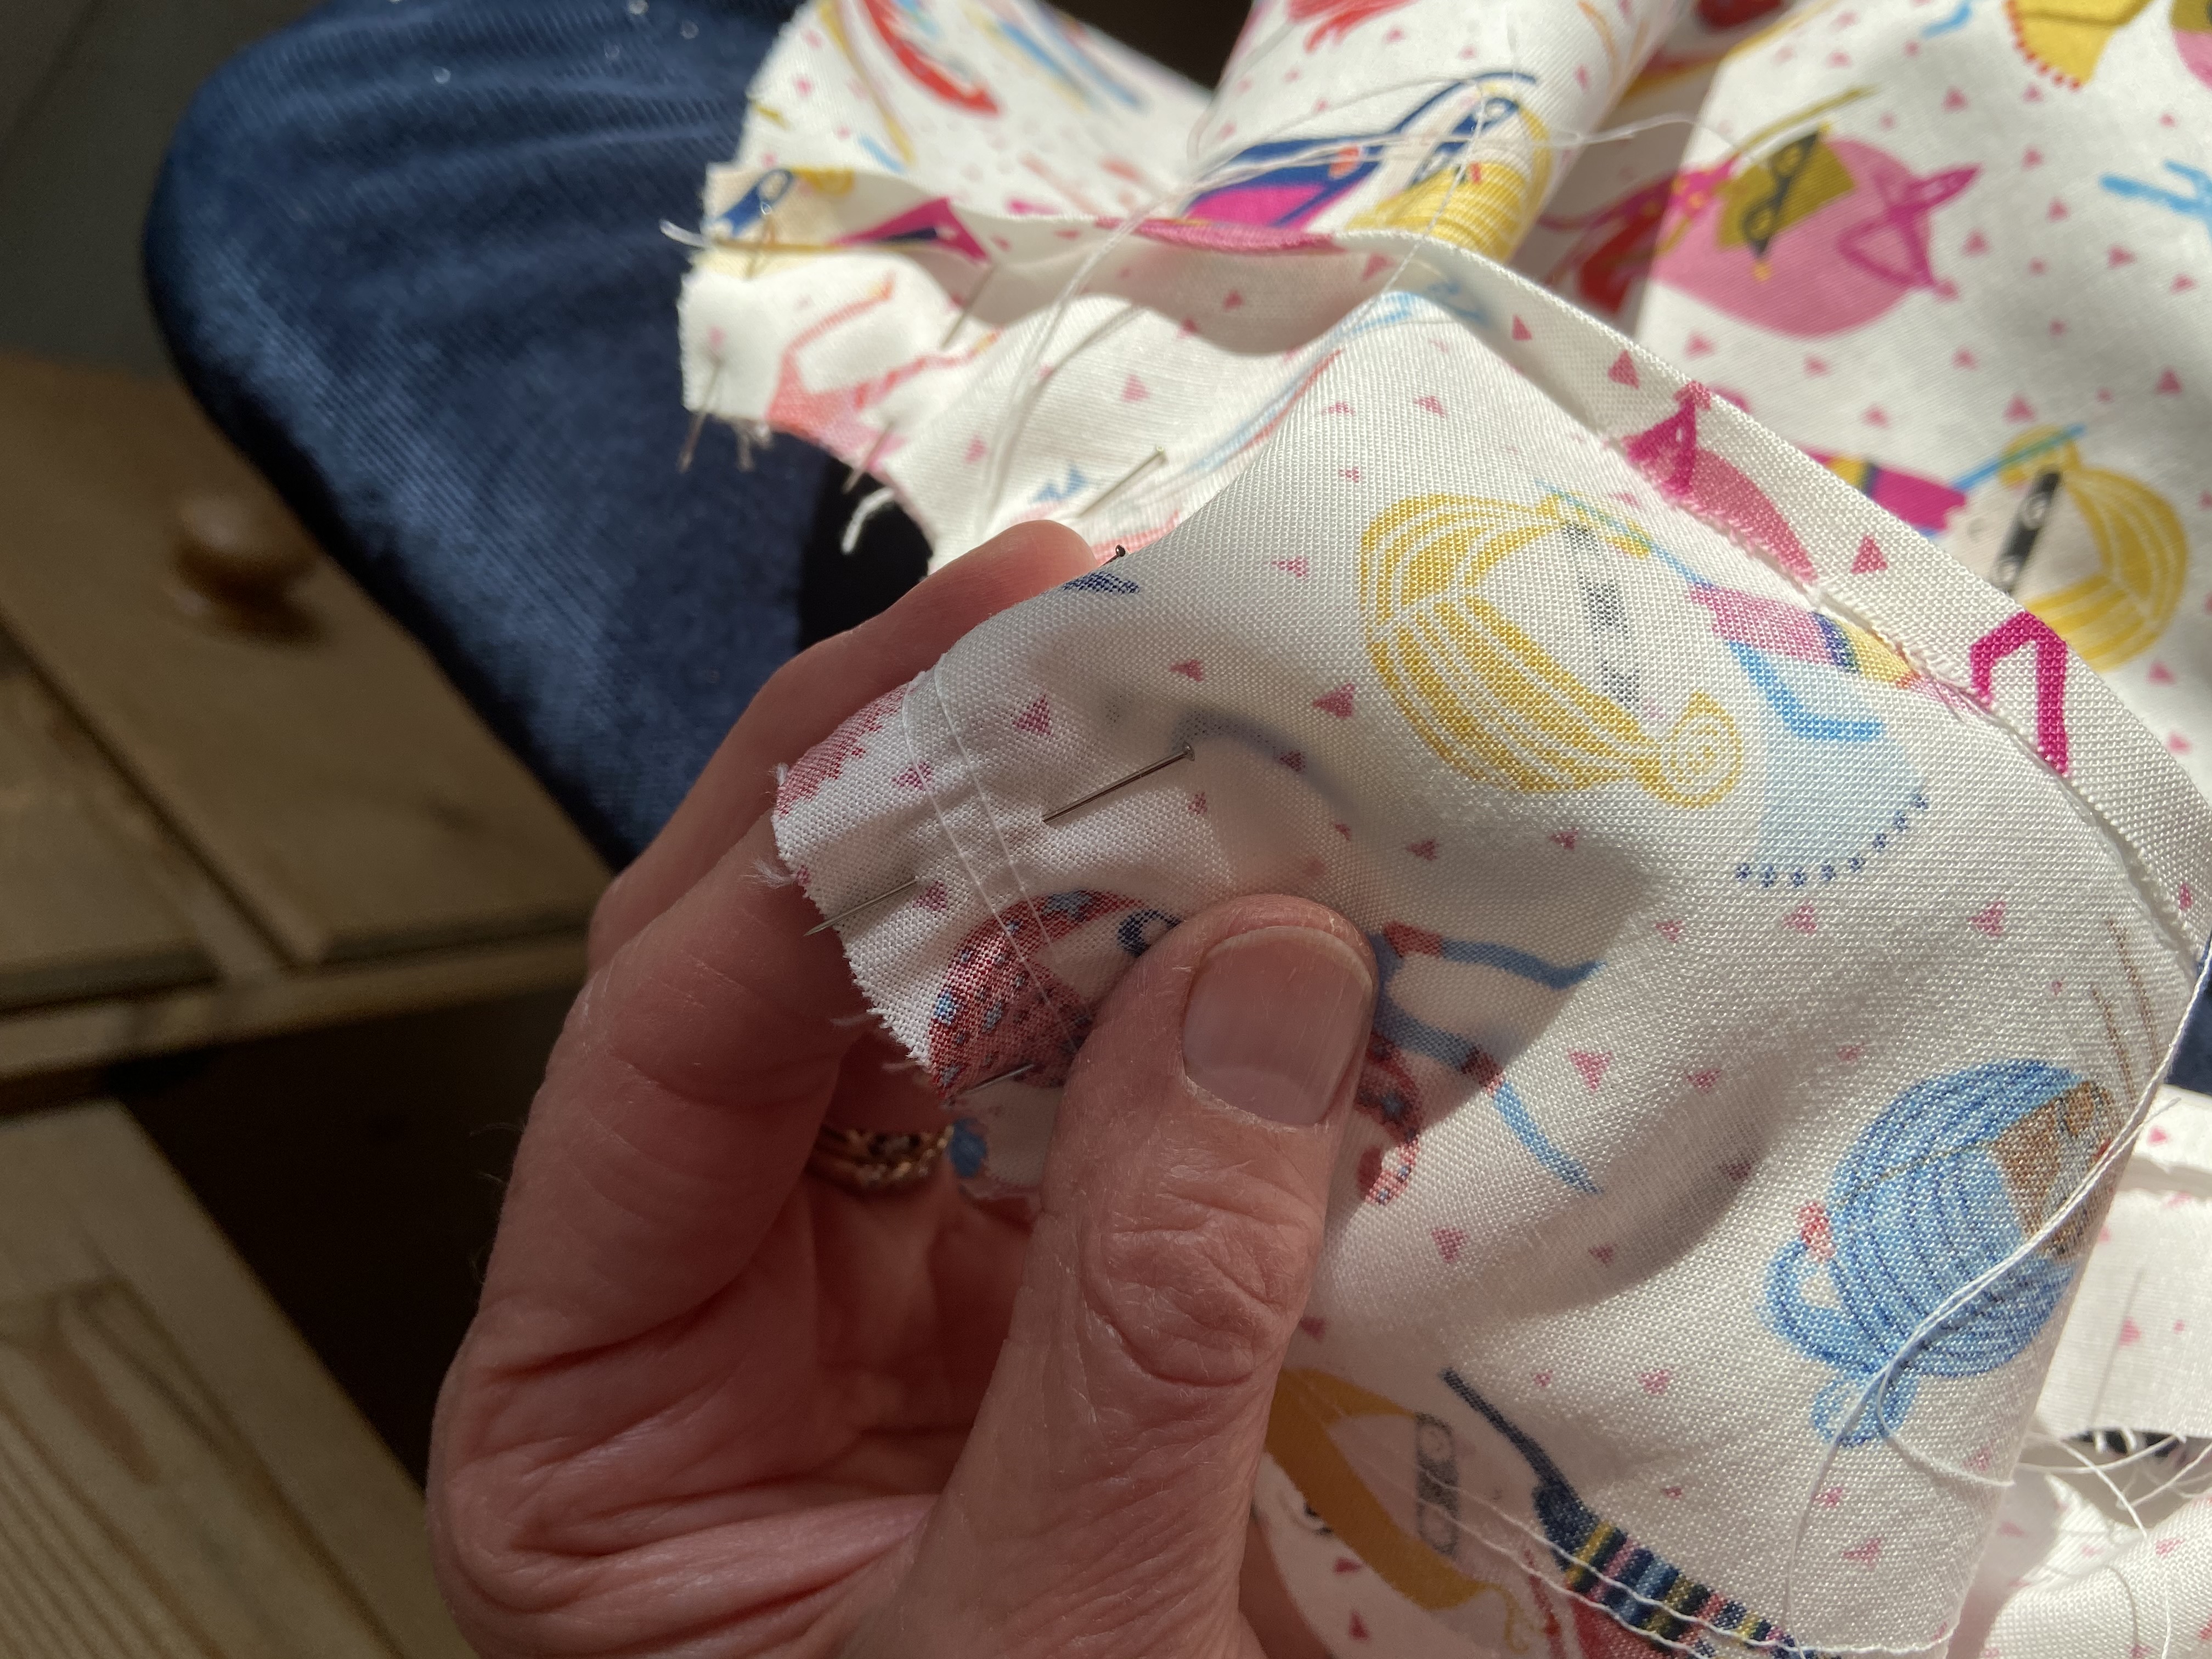
I would then recommend hand basting in place to check it looks OK before machine sewing. It also means there are no pins to get in the way too. Keep adjusting and checking that the blouse fabric is not getting caught as you sew the sleeve in place.
The rest of the top is then quite straightforward.
The Skirt
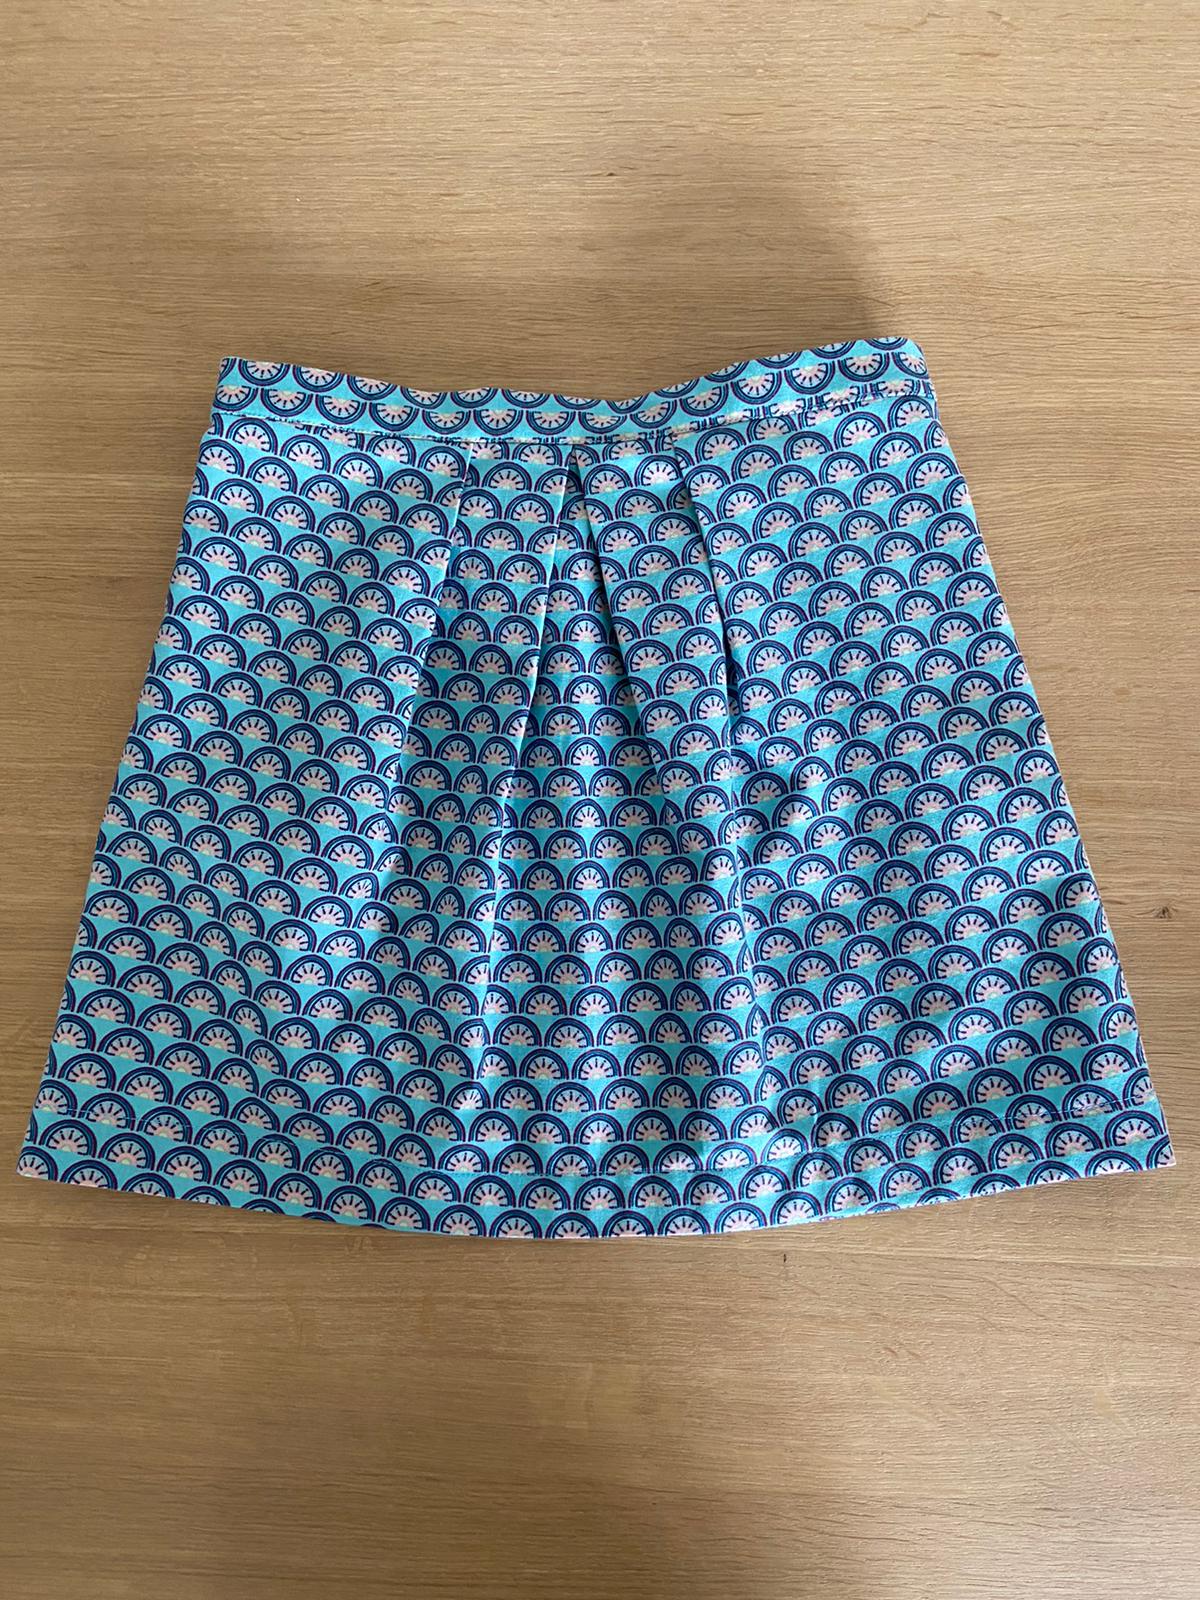
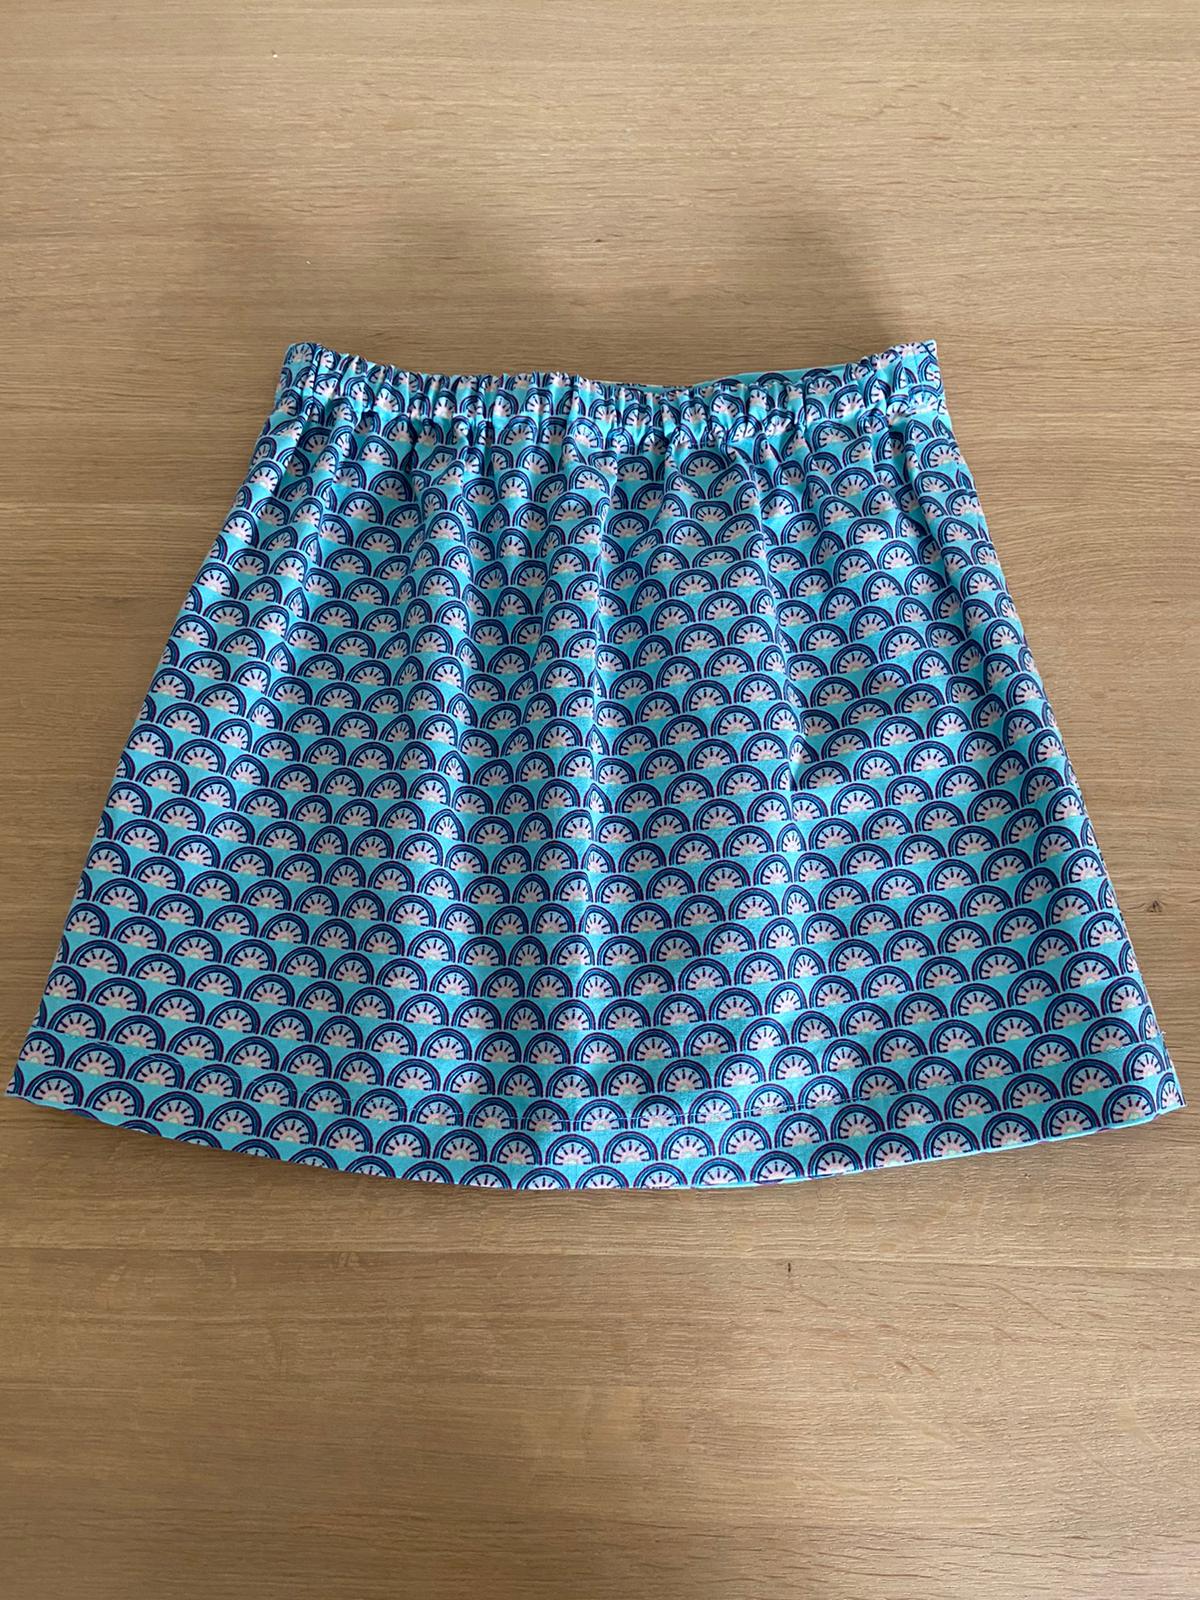
The only additional comments I have about the skirt are:
Point 2. When making the pleats check the centre pleats do actually meet at the centre of the skirt. Then check the waistband fits and adjust the pleats to fit if necessary before you baste them in place.
Also I would suggest it is slightly easier to do the hem of the skirt before you put the elastic in the back of the waistband.
Have fun and enjoy making the top and skirt and please share pictures of your makes with us. We are @sewscrumptious on Facebook and Instagram or you can email them to us. Monthly prizes for our favourite makes.
