Make a fabulous fabric lampshade using our lampshade kits and gorgeous fabrics. We have 30cm kits perfect for hanging from the ceiling or for large standard lamps or 20cm kits perfect for bedside lamps. Each takes half a metre of fabric or you can use wallpaper if you prefer. They are so easy to make and only take around an hour and to prove how easy it is I asked my 12 year old son Sam to have a go!
You will need:
Lampshade Kit - You can find a selection here
Fabric - Check out our website here
Tips:
Iron the fabric before you start. You don't want creases in the middle where it was folded..
The plastic lining of the lampshade wants to curl up as you are making it- you will need something heavy to hold it flat at times.
A second pair of hands can be helpful now and then although not essential
There are full written and photo instructions included in the kit plus everything you need apart from fabric.
Lets go...
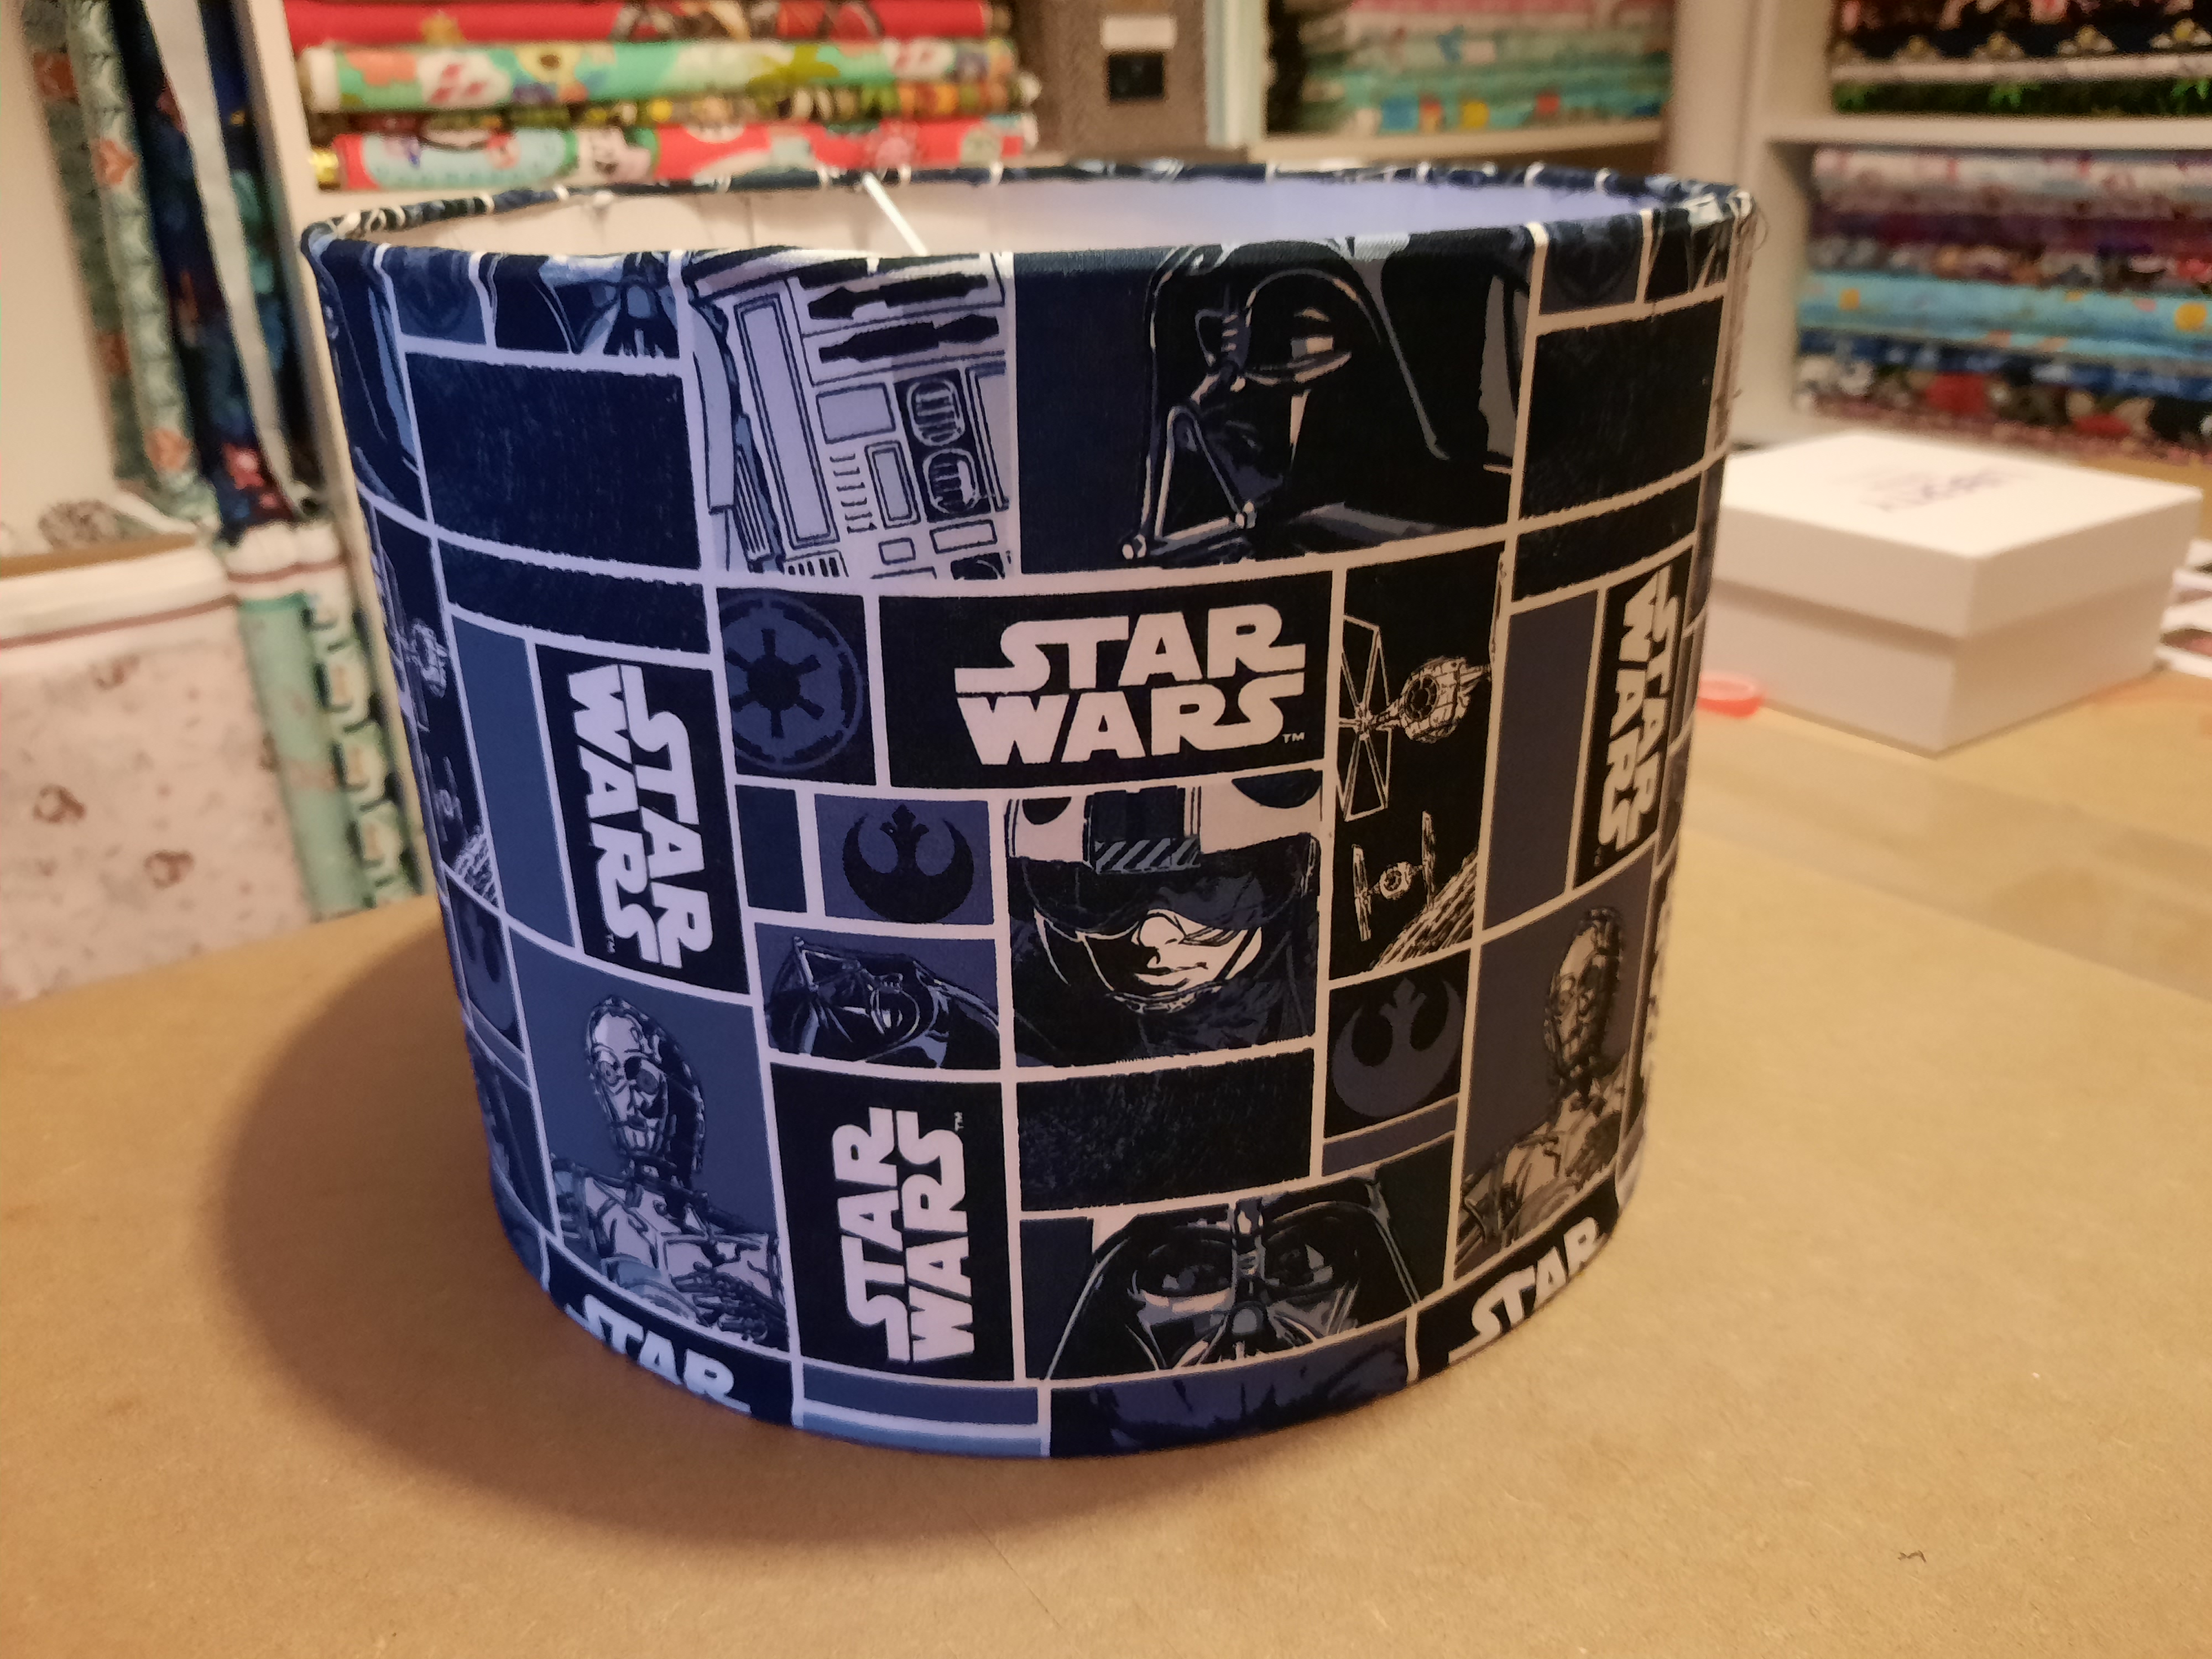
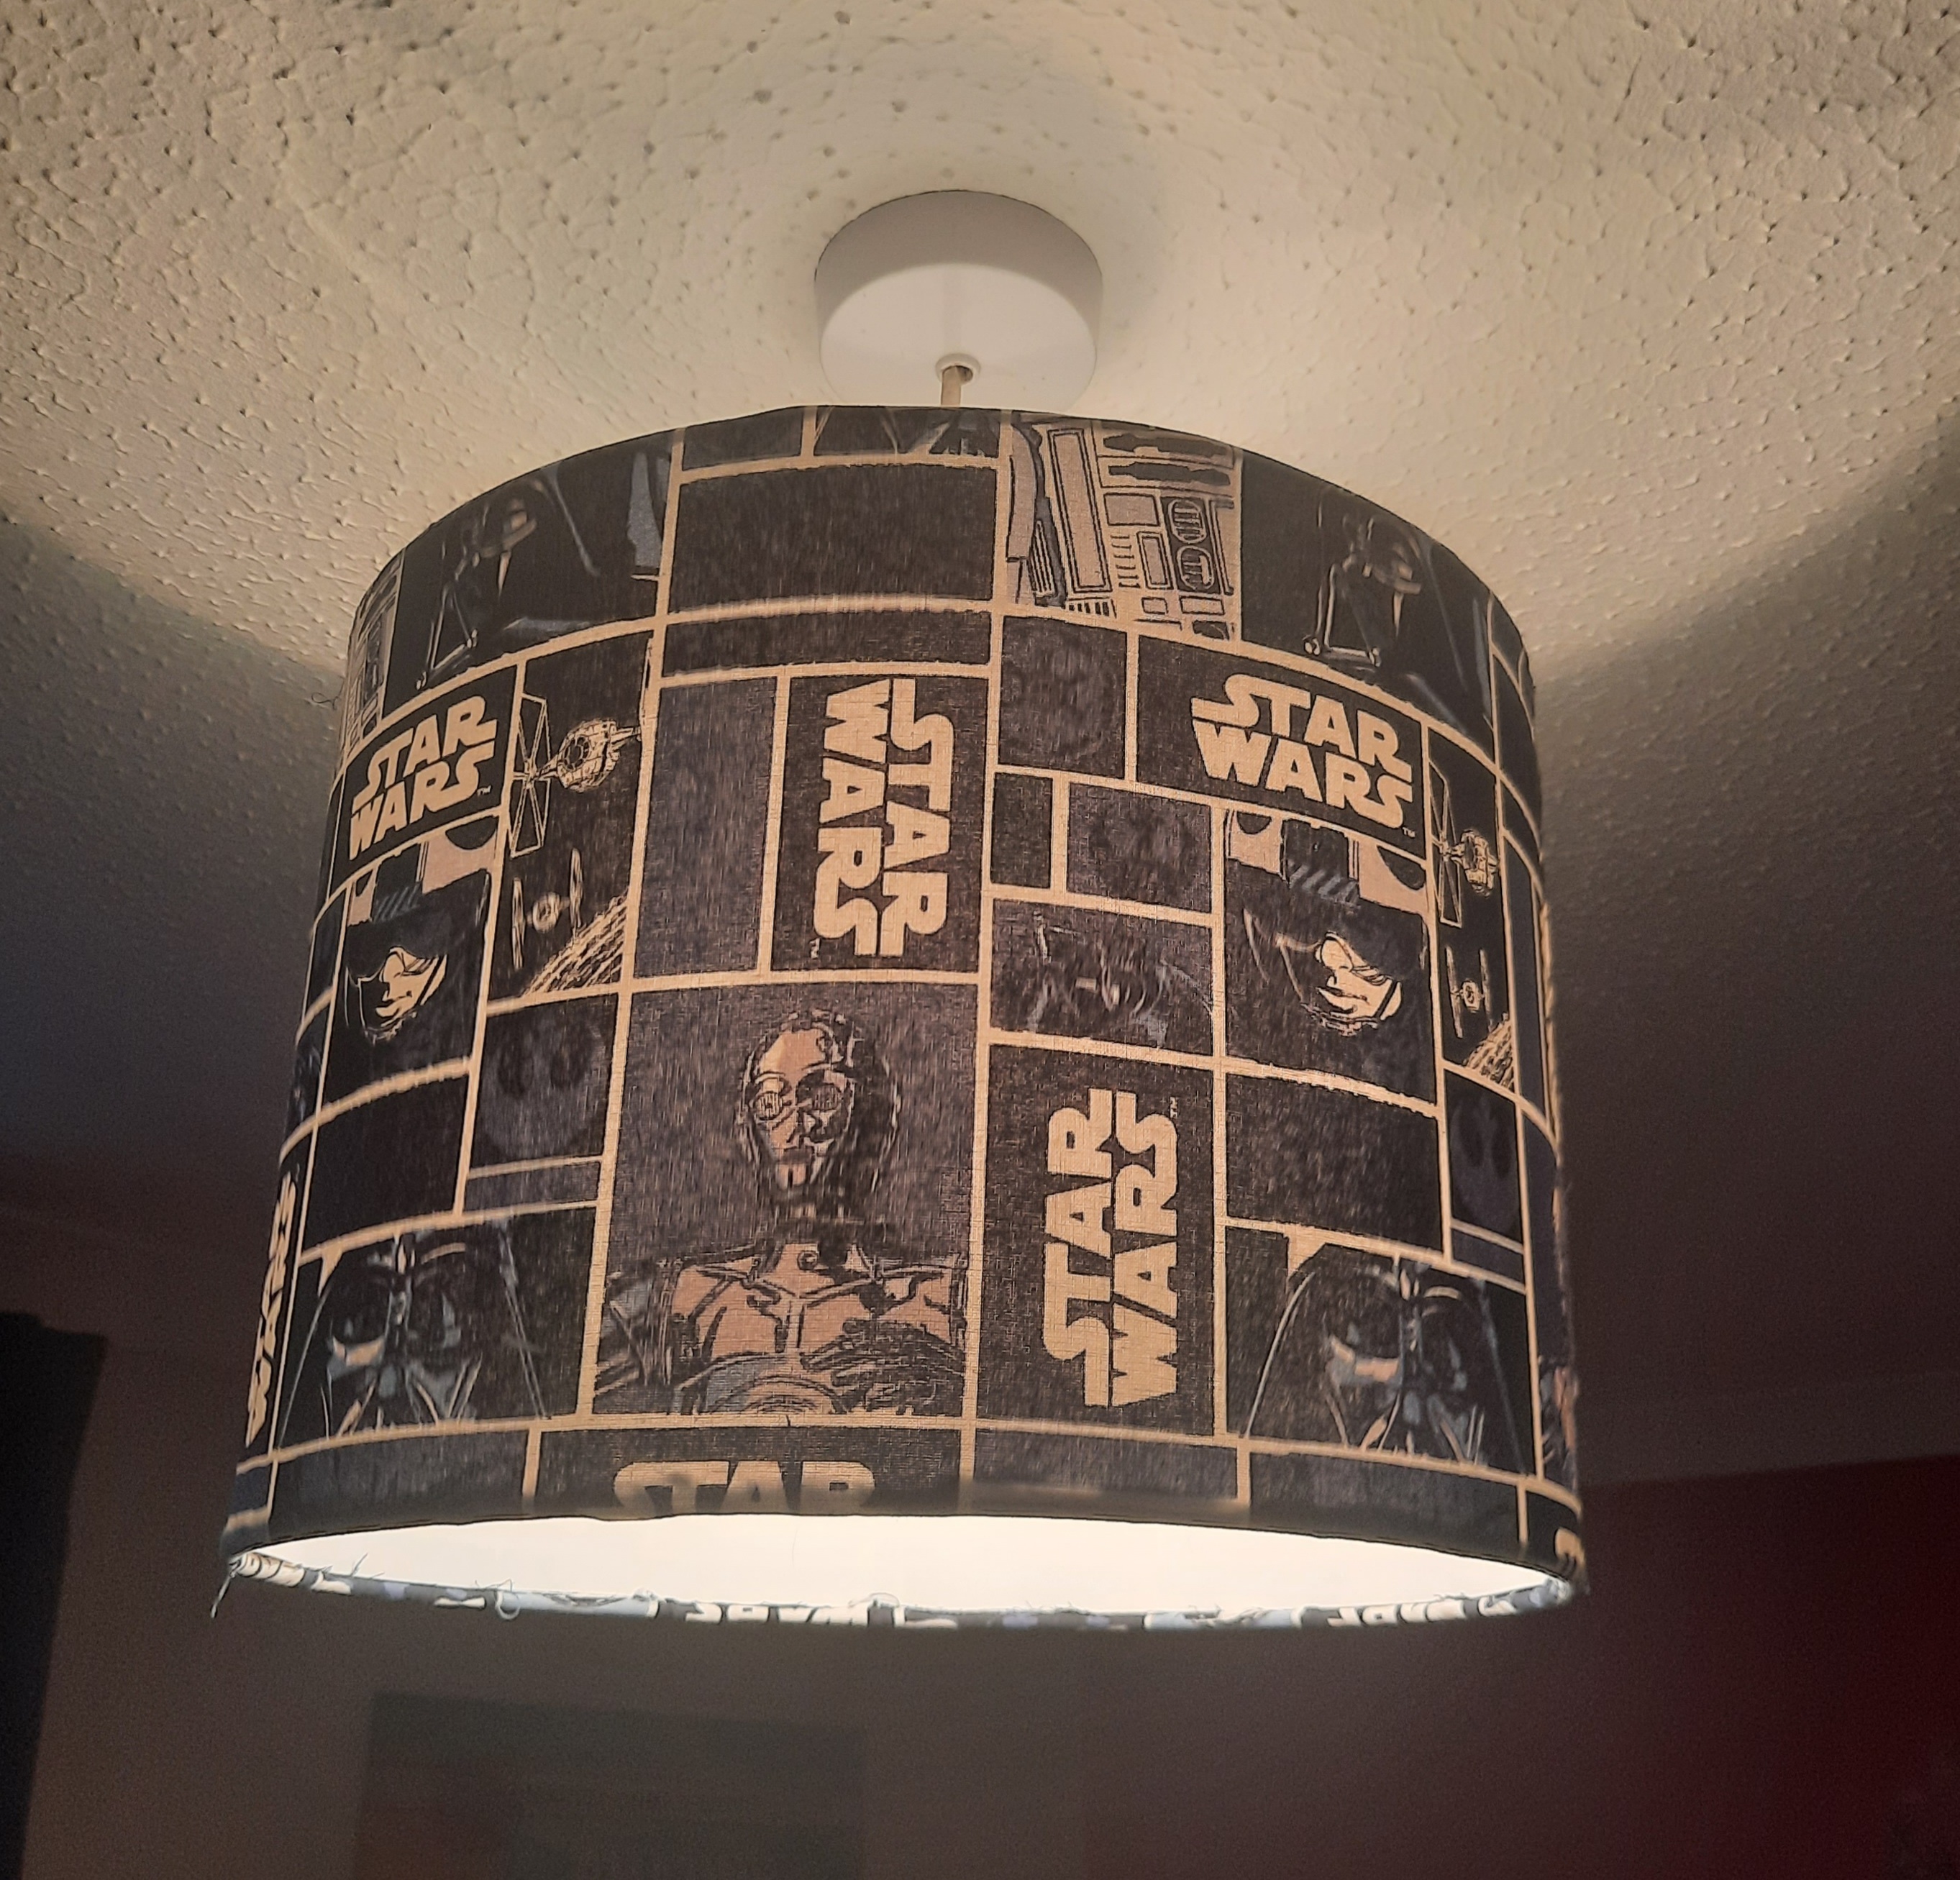
Choose half a metre of fabric for your lampshade. Try not to choose something too dark as you want the light to be able to shine through. Sam choose this fab Star Wars design for his bedroom. Think about the direction of the pattern too.
Make sure you have everything that you need in your kit - 2 plastic rings (one with a middle bit and one without), sticky plastic lining paper, double sided tape, plastic tool for tidying up and instructions plus a little adapter to make sure it fits different light fittings.

Lay out your fabric and think about which bit of the pattern you want to use on the lamp shade. Find a bit of the pattern that will help you keep the design straight if you can. Our fabric had very helpful straight lines in the design!
Turn the fabric over to the wrong side and work out were you want the top of the shade to be on the fabric.

Lay the lining out of the back of the fabric and use something to hold the end down. Sticky side should be facing the fabric.

Start peeling off the back of the plastic lining and place sticky side down on the back of the fabric very slowly making sure that there are no air bubbles or creases. You can unstick the fabric fairly easily at this stage if you make a mistake and want to move it a little bit. Make sure you keep it straight against the pattern on the fabric.

Go all the way along until the end of the lining paper

Cut around all the 4 edges of the plastic lining as close as you can get.

You will see a line on the top and bottom of the plastic lining. Fold it in towards you until it clicks. Do the same all along the fabric on both the top and bottom.
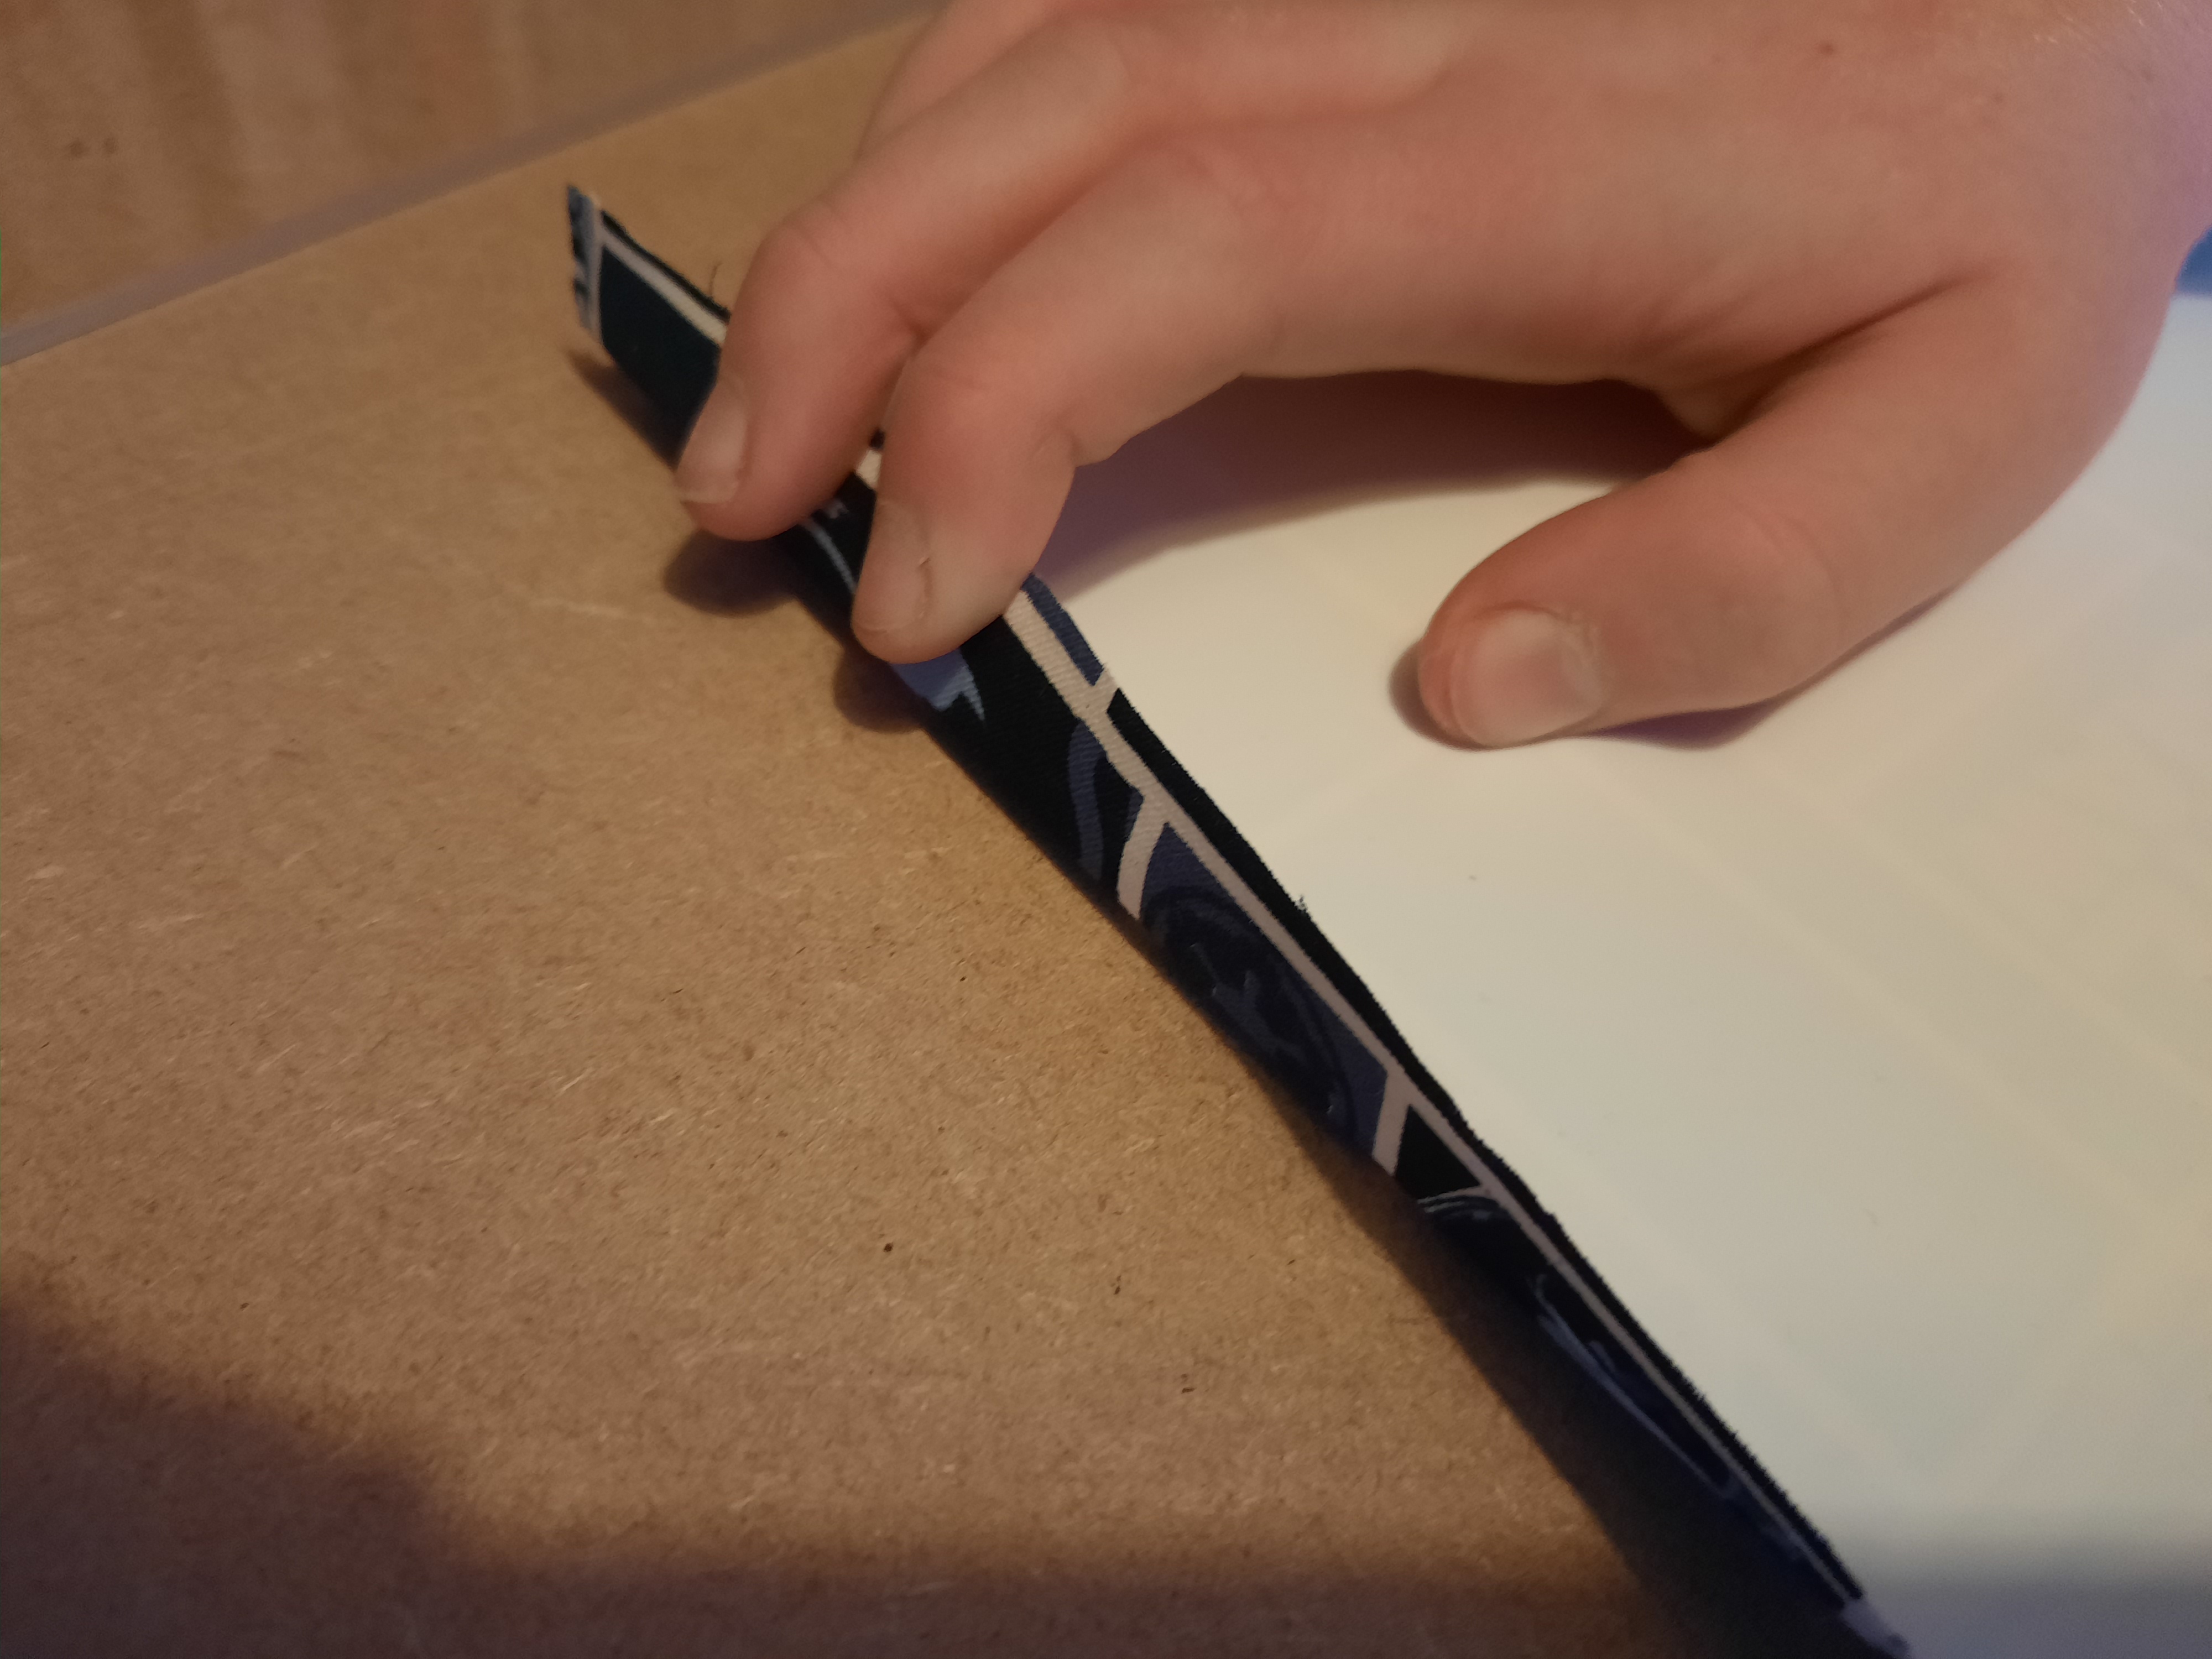
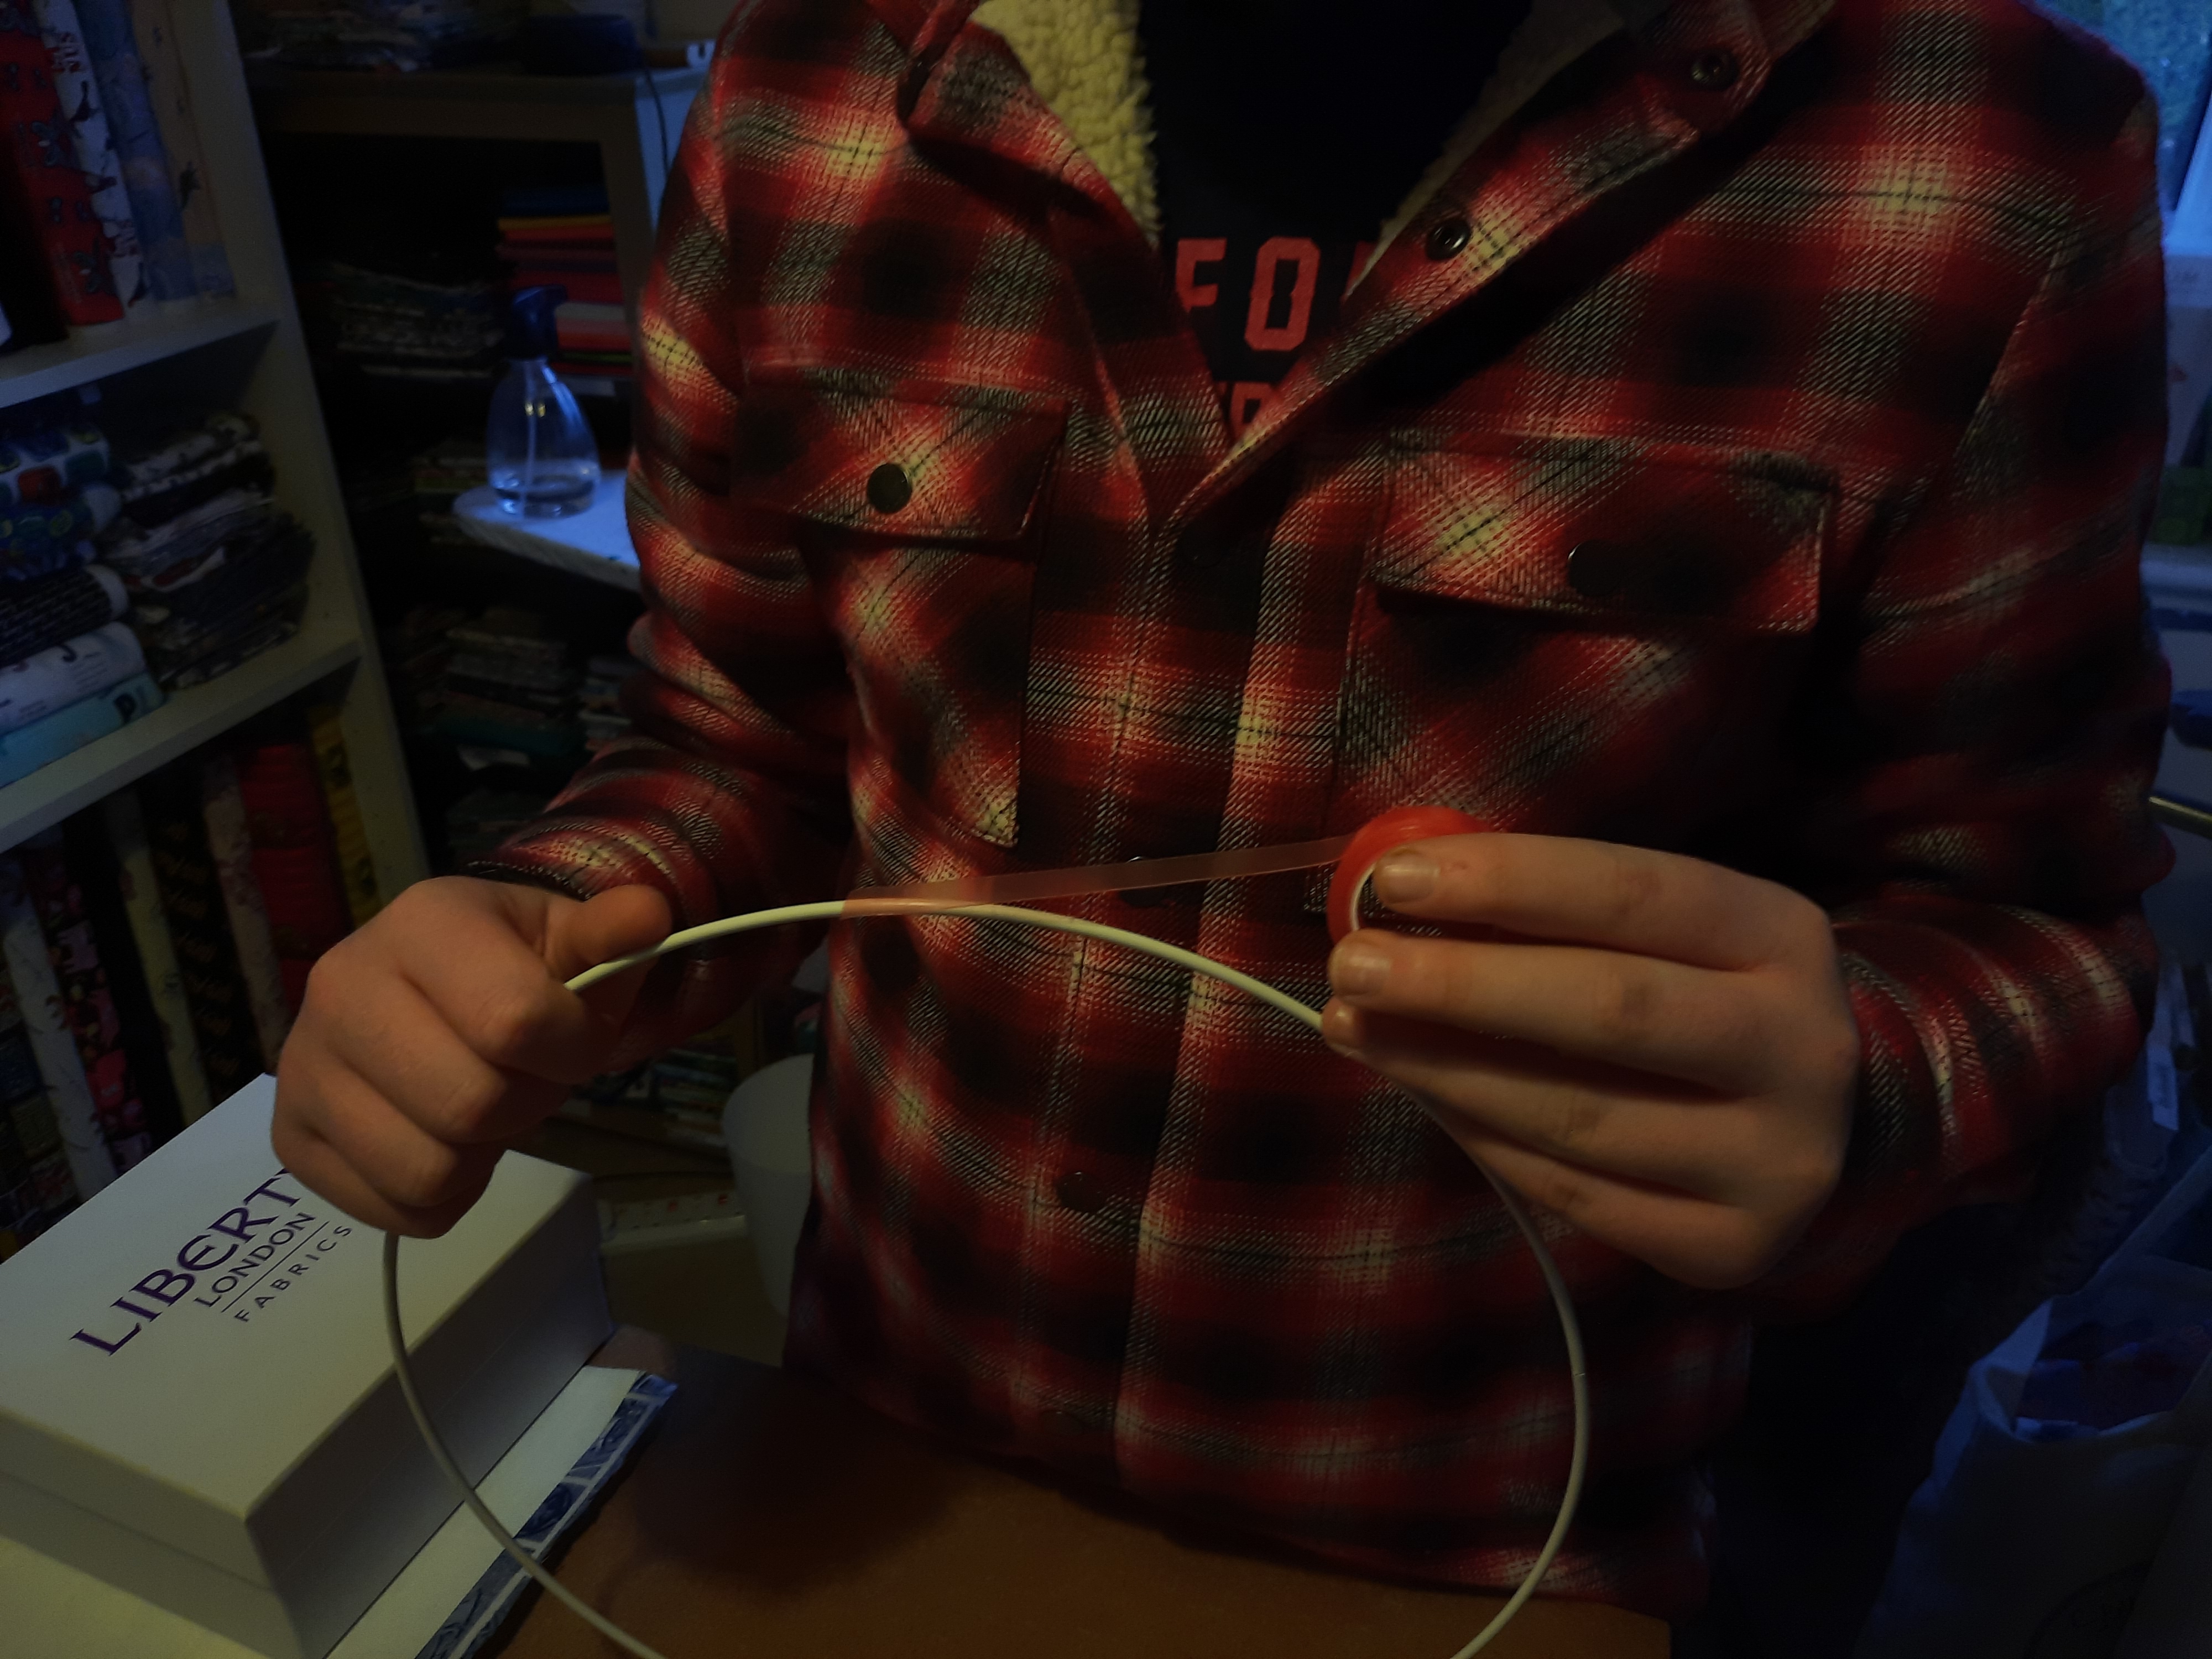
Peel off the thin plastic strip all along the top and bottom. You will need to place something on top of the fabric to keep it flat. You should have an edge of fabric at the top and bottom
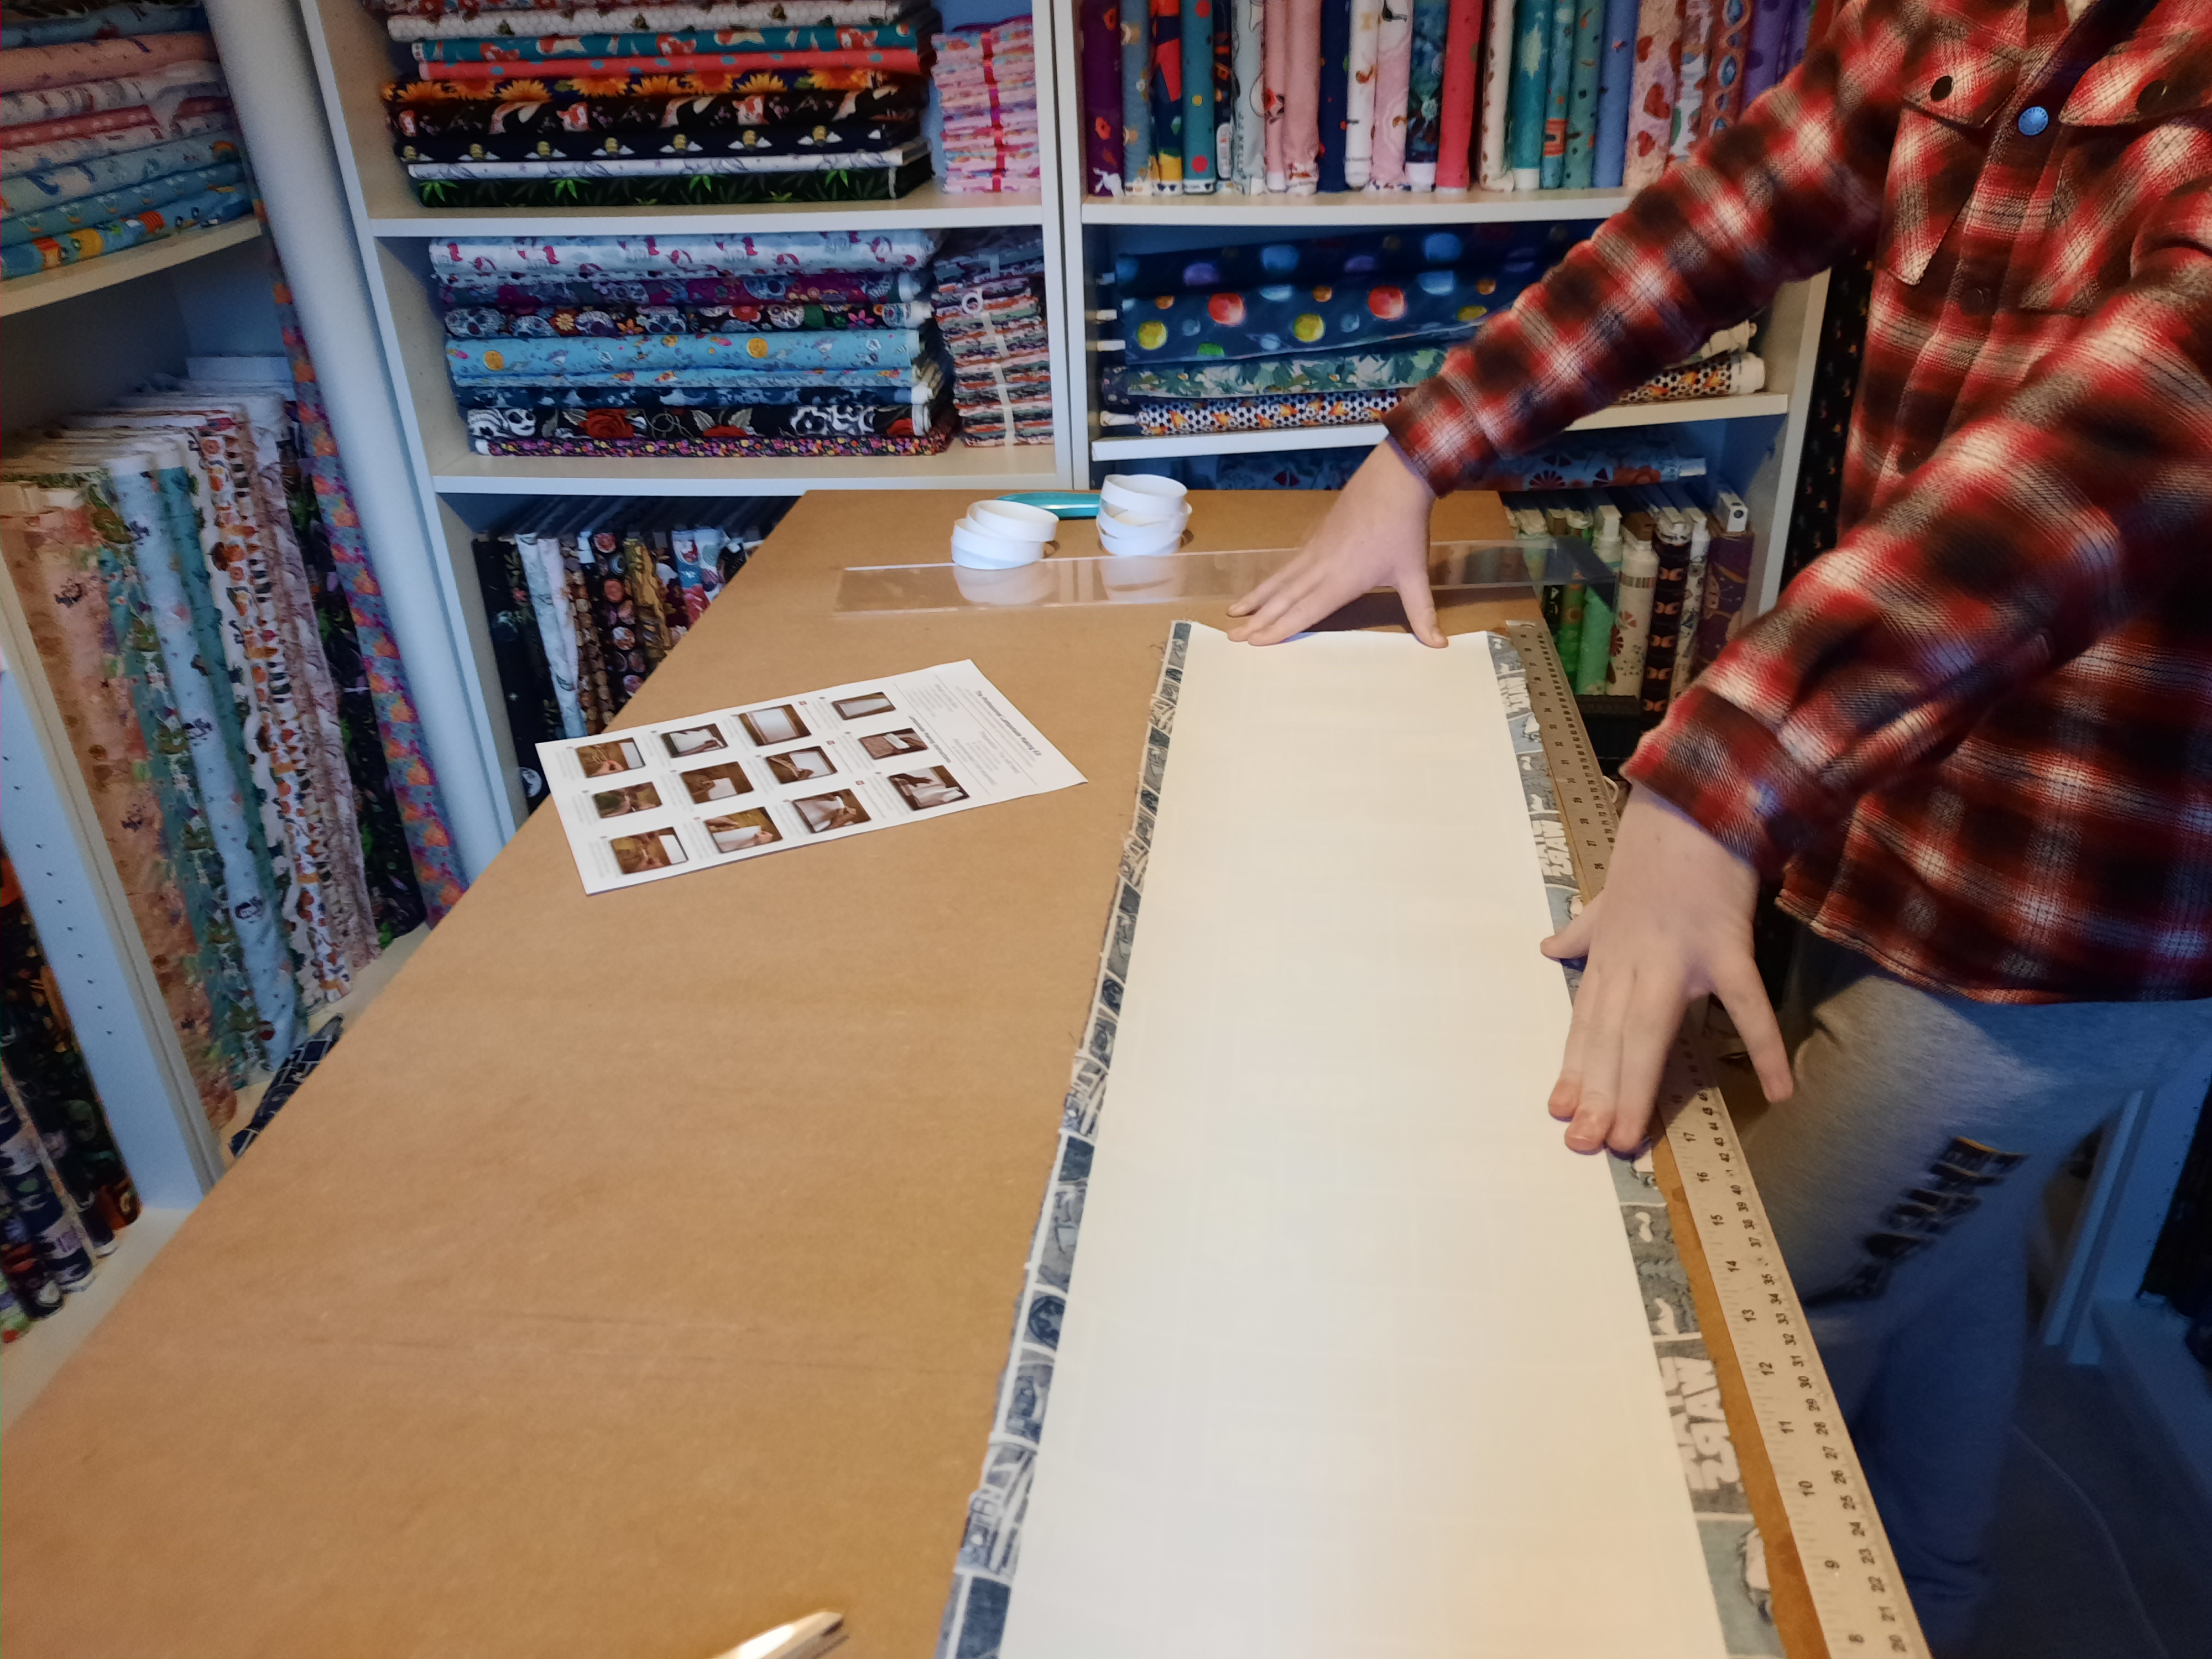
Place a strip of the double sided tape down one short side and then peel off the other side of the tape so that it is sticky..
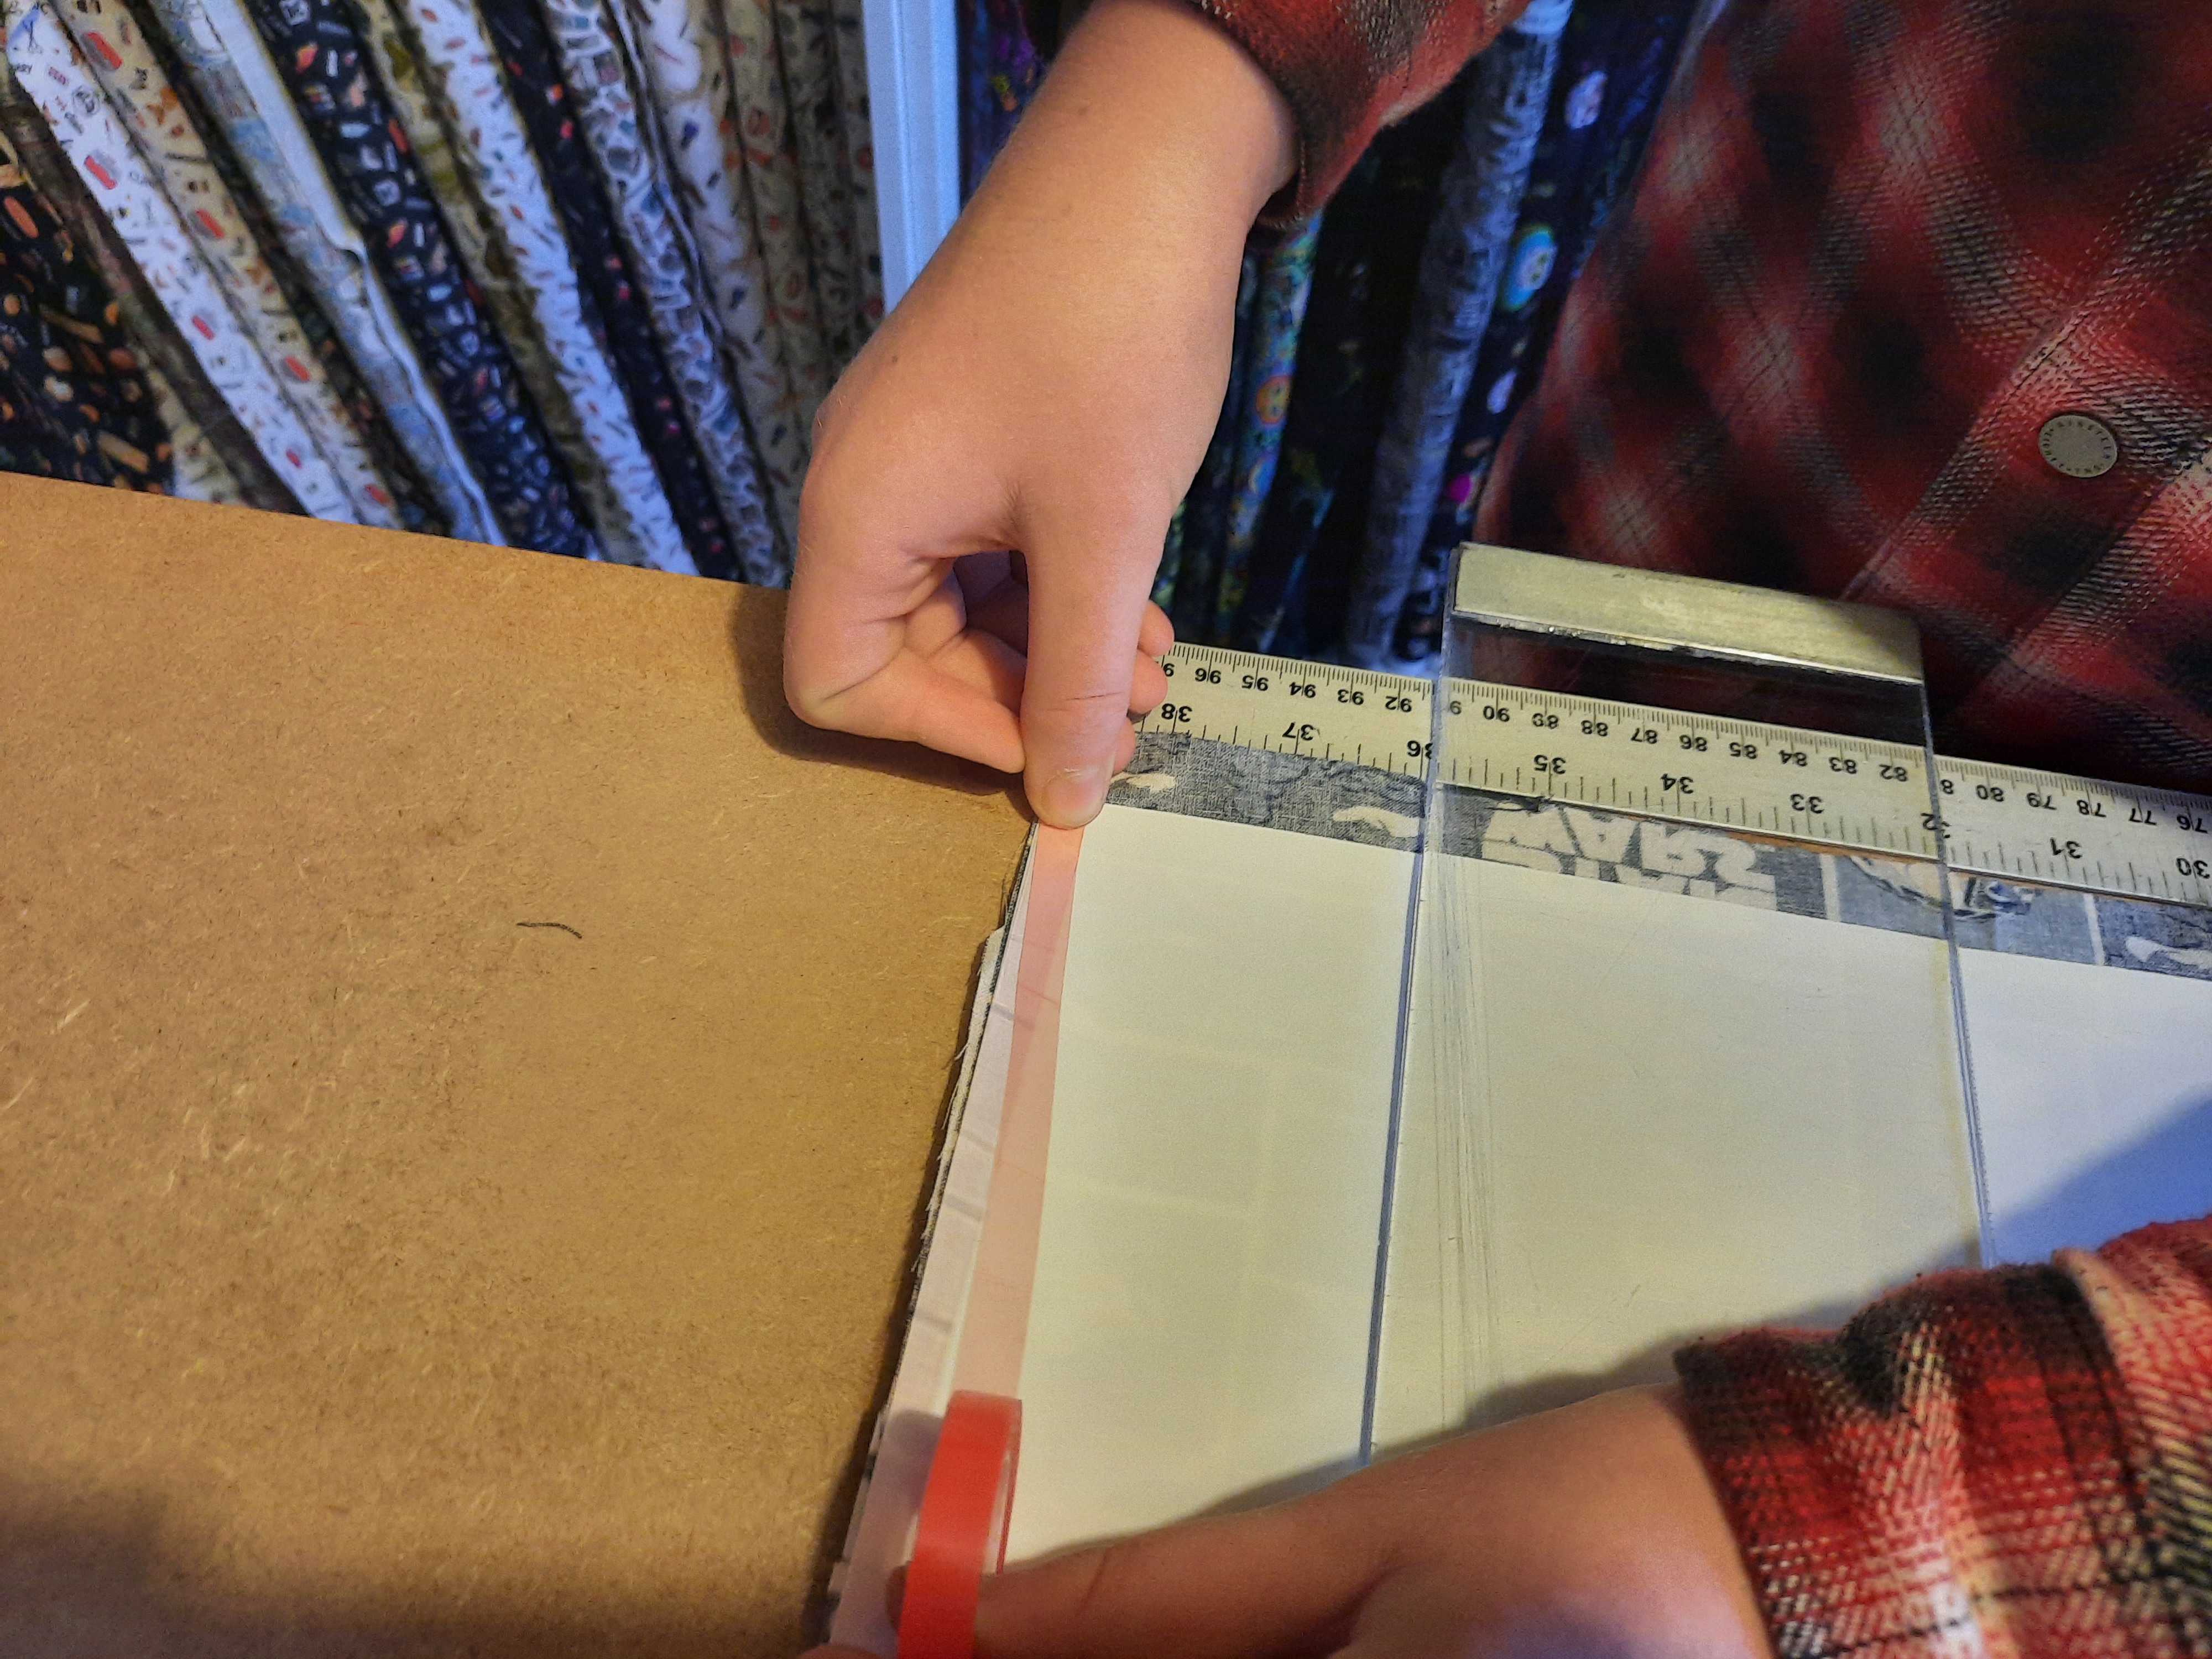
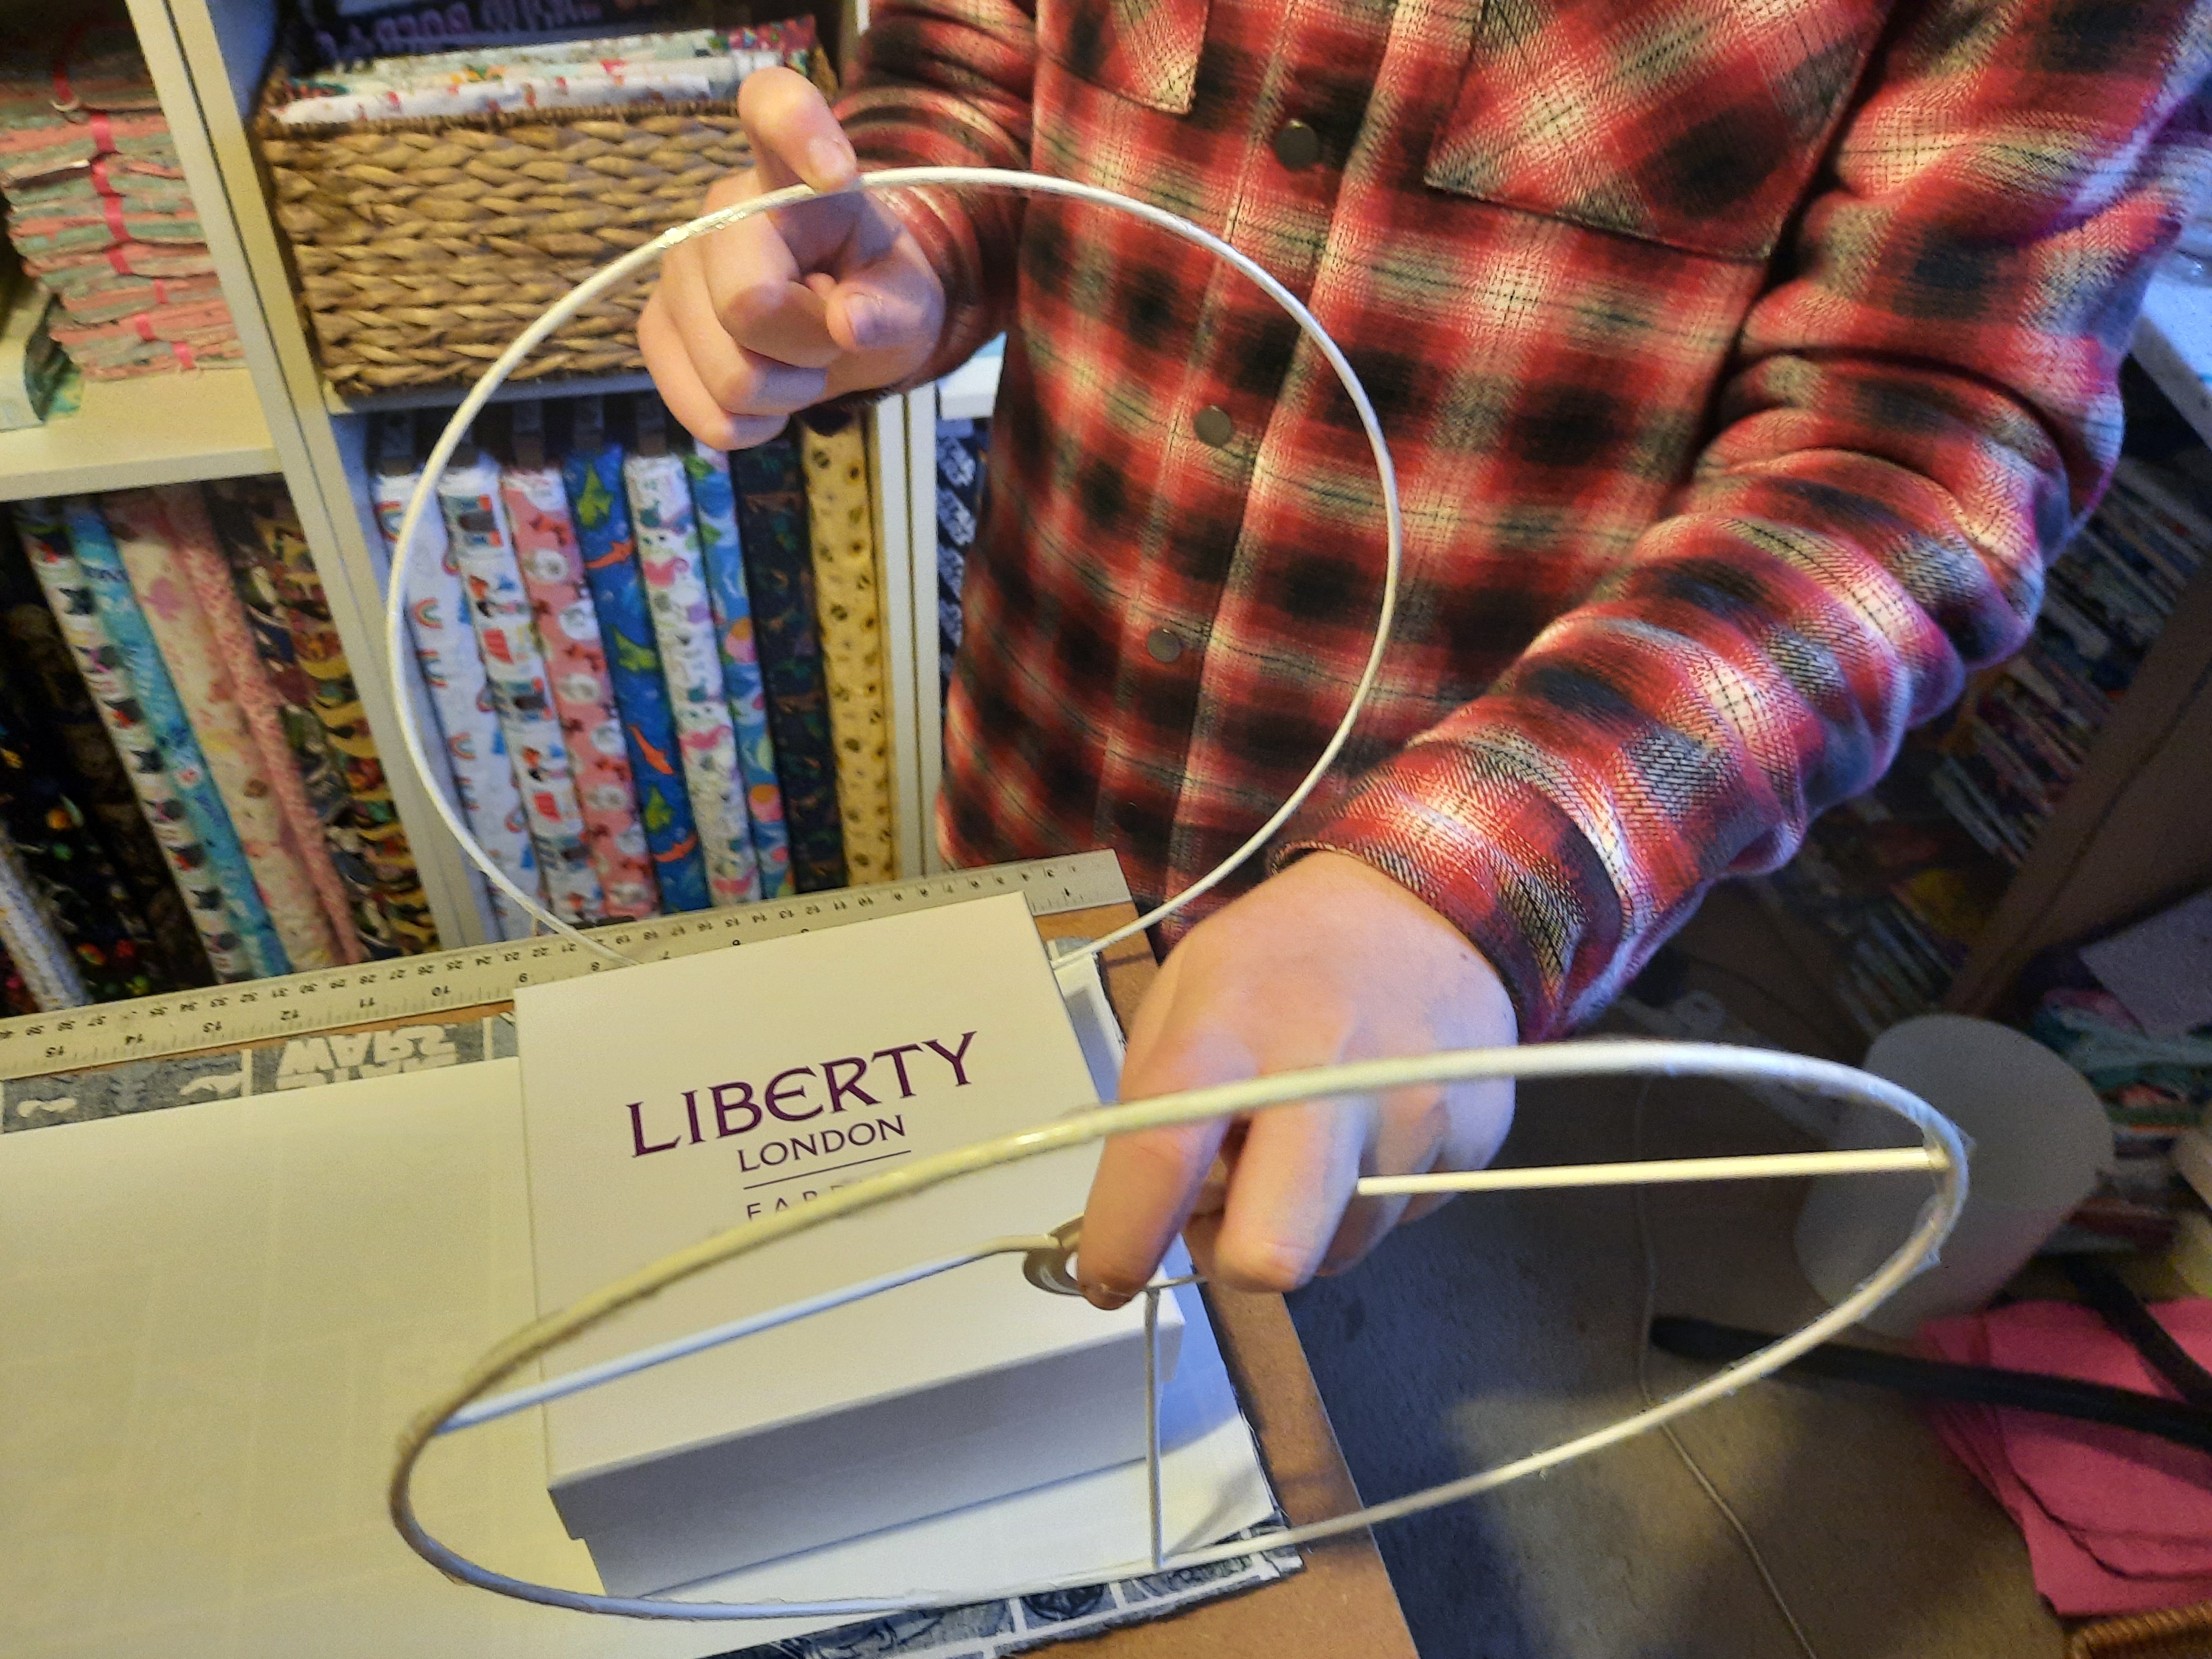
Tip: At this point think about which way you will place your lampshade rings with the pattern on the fabric. If you want a hanging shade for a ceiling the ring with the middle bit will need to go on the top of the shade and the plain ring at the bottom. If wanting a shade for a standard lamp or bedside lamp then the bit with the middle needs to go at the bottom. Whether the bit with the middle is at the top or bottom of the lamp it should not be seen so the bit that sticks up should be hidden within the shade.
Stick double sided tape all around the outside of both rings pressing it down around the sides of each ring. Peel off the other side of the tape so both rings are sticky. Be careful putting them down at this point as they will stick to everything!
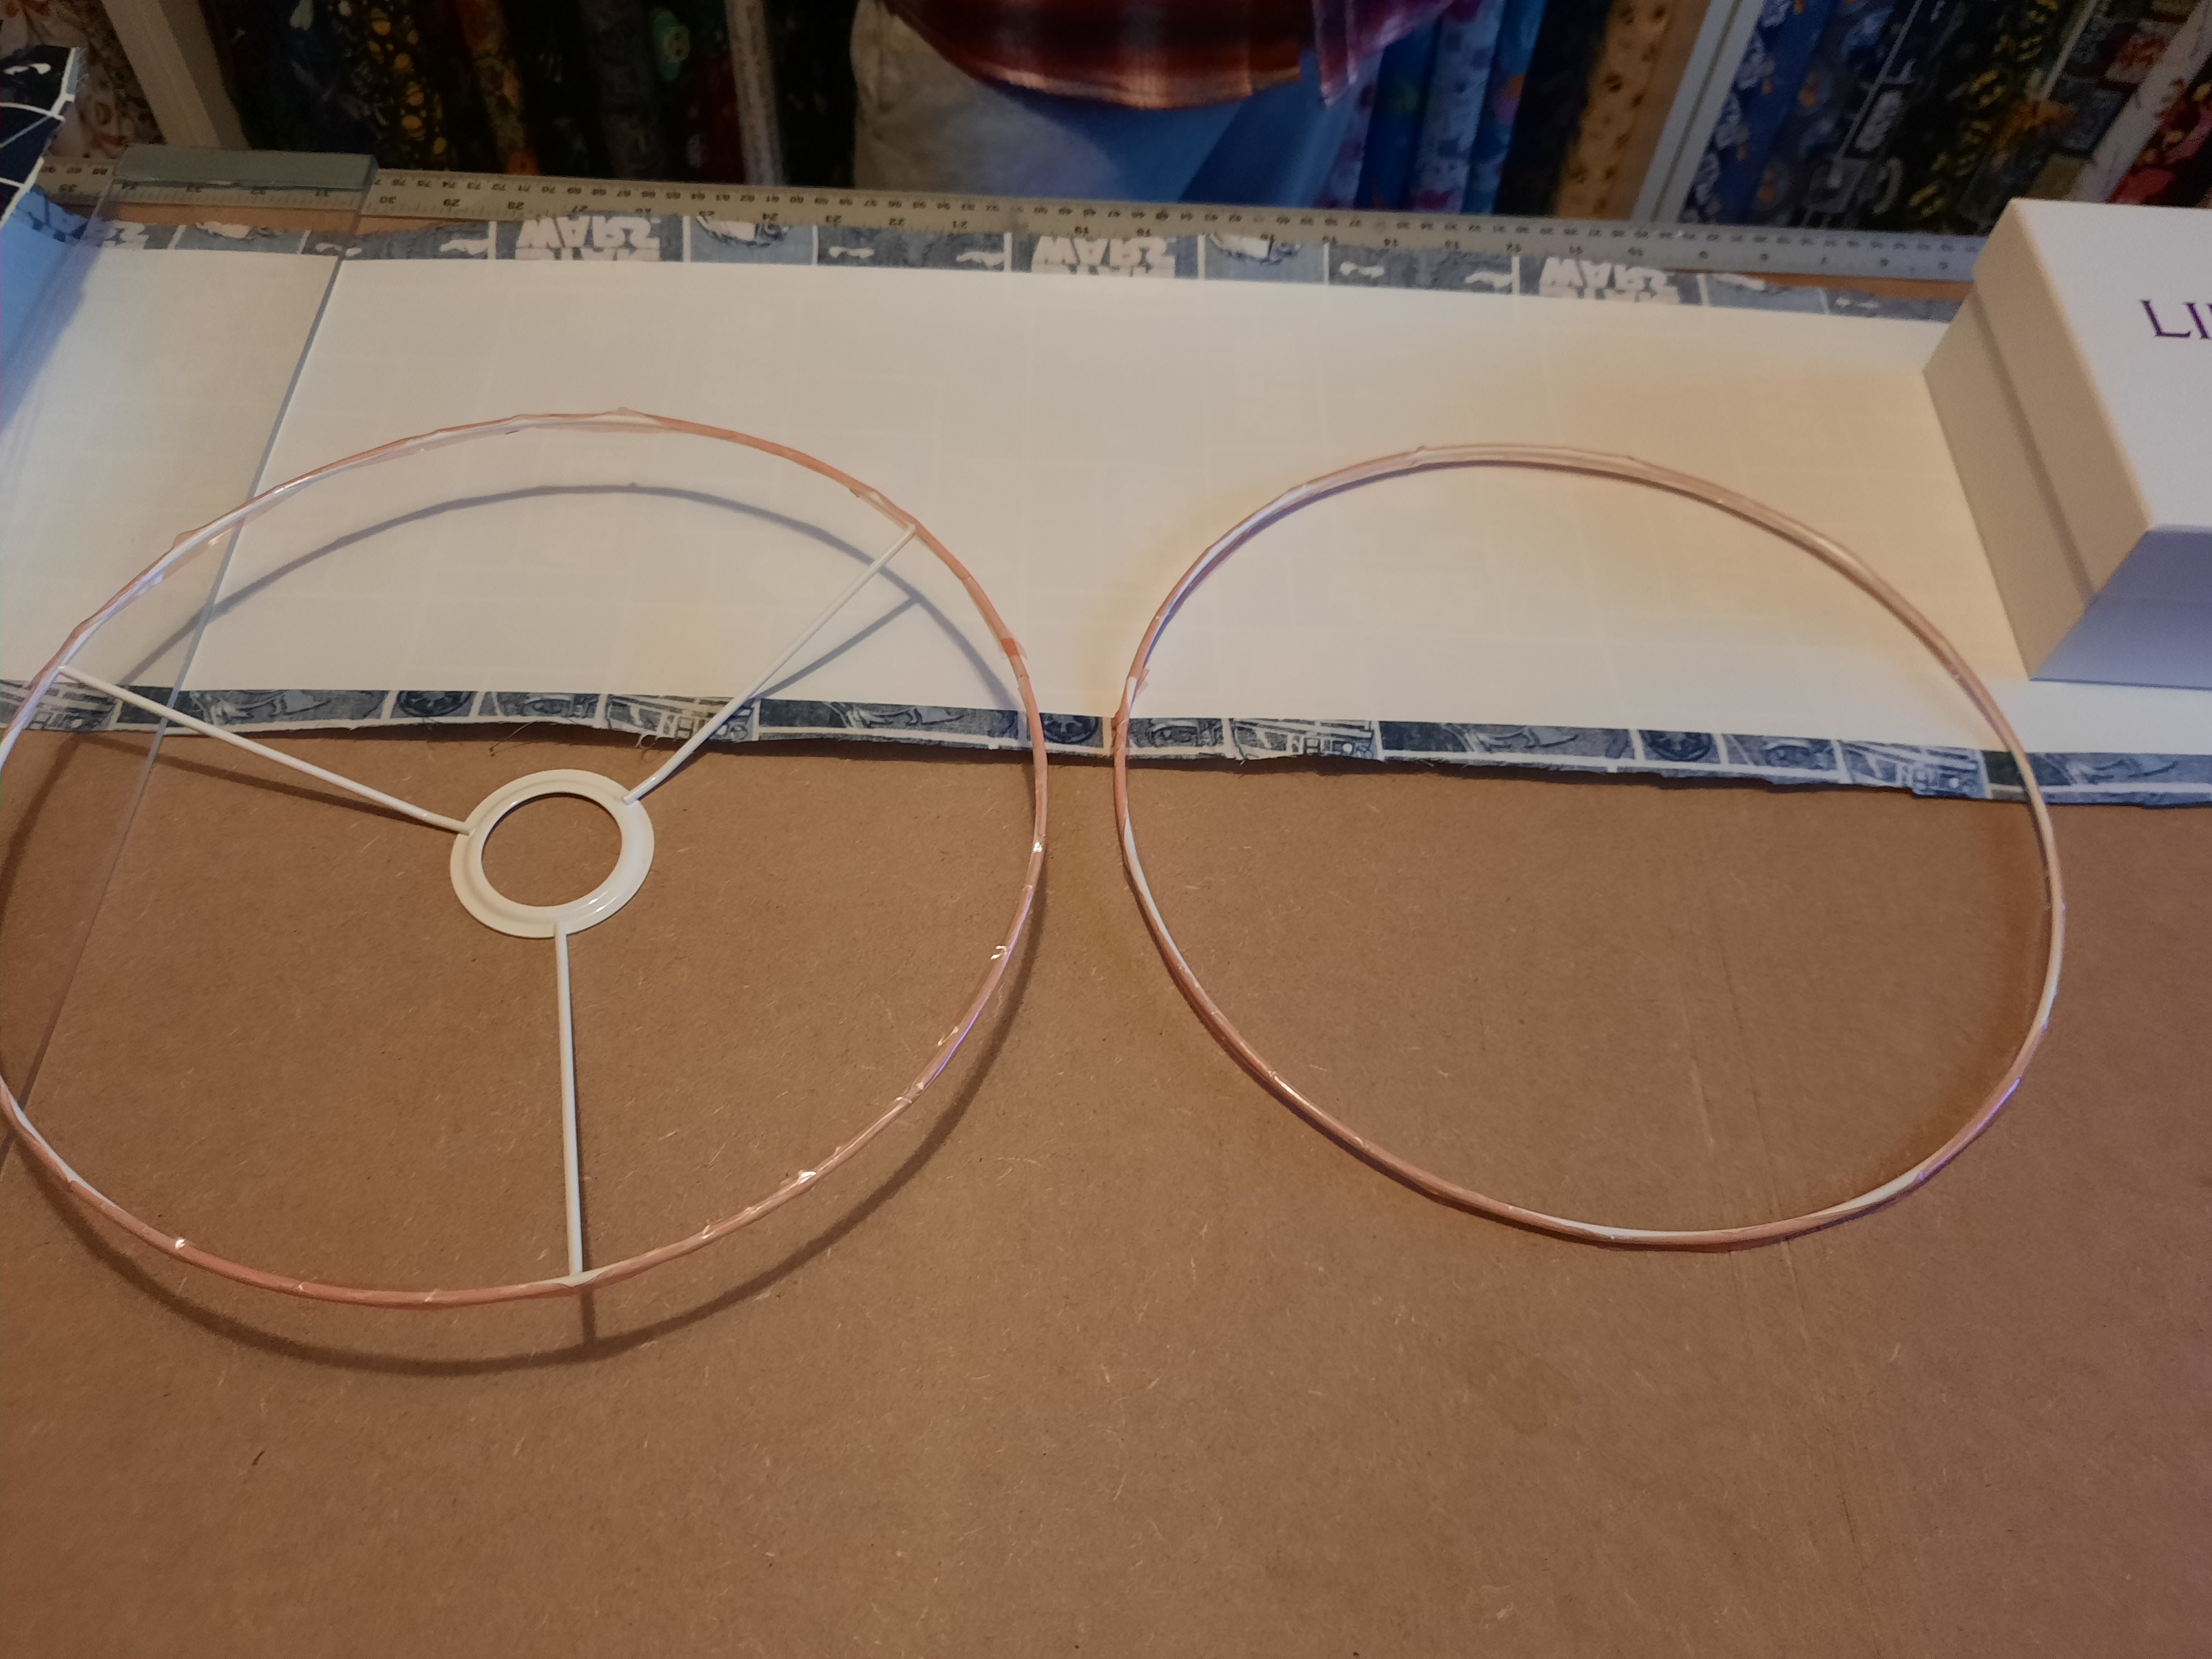
The next bit can be a bit tricky and you might want 2 pairs of hands although Sam did this bit on his own. Place the 2 rings right next to the edge of the plastic lining (as close as you can get) and roll the rings at the same time towards the end of the fabric. The shade should naturally roll with you until you get to the end. Do this SLOWLY and keep stopping along the way to make sure its as close to the edge as possible.
At the end the sticky tape you placed early should seal the shade. We found we had to add another strip to make it really secure. Run your finger along the edge to make sure it is held firmly together.
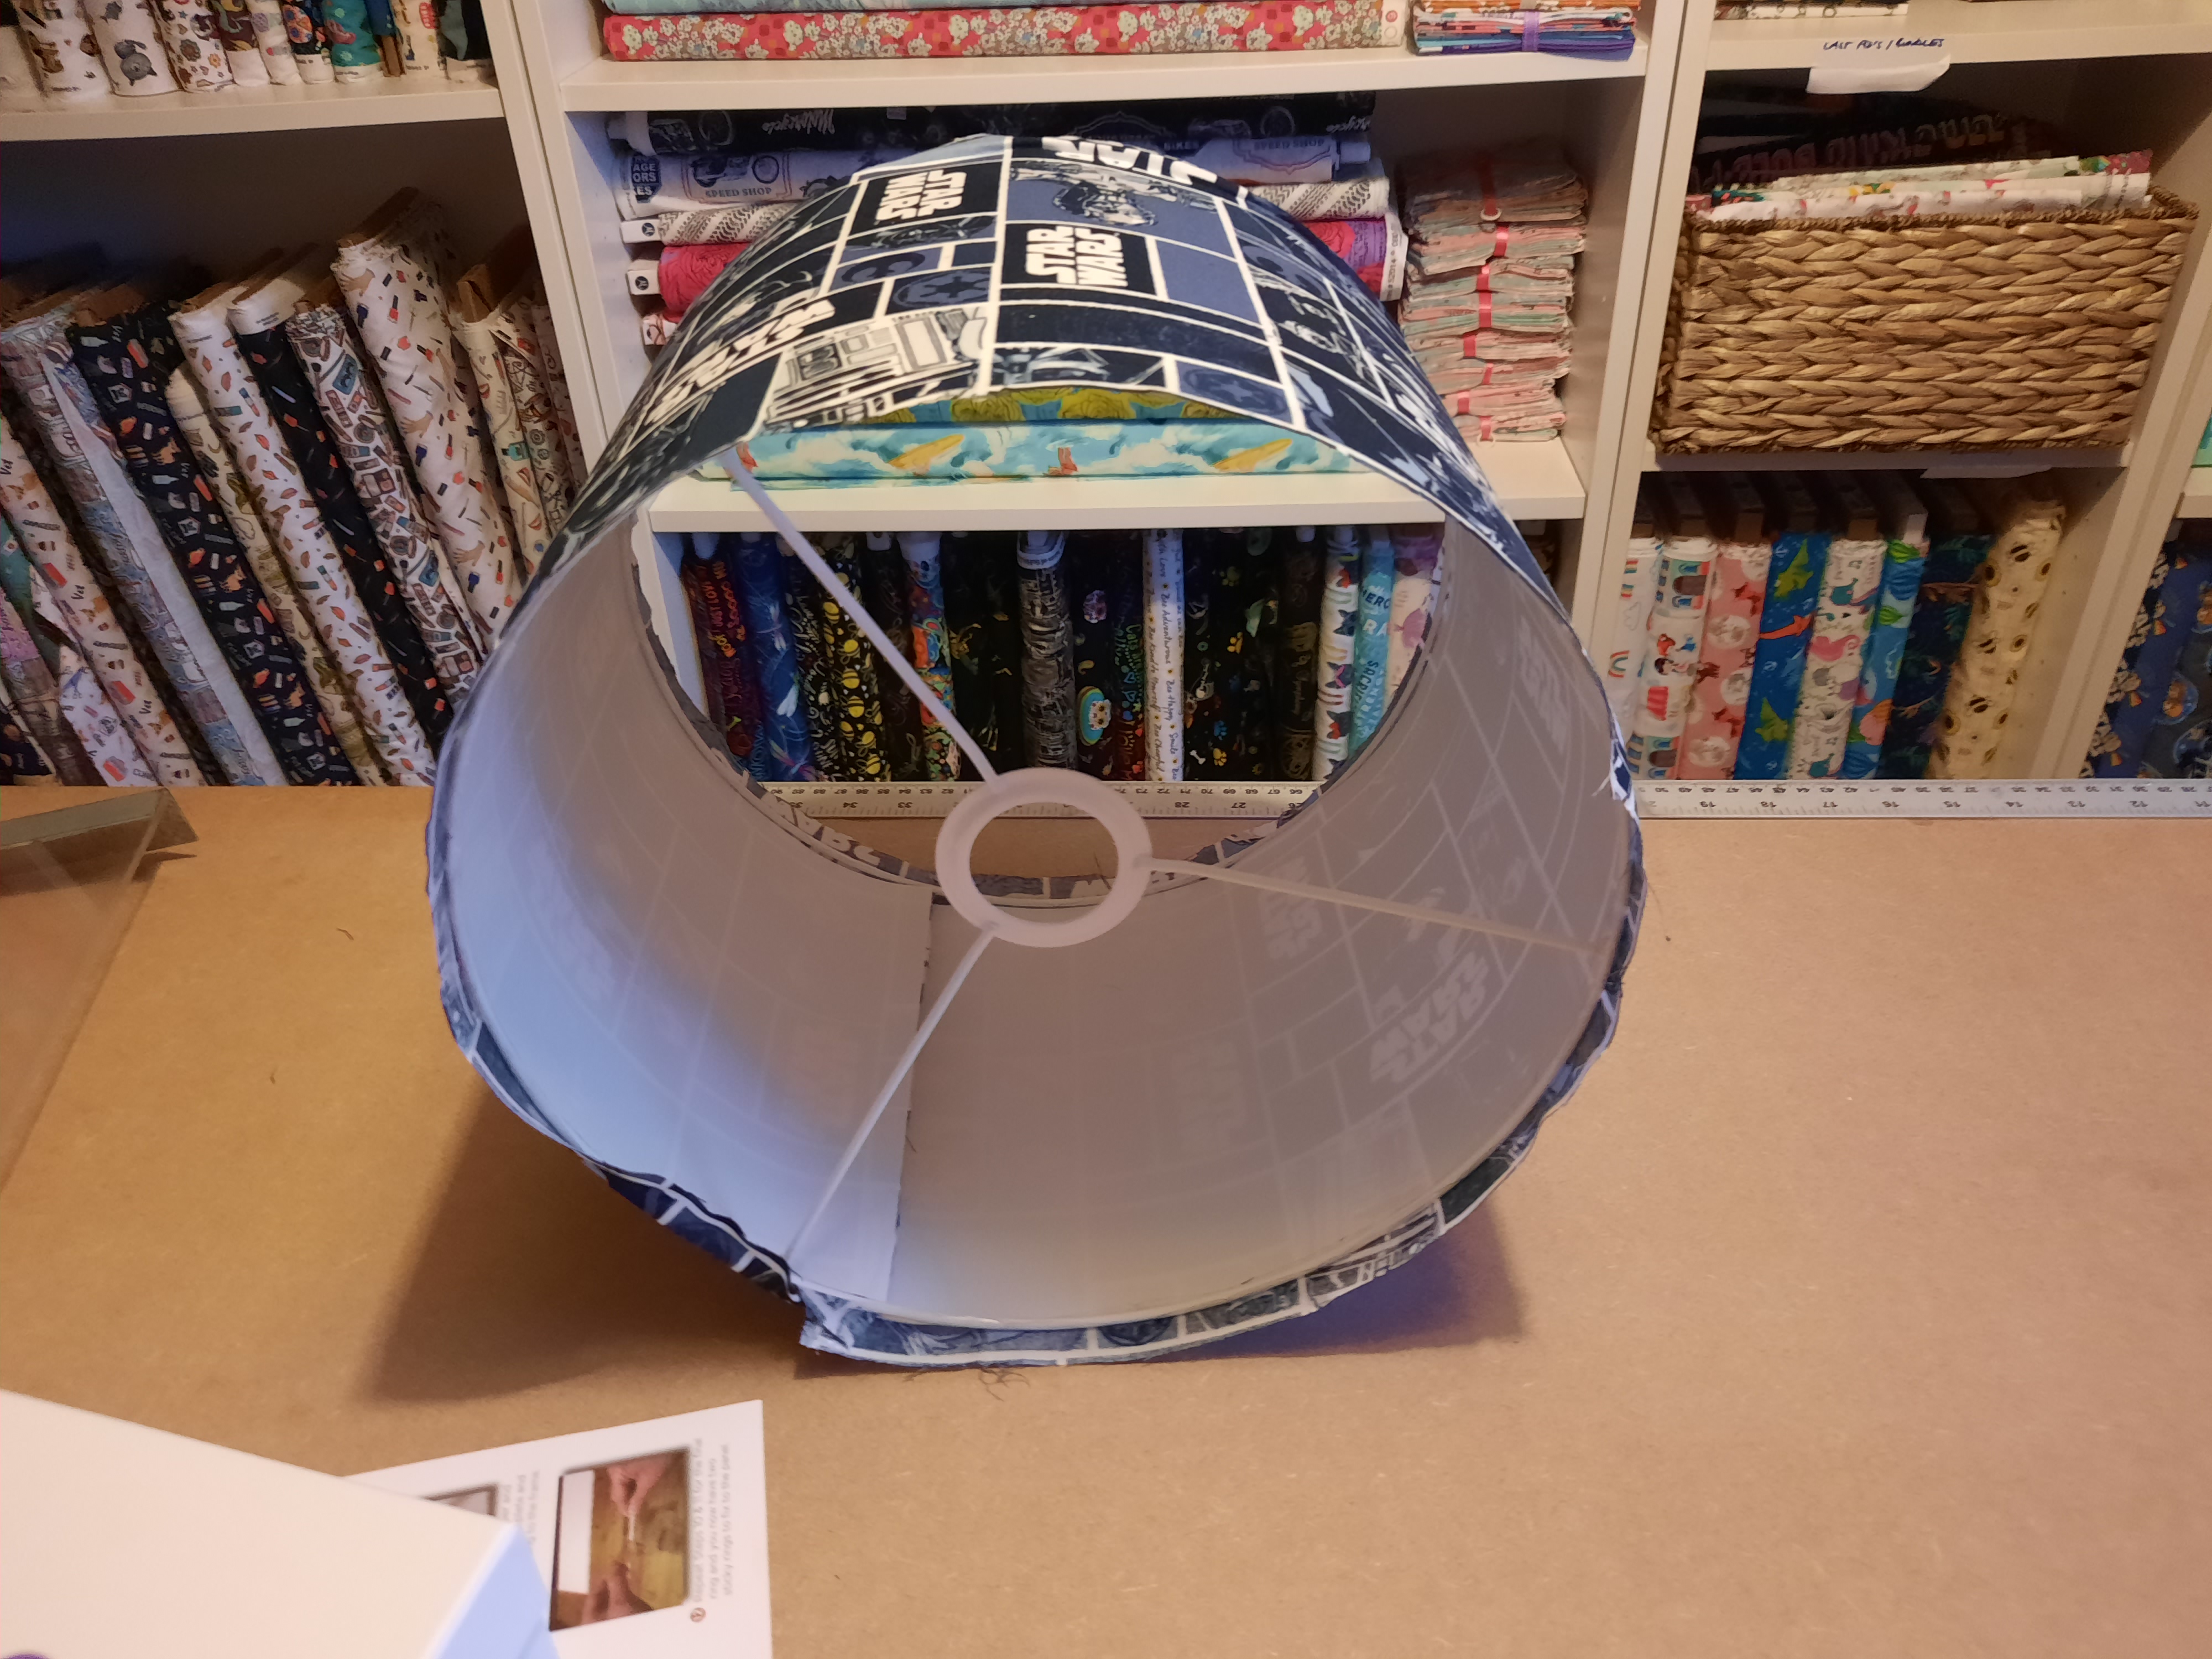
Make 3 small cut at the top of the shade where the fabric meets the plastic ring spokes. Press the fabric tightly over the sticky rings towards the middle of the shade all the way around on both sides.
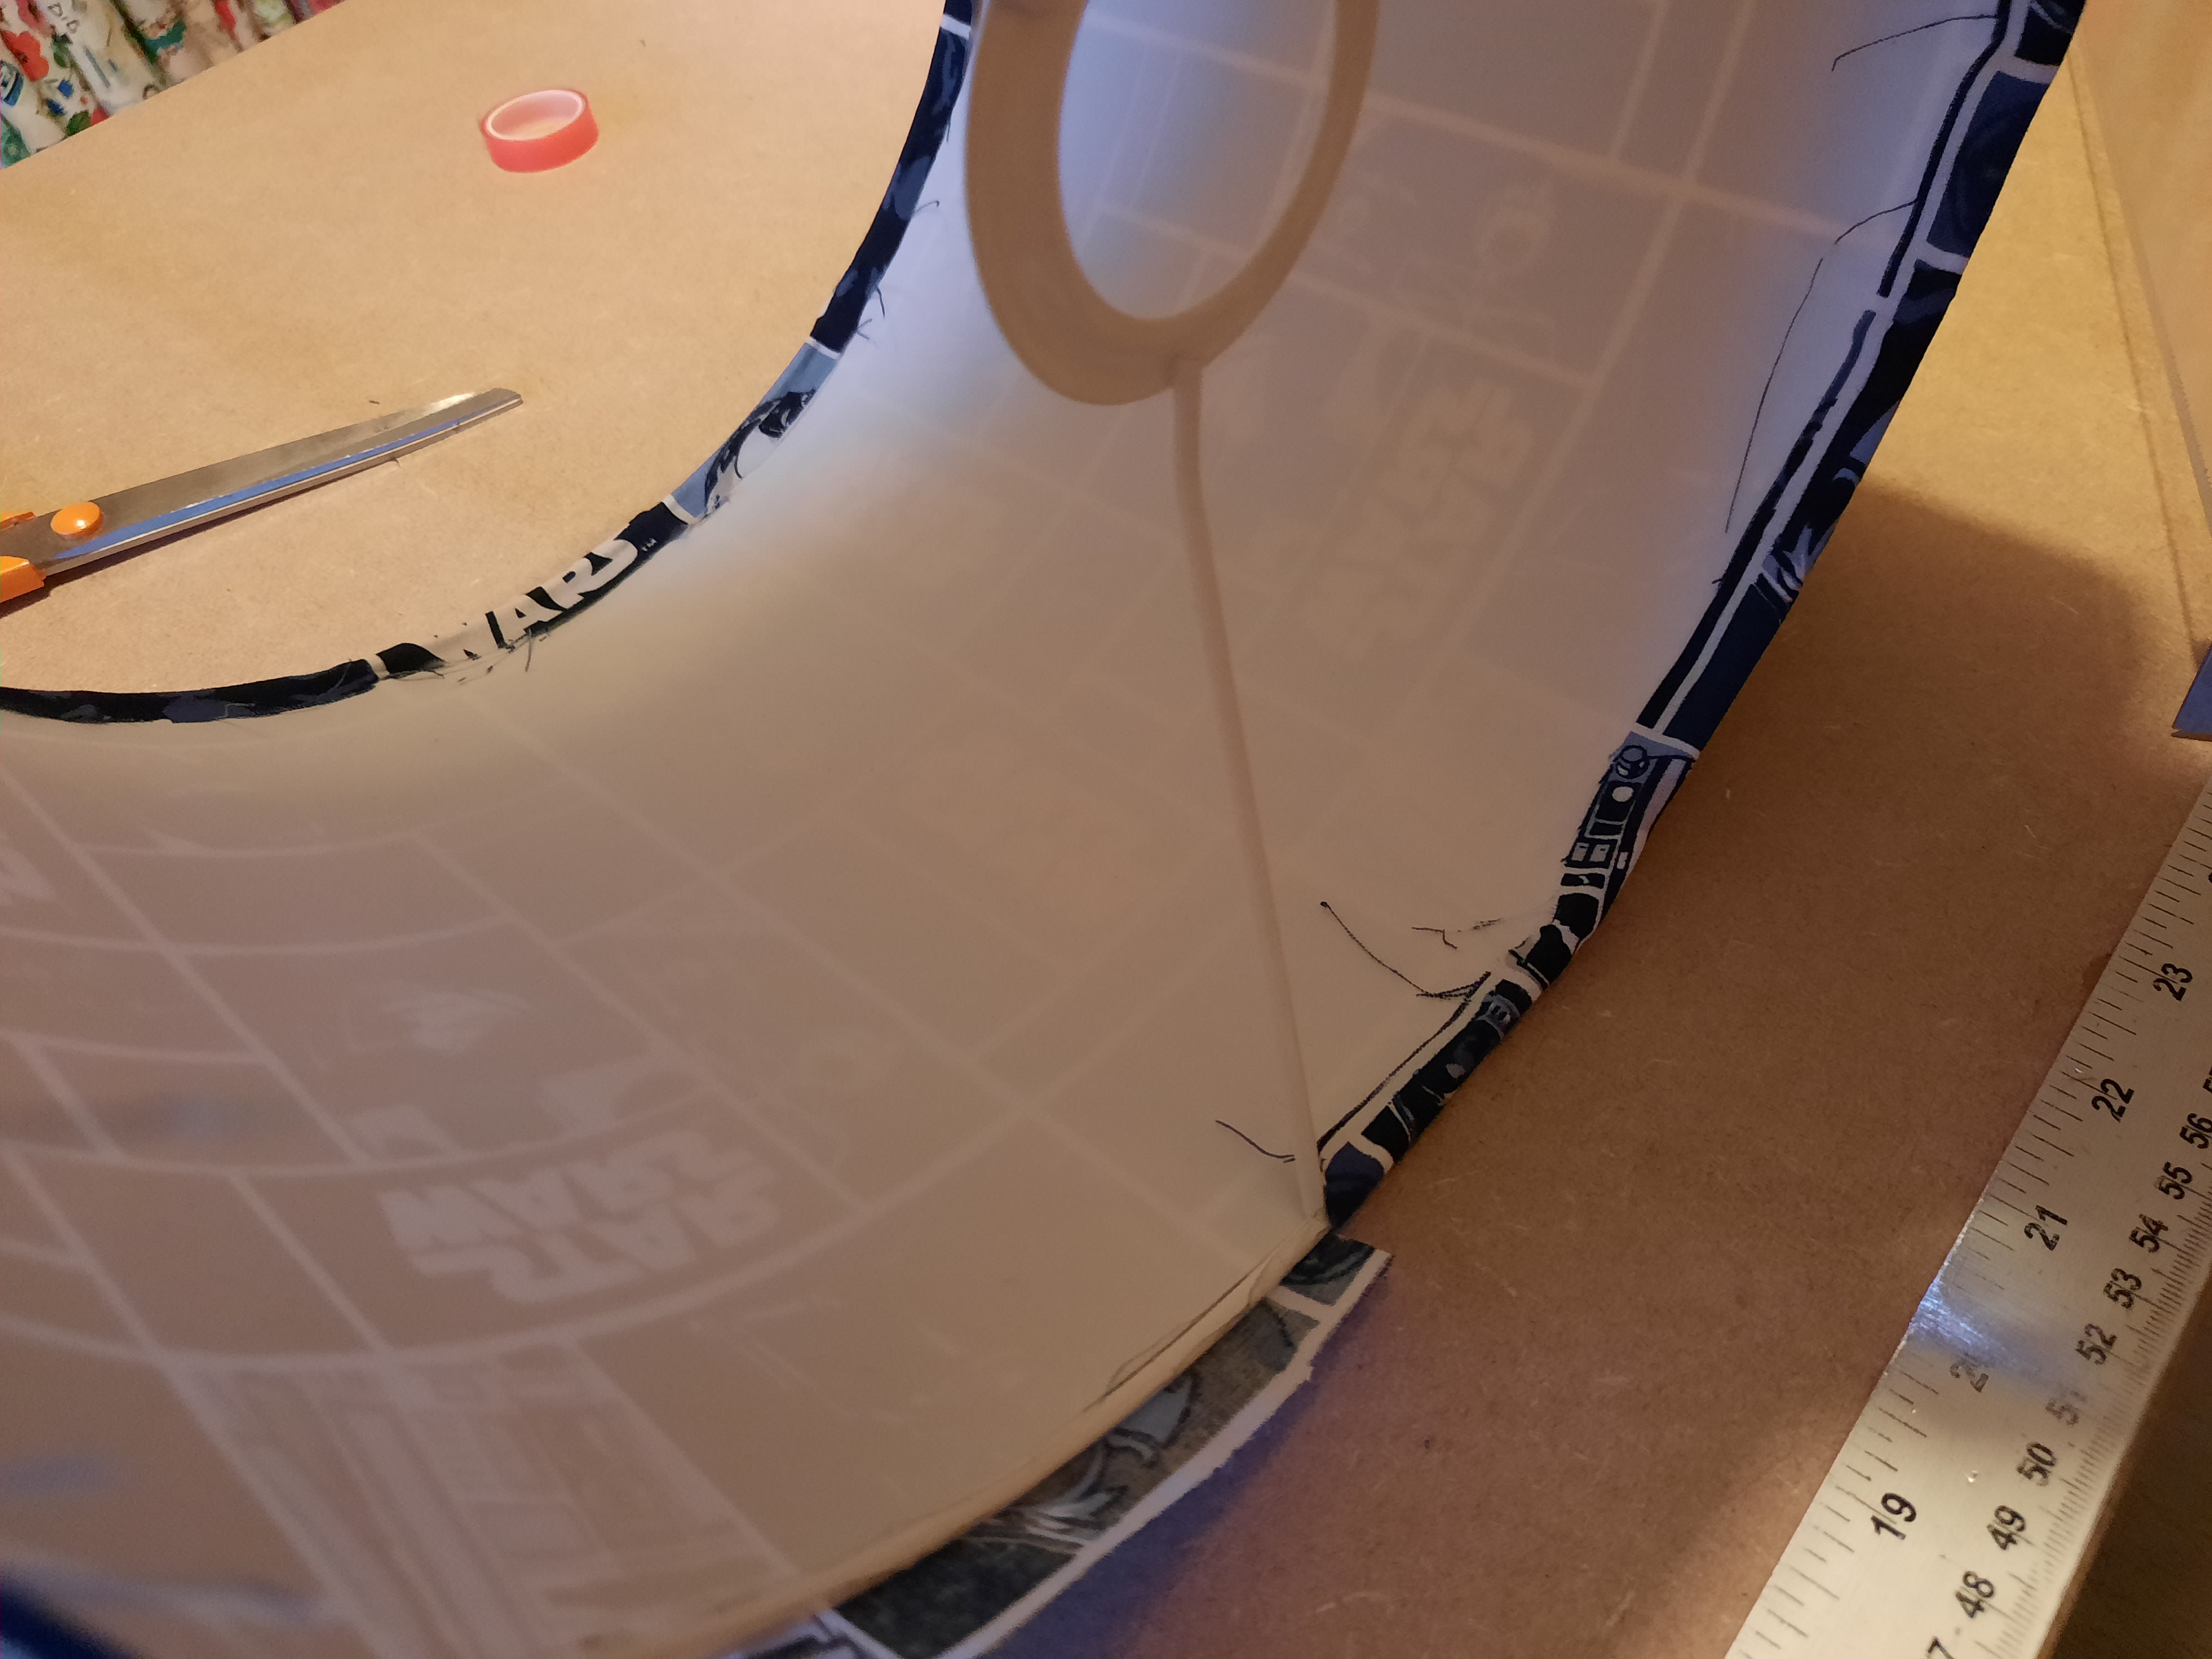
Use the tool provided to tuck in the fabric around and underneath the ring. You can be quite firm but be careful as you don't want to rip the fabric. It takes a bit of patience (I did most of this bit!) but does make the shade look really nice if you do it properly. Trim off odd threads.
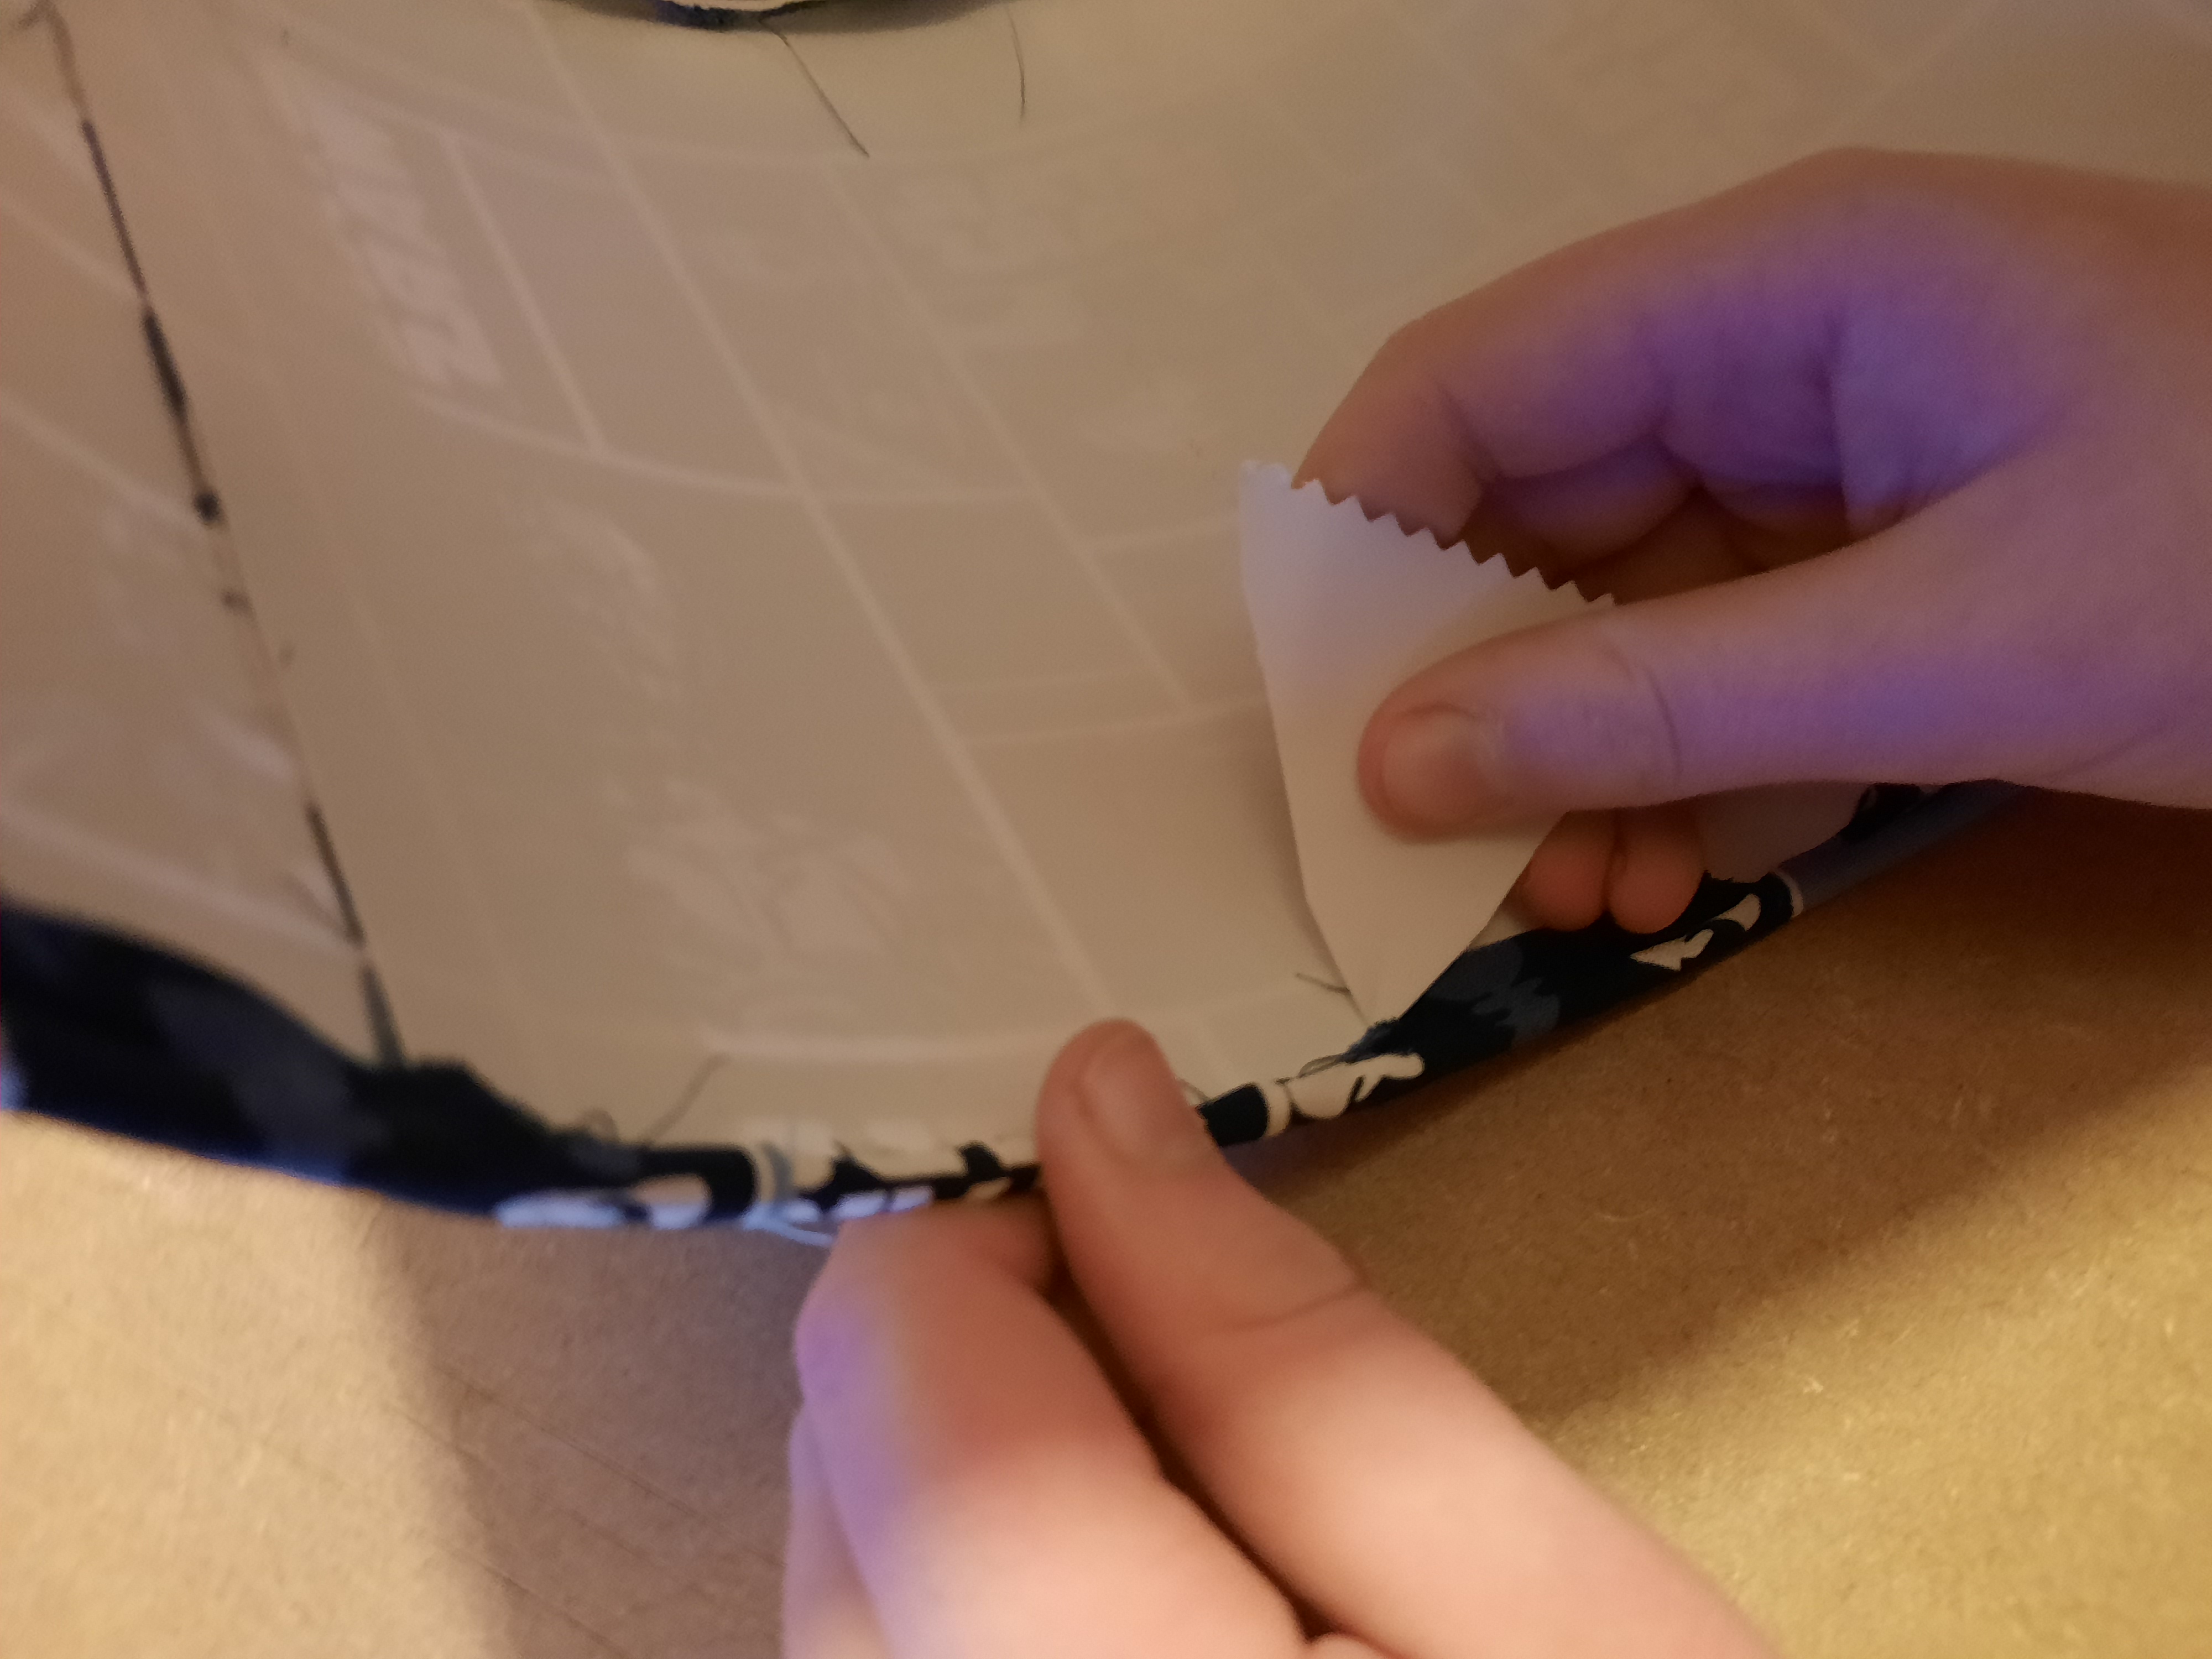
Repeat for the top and the bottom of the shade
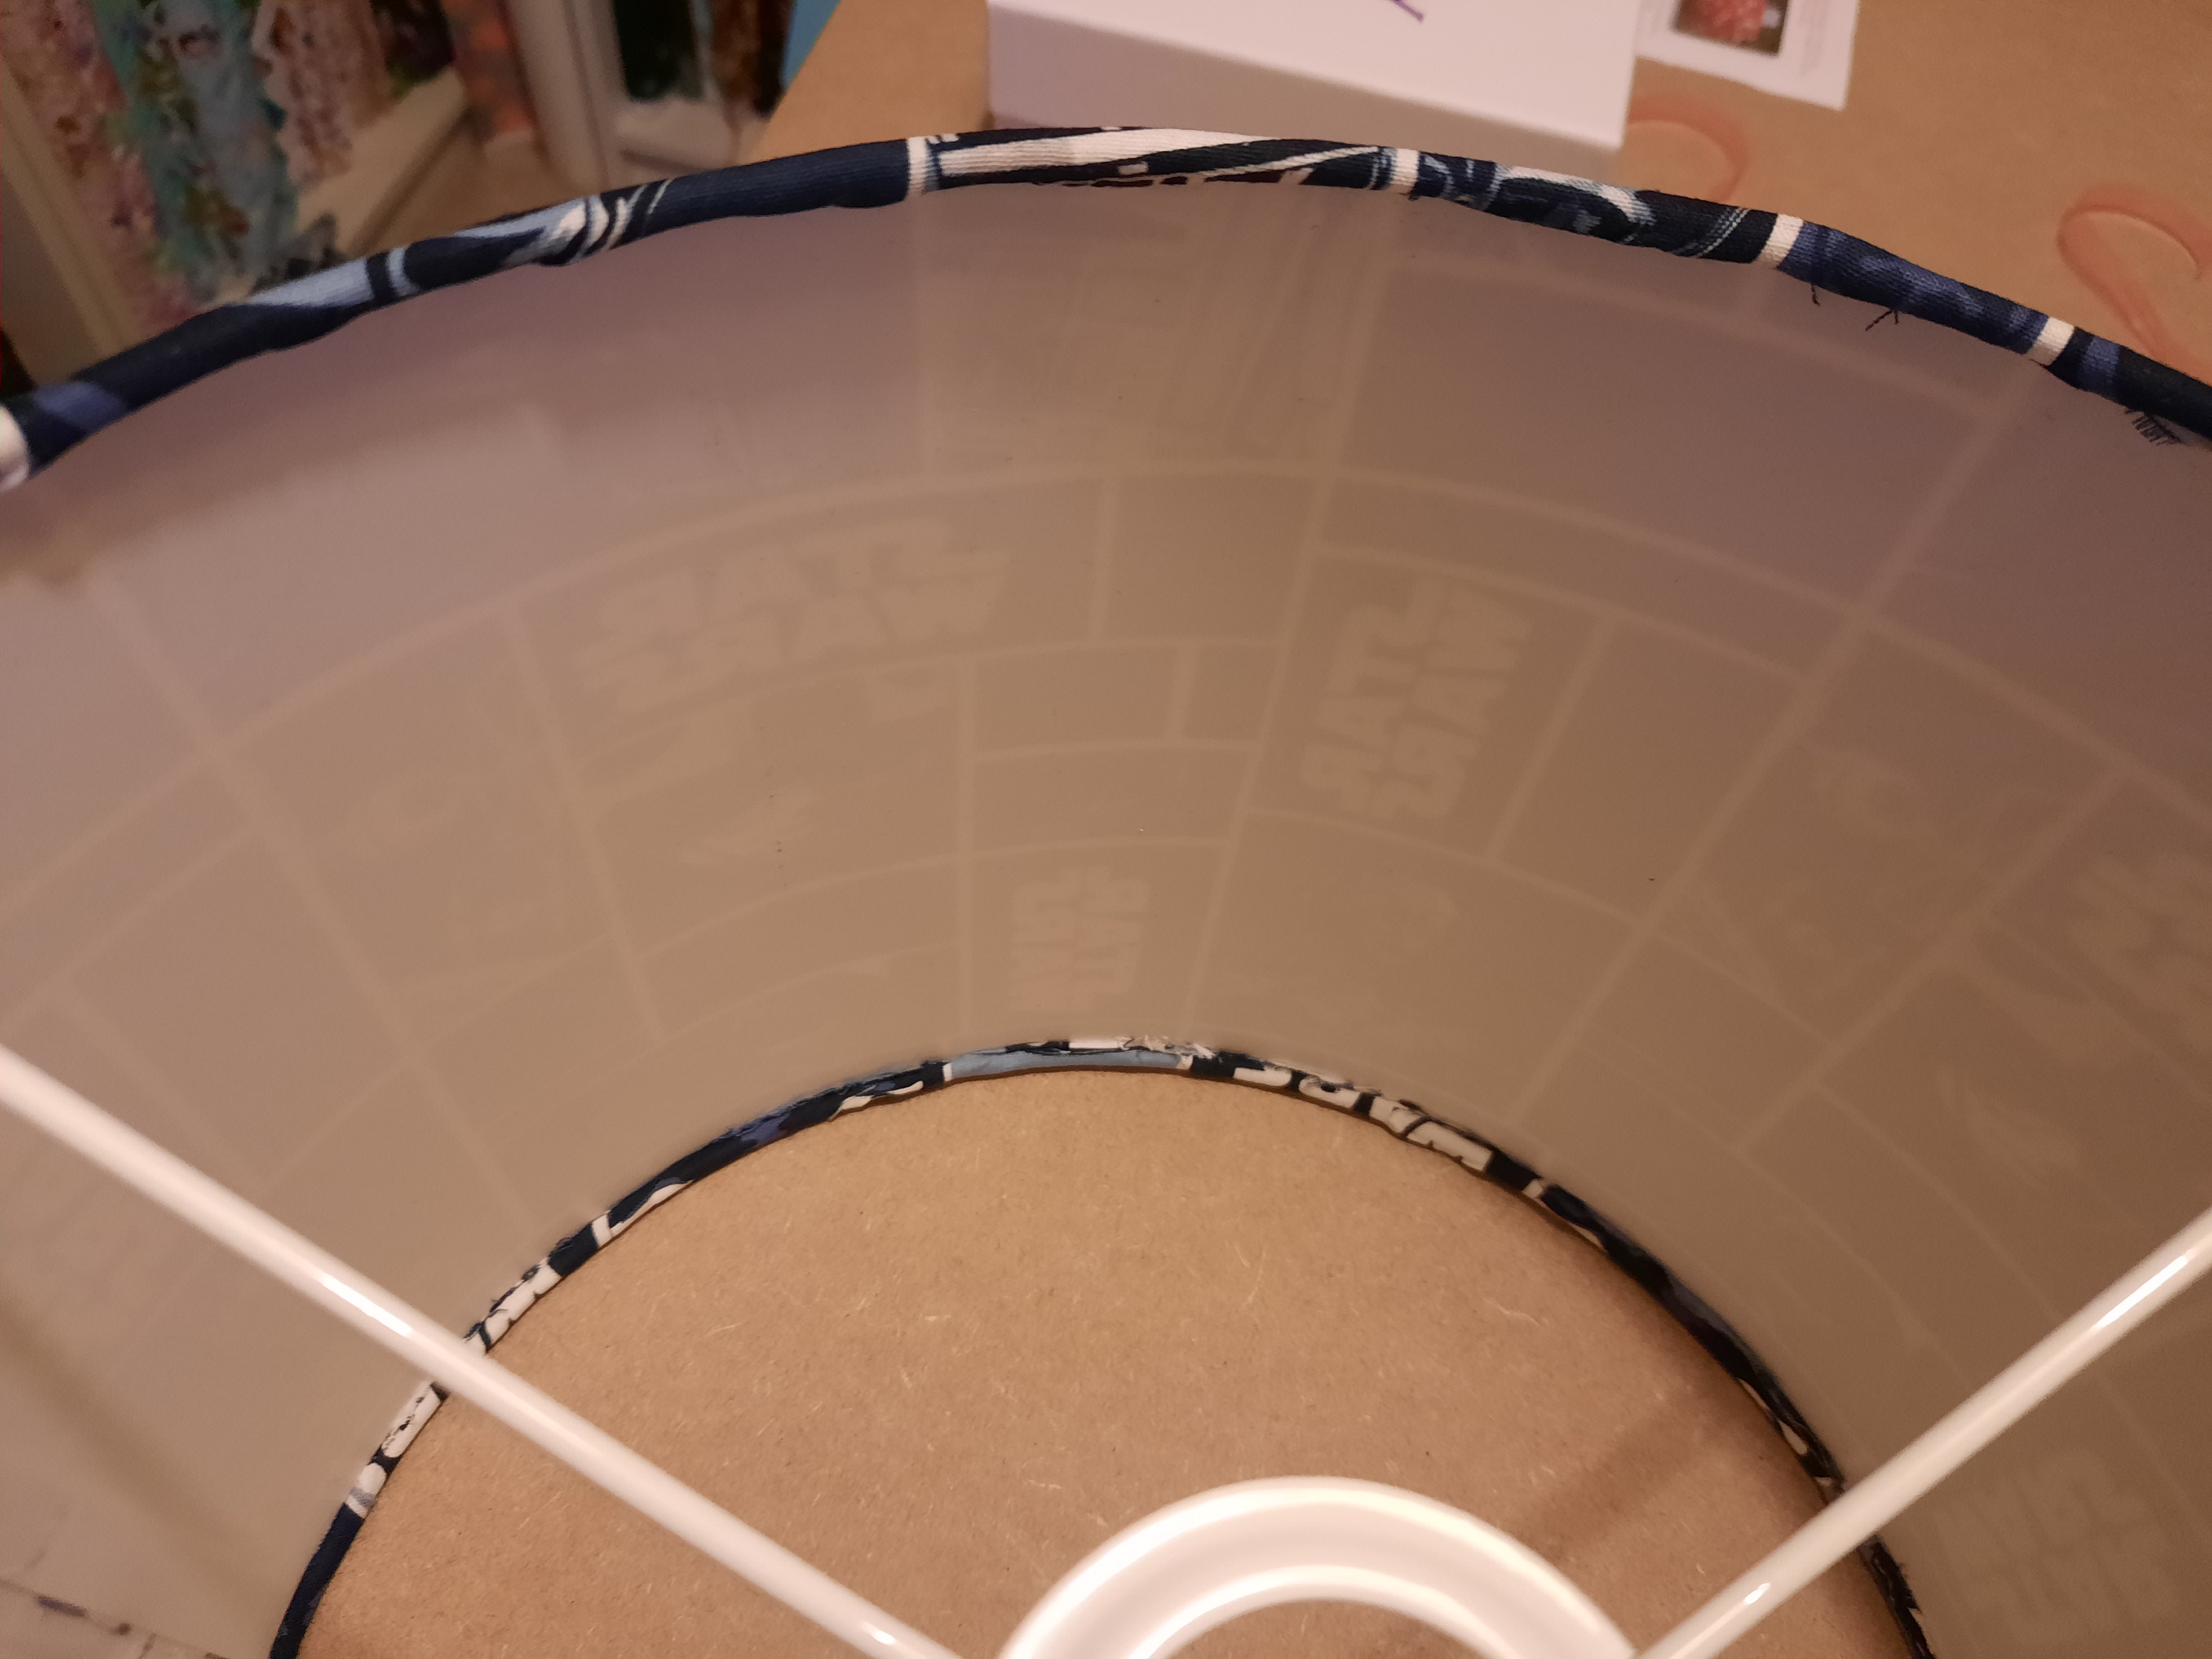
The finished Star Wars shade. Well done Sam!
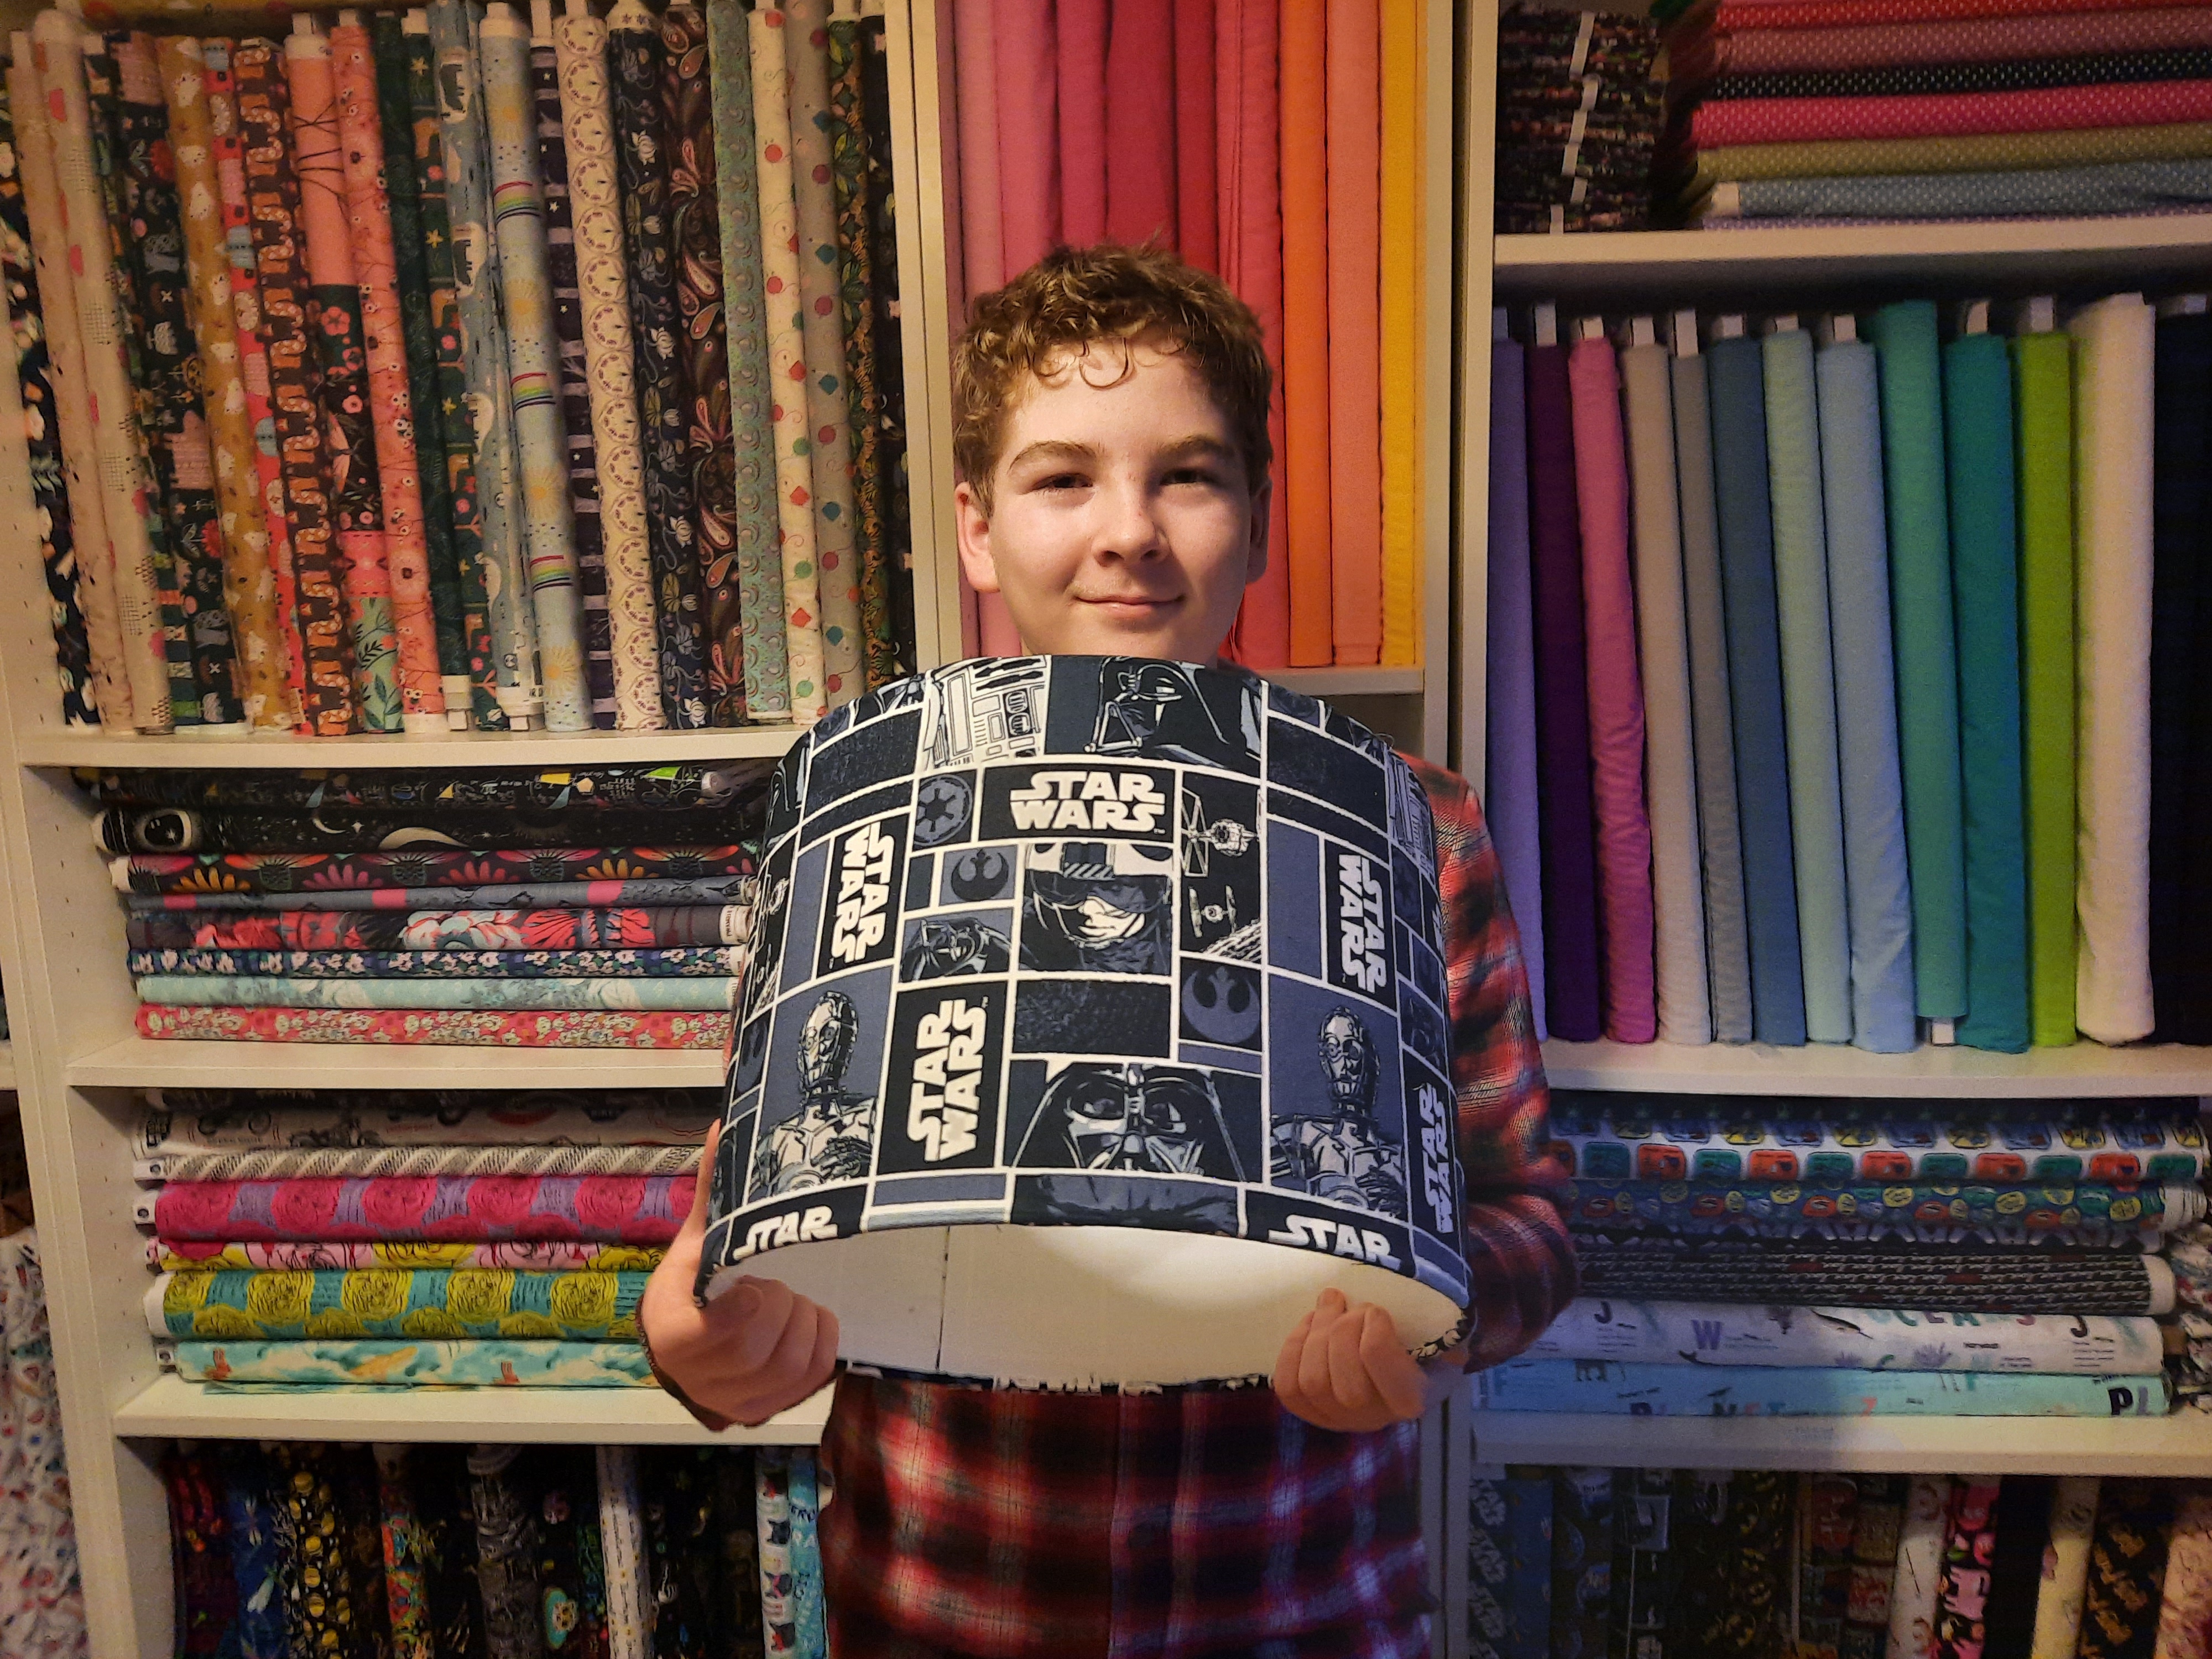
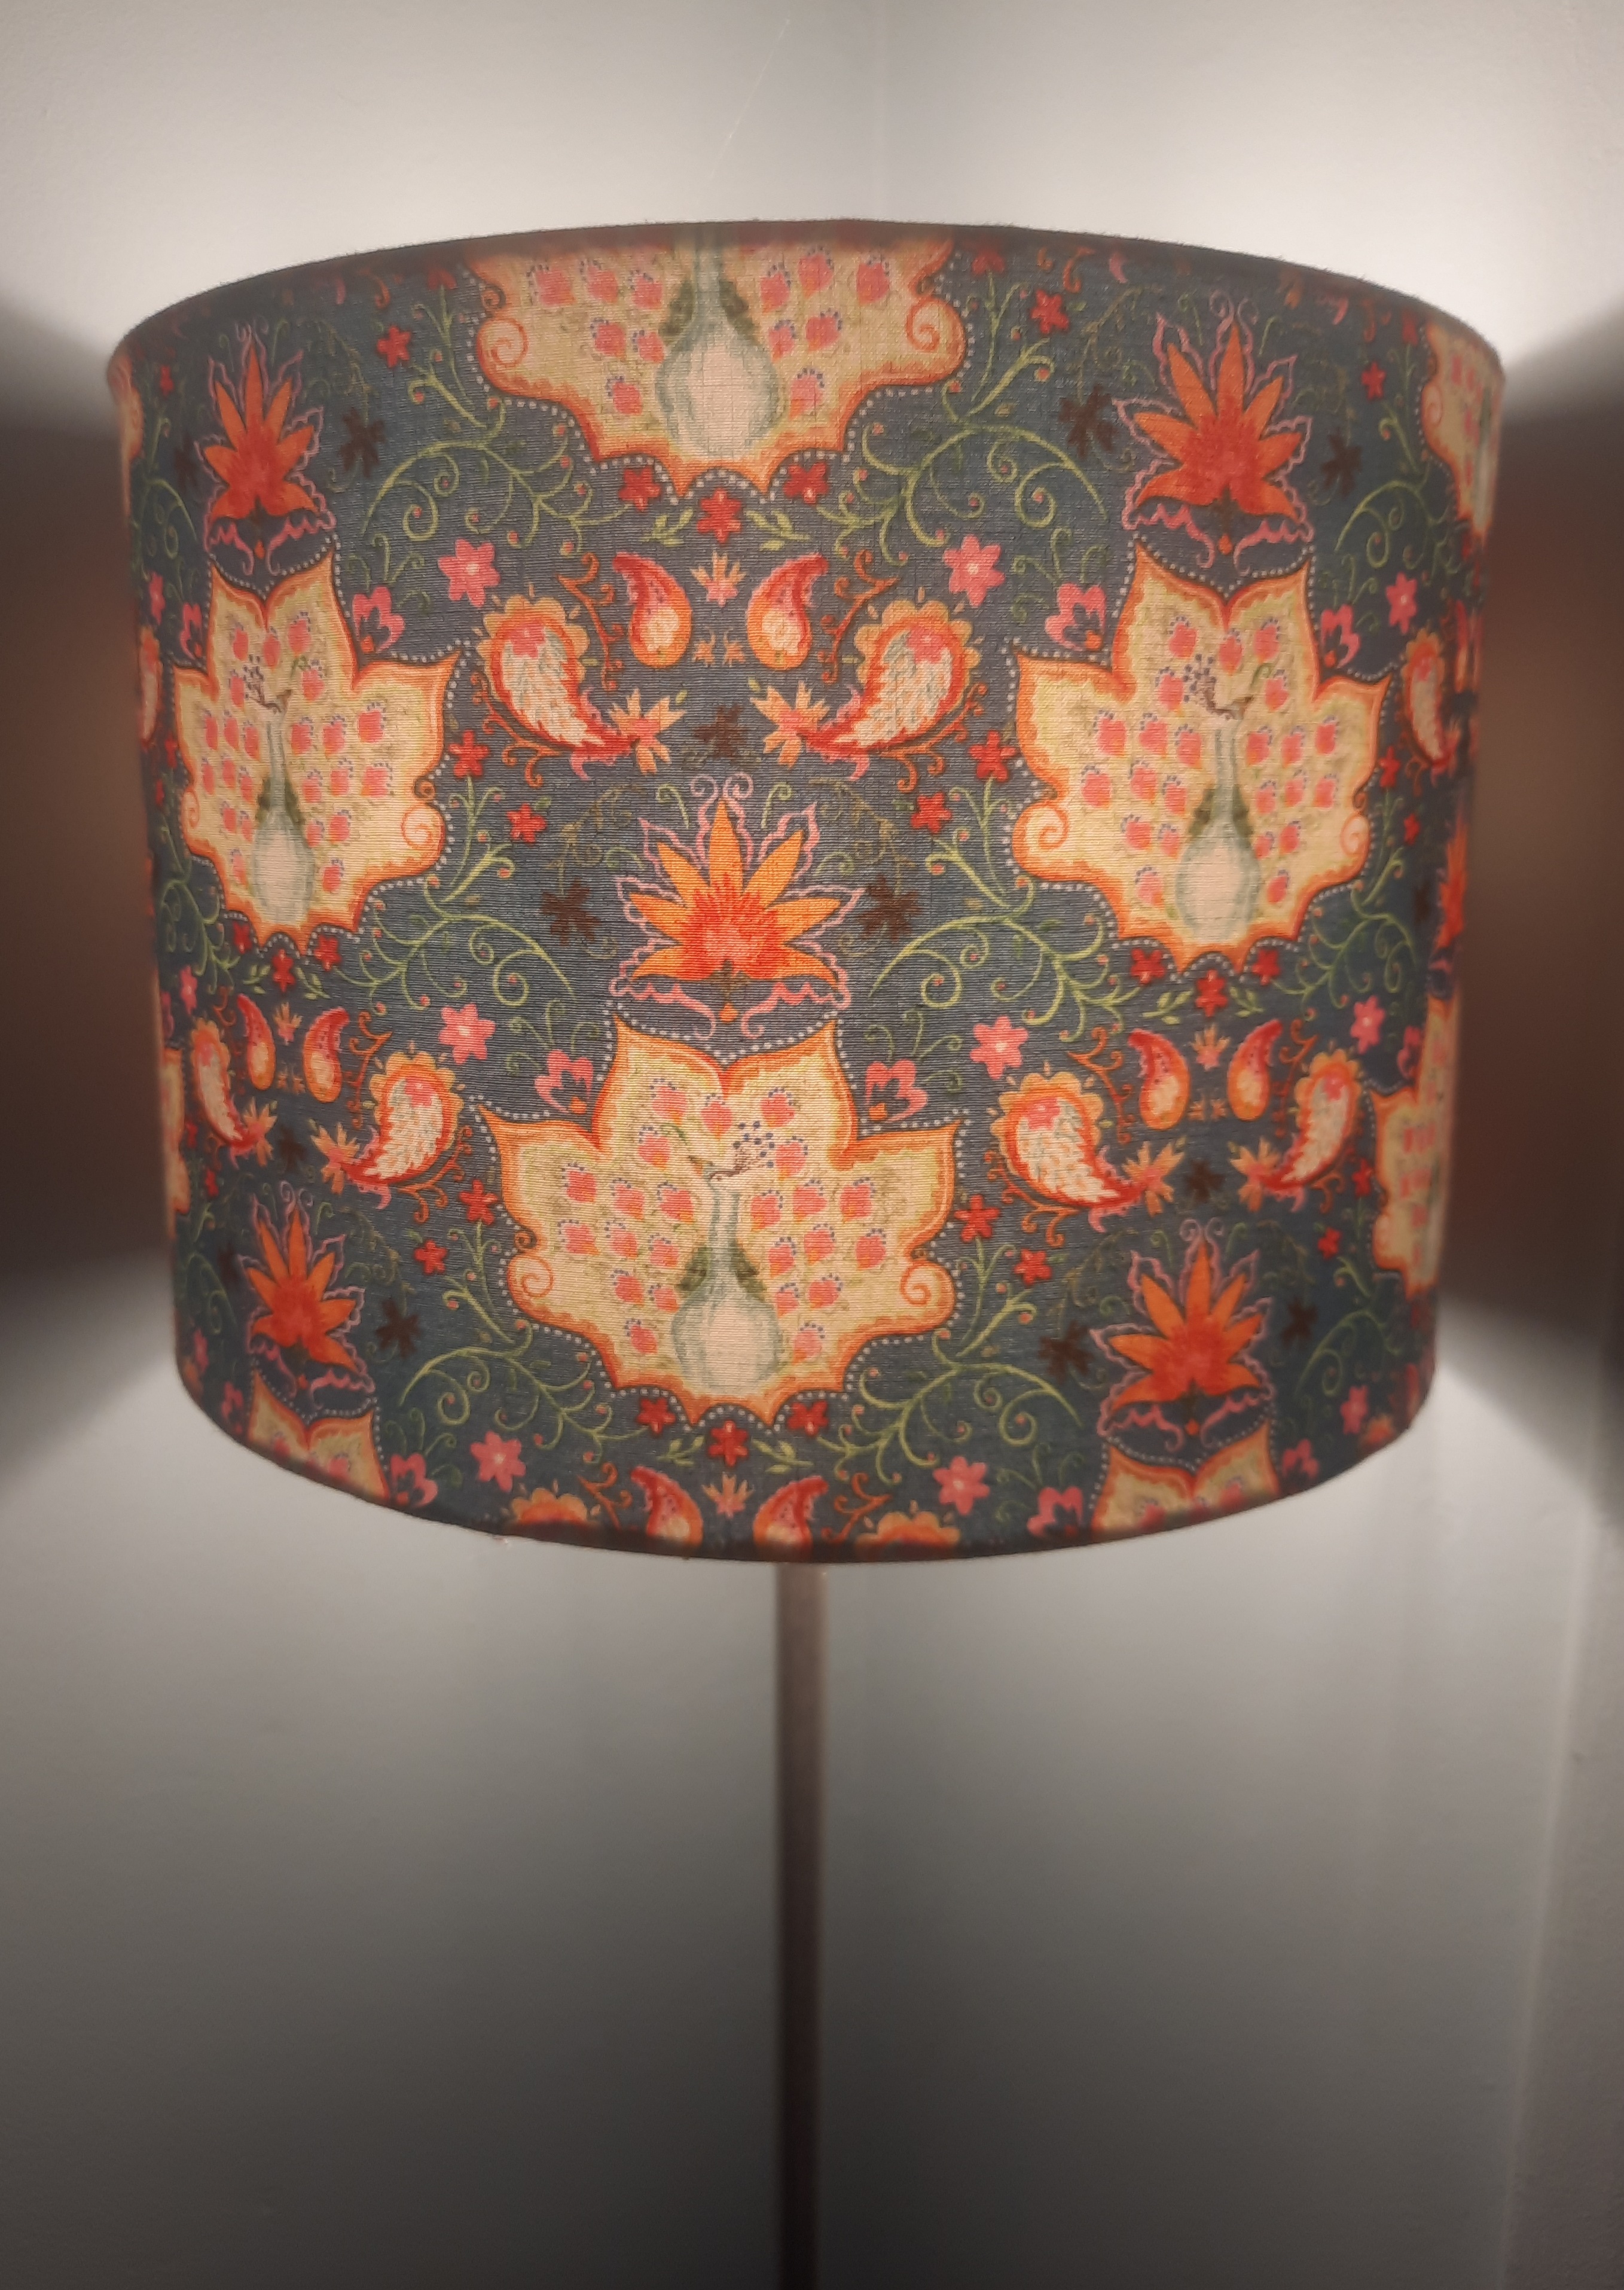
A shade for a standard lamp that I made using some old Blend fabric.
Happy lampshade making. Its a perfect lockdown project!
Check out our little You Tube video too!

