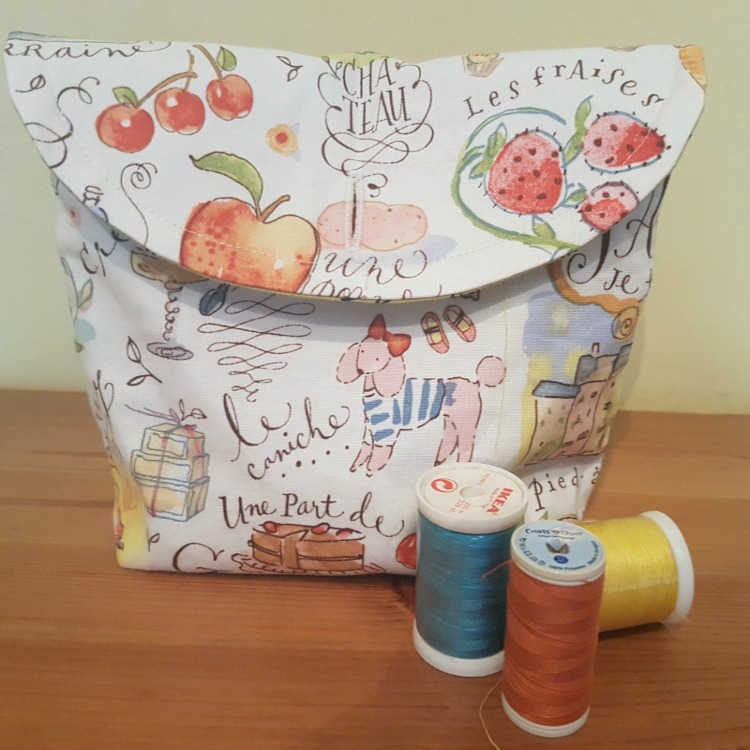
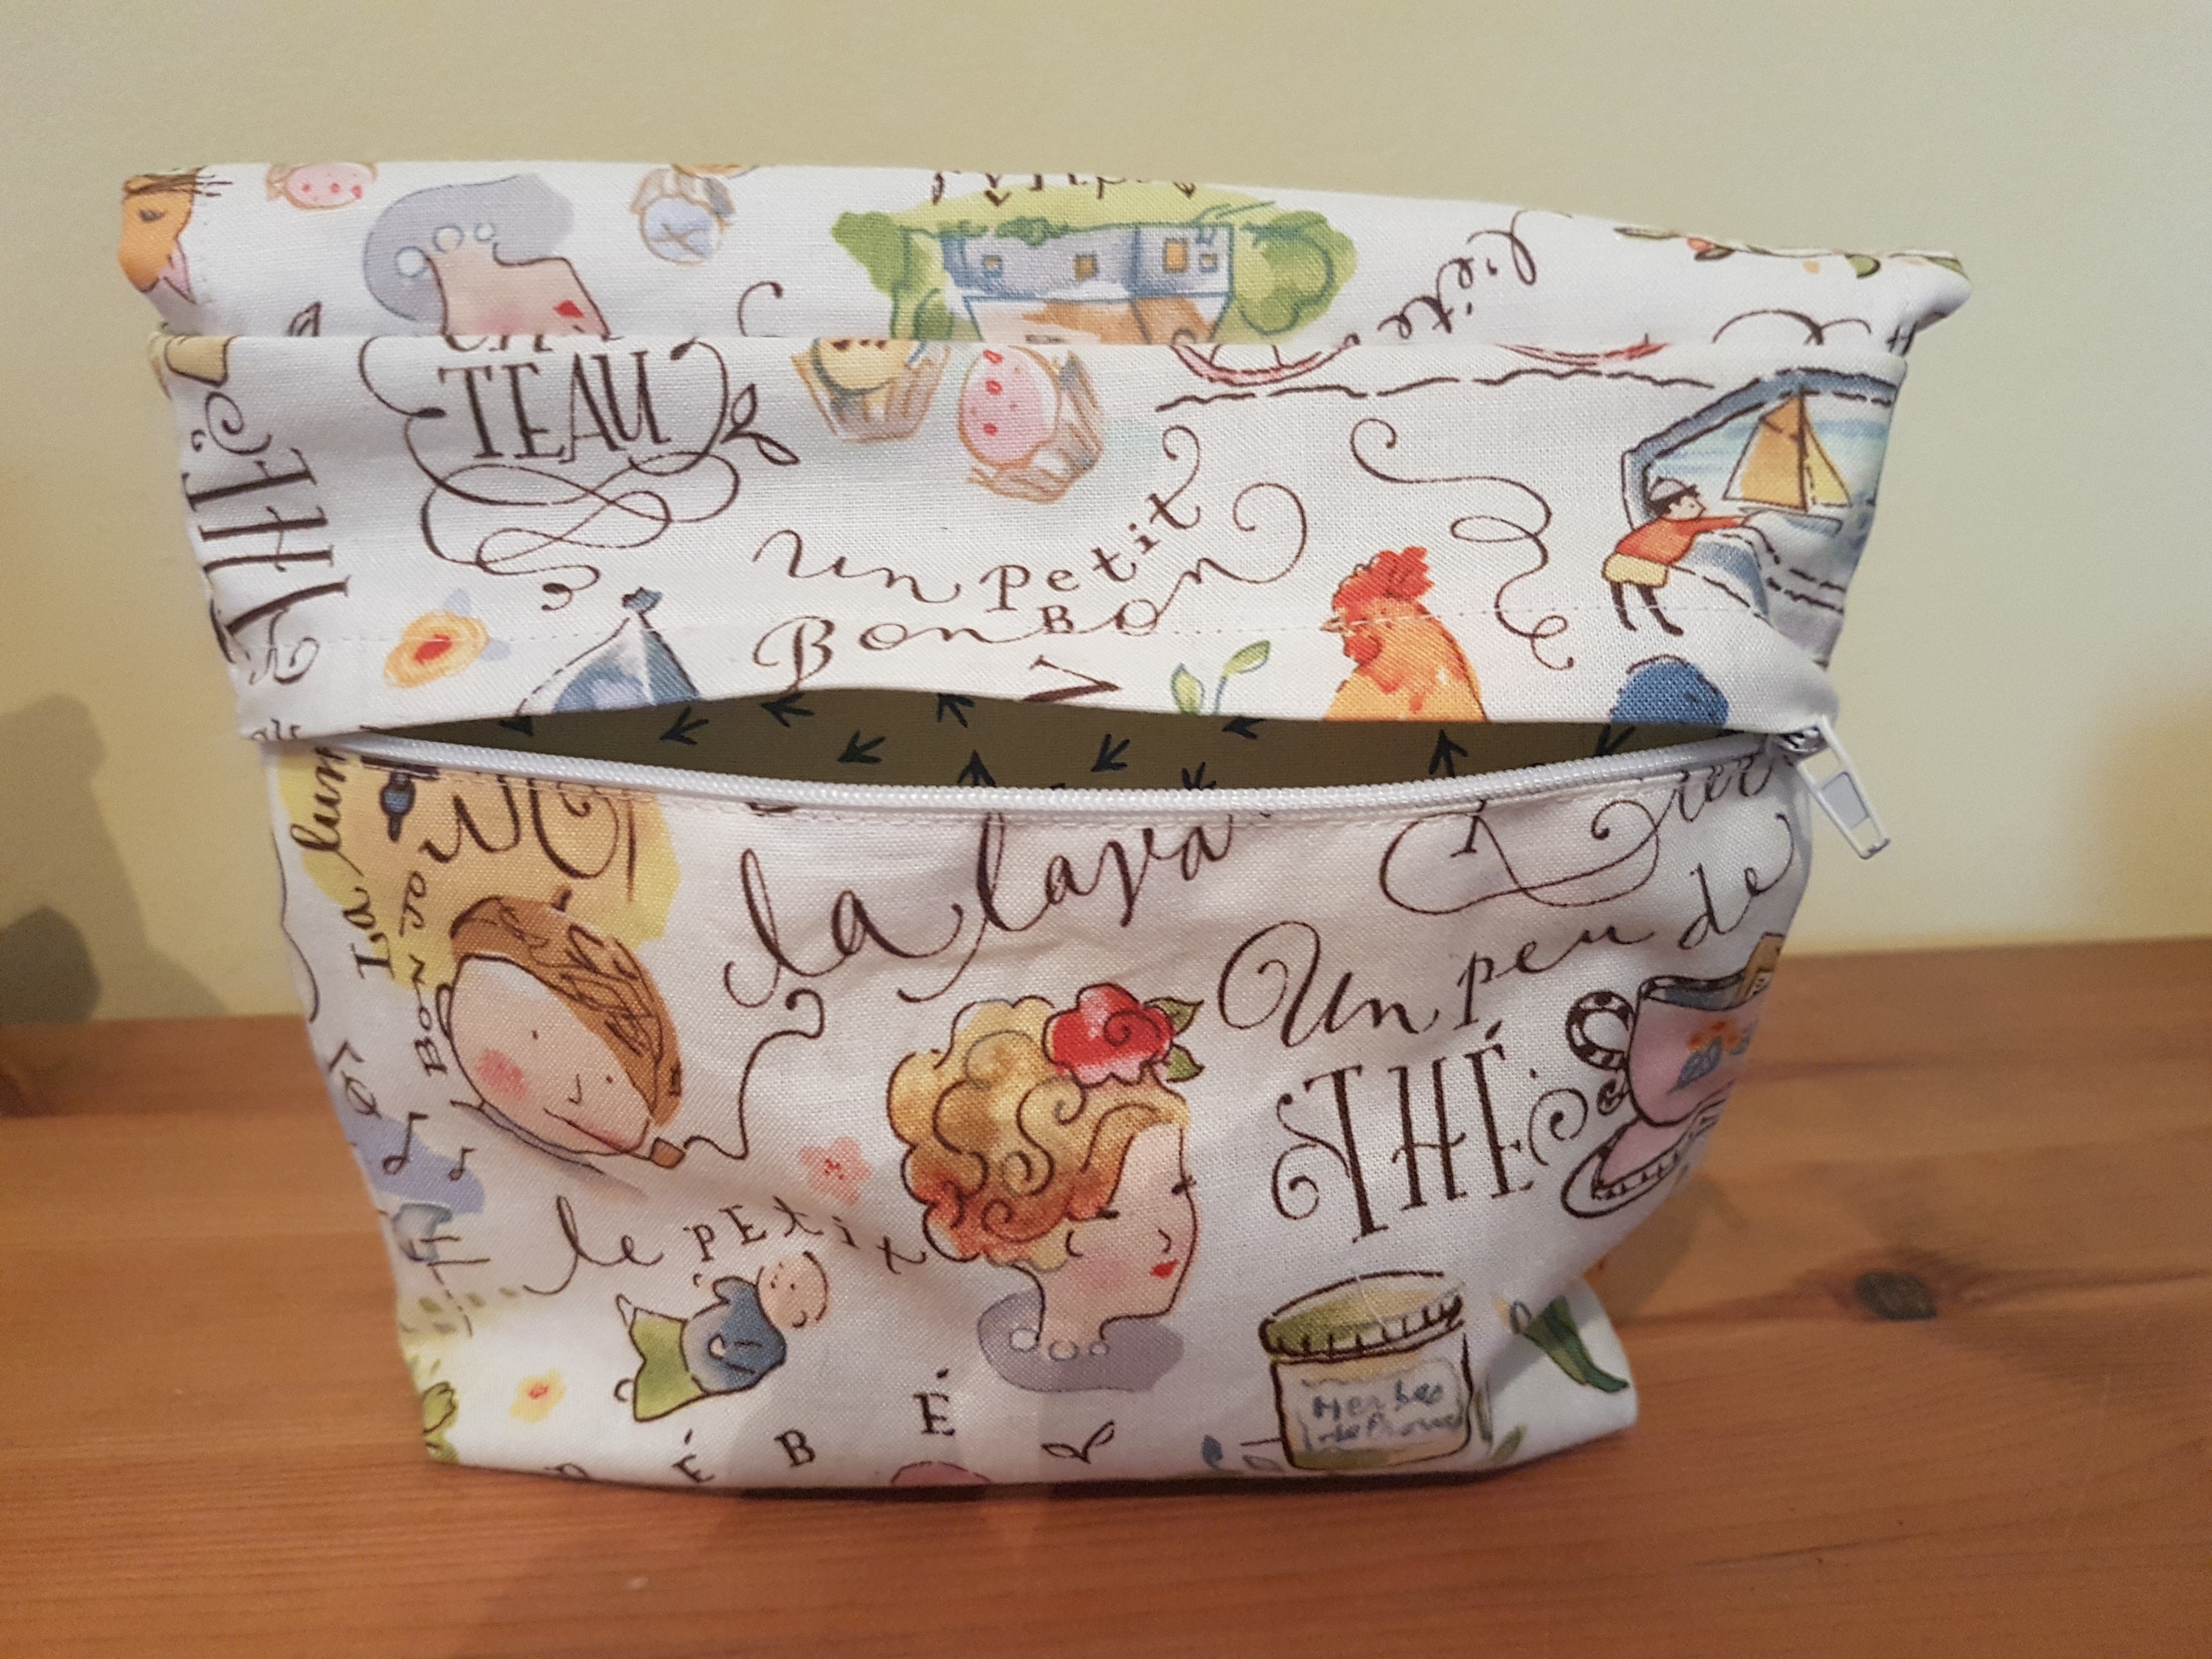
All the instructions you need to make a gorgeous lined make up bag with a zipped back pocket.
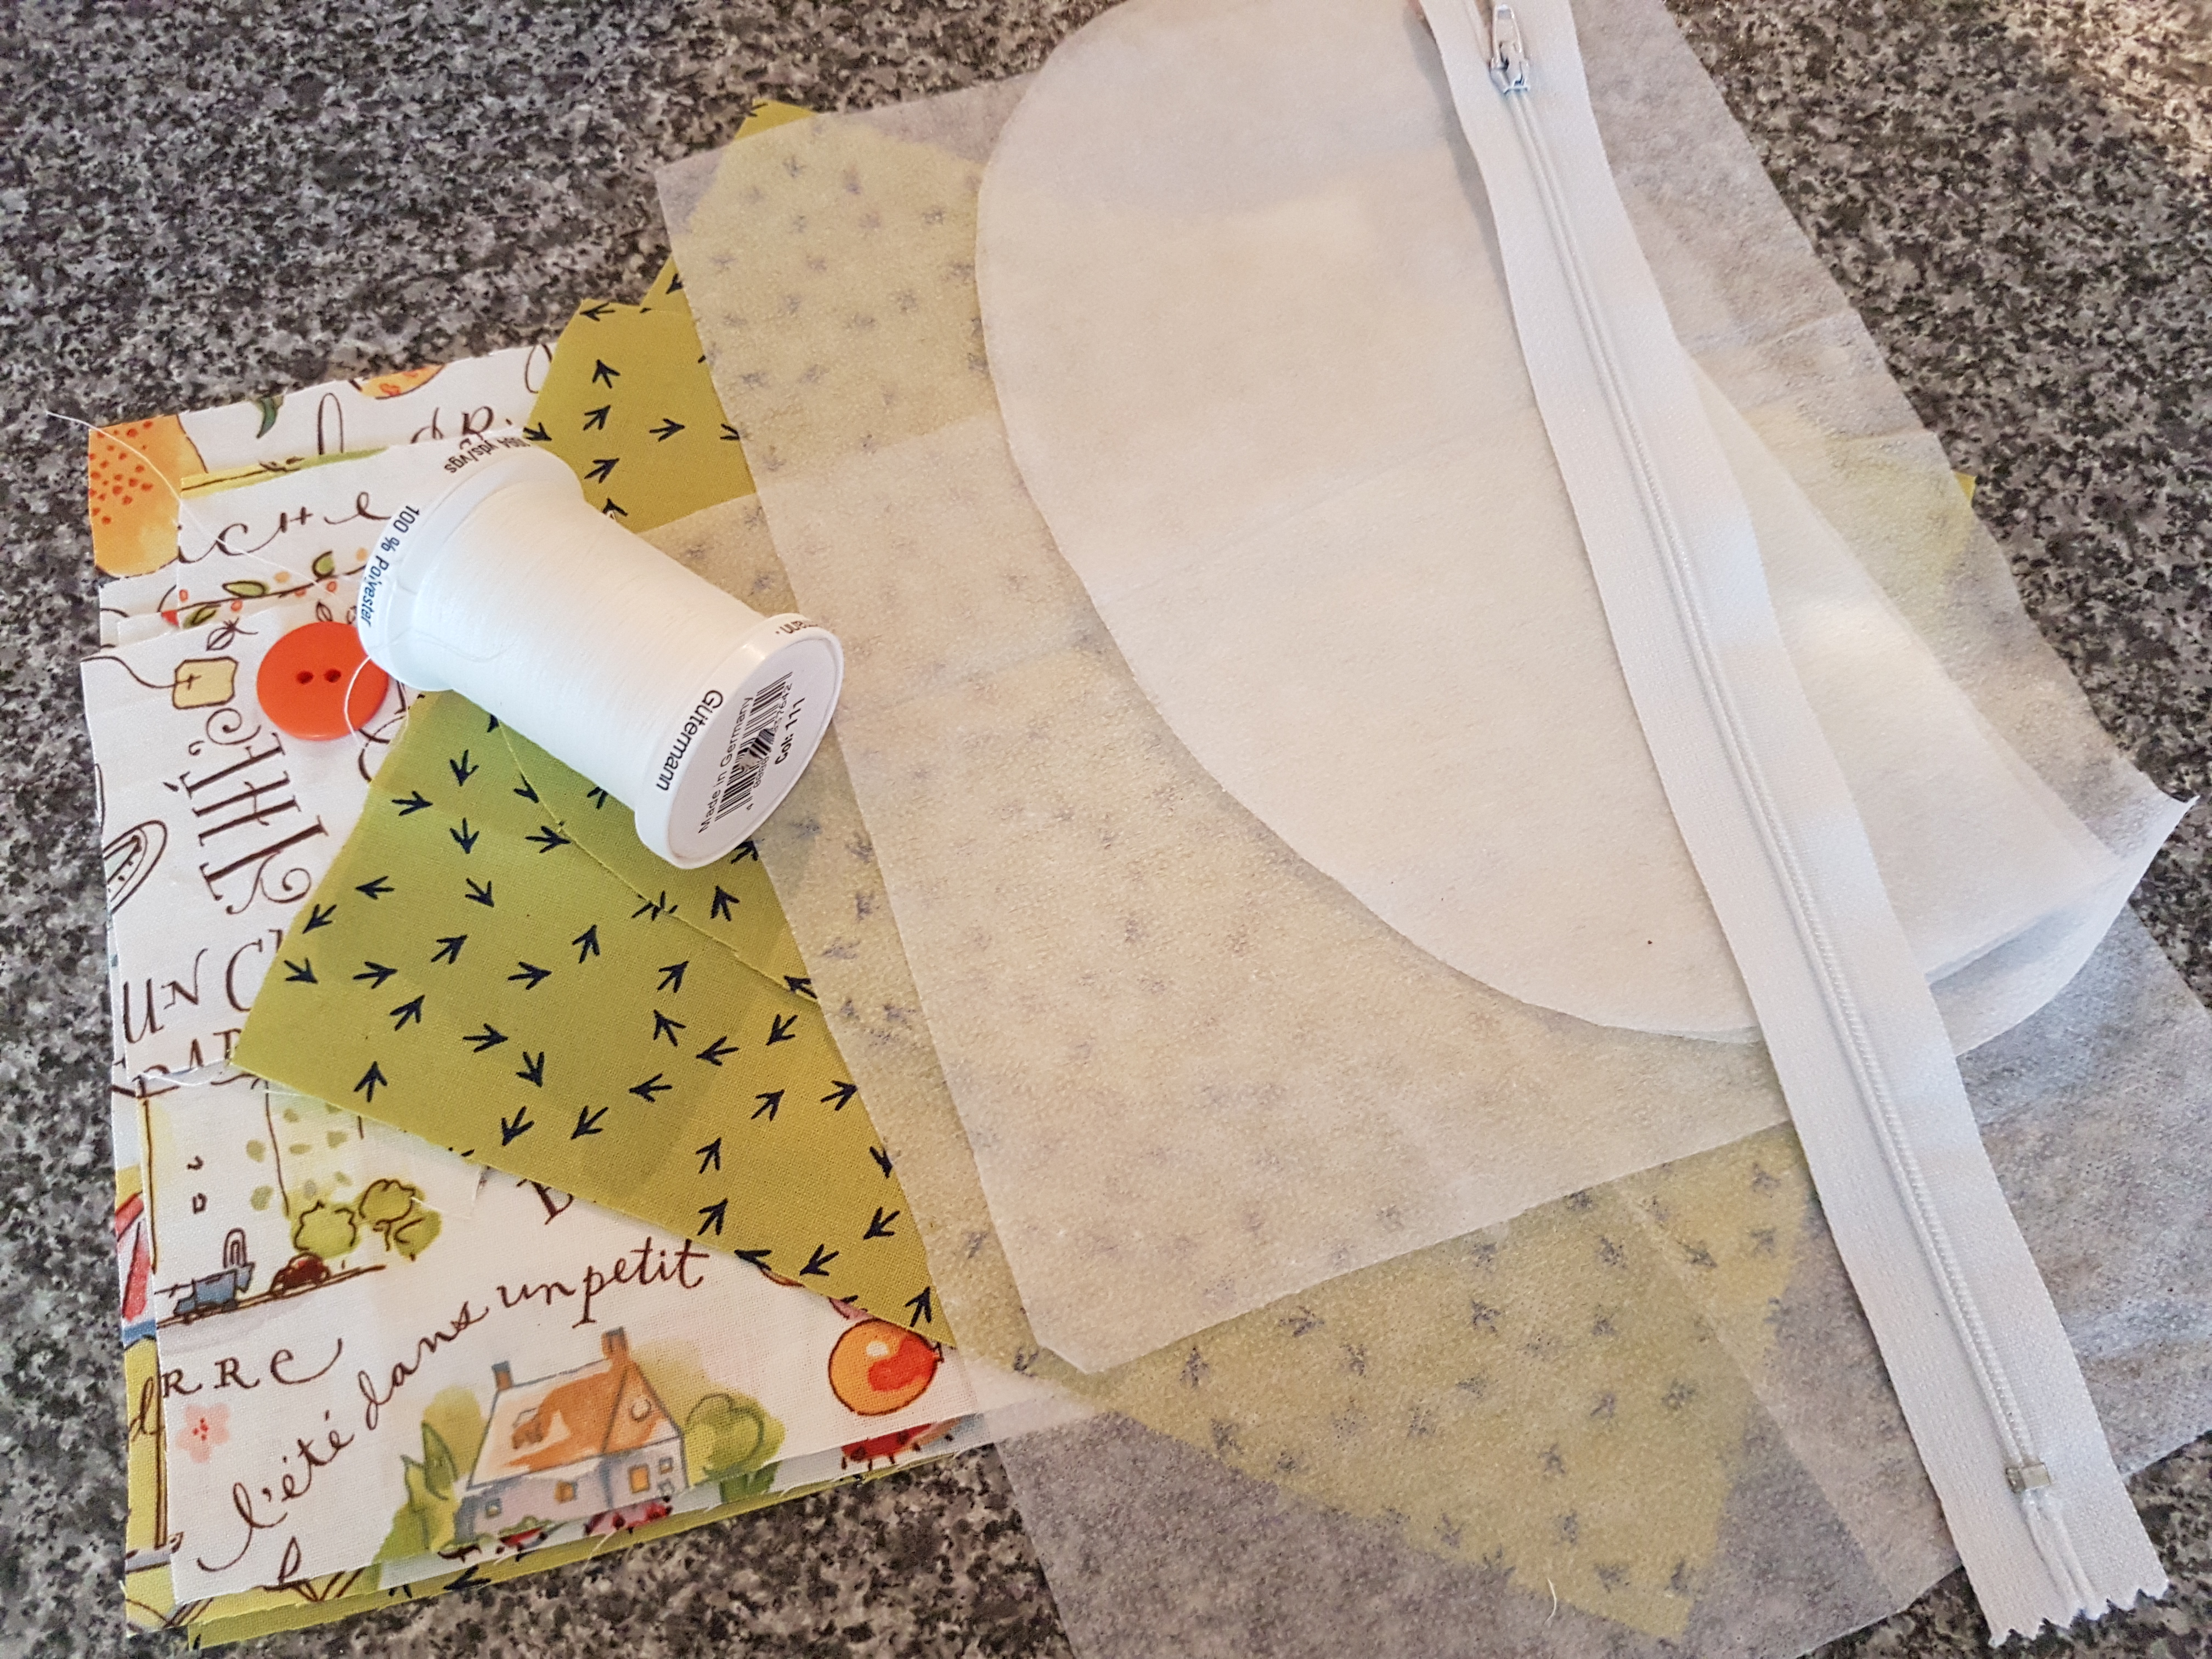
You will need:
2 Fat Quarters Cotton Fabric
1 Fat Quarter Lightweight Fusible Interfacing
26cm Zip
Matching Thread
Button
Tips:
You can download the pattern on the Sew Scrumptious website here
IMPORTANT - when printing out pattern, print out 'actual' size not 'fit' to size.
Use 1cm seam allowance throughout unless otherwise stated.
Instructions:
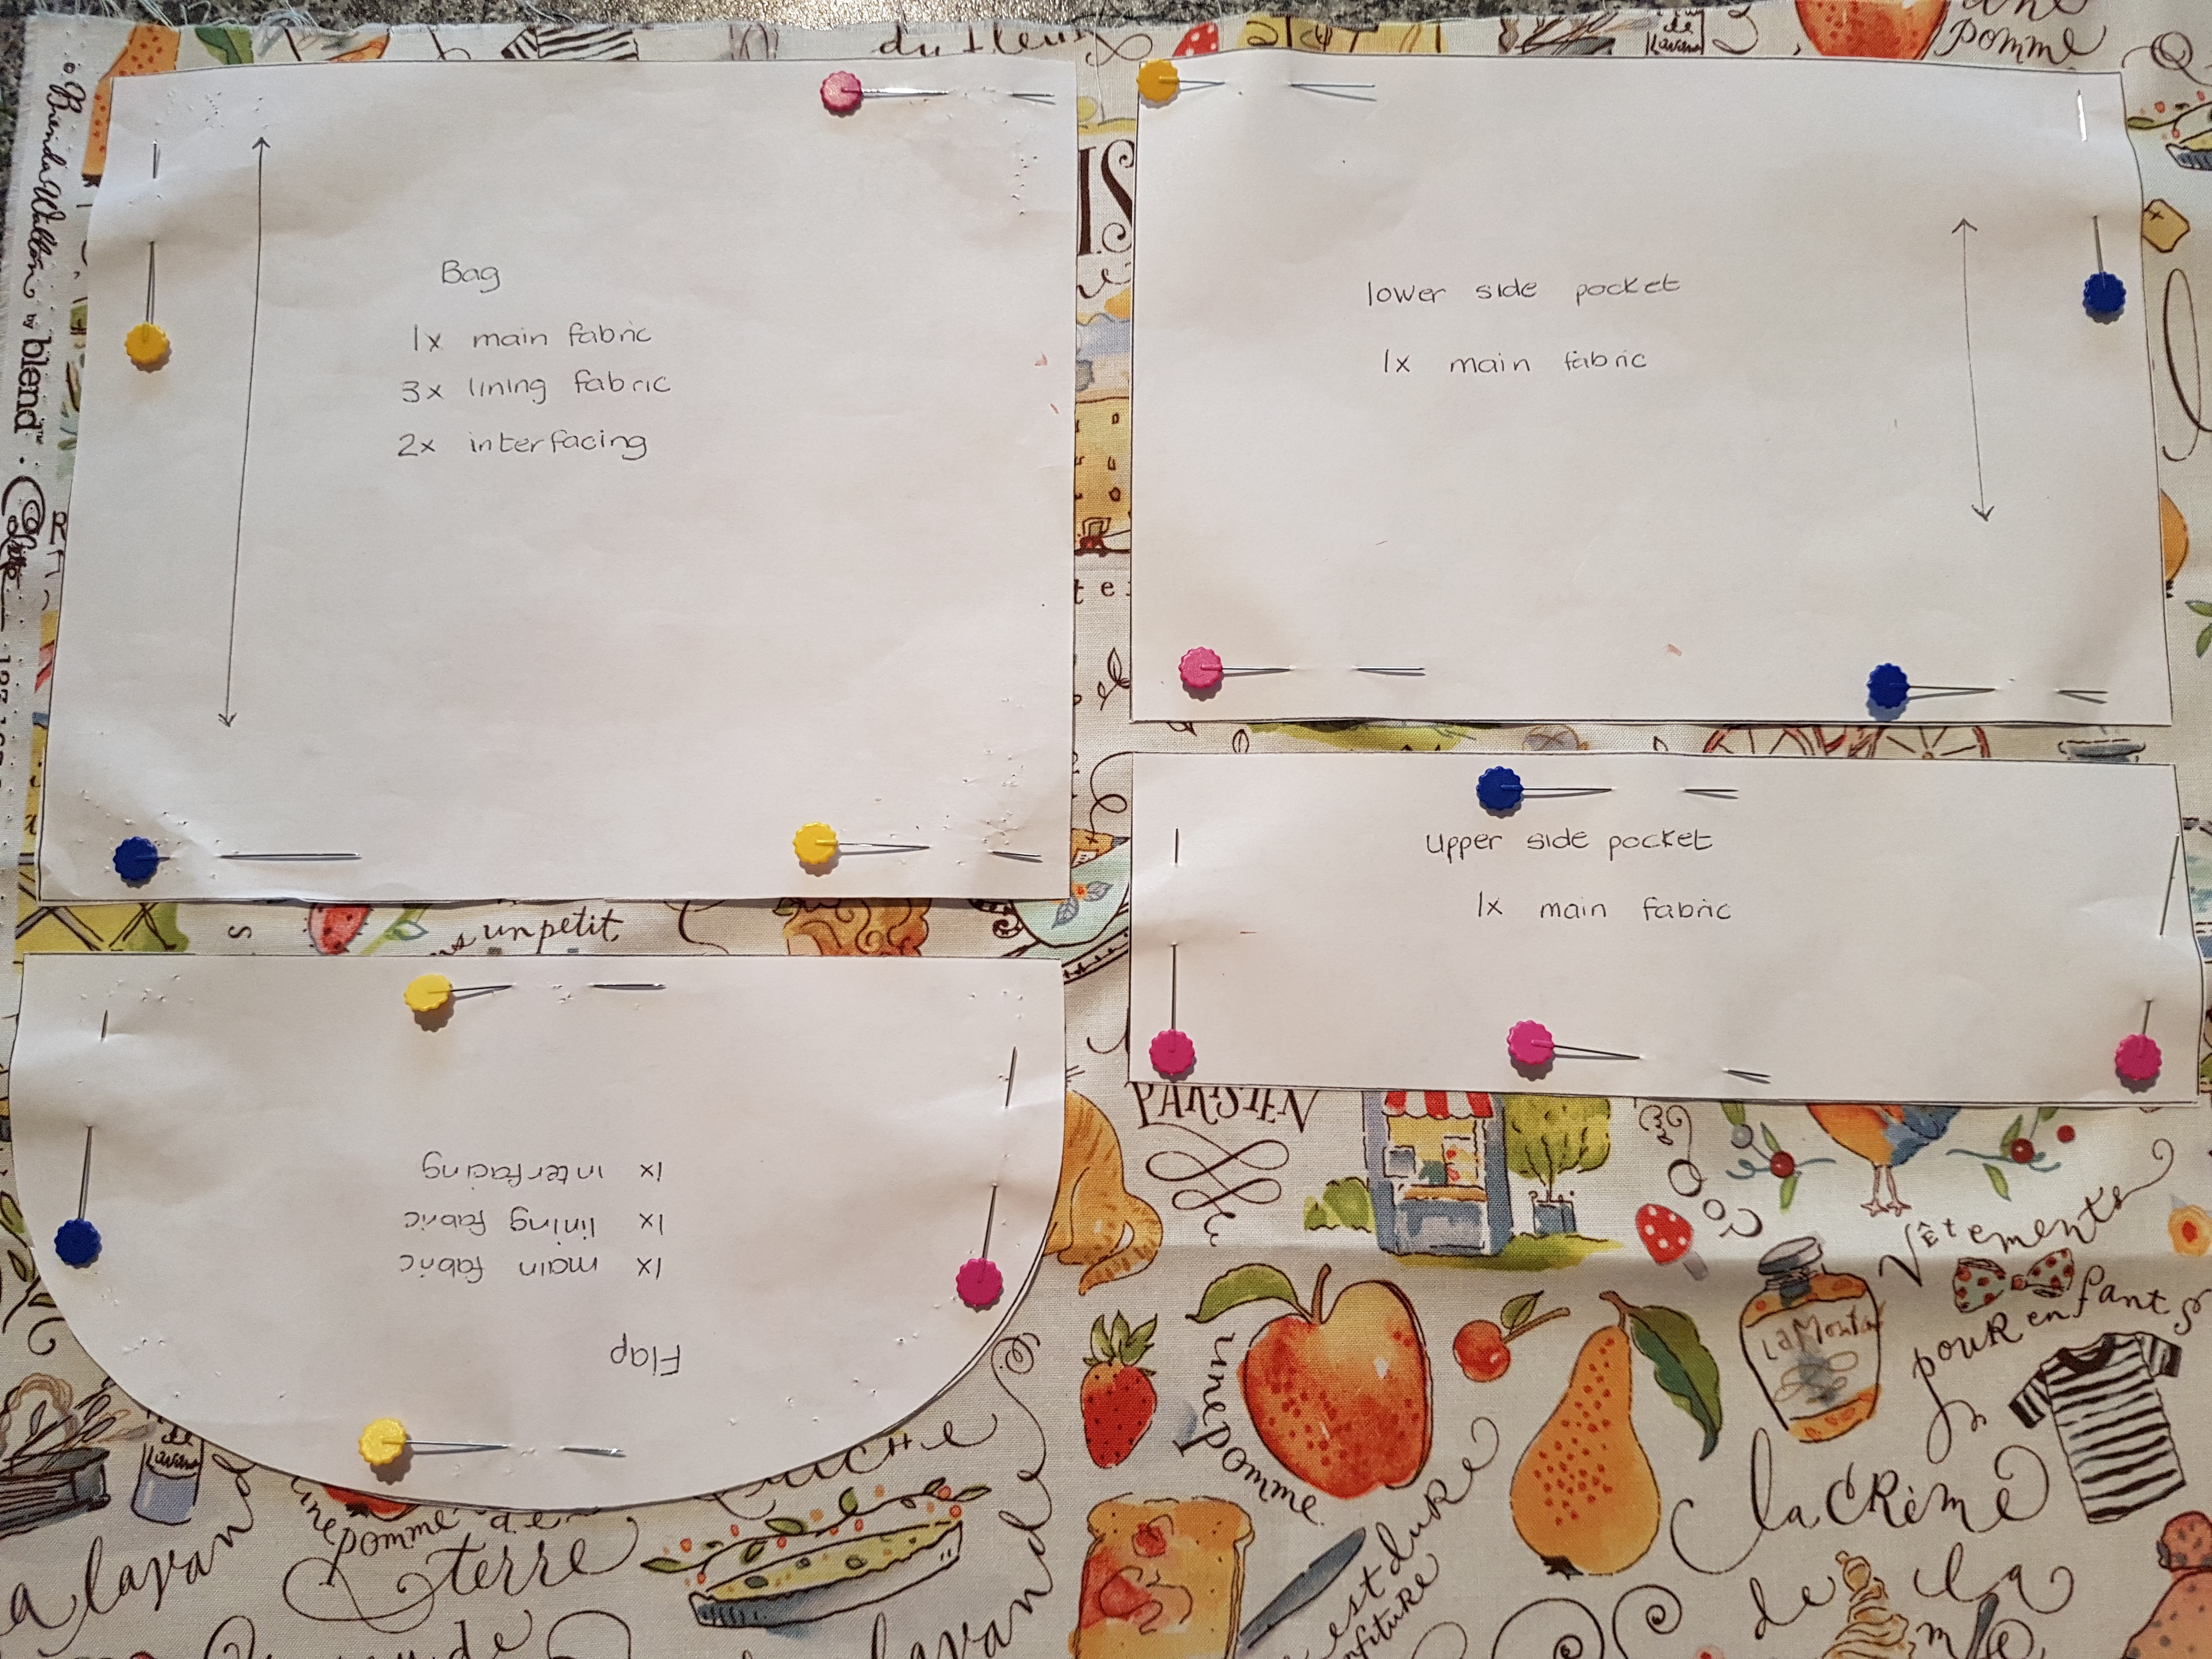
Cut out the fabric, lining and interfacing pieces as indicated on the pattern pieces.
Interfacing:
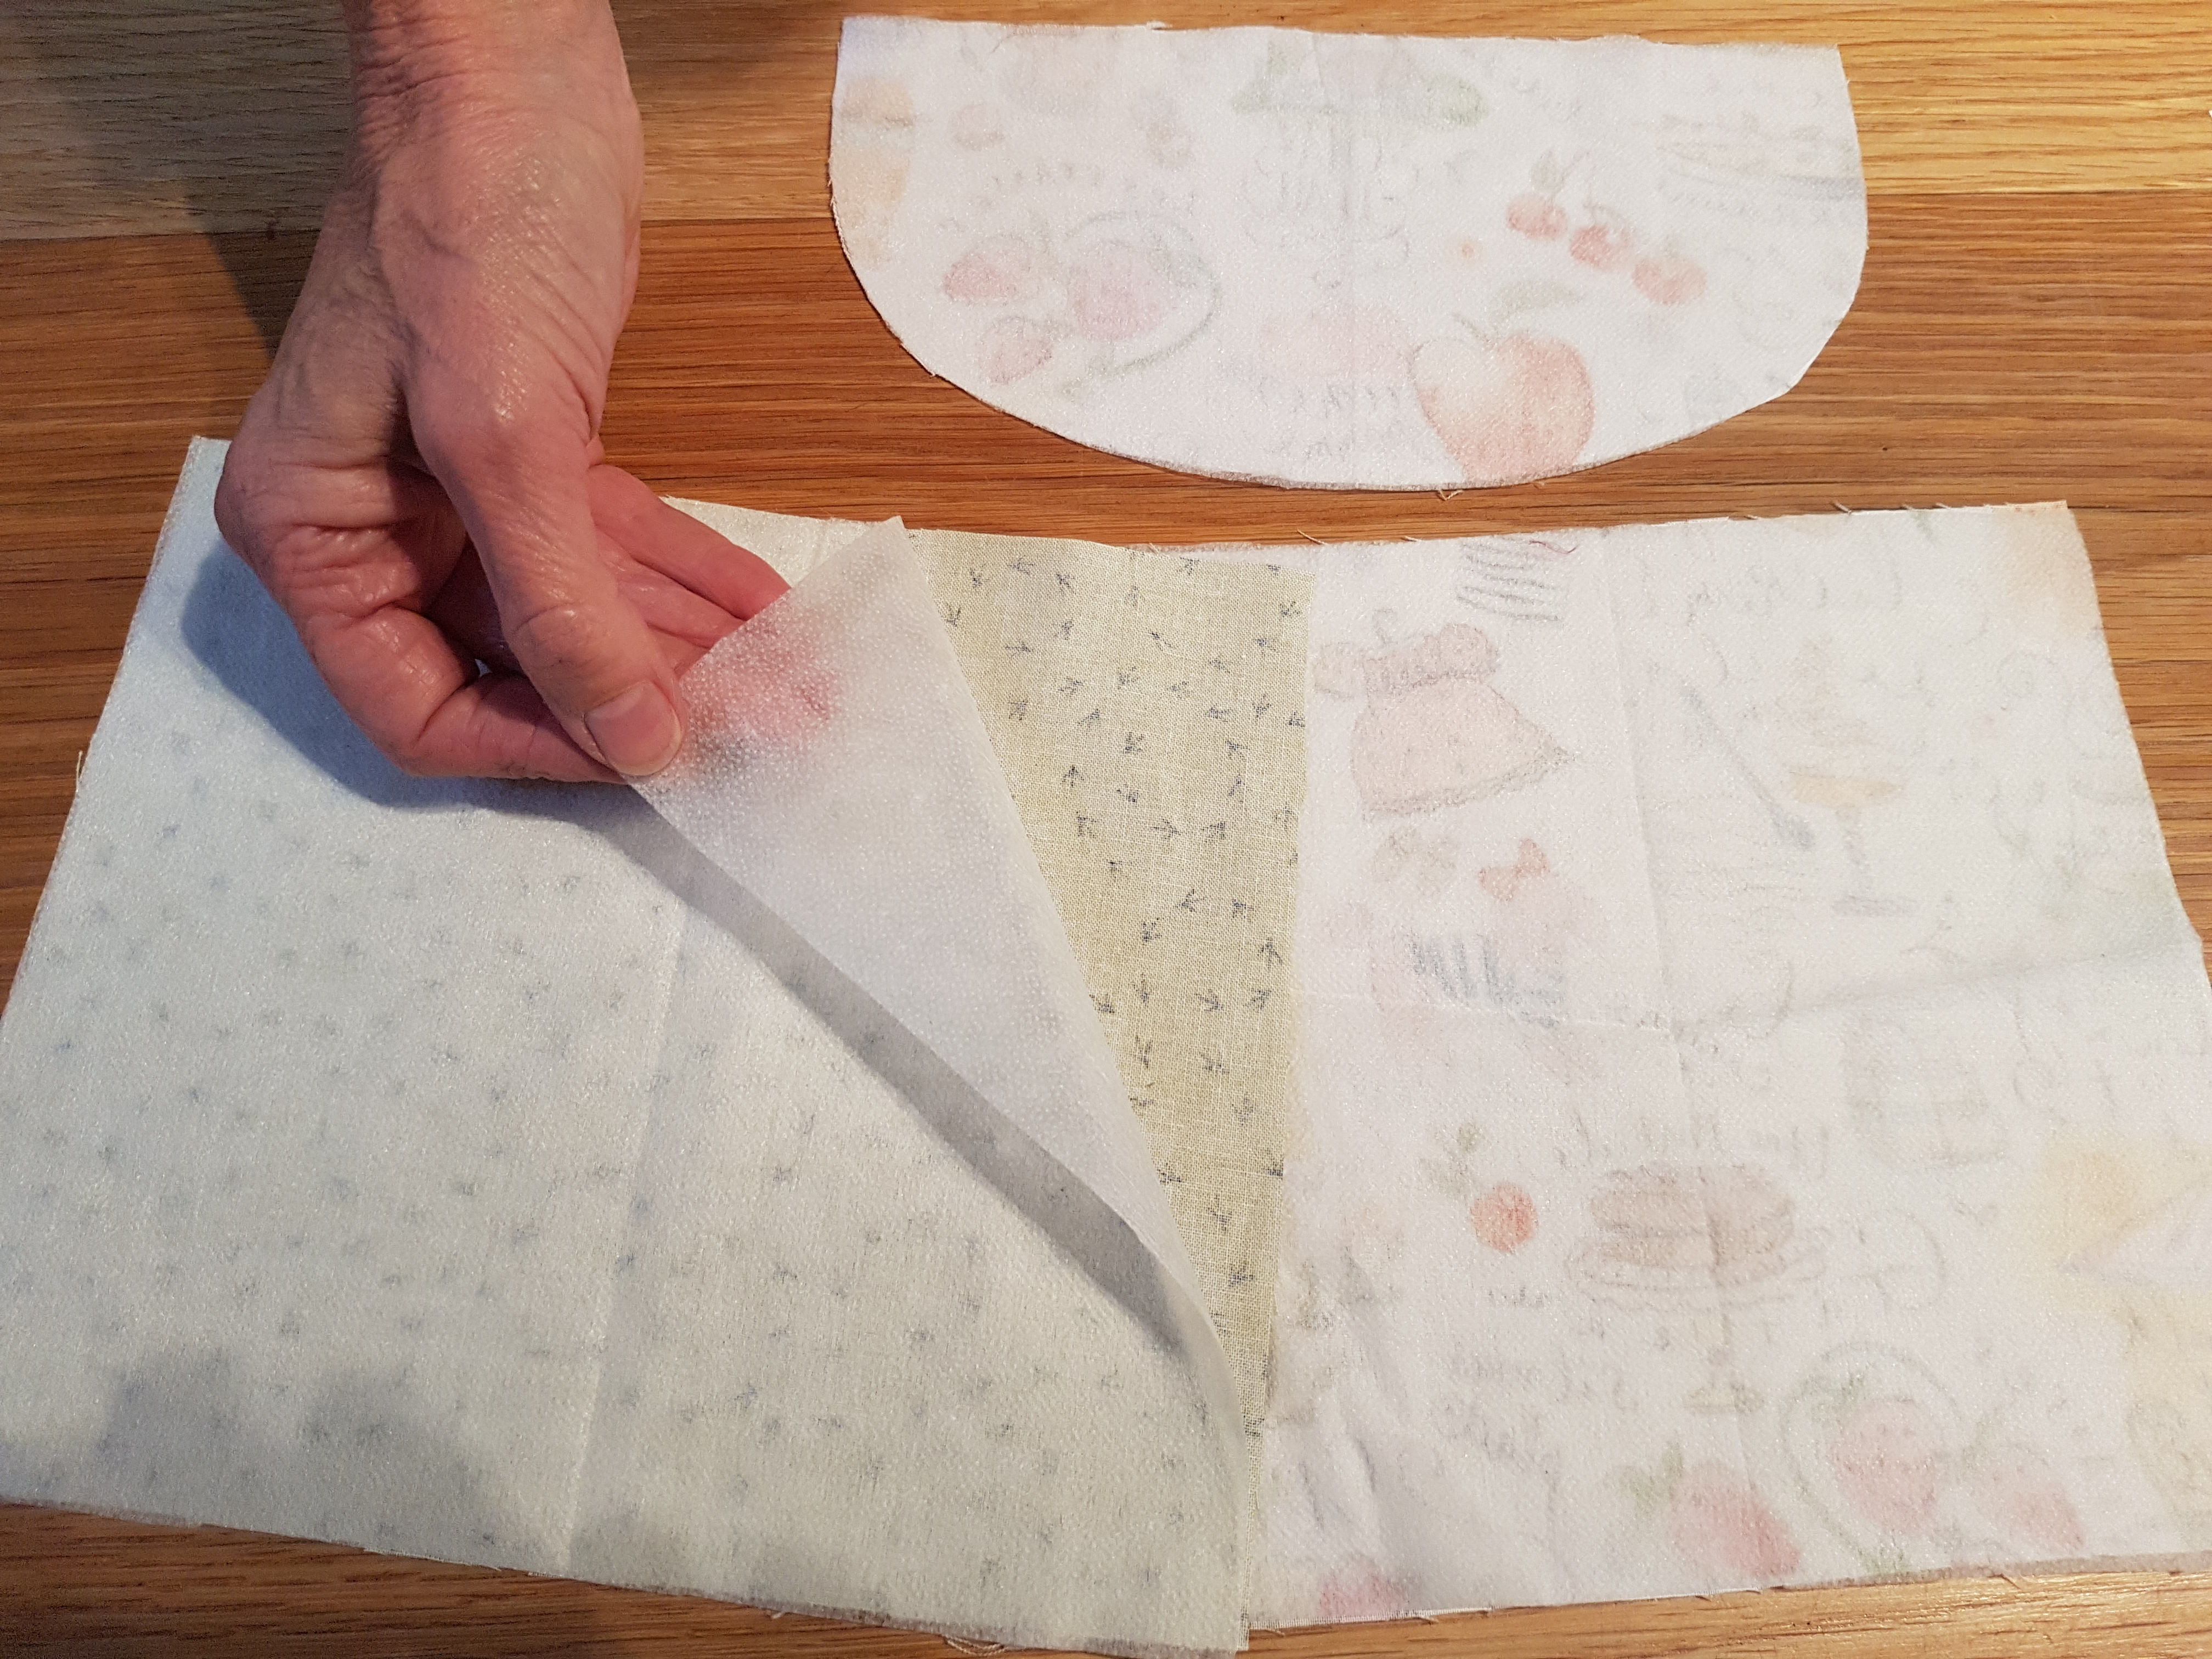
Attach interfacing to wrong side of following pieces:
Bag 1 x Main Fabric
Bag 1 x Lining Fabric
Flap 1 x Main Fabric
Assembling the Zipped Pocket Side:
Take the two pocket pieces and neaten one long edge on each piece. Take care if the pattern is directional that the pattern will run in the same way.
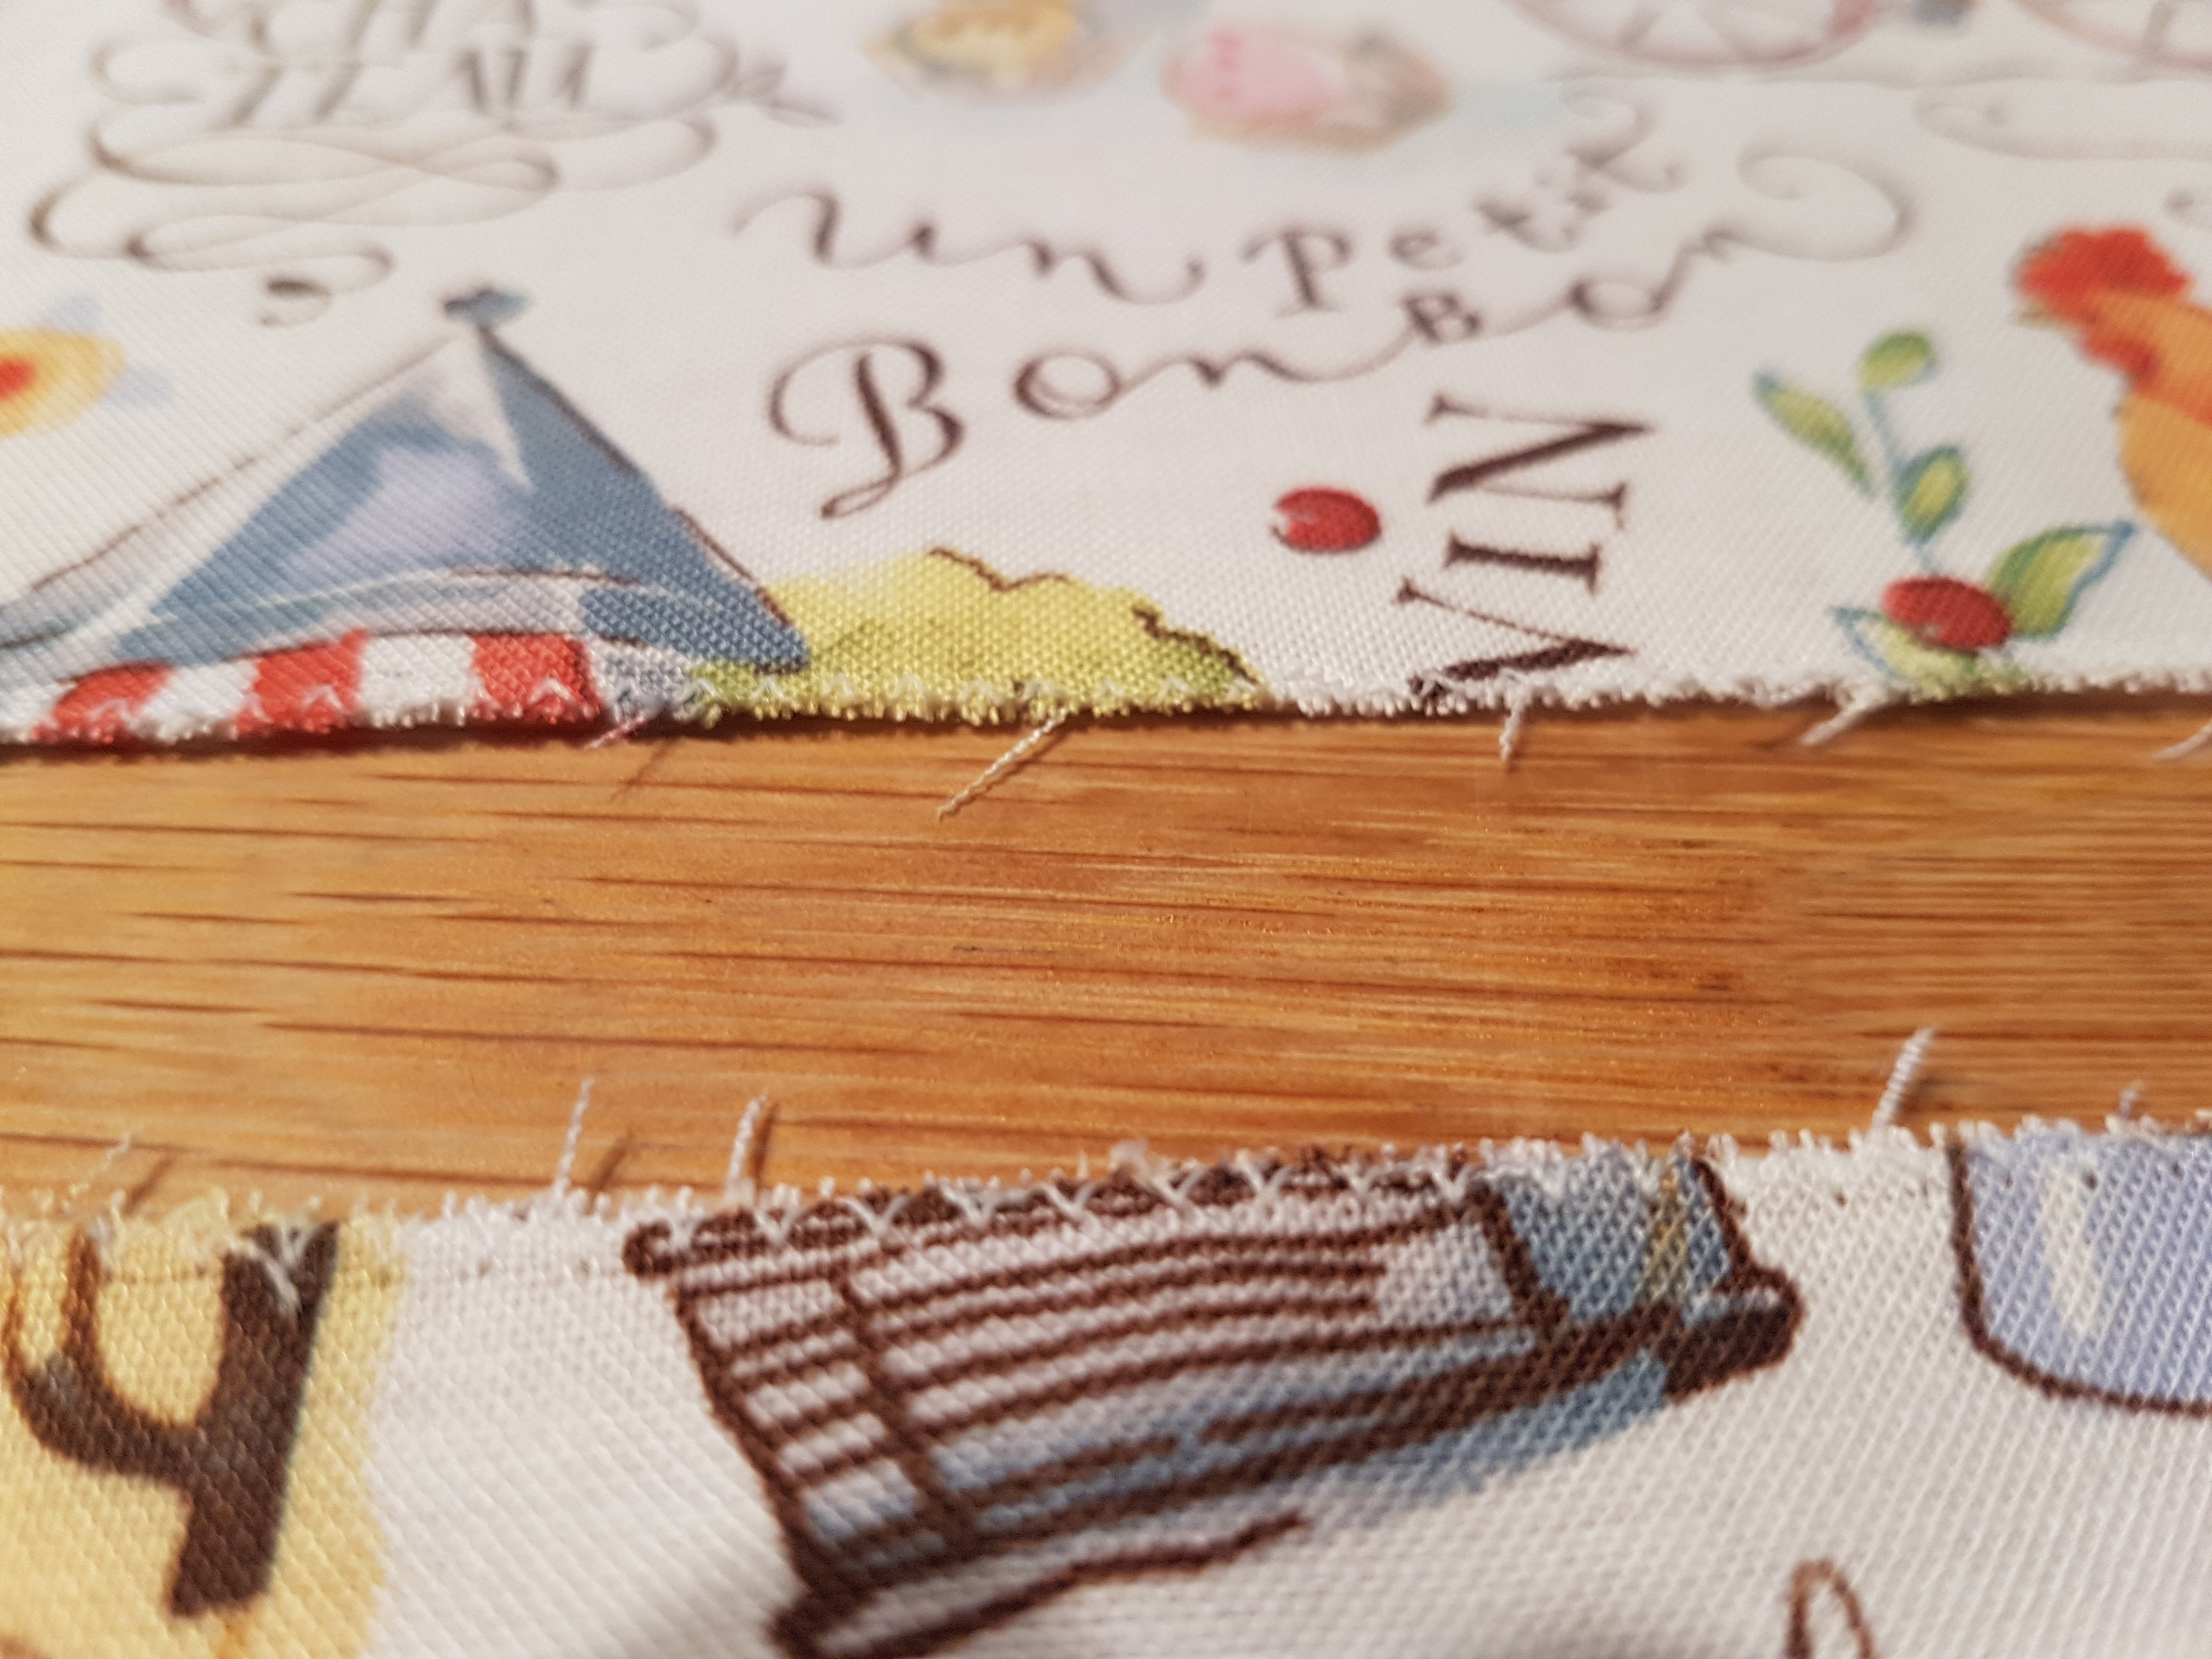
Fold over and press 1.2cm along the neatened edge on the lower pocket piece
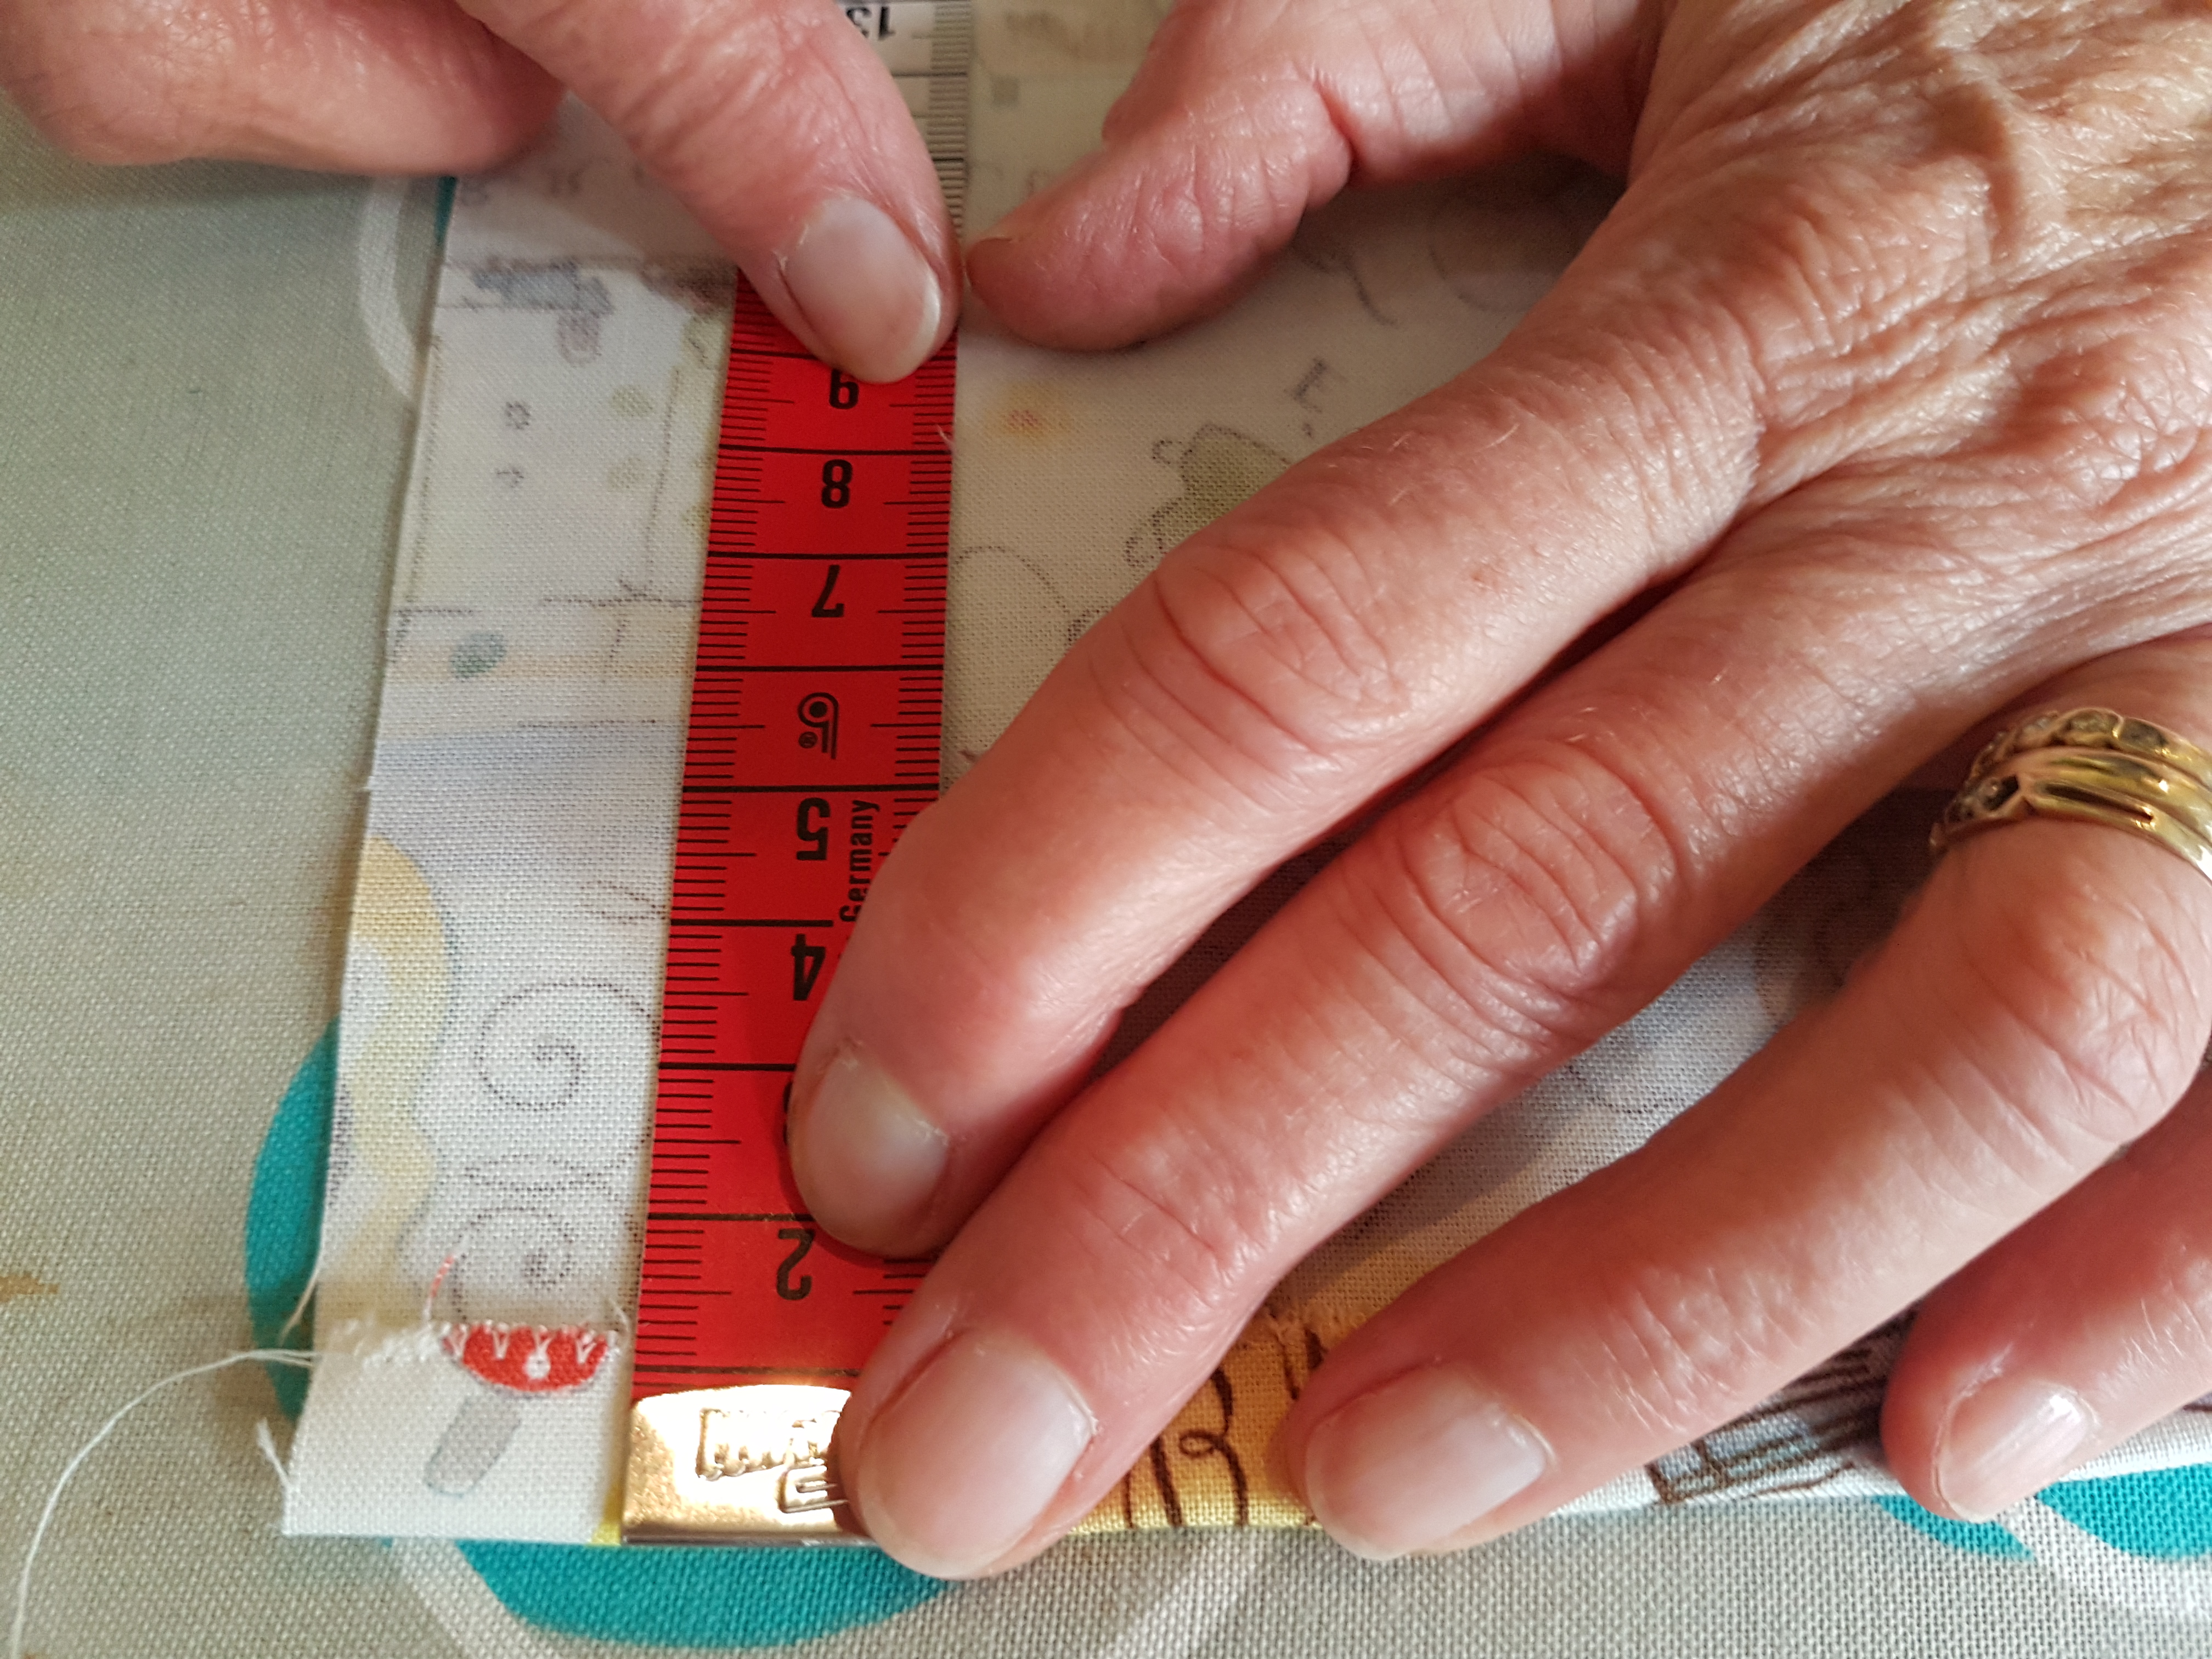
Fold over and press 1.5cm along the neatened edge on the upper pocket piece
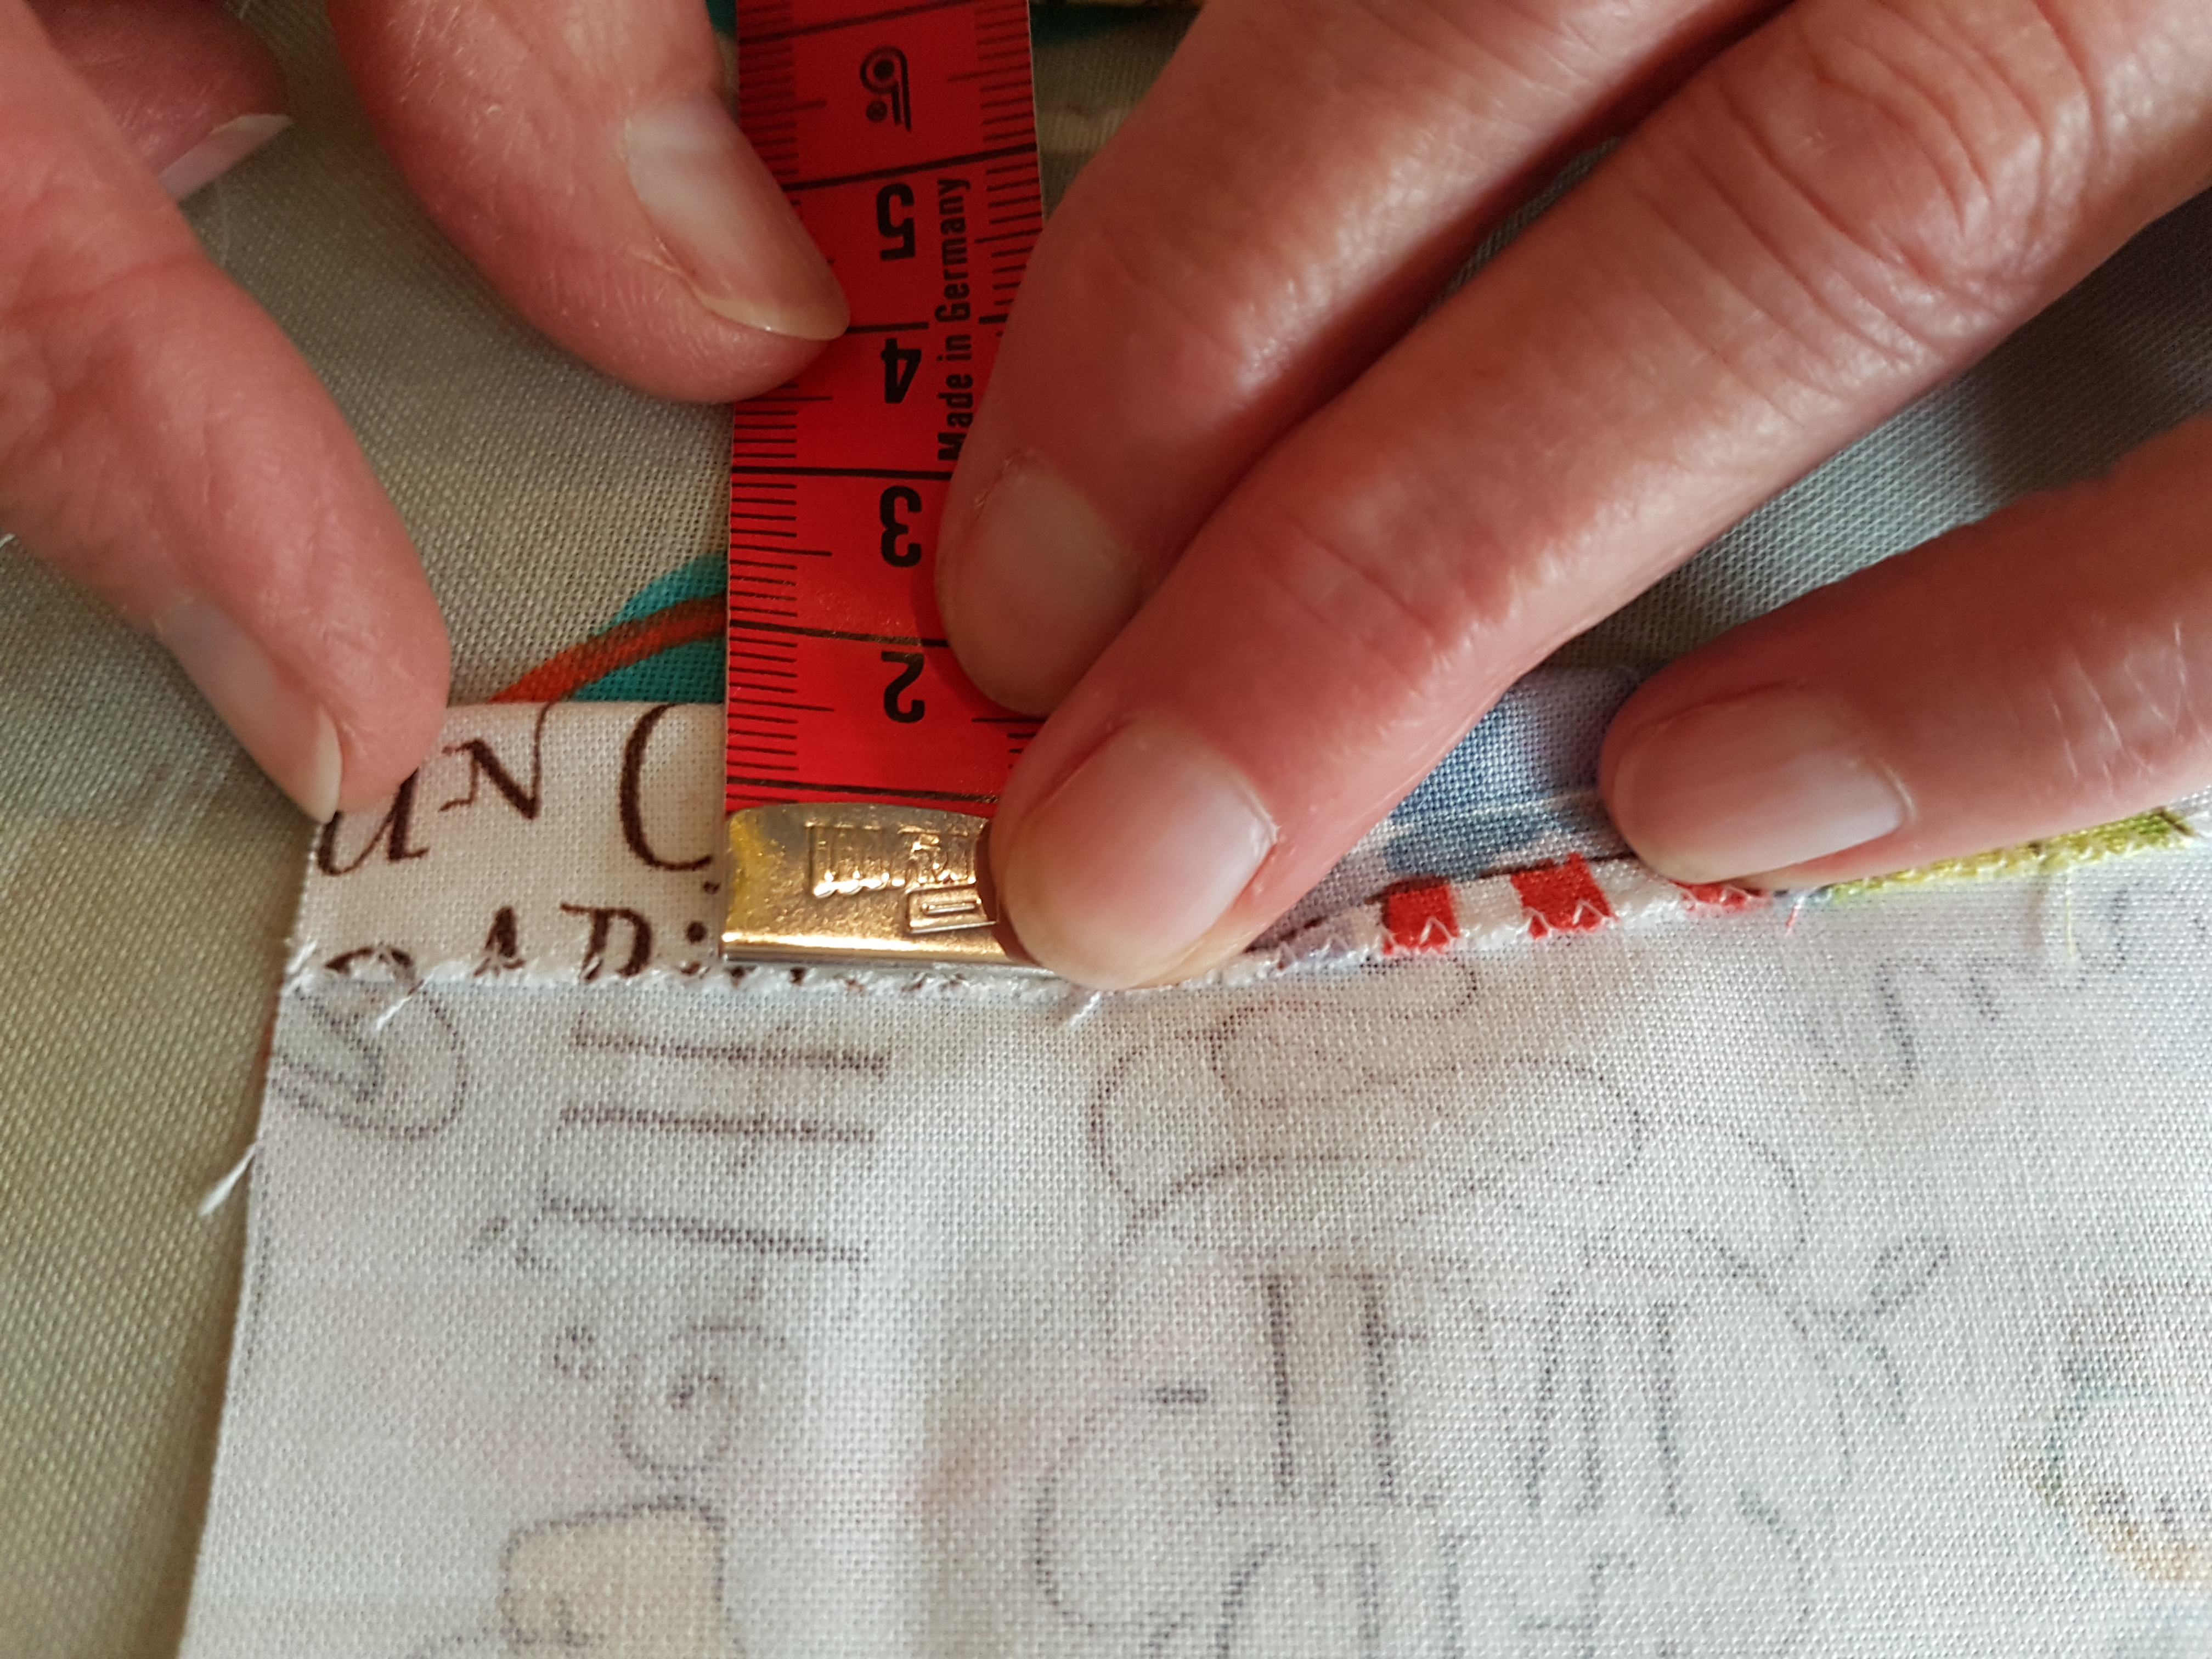
Take your zipper and pin folded edge of lower pocket piece close to the zipper teeth. Tack in place and then stitch in place using the zipper foot of your machine.
We have chosen to use a zip that is longer than the pocket pieces as it makes it easier to get a neat finish.
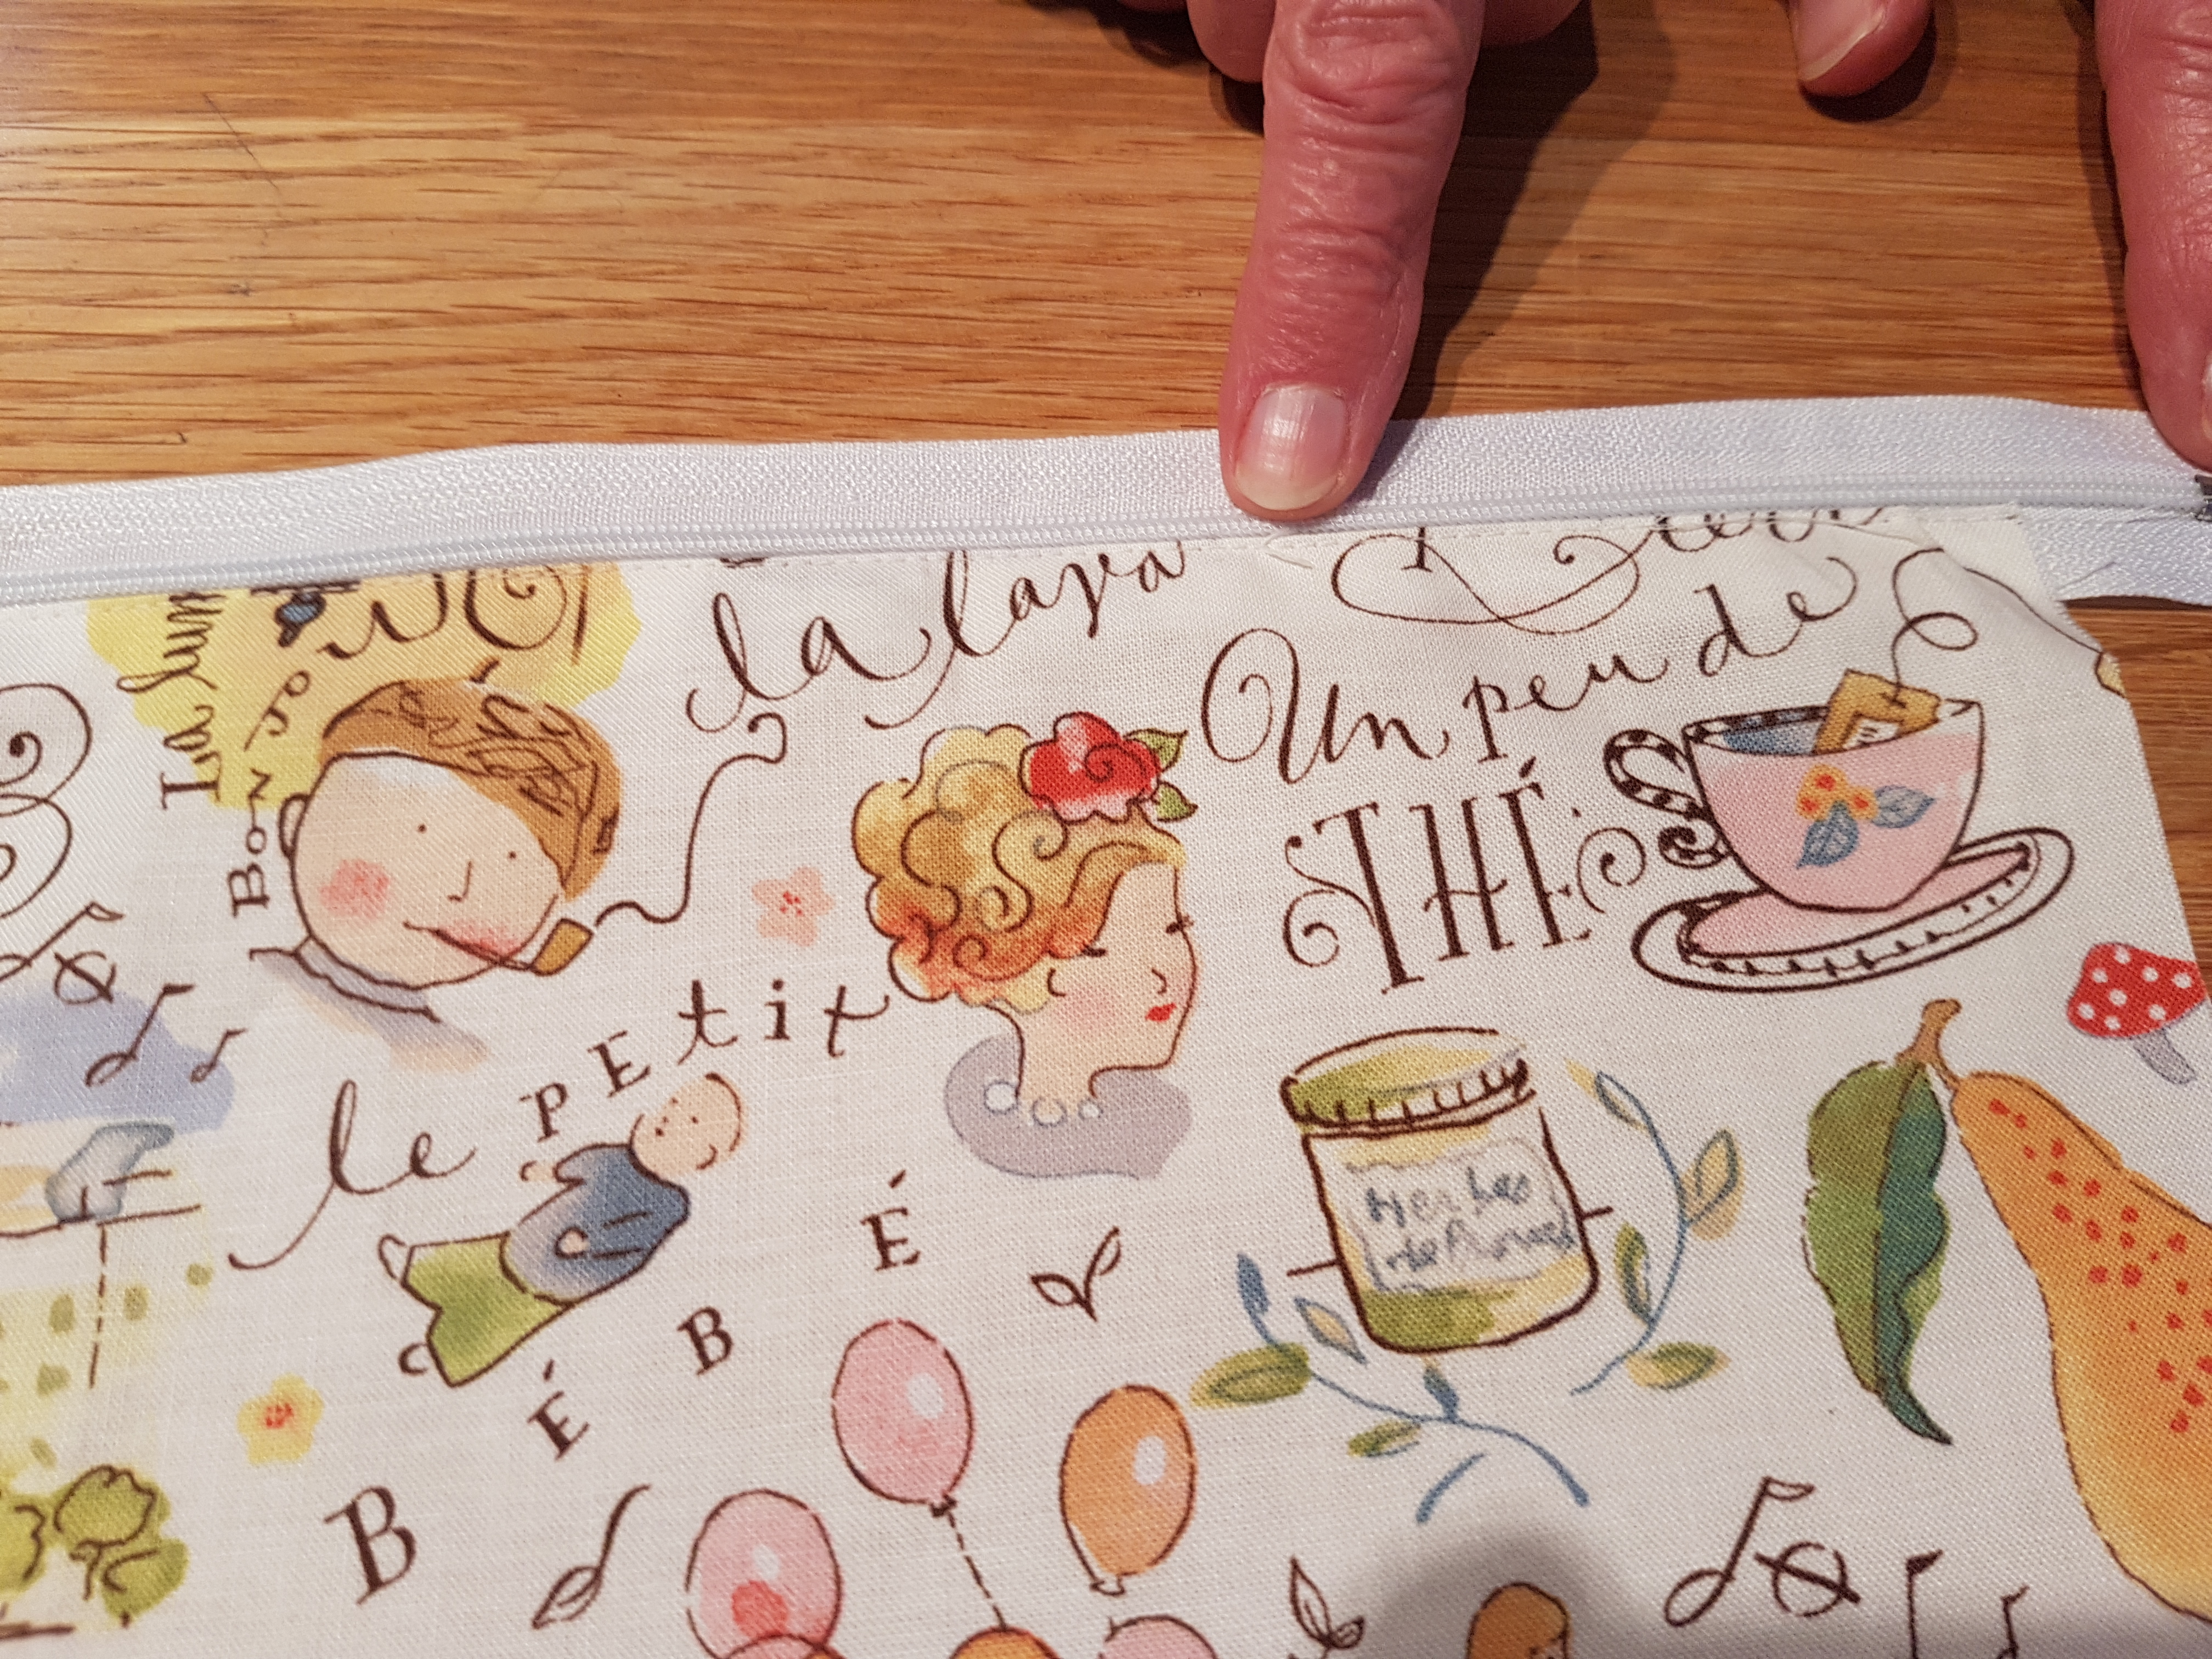
Lay the folded edge of the upper pocket piece over the zipper with the fold just covering the stitching you have just done. Tack along this edge to hold closed and then turn over and tack along the zip about 1cm from the folded edge. From the right side of the fabric topstitch the zip in place using your second row of tacking as a guide to stitch along.
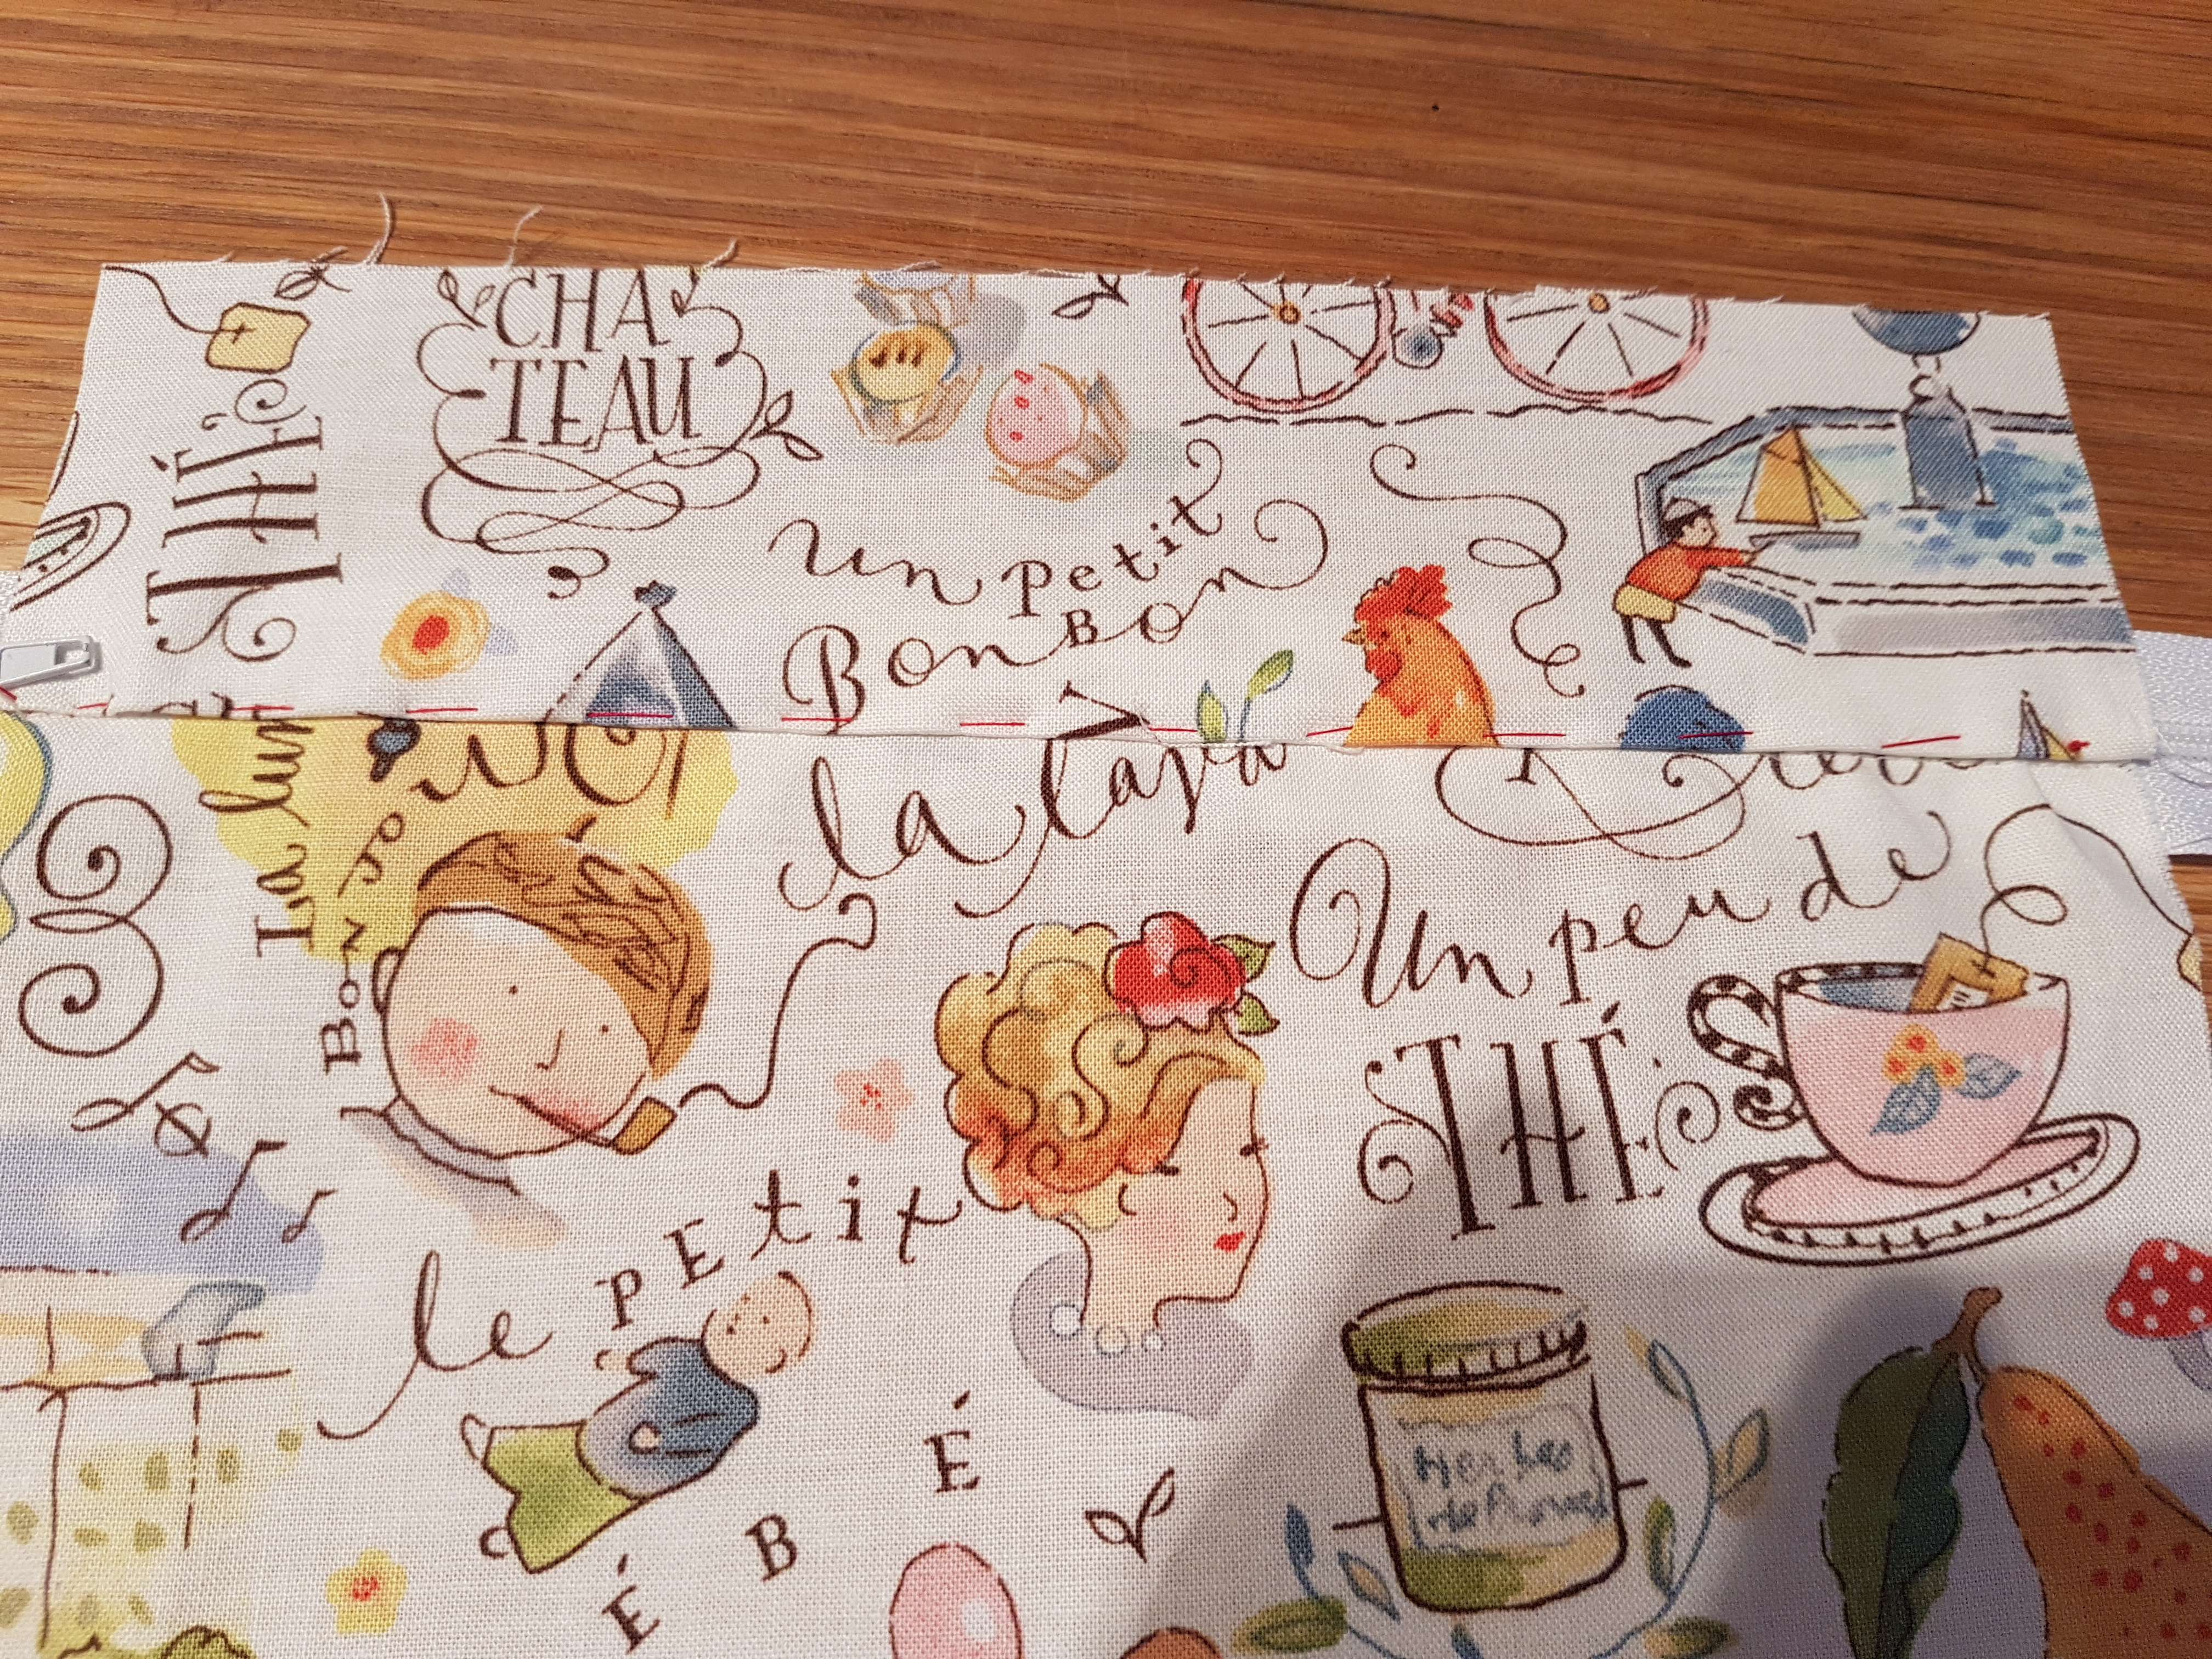
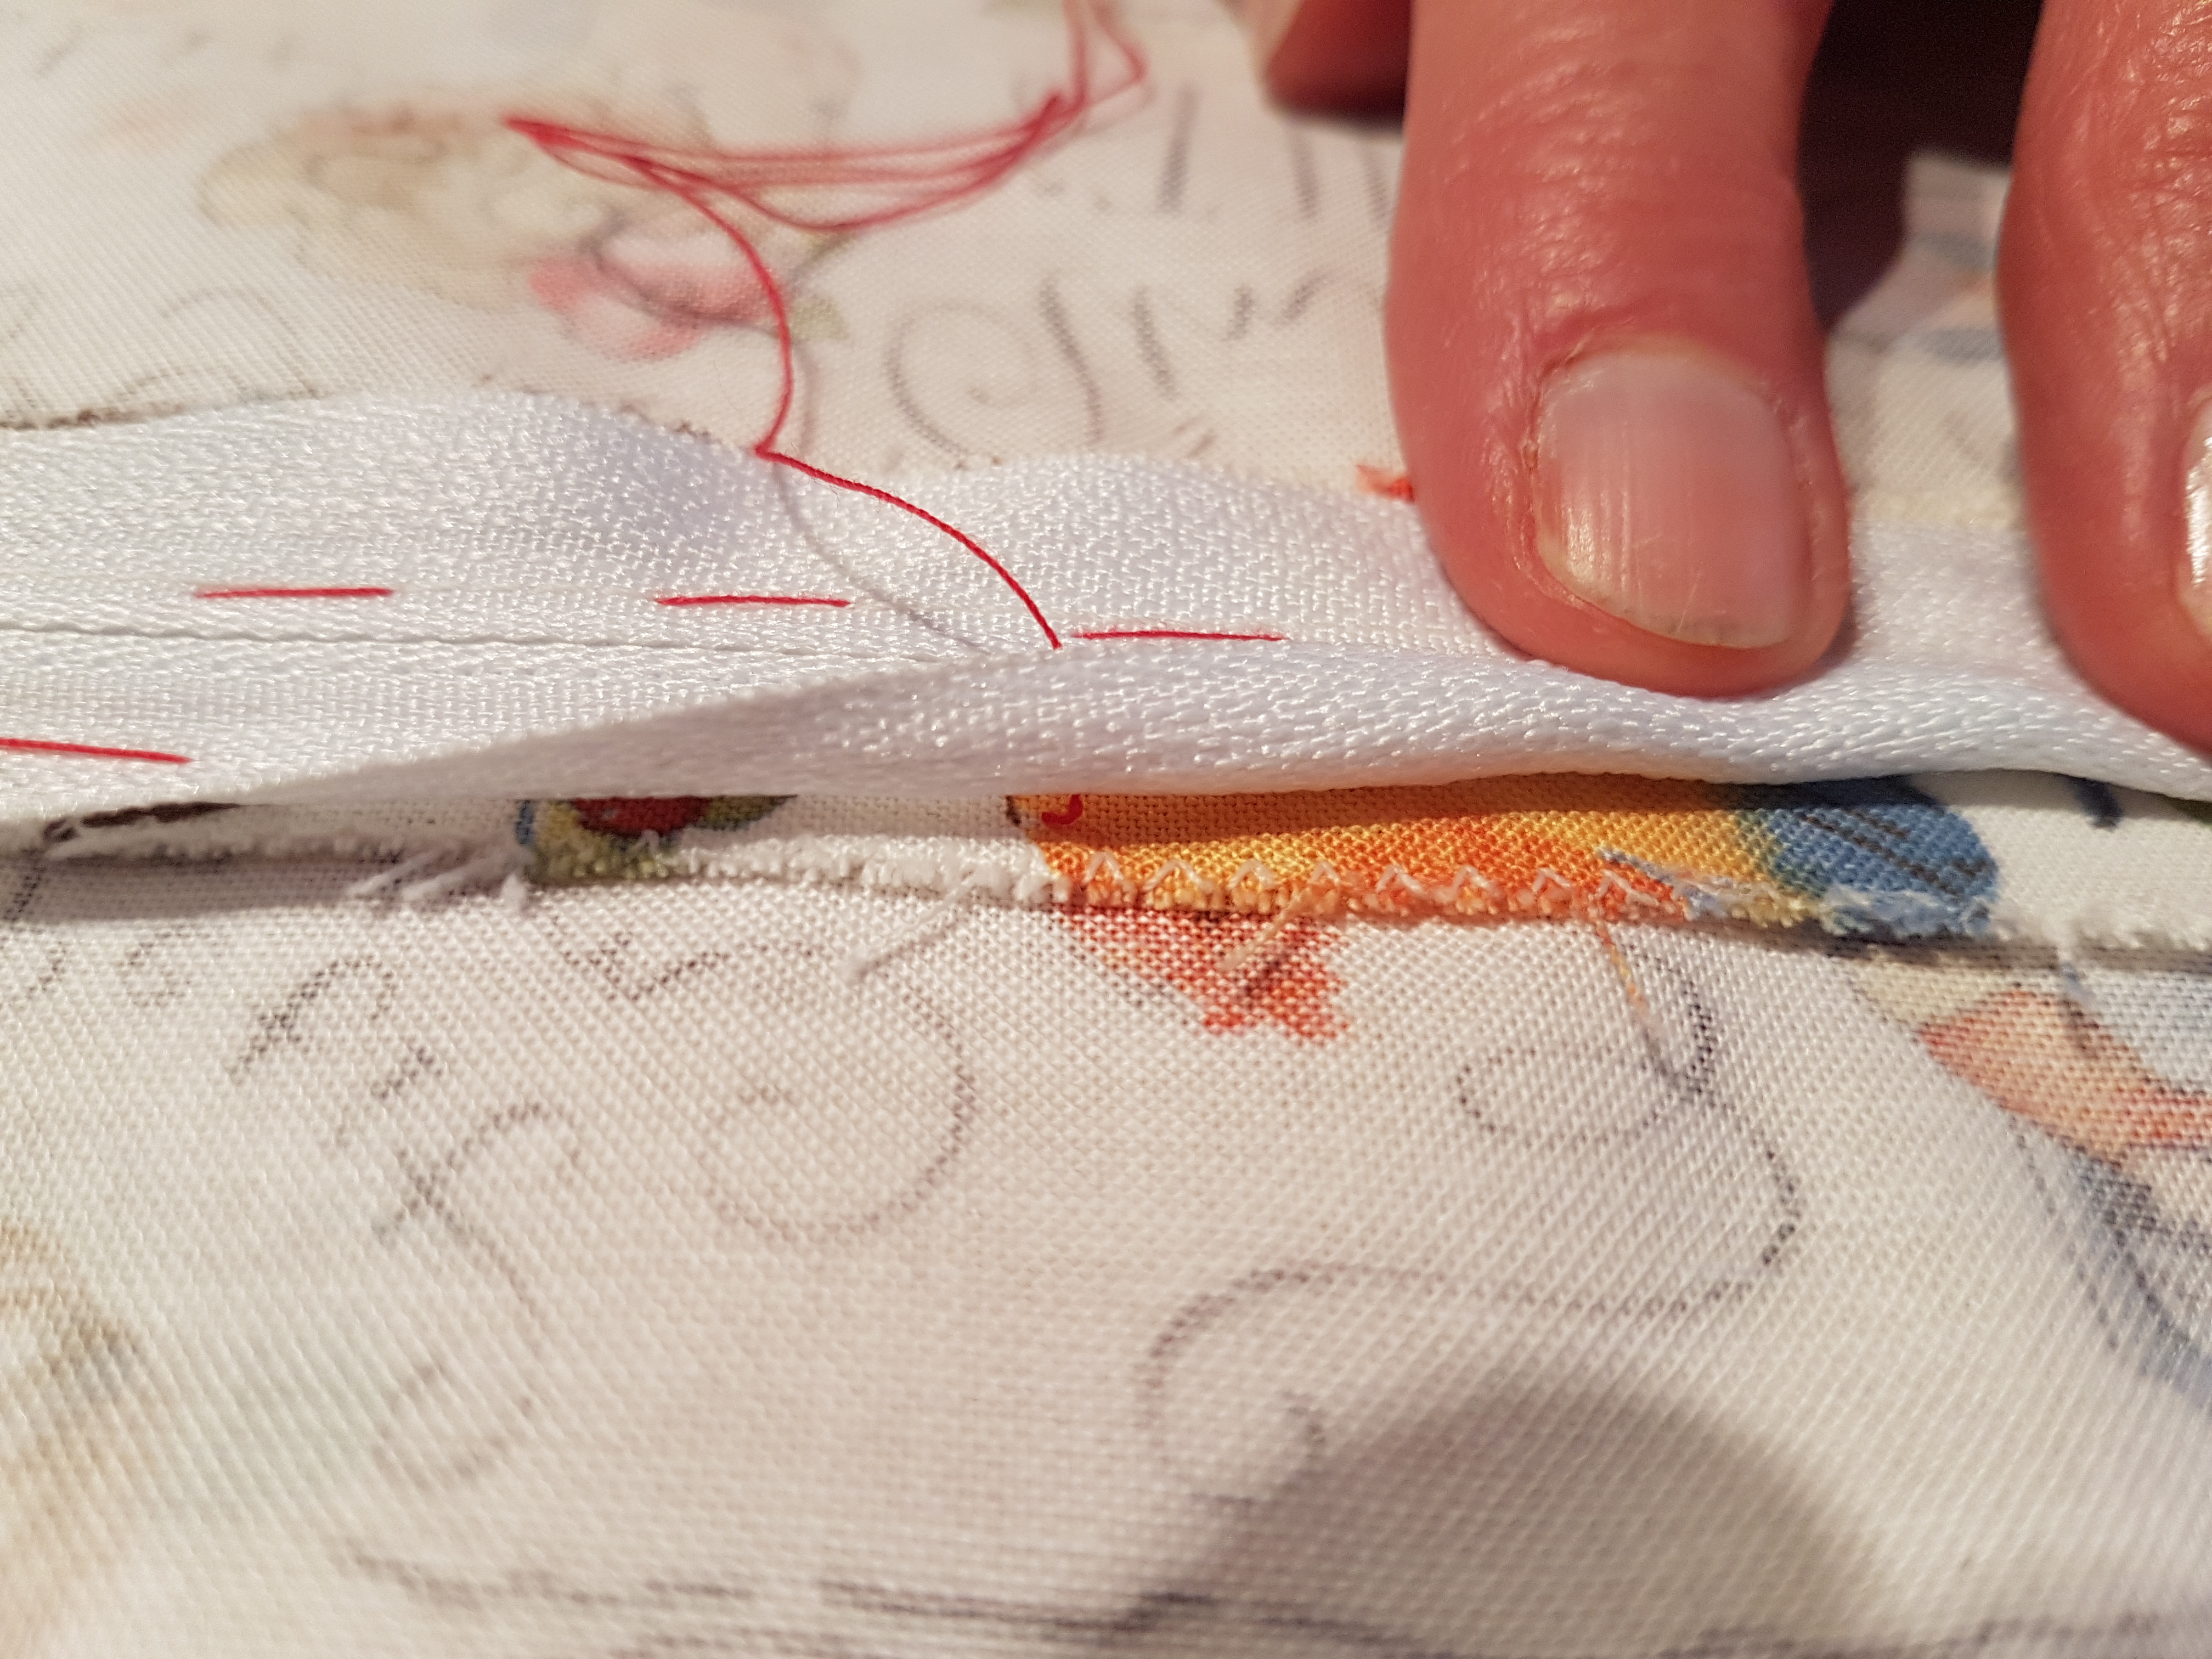
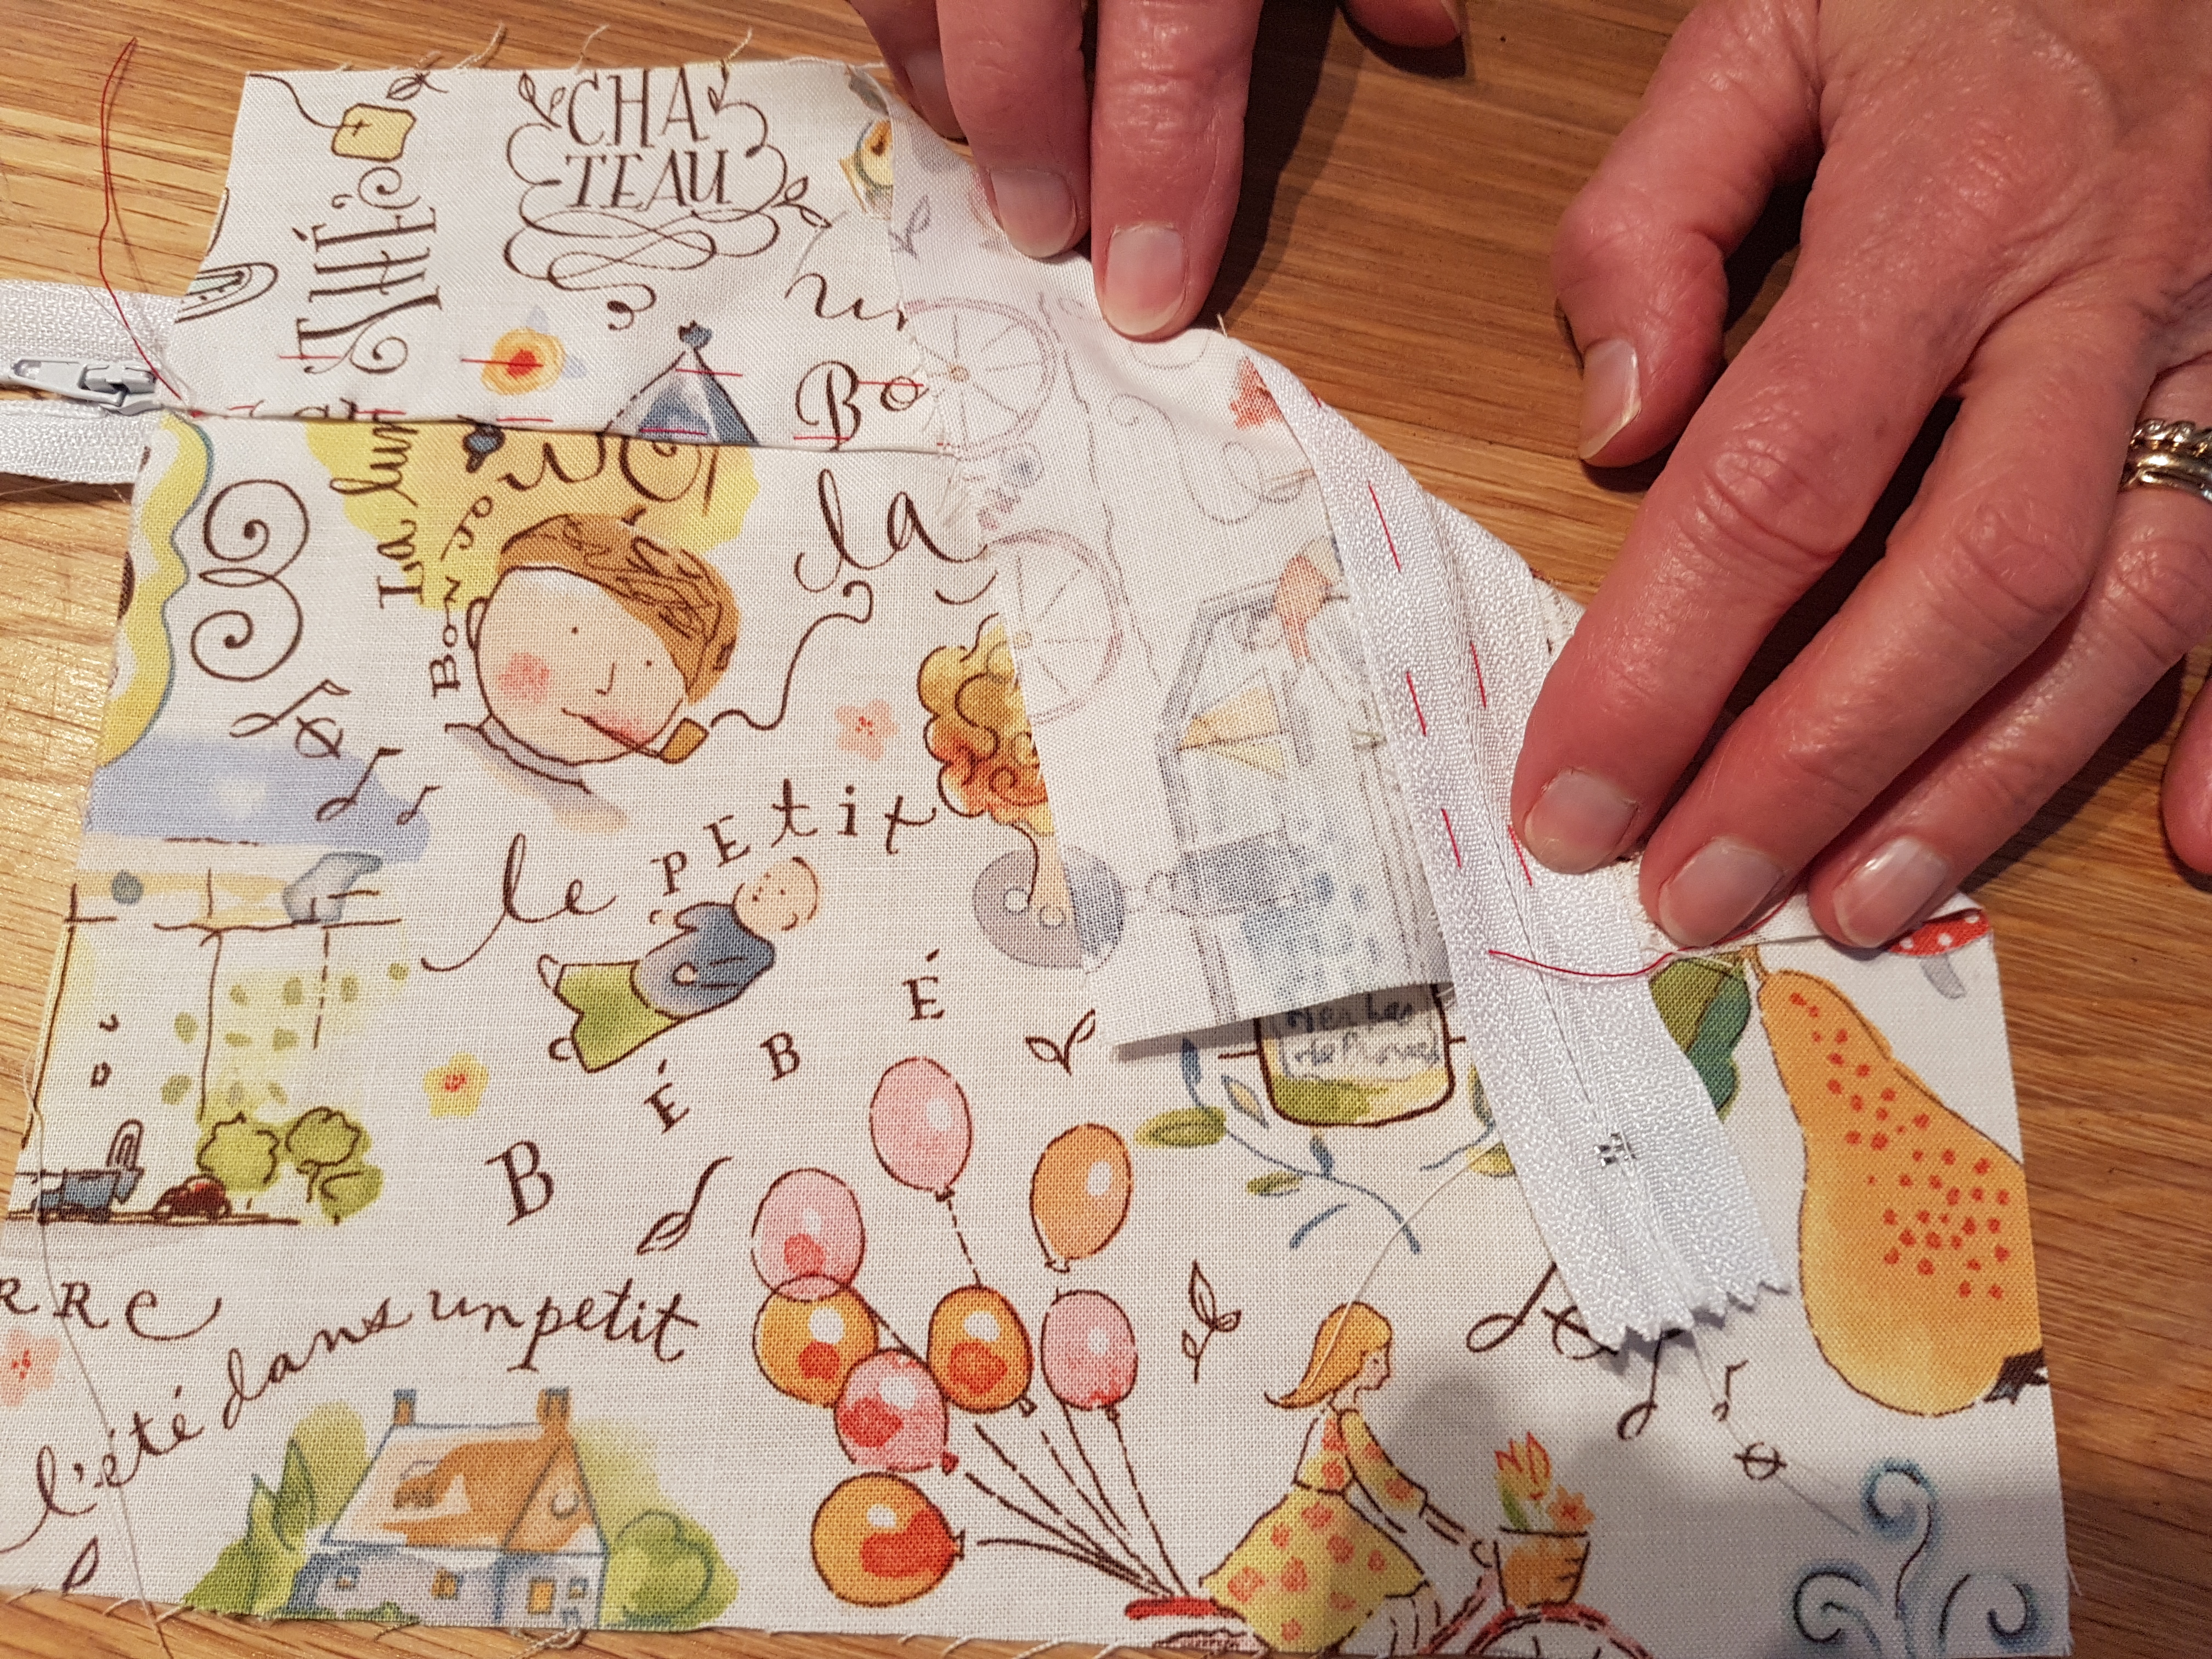
Put the zip pull to the middle of the zip away from the edges.
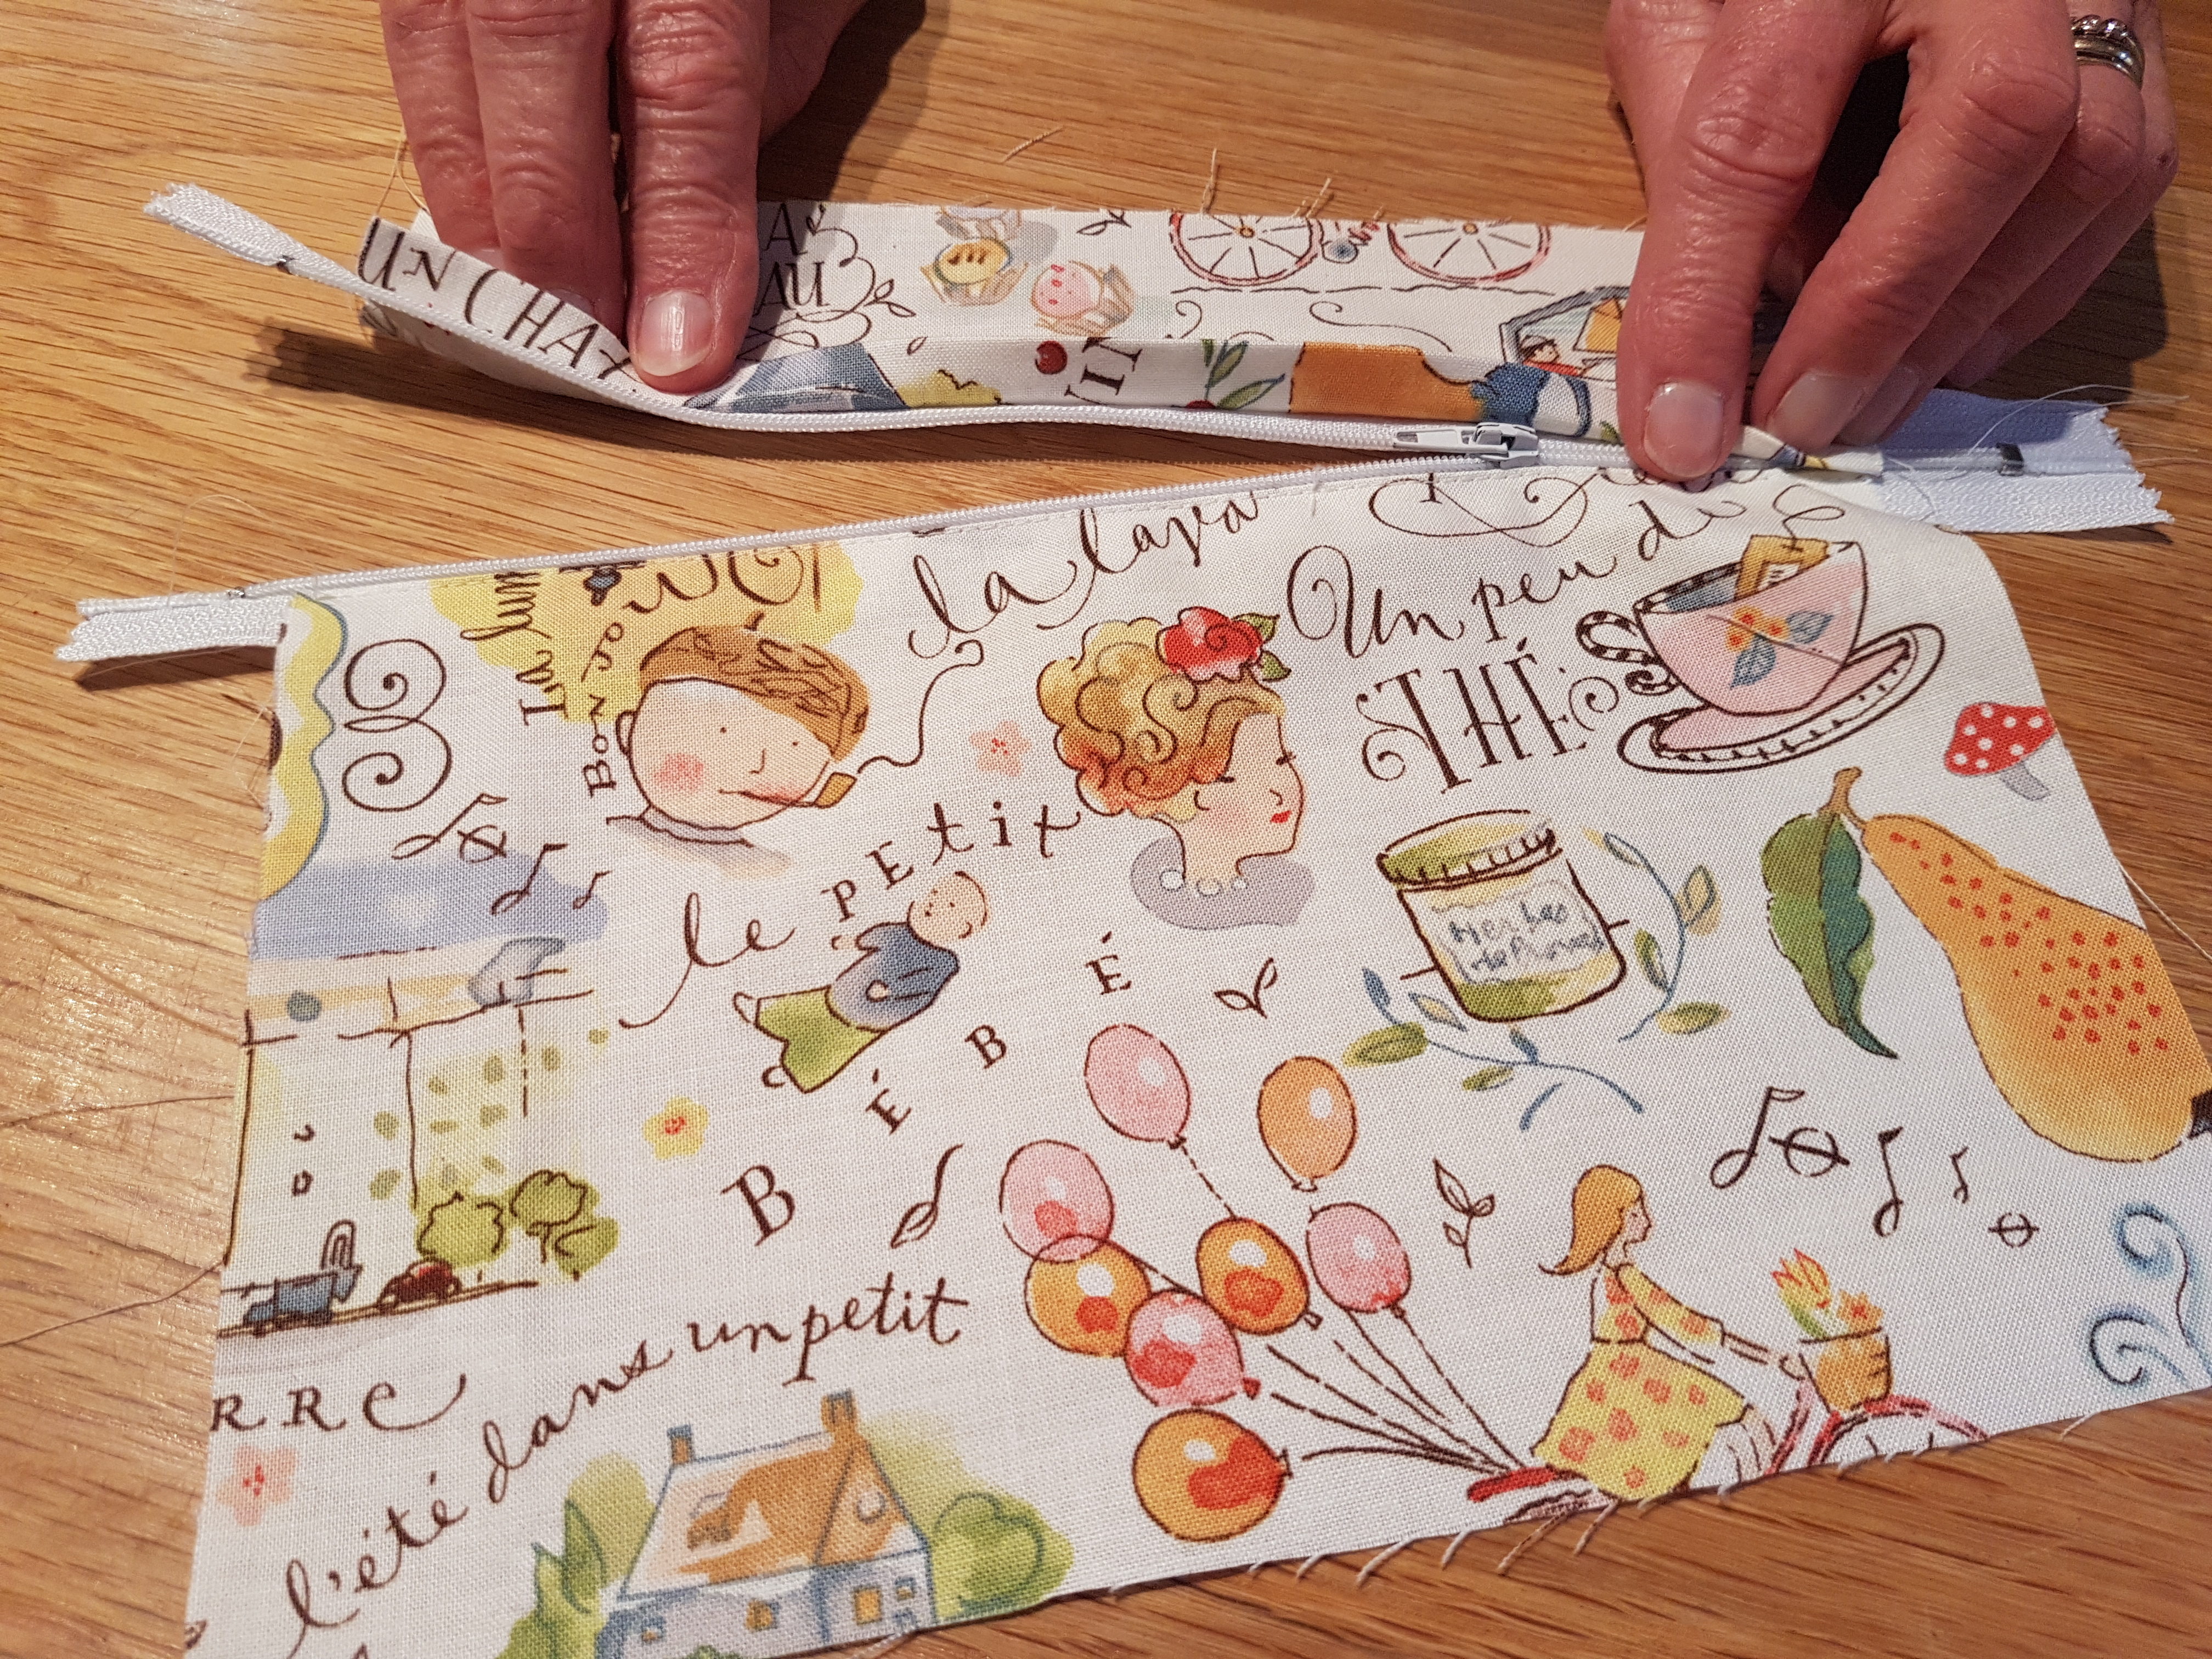
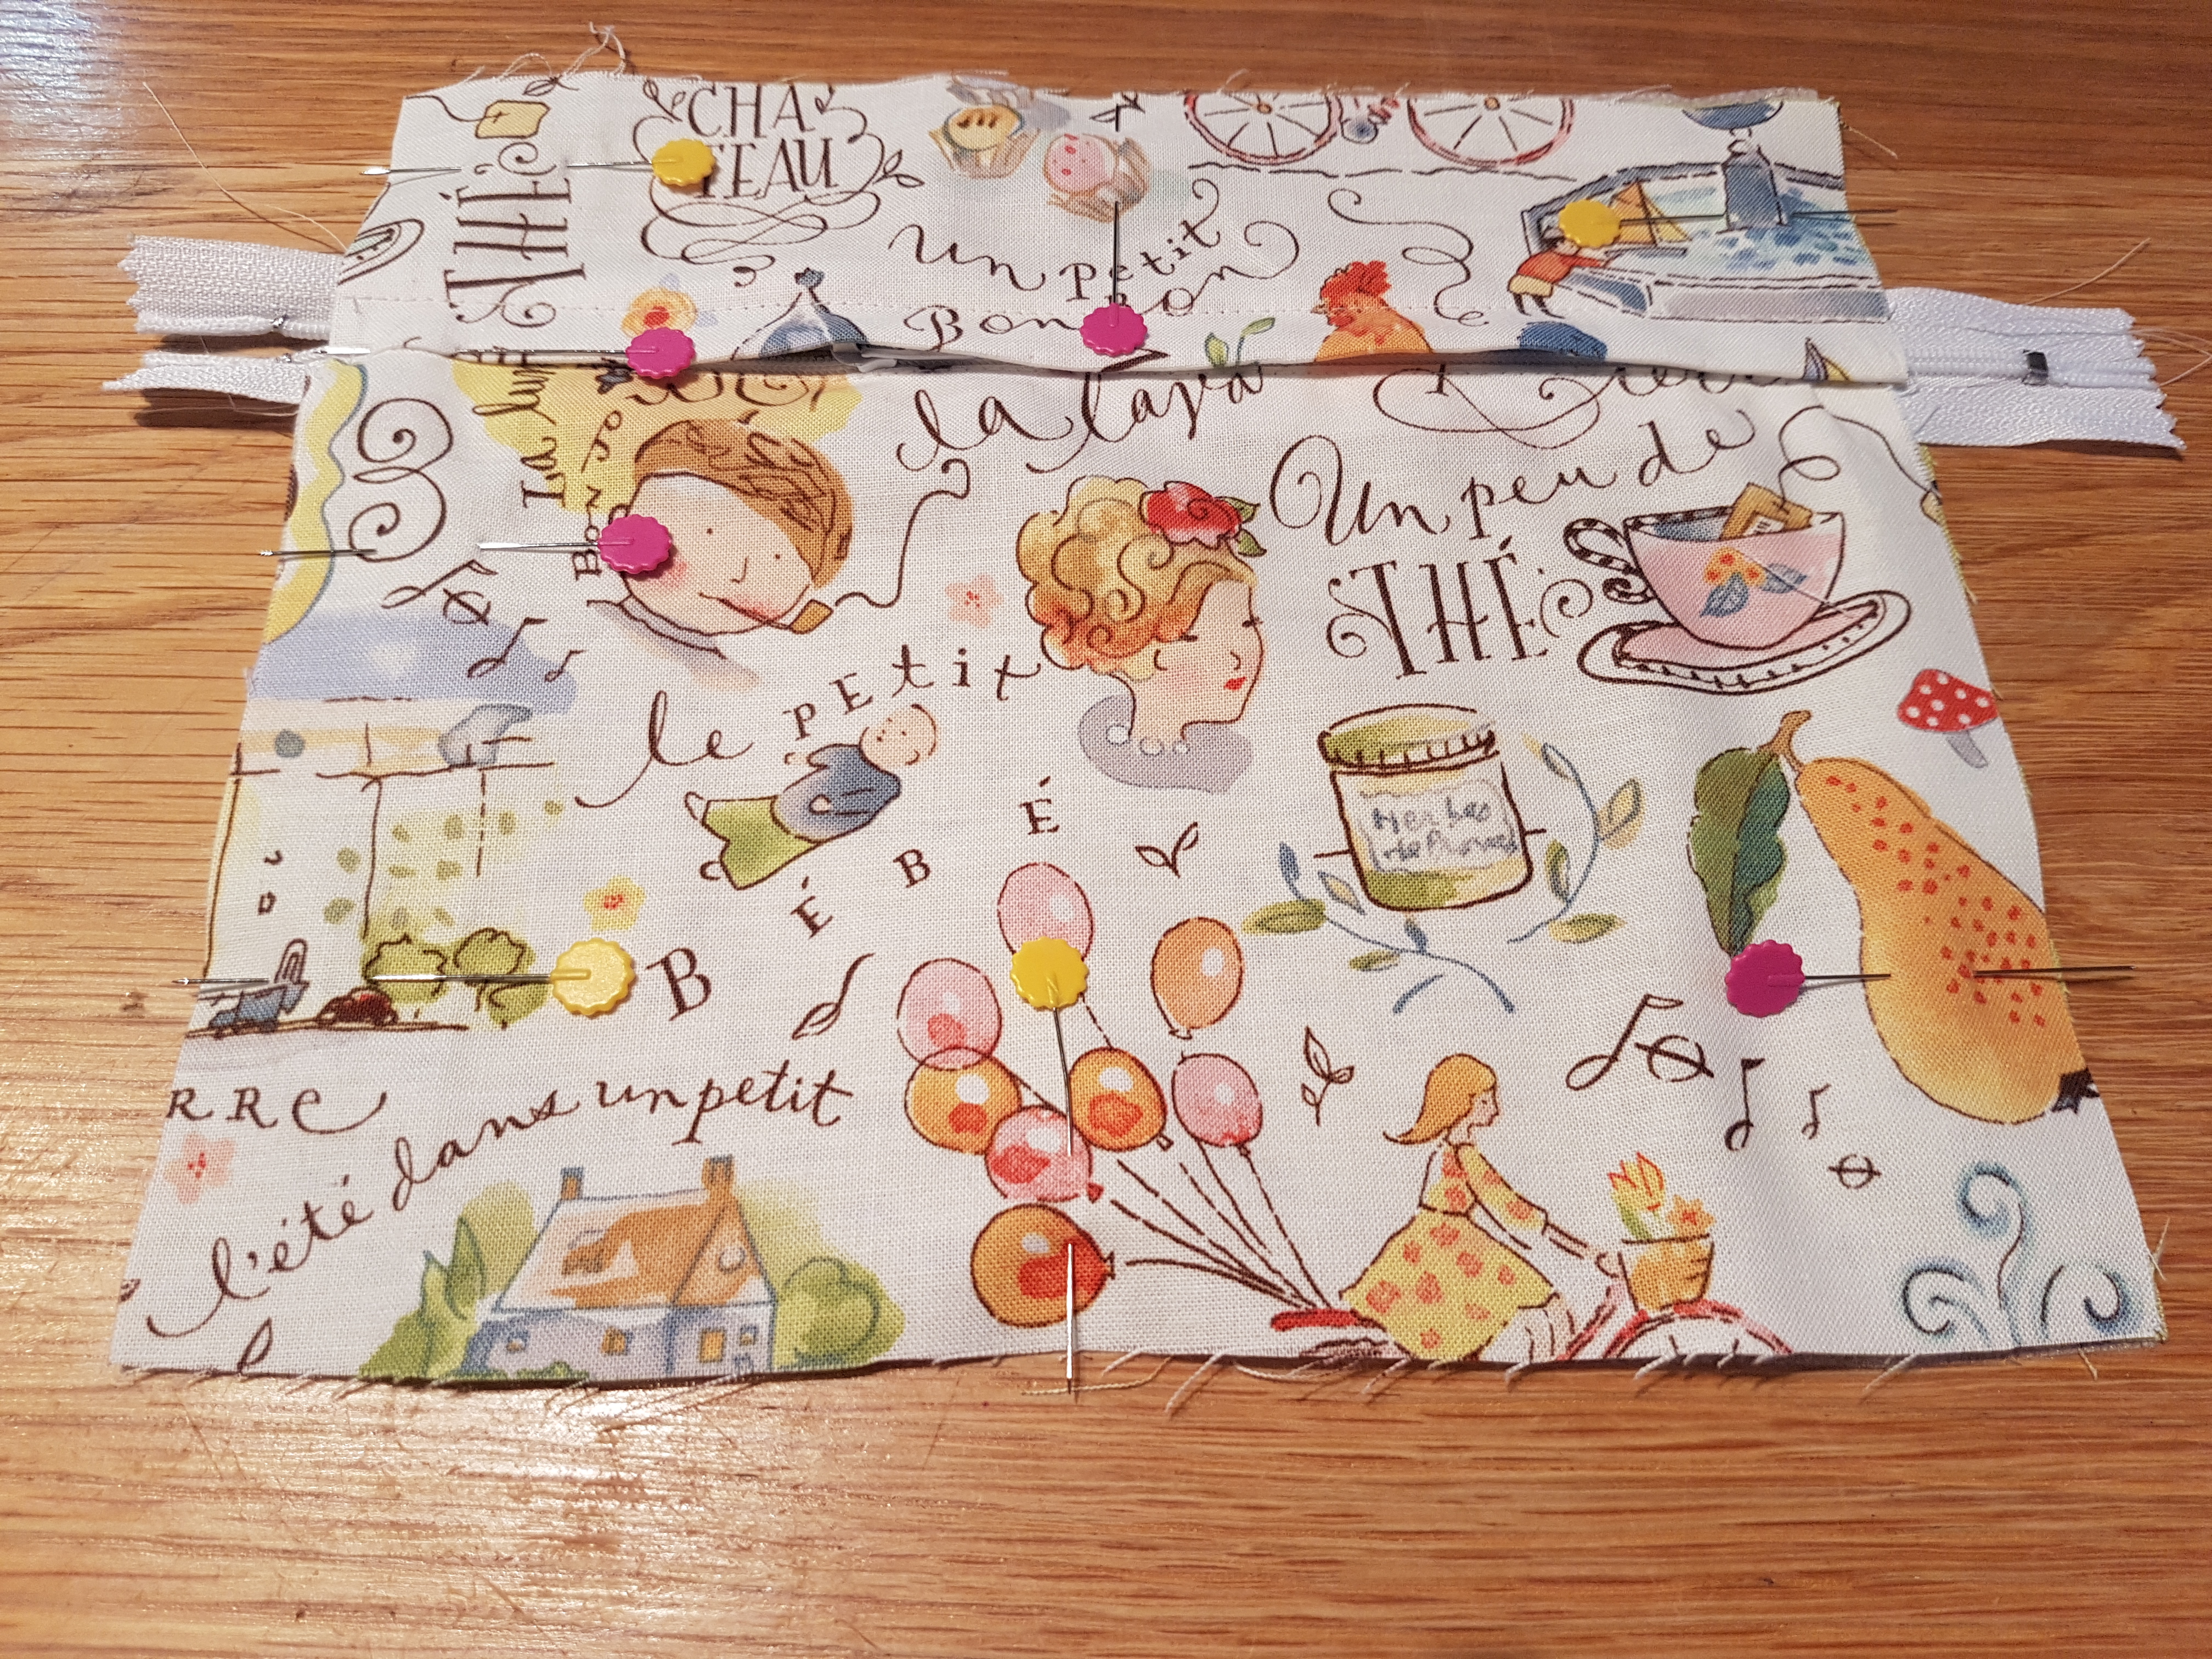
Take interfaced lining bag piece and pin right side to wrong side of your finished zipped pocket side.(Its behind on the photo below). Tack together along all 4 sides using a long stitch on your machine inside your seam allowance. You can now treat this as one piece - the zipped pocket side. Trim the edges of the zip to the edge of the fabric.
Assembling the Bag:
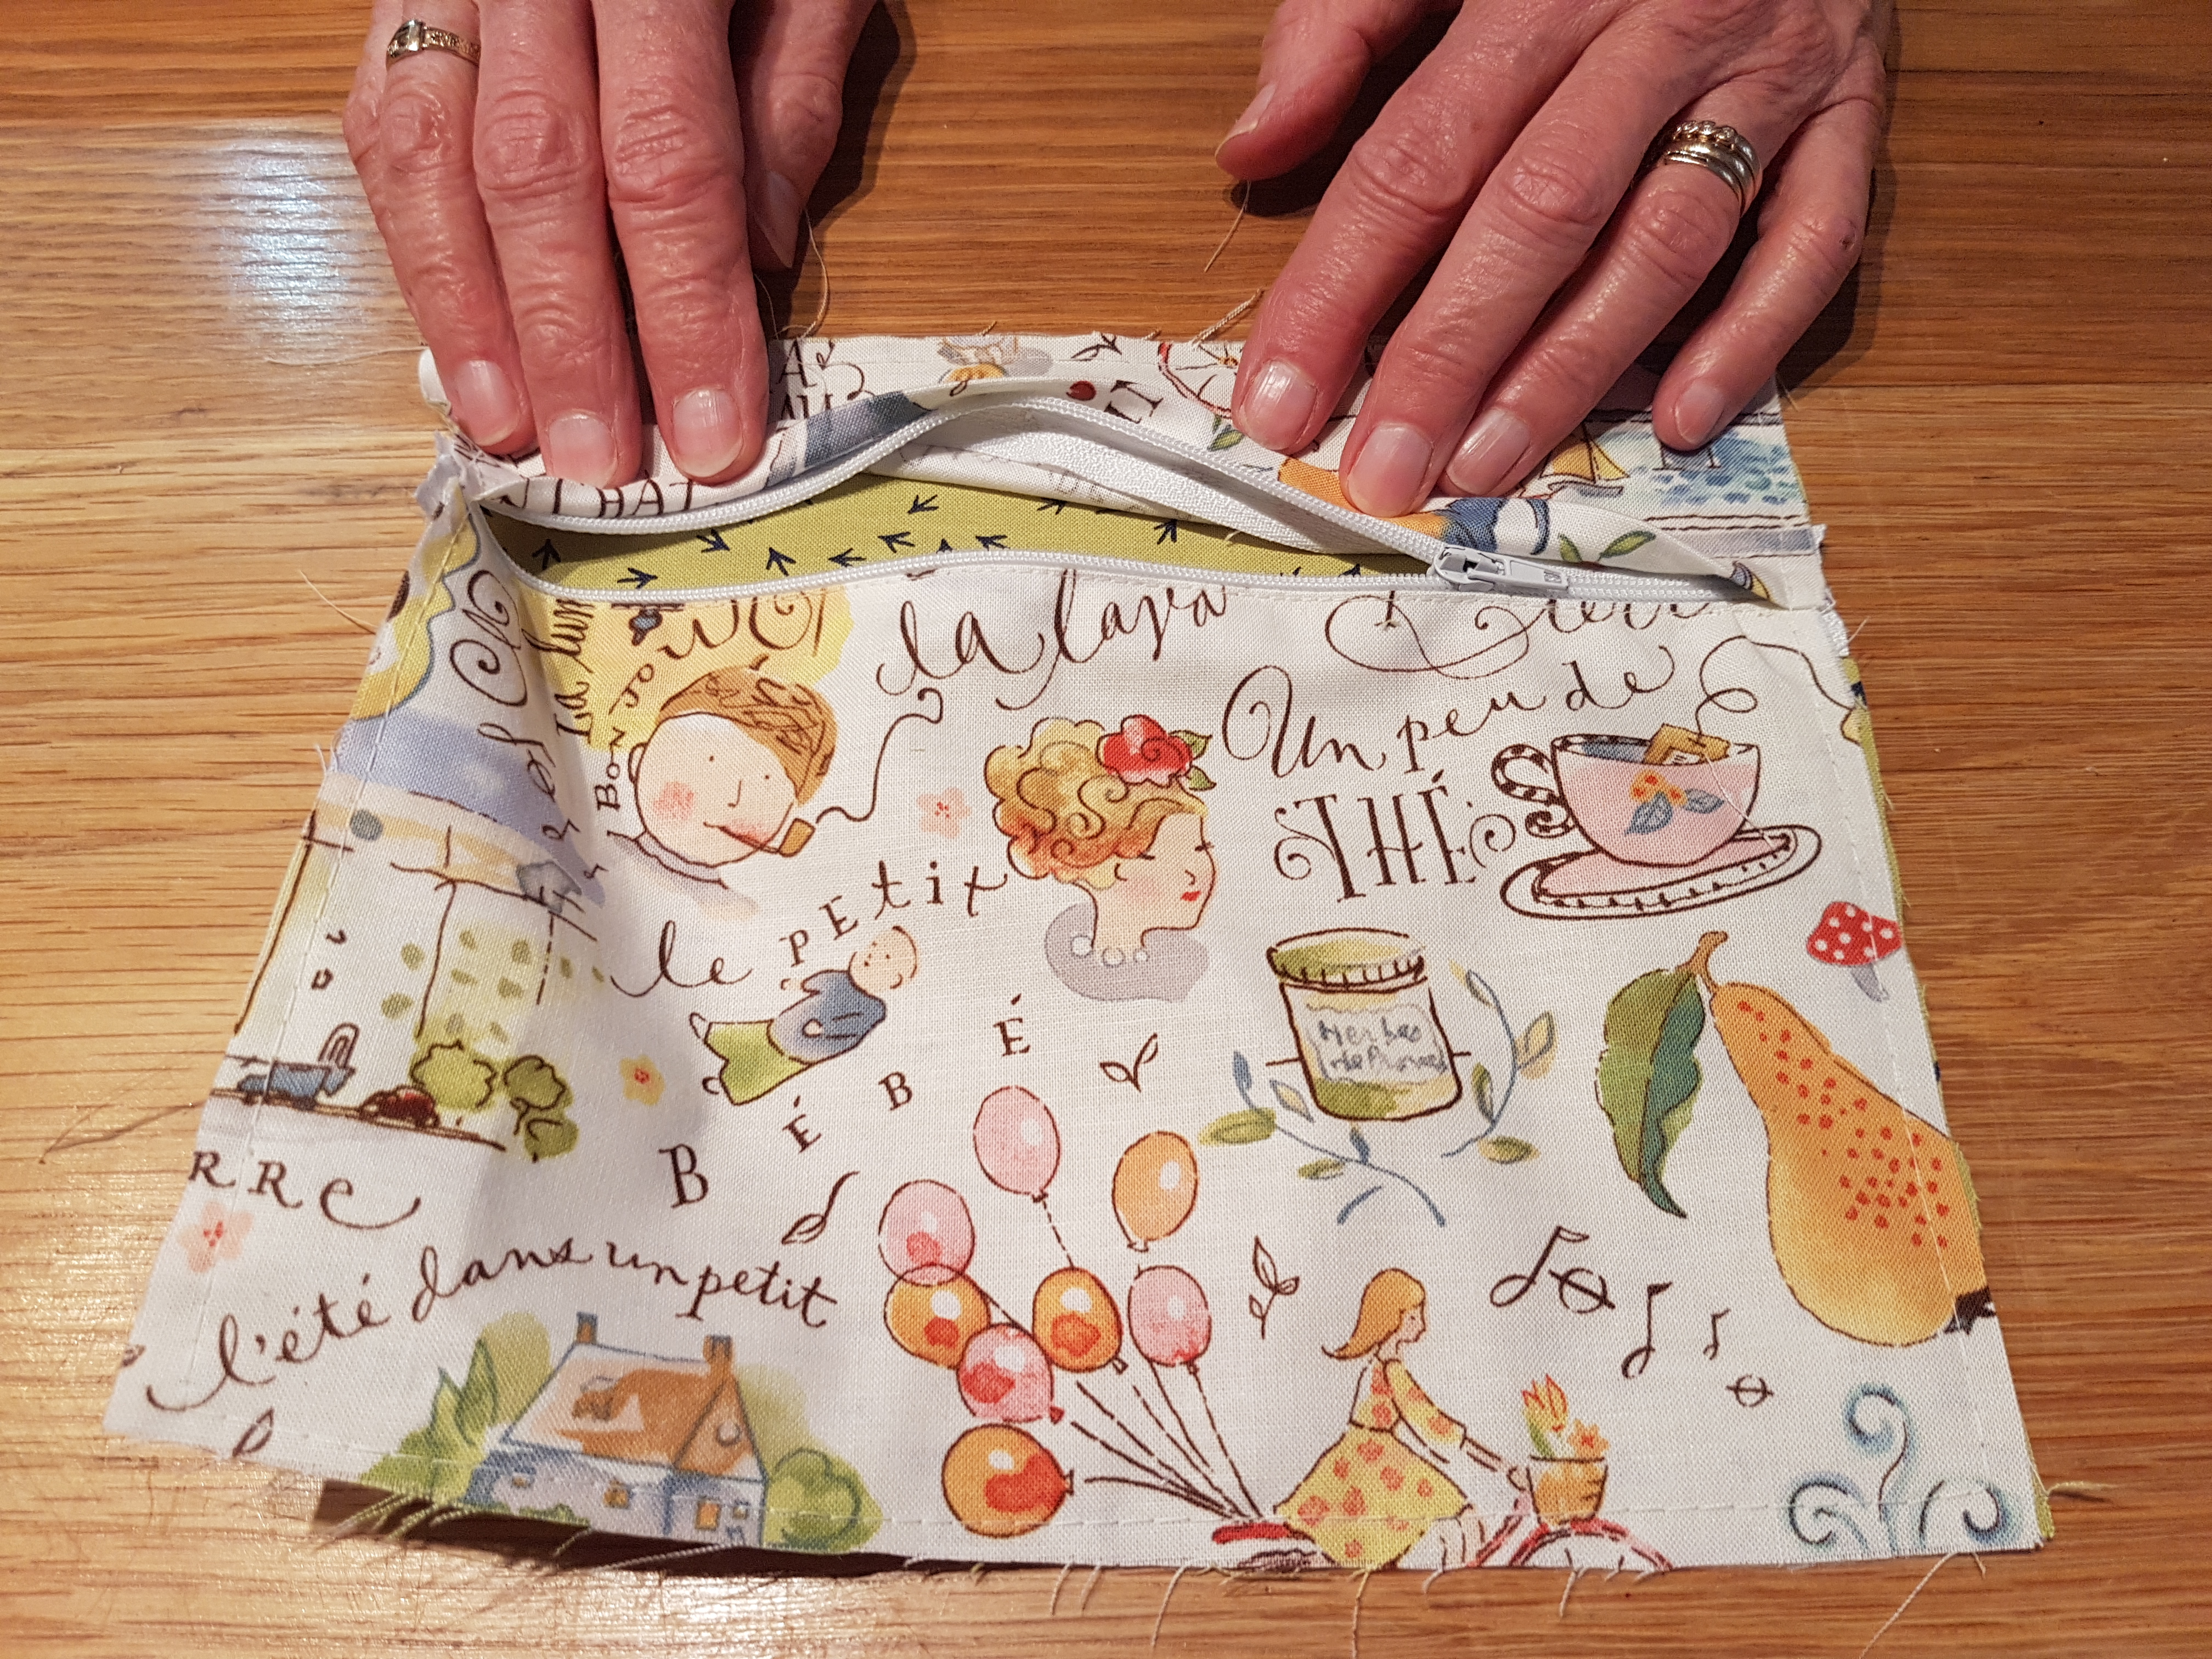
Put the interfaced bag piece and the pocket piece right sides facing. Sew together along 3 sides leaving the top edge open.
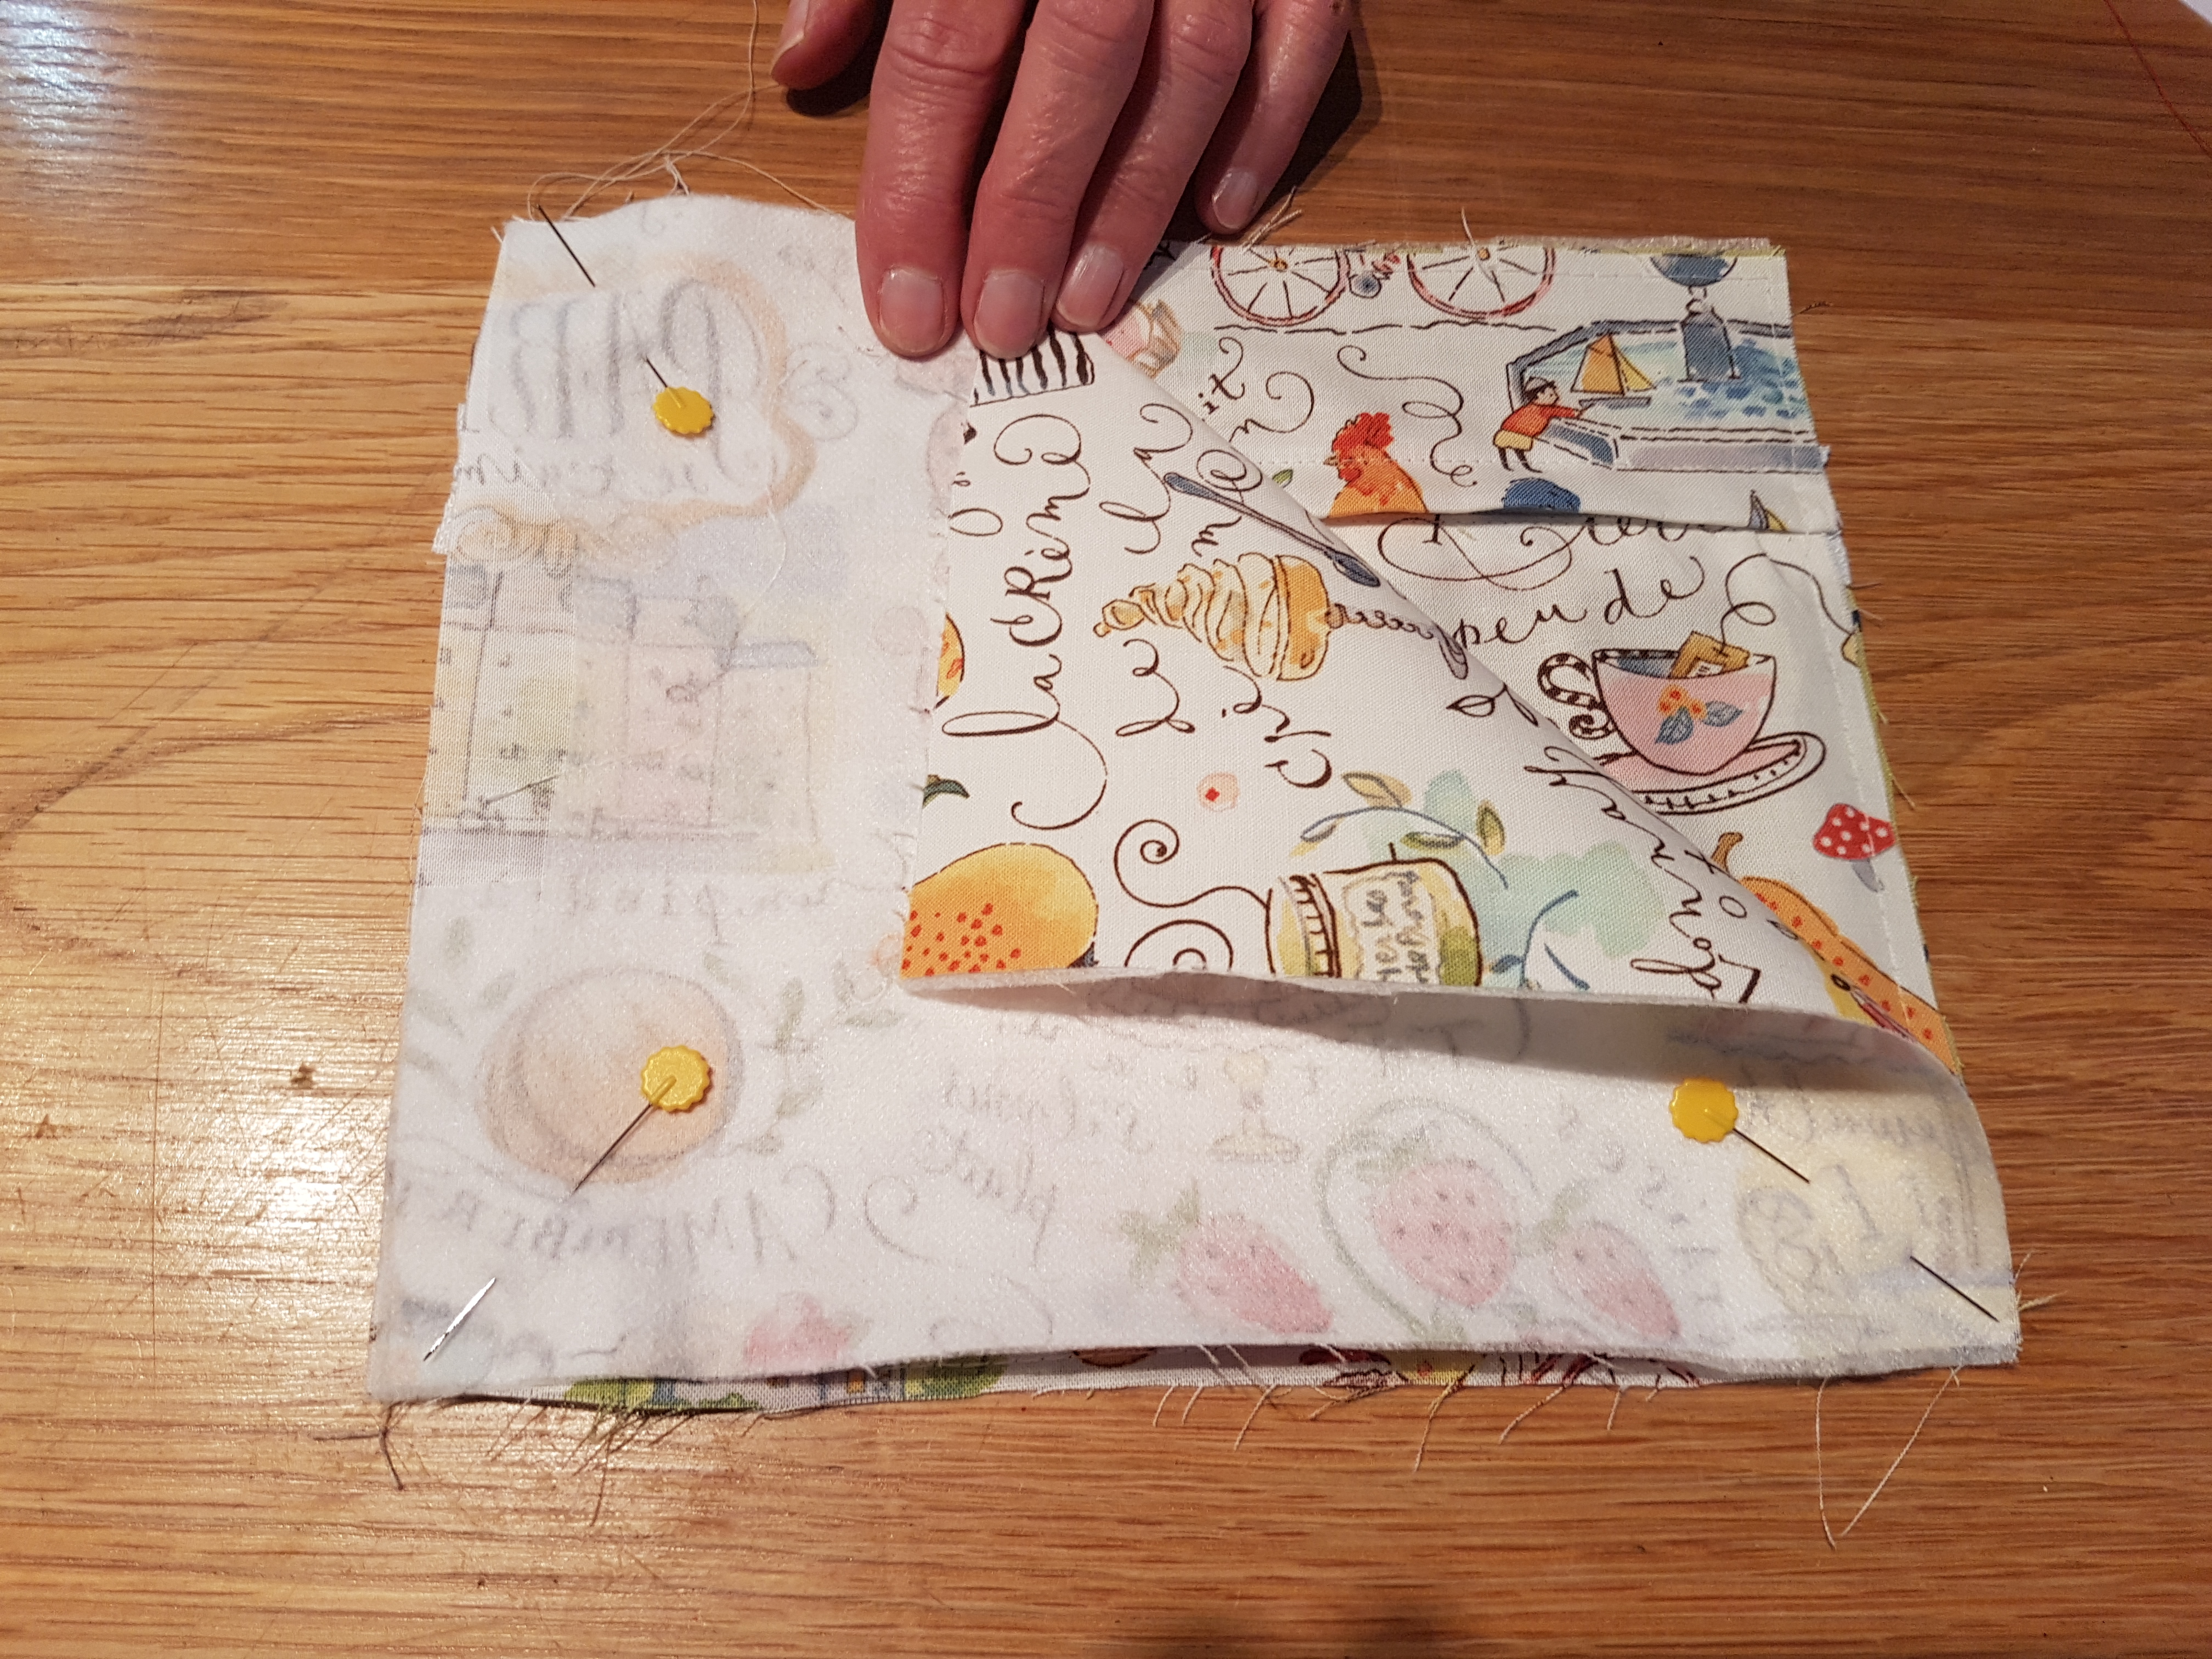
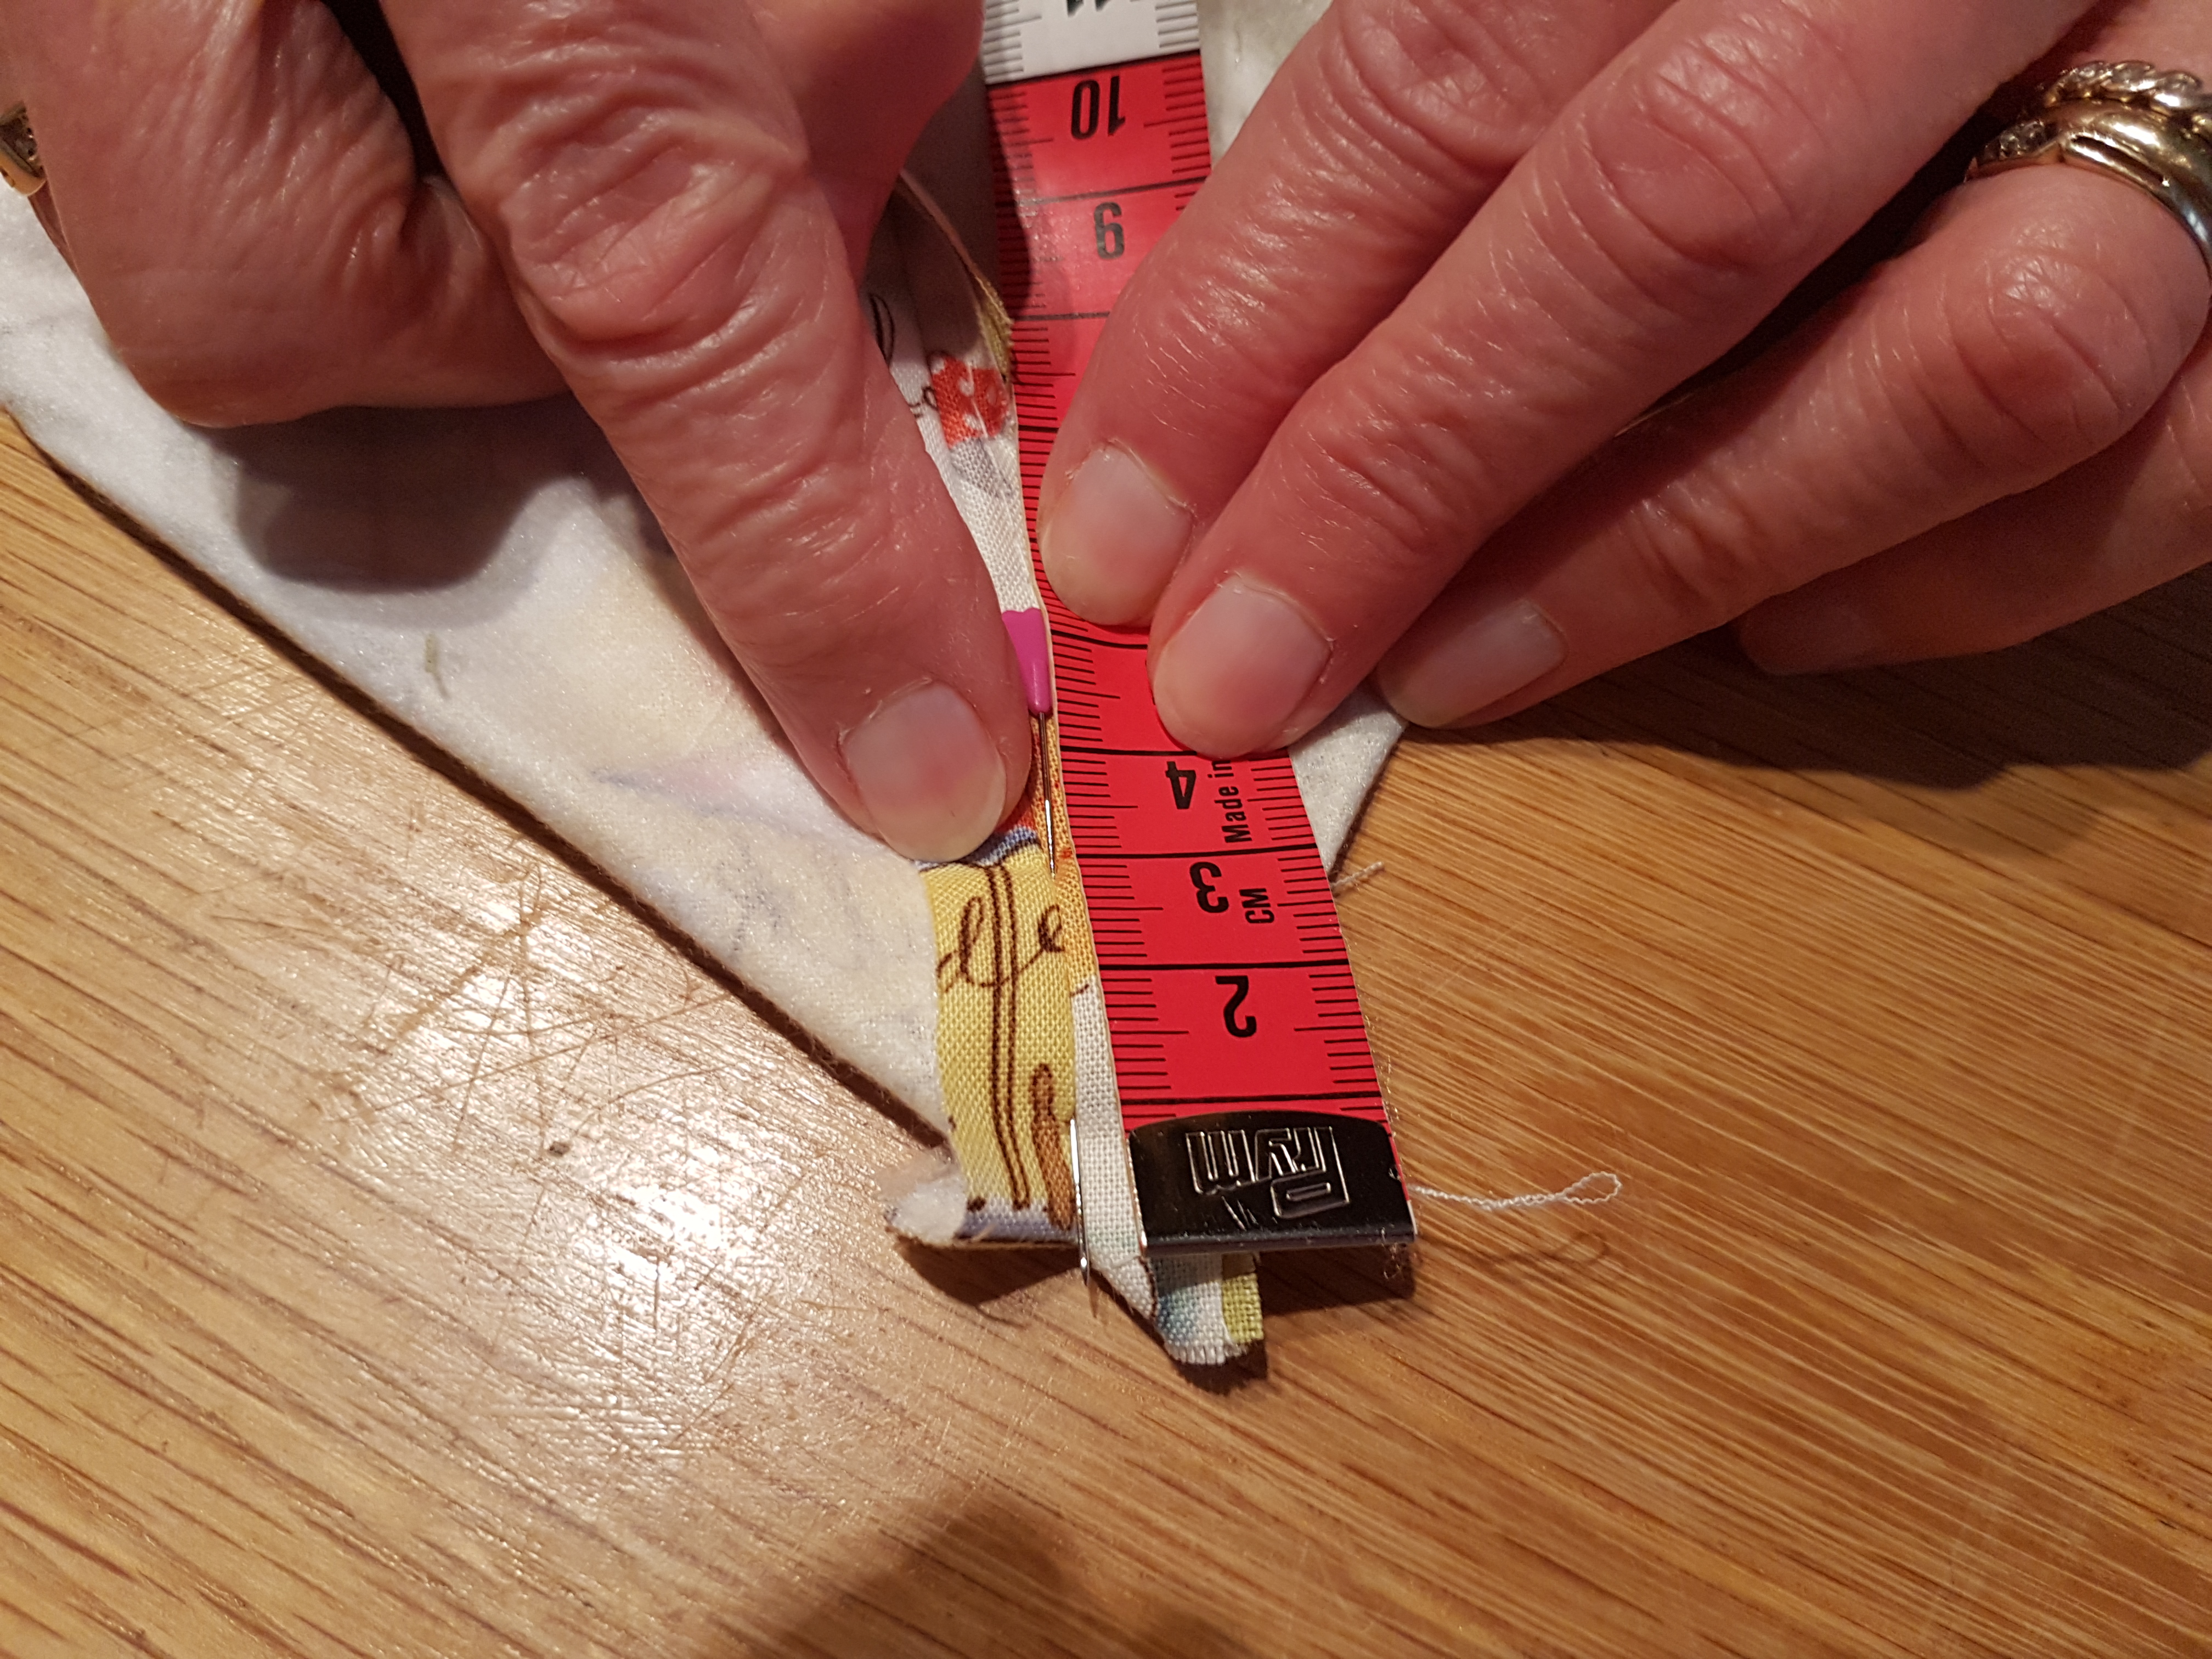
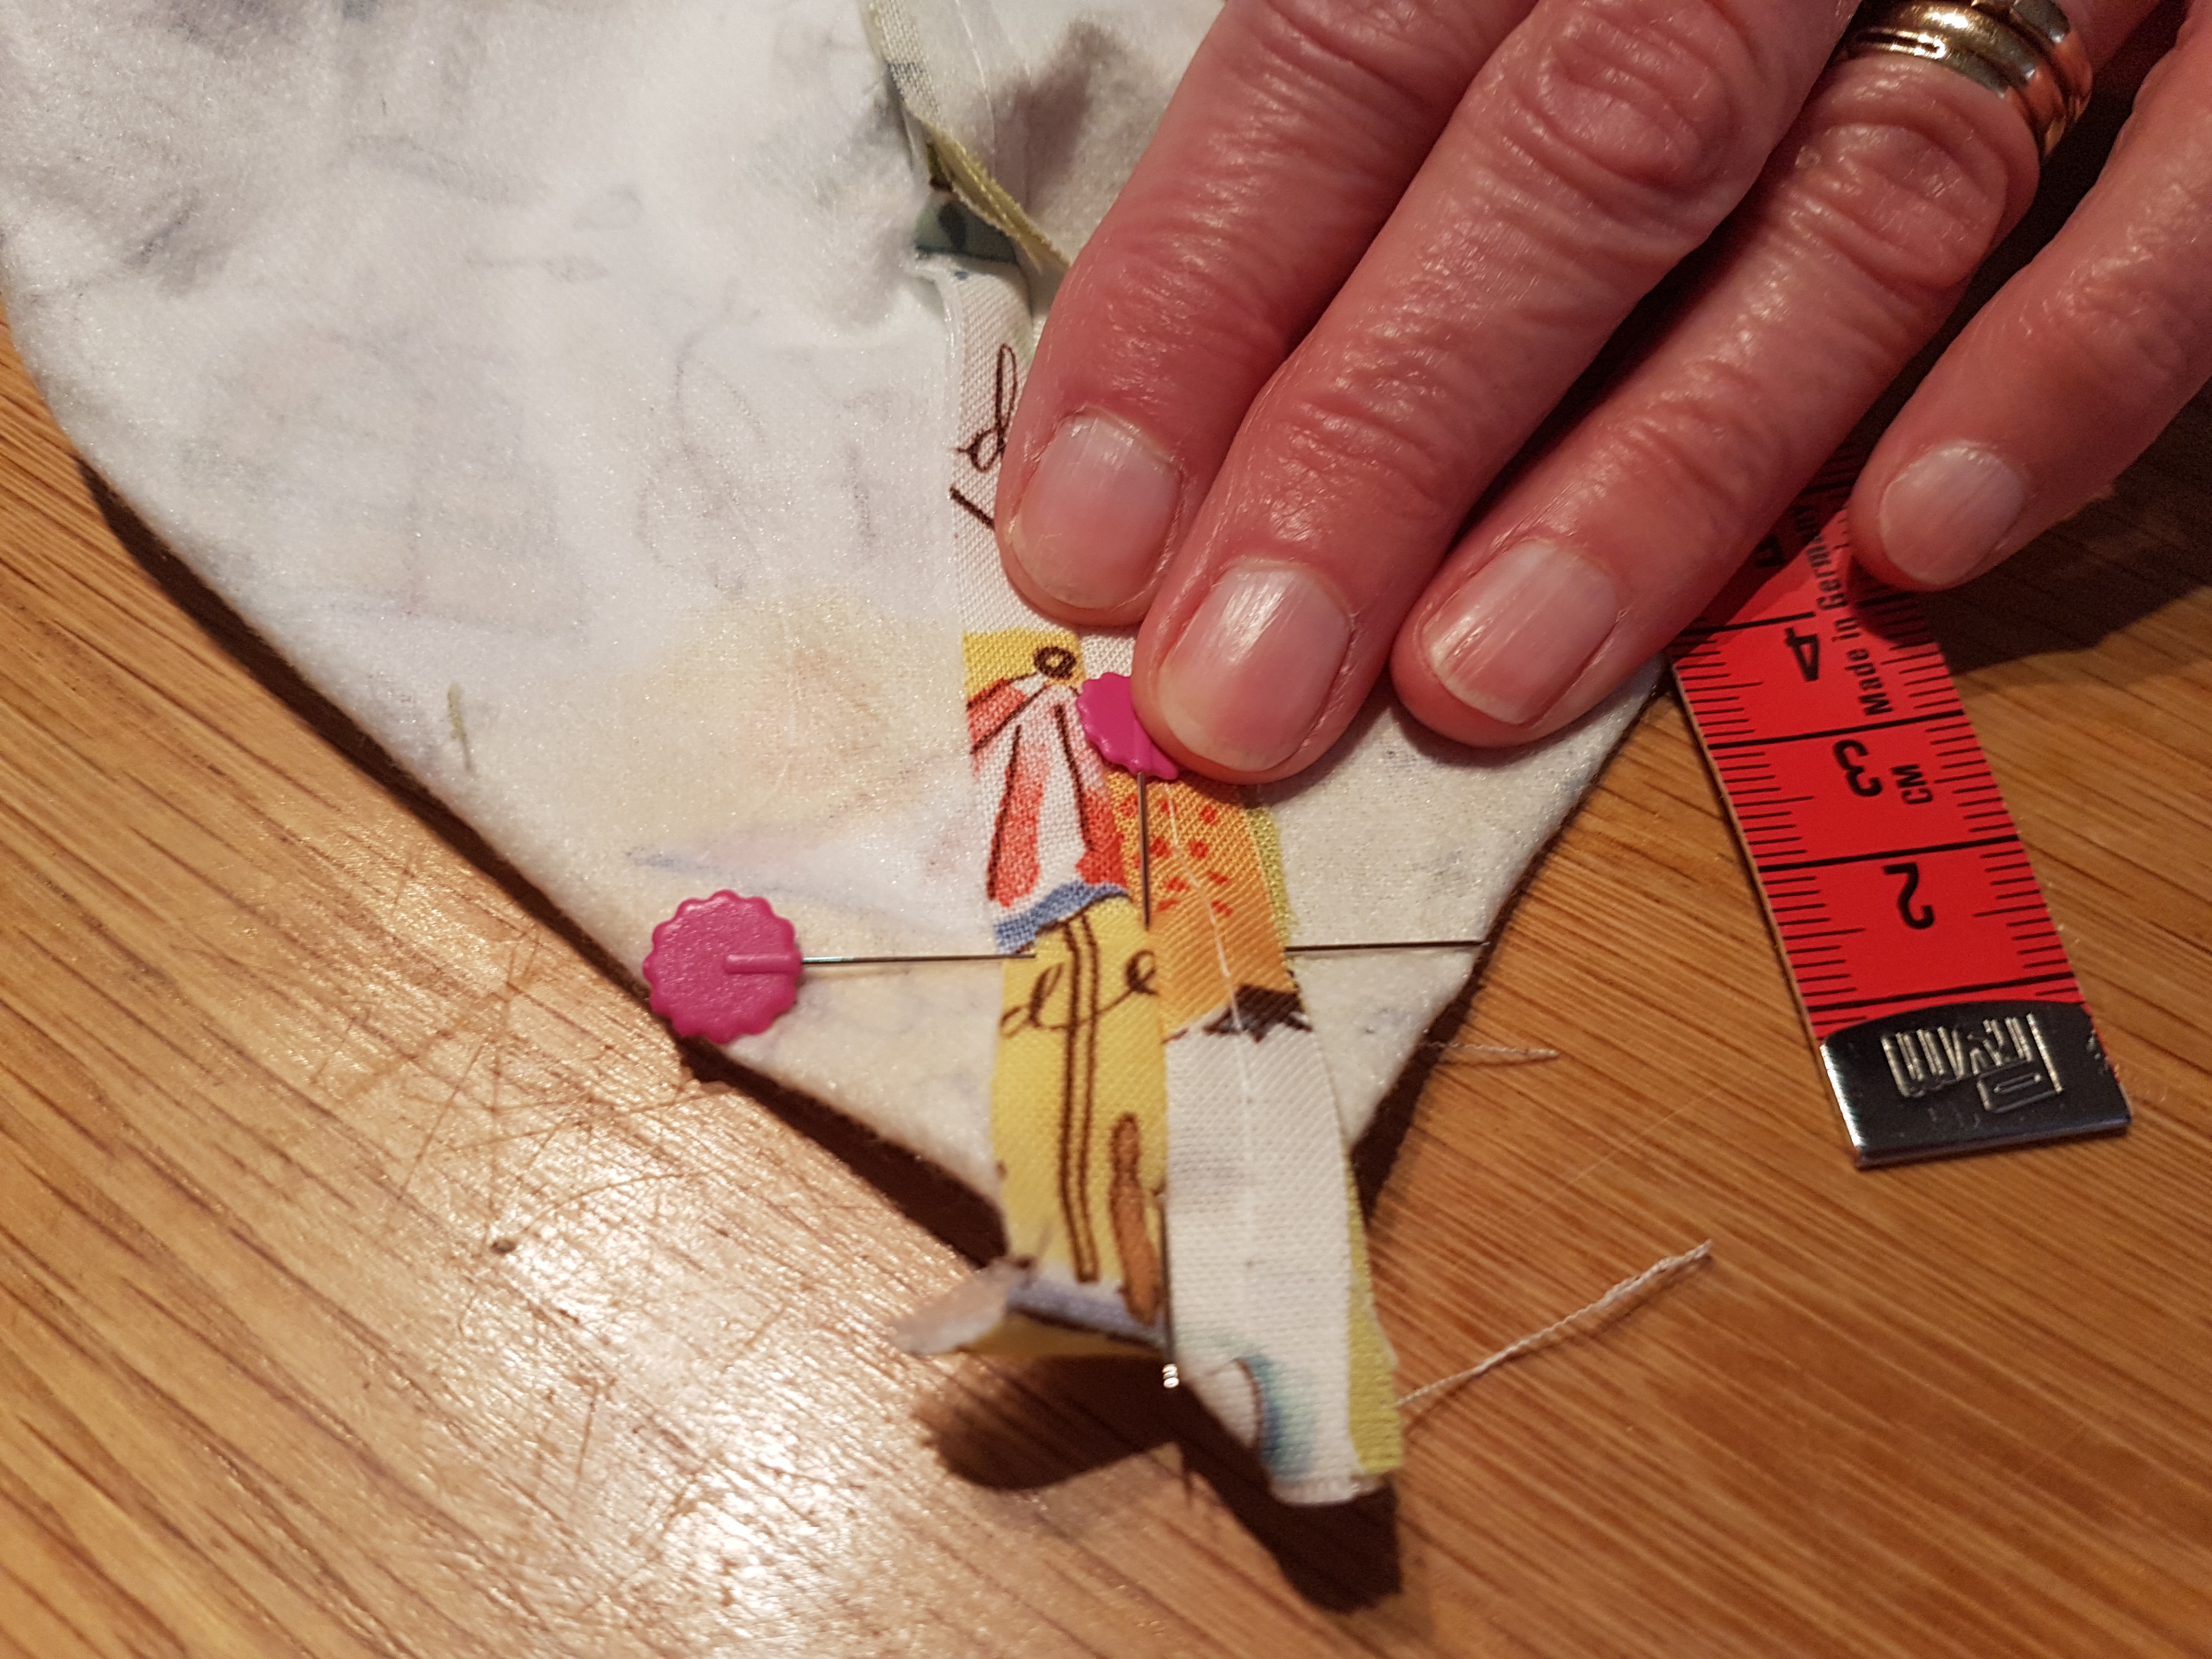
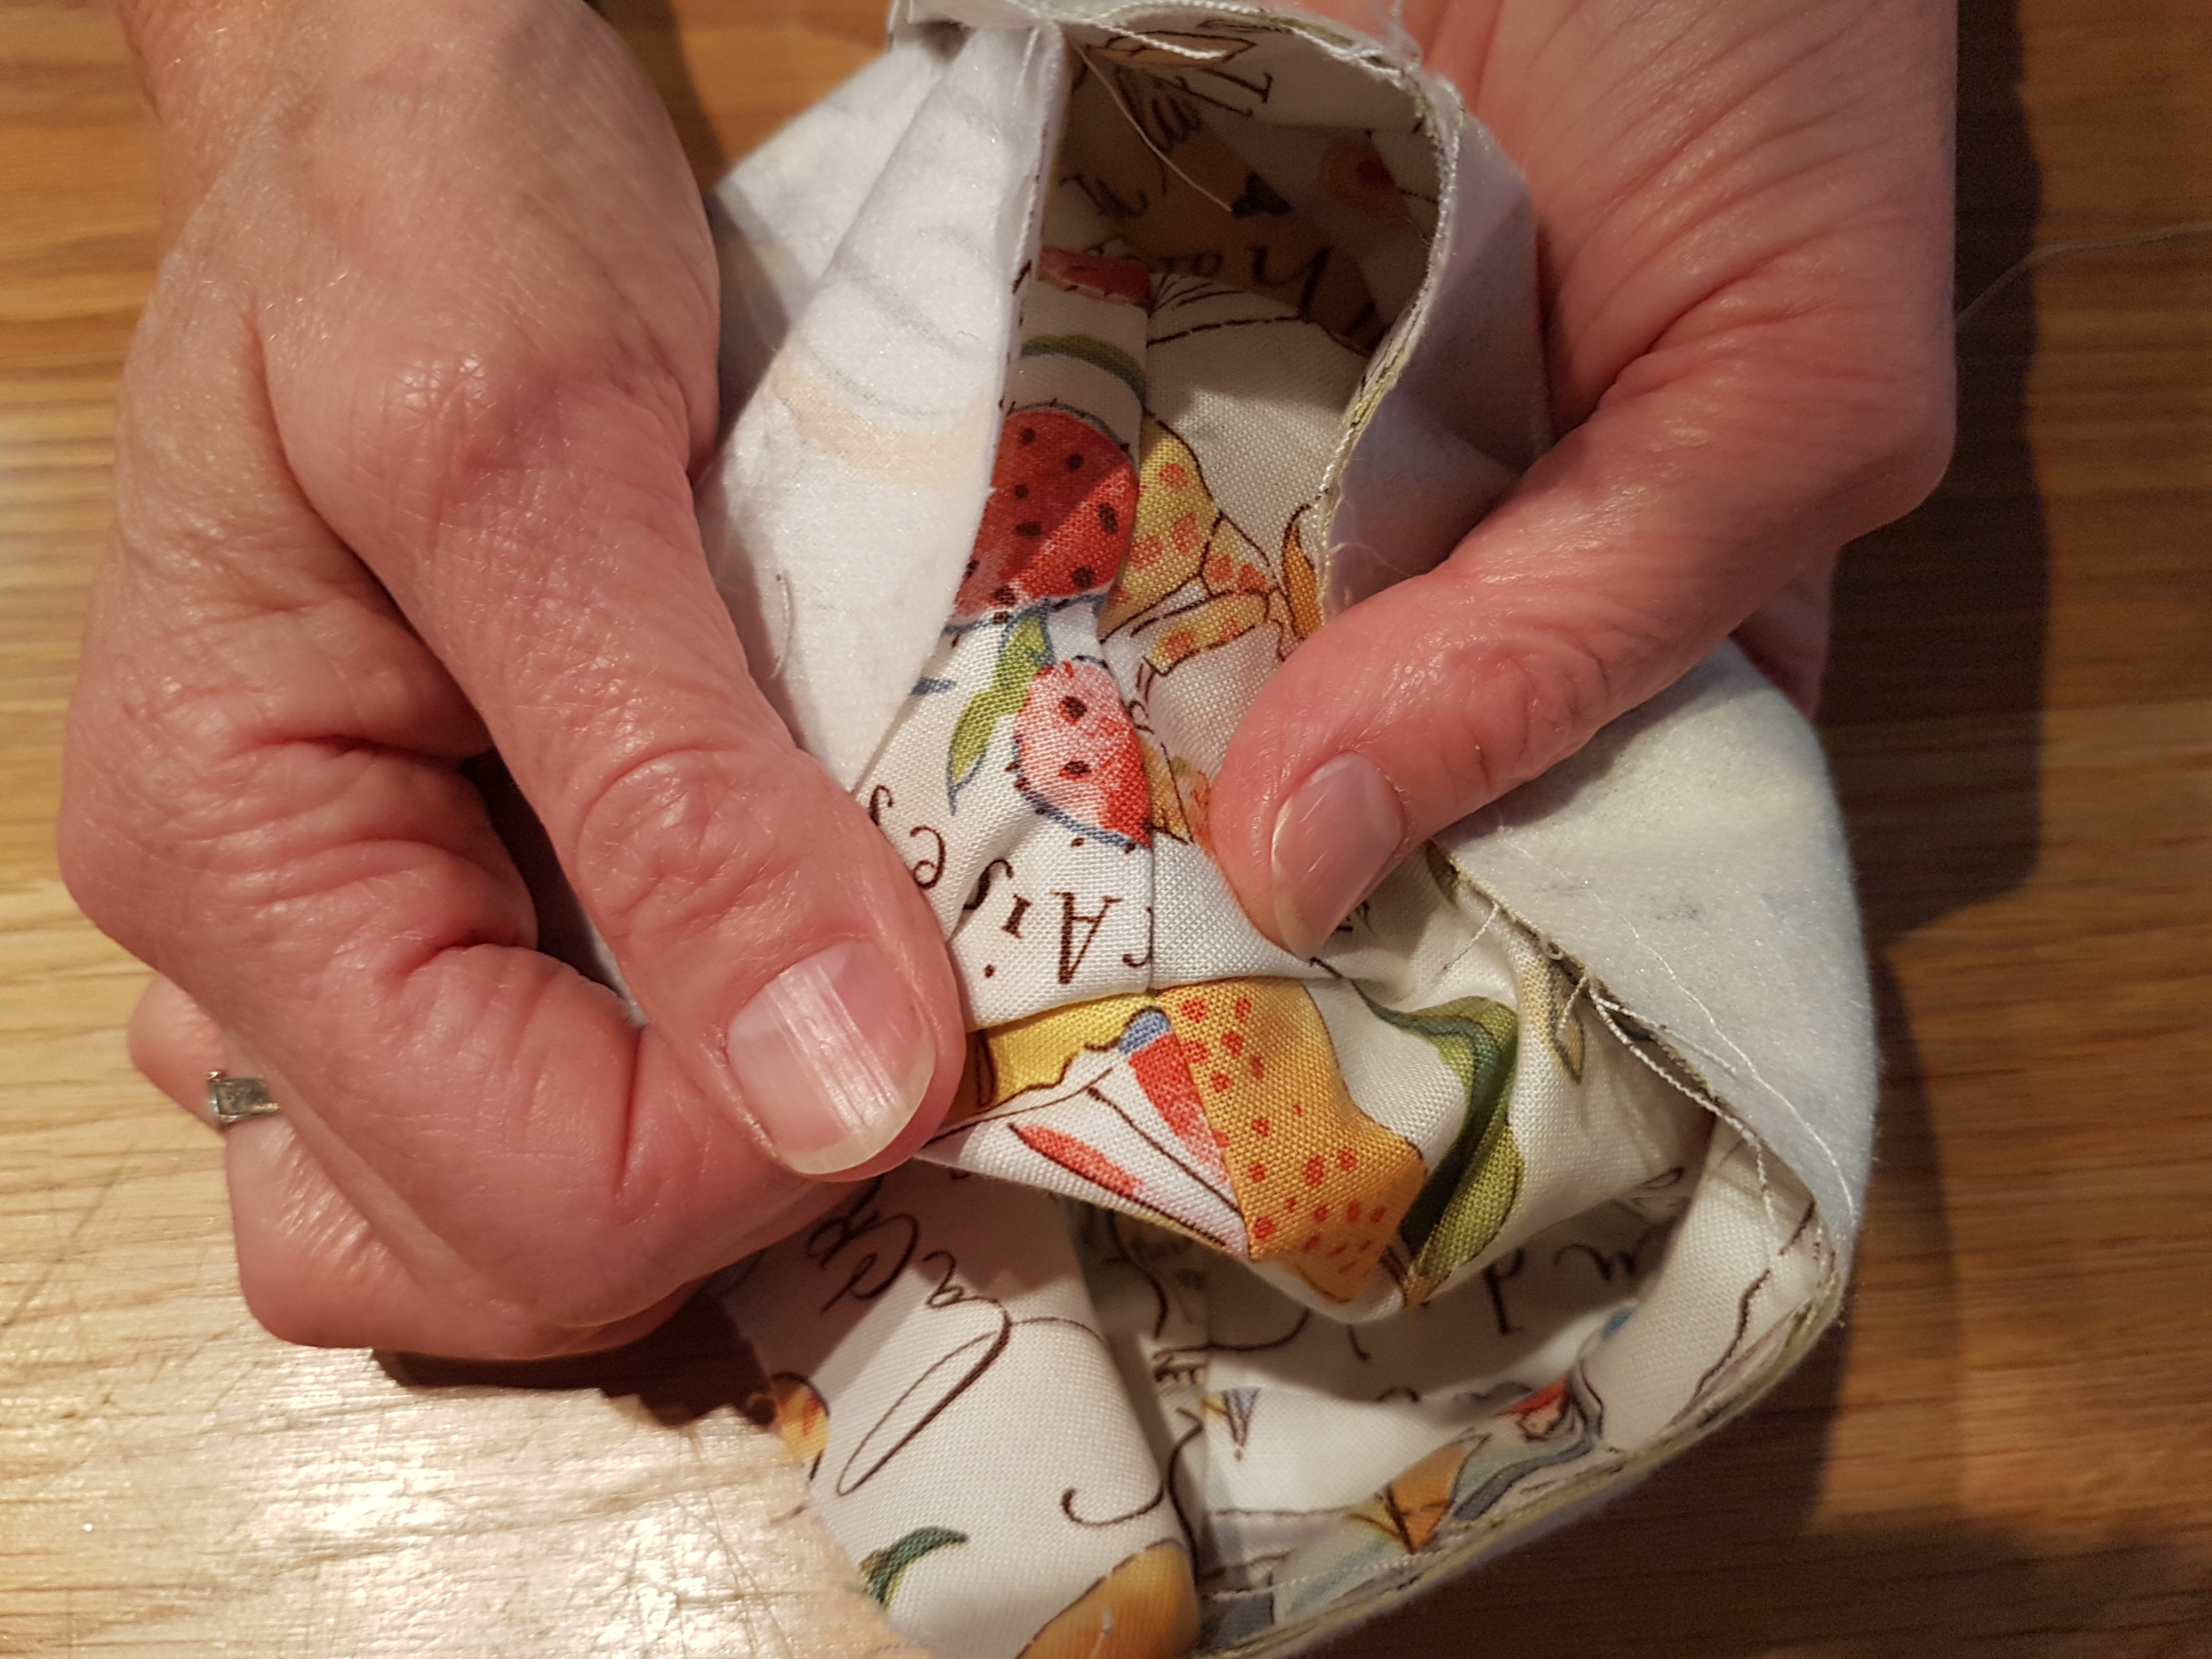
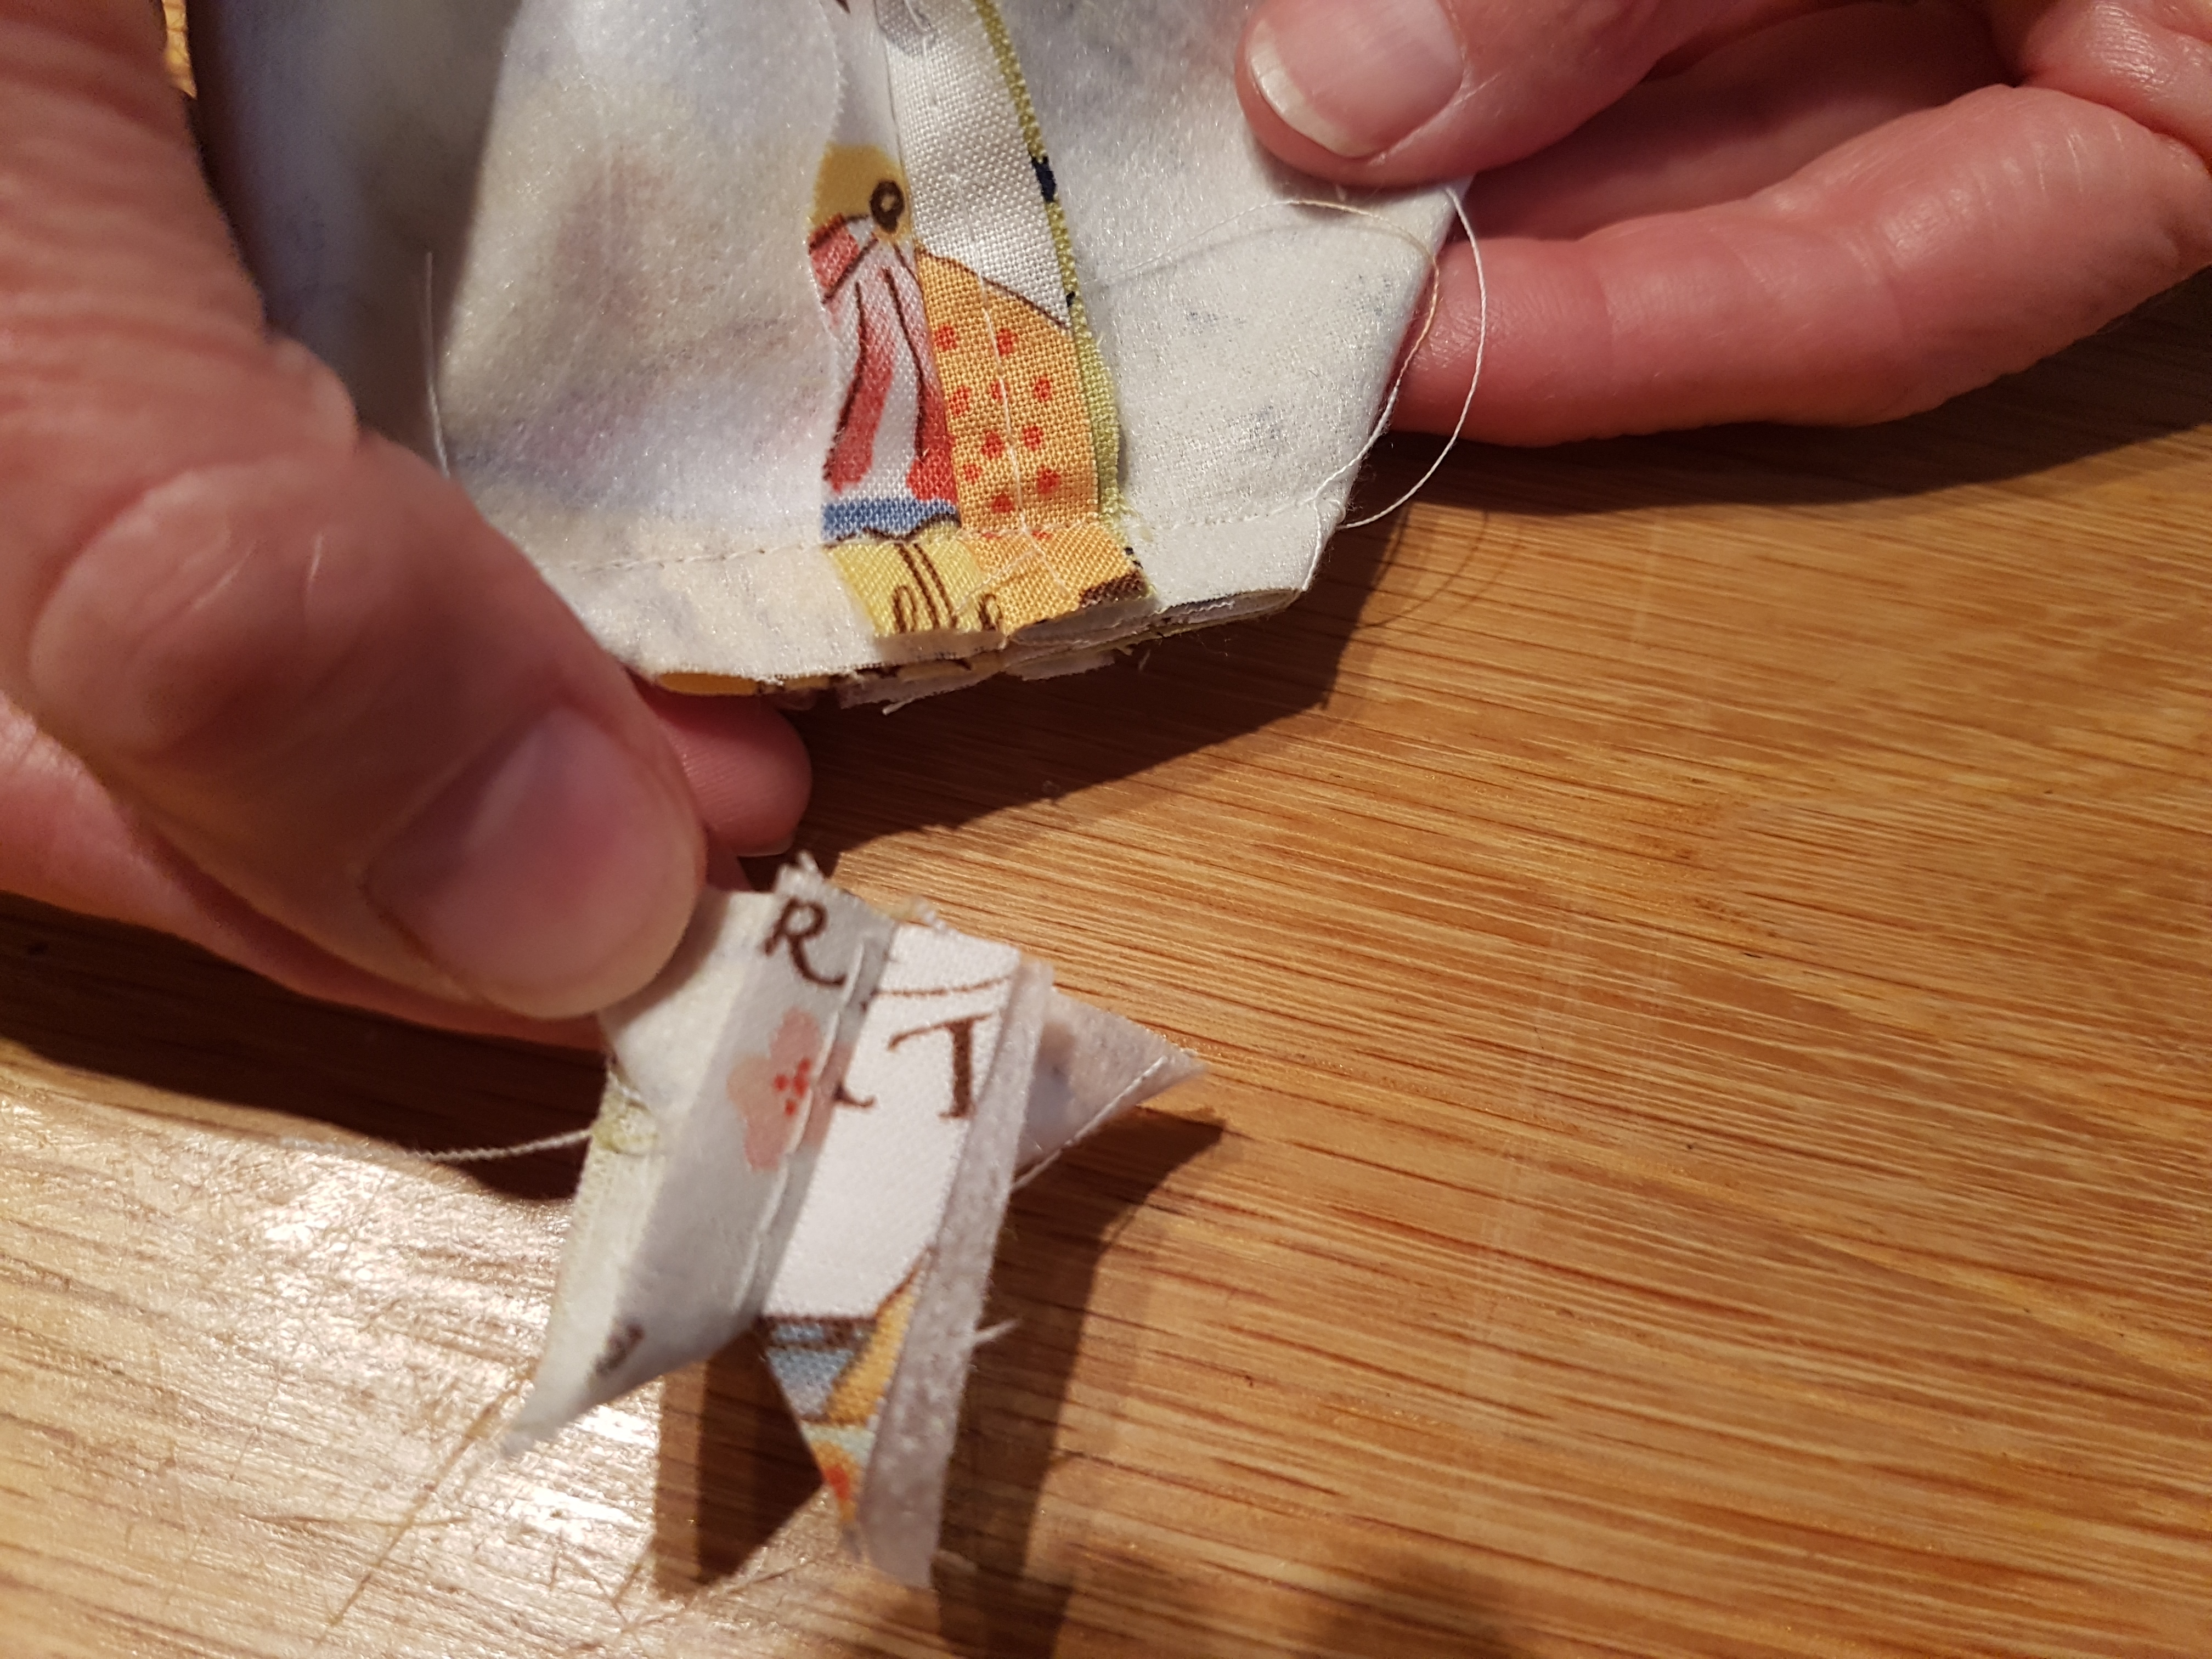
To make the boxed corners, fold the bottom of bag as shown in the picture. Line up the side seam and the bottom seam. Measure 3cm from the corner and stich across. Trim. Repeat for other side.
Bag Flap:
Put flap and lining flap right sides together. Pin and sew along curved edge. Snip curves. Turn right side out and press.
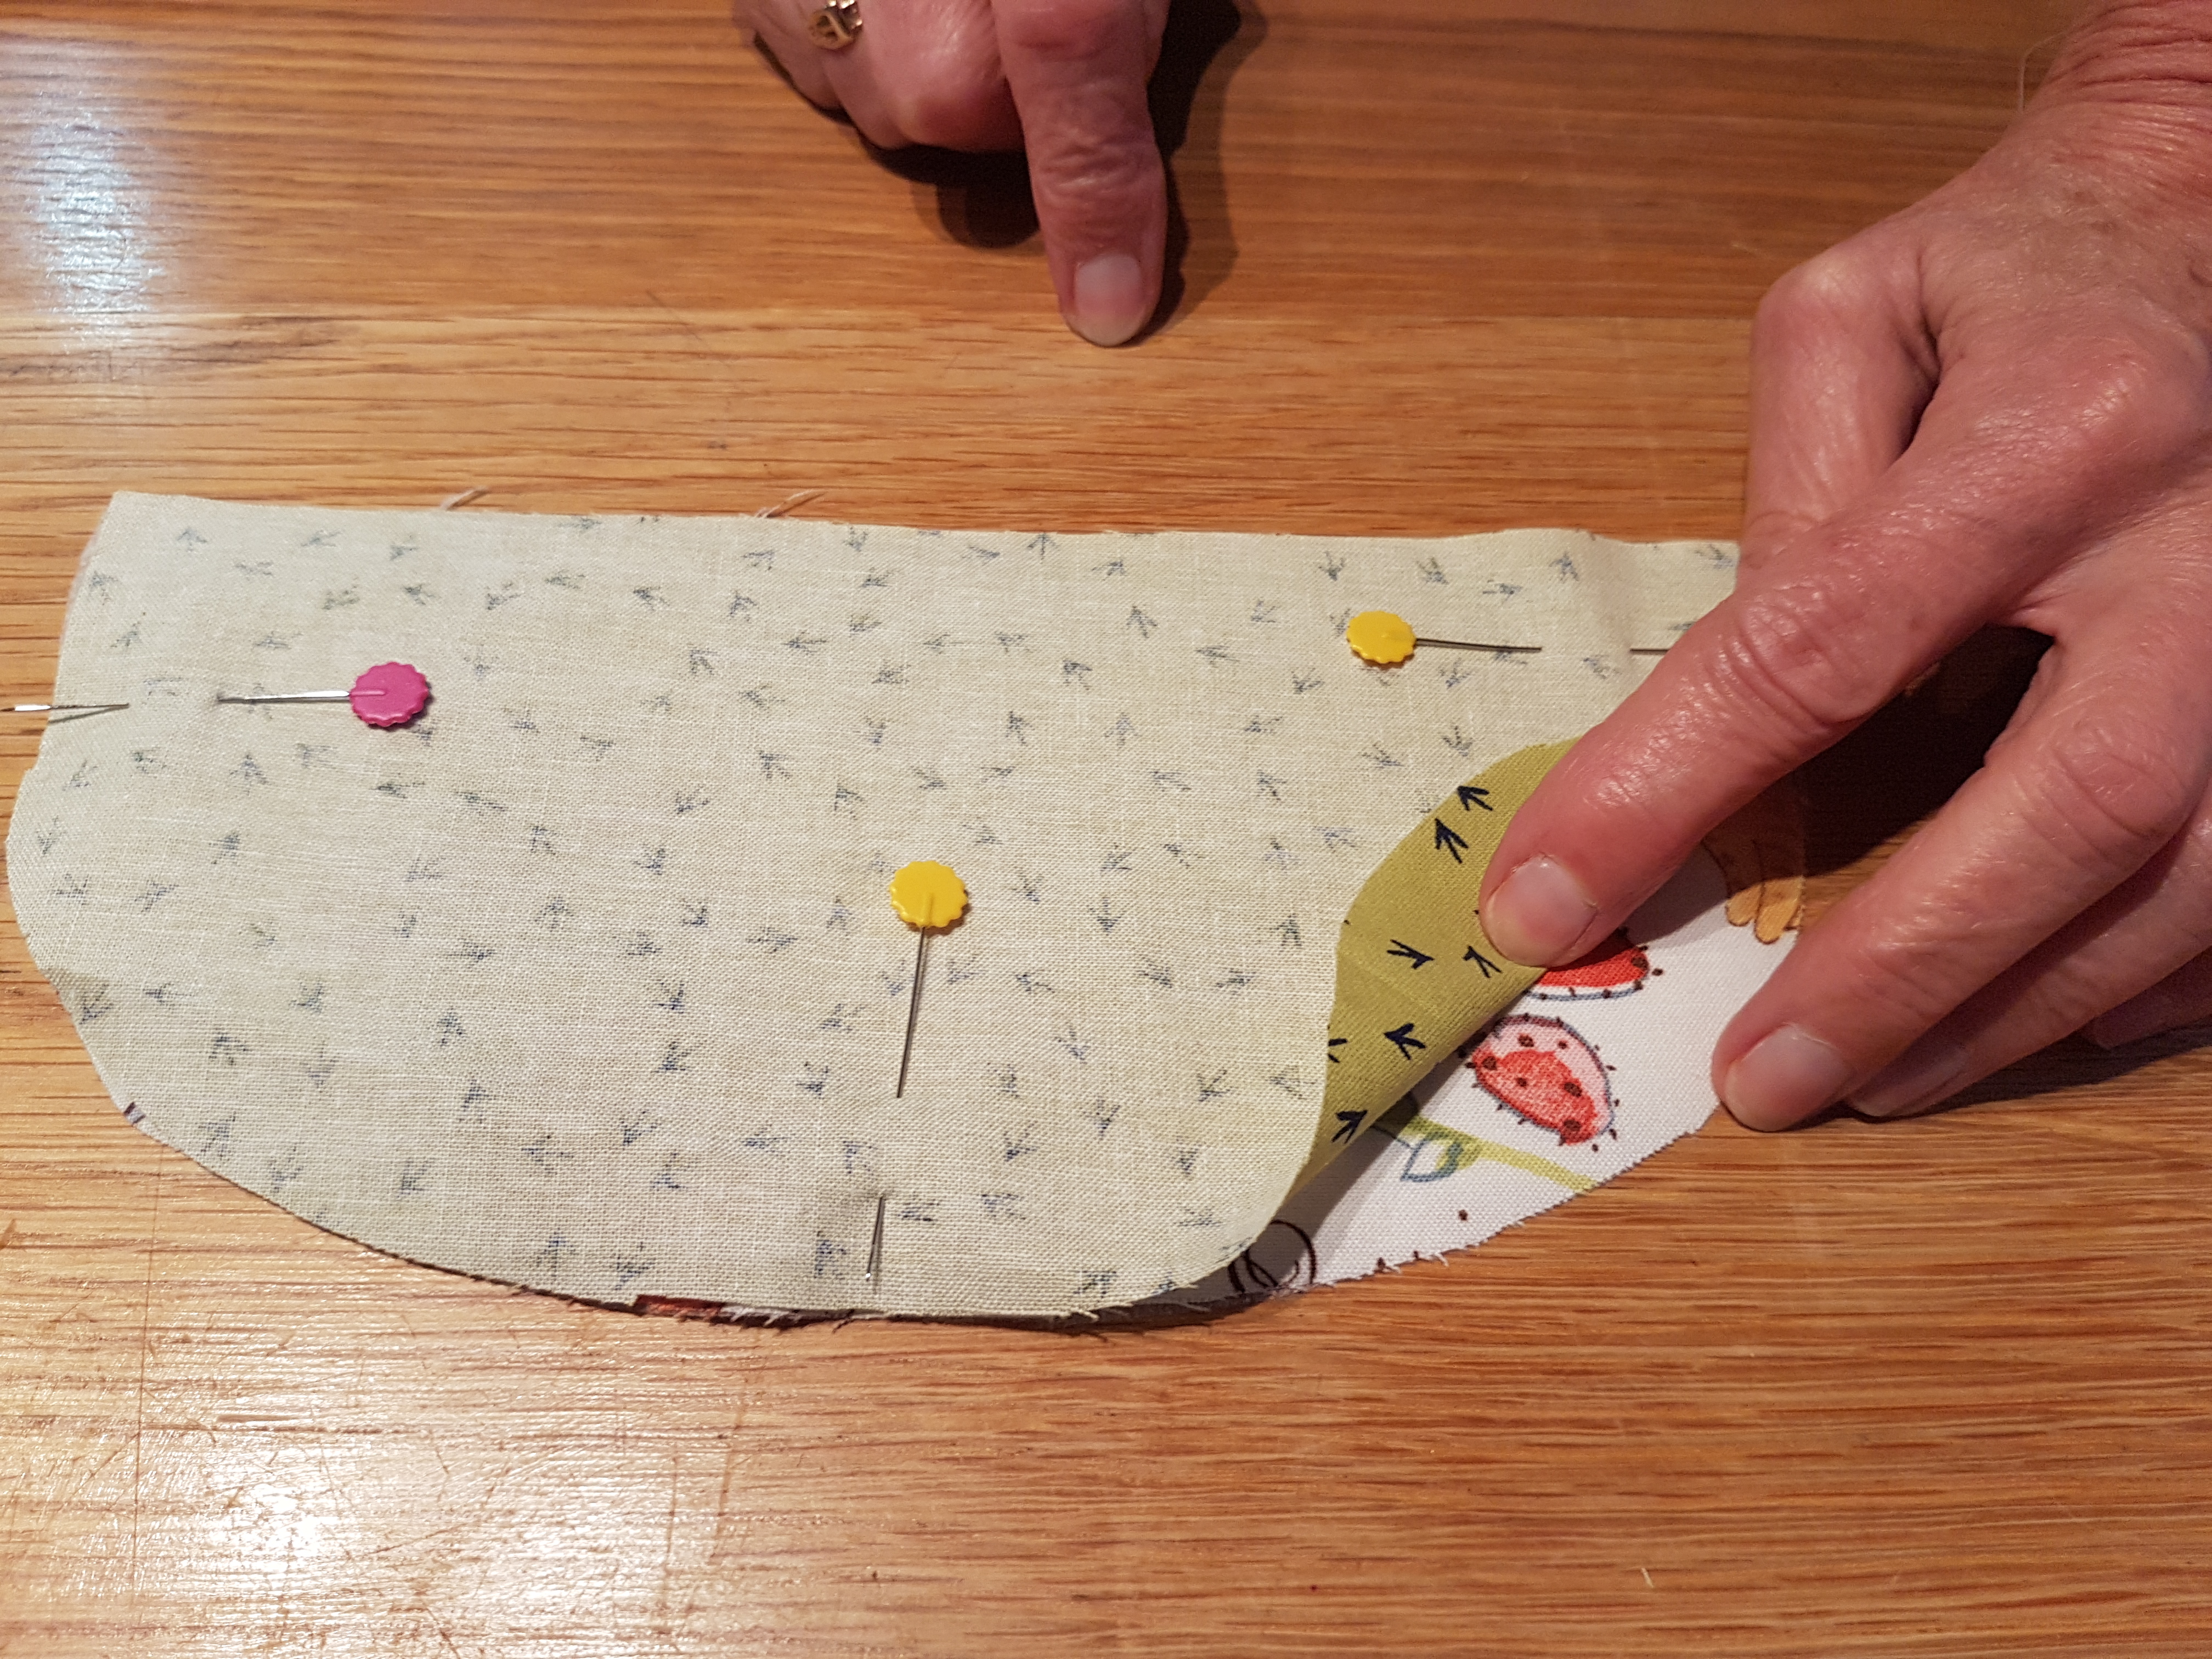
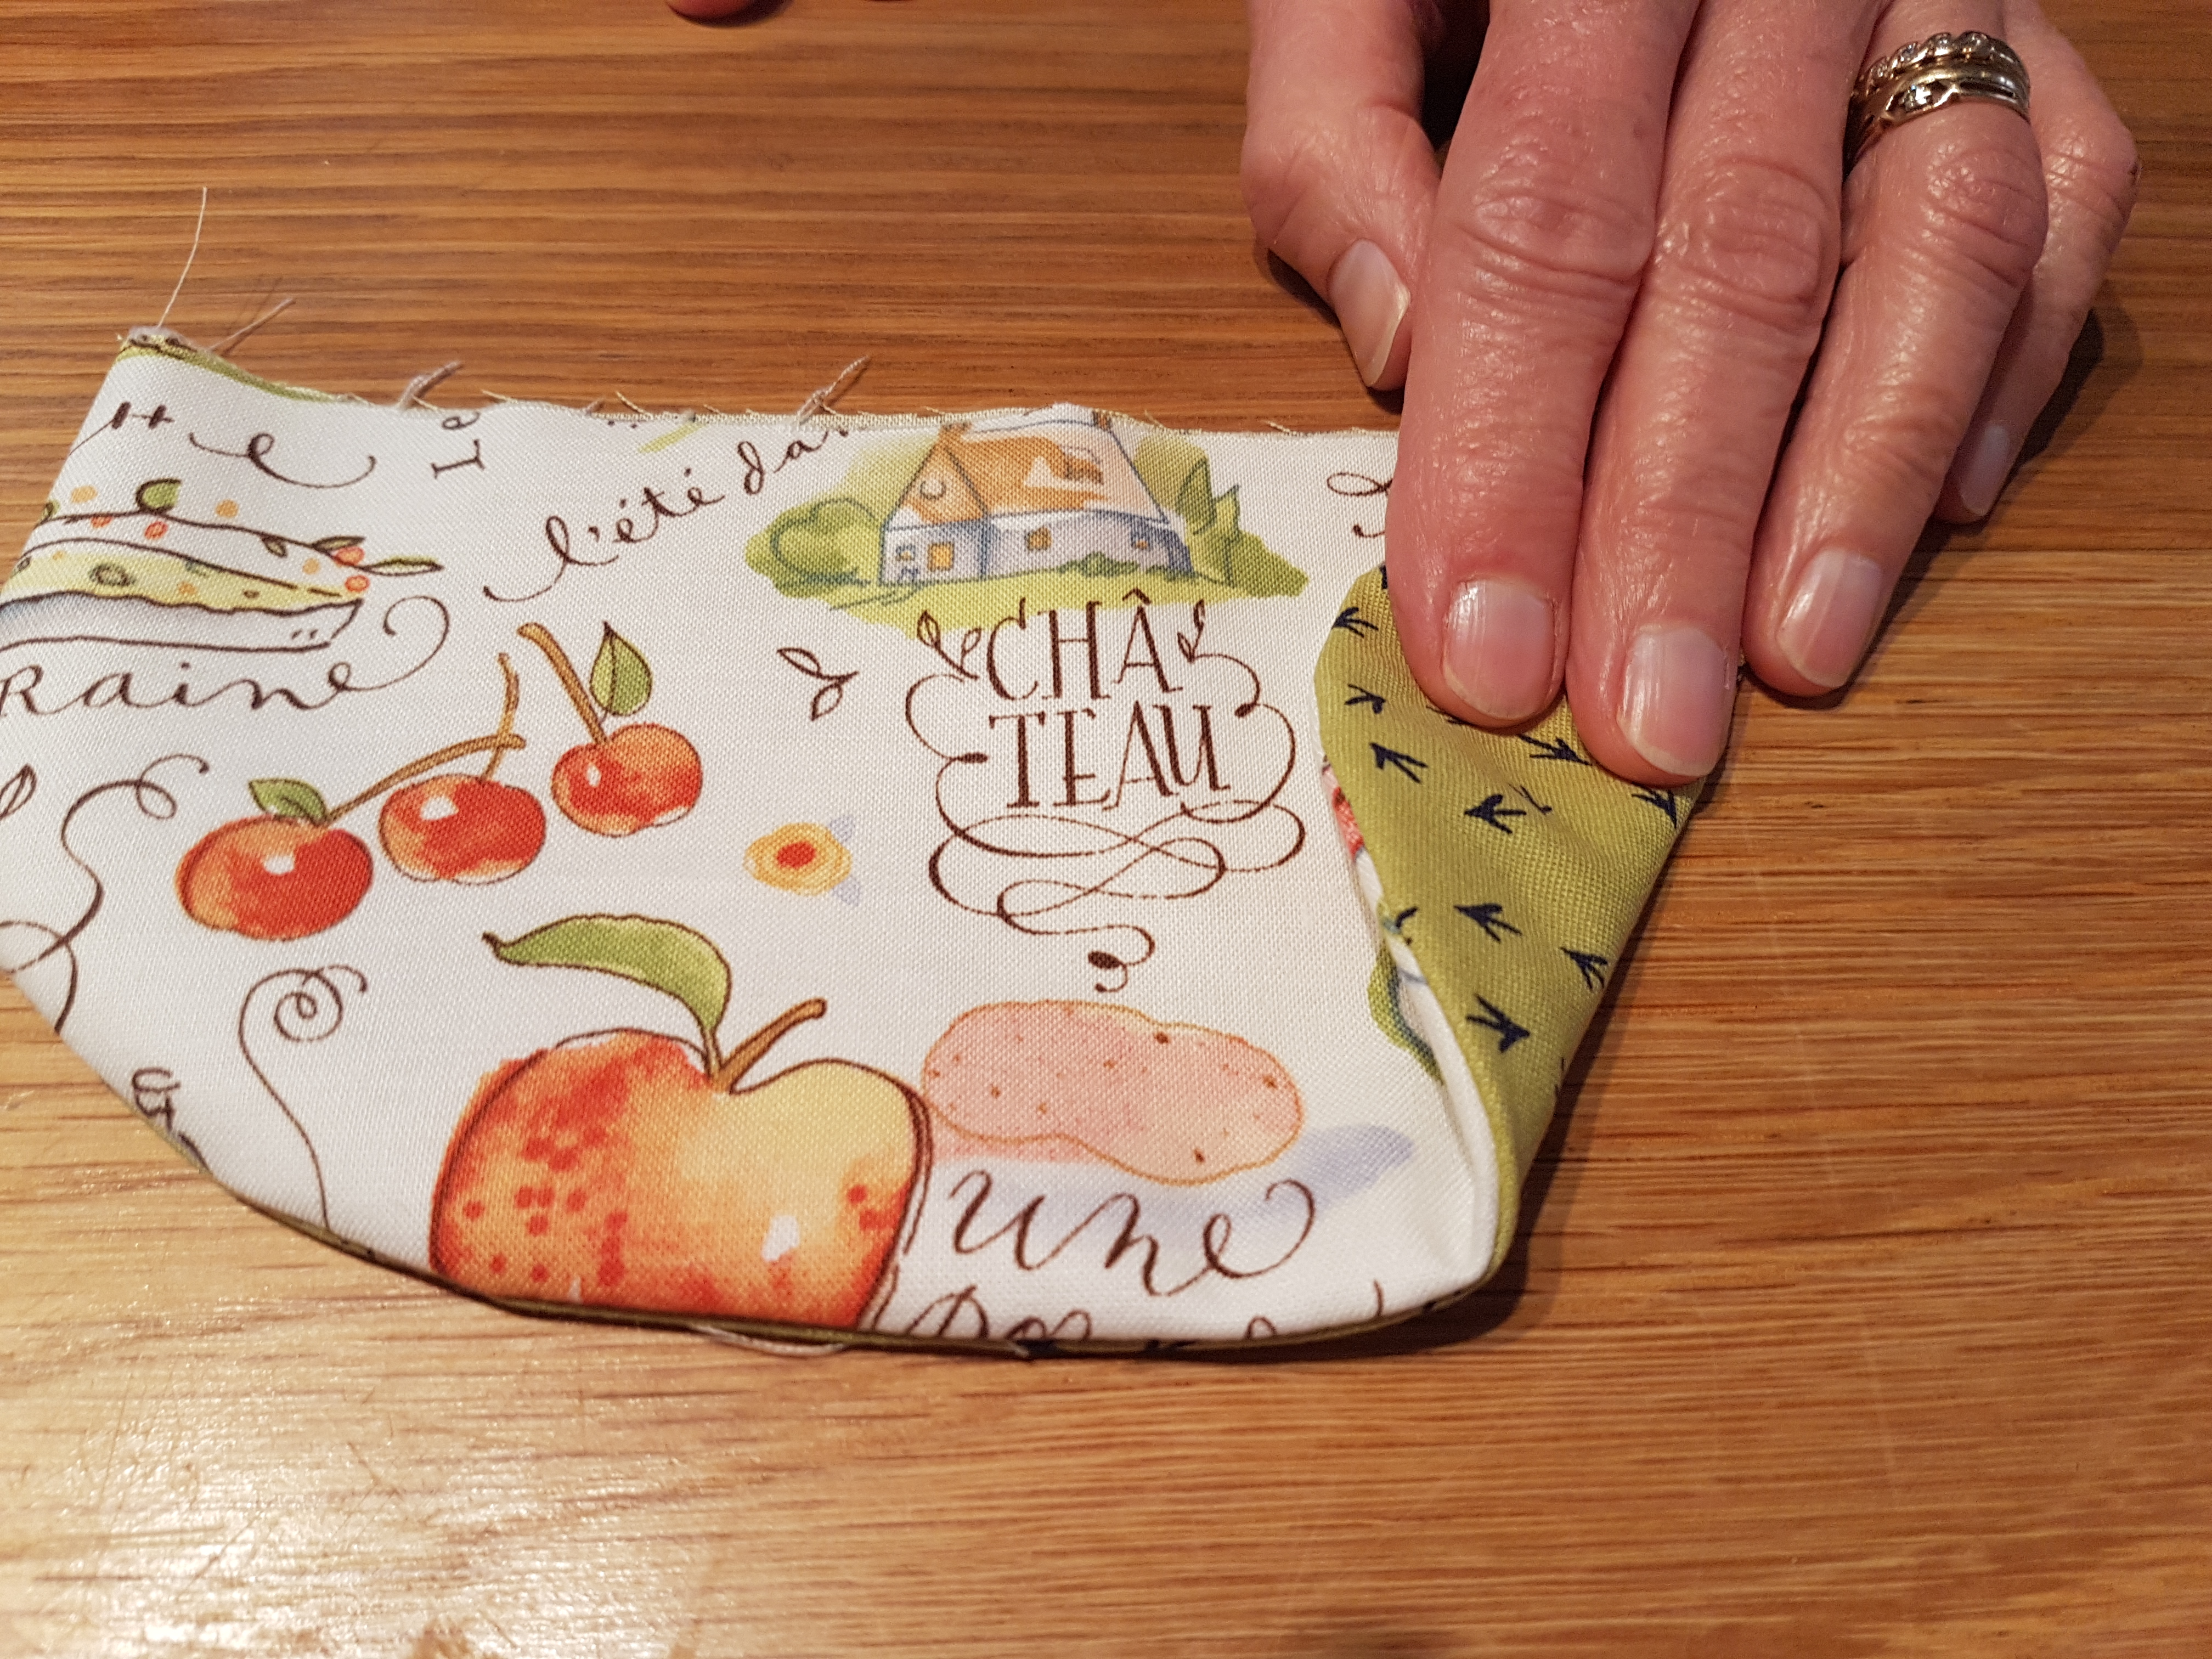
On the right side of the flap, top stich along the curved edge. We used the edge of the machine foot as a guide.
Make a buttonhole in the centre of the flap about 0.5cm from the curved edge. You can use a snap fastener or Velcro if you prefer and add later.
Turn the bag right sides out and pin the flap to the zipped pocket side right sides together. Tack in place using your machine along the top edge keeping inside the seam allowance.
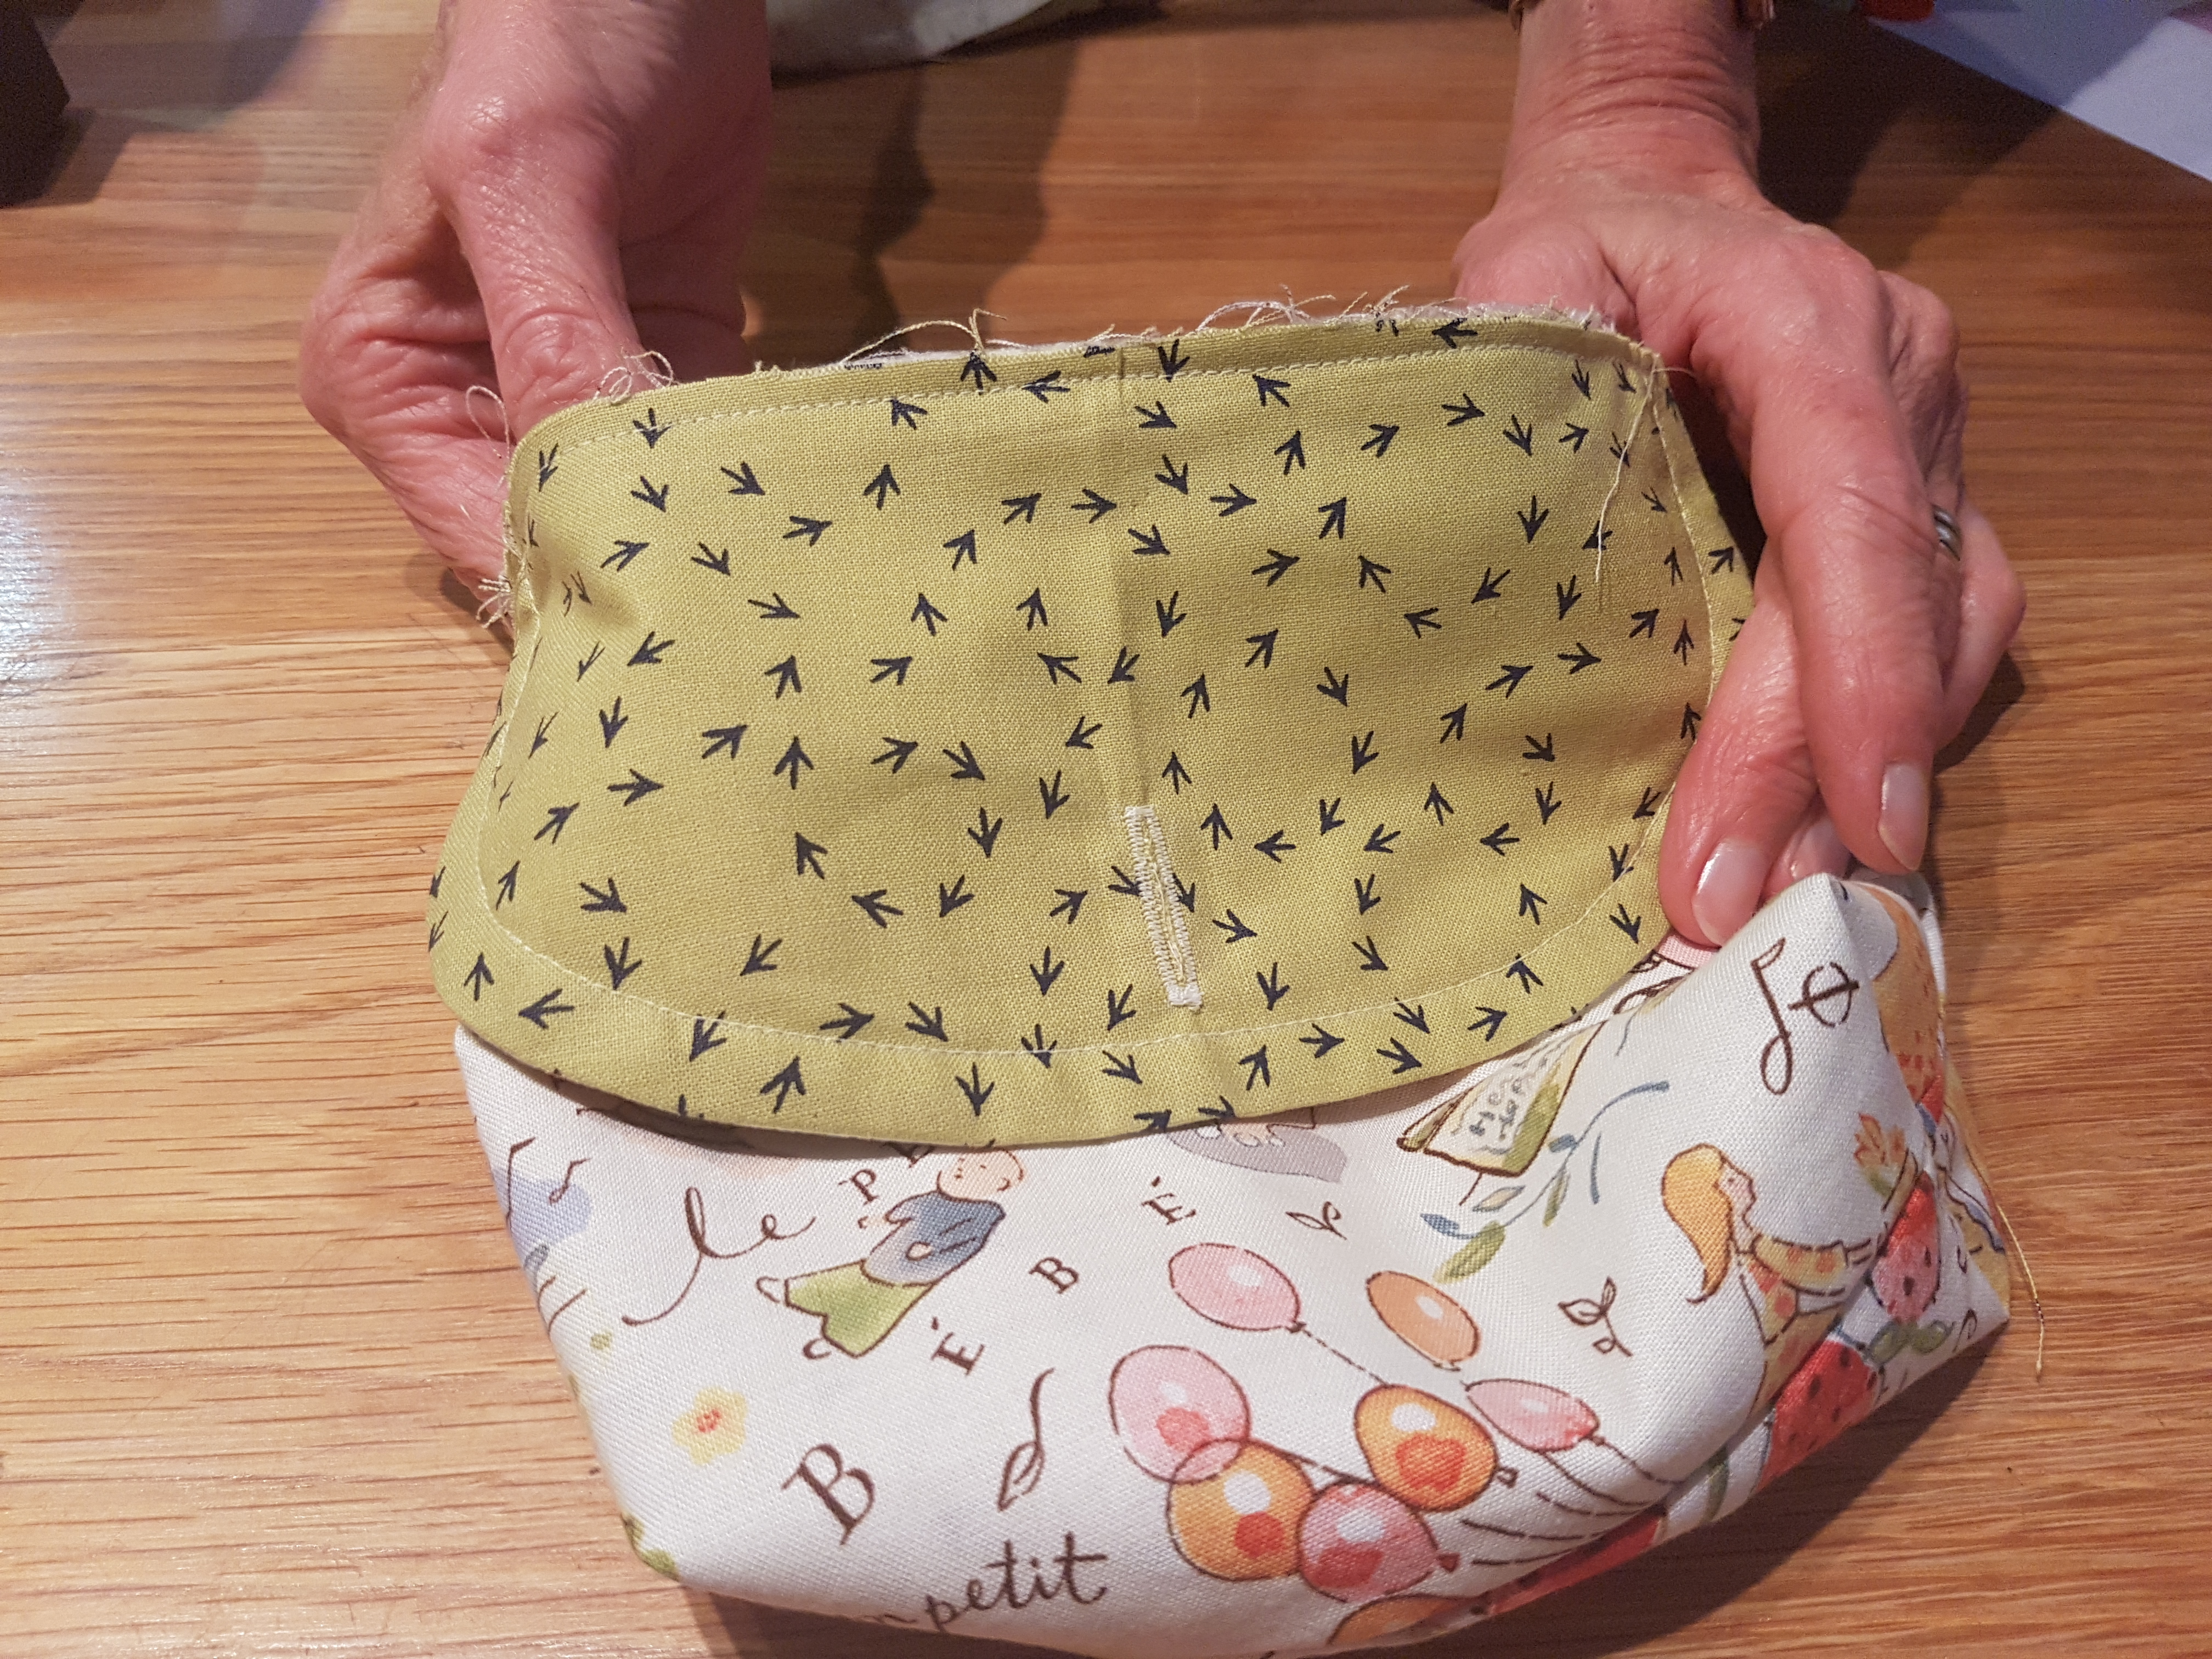
Lining:
Pin bag lining pieces right sides facing. Sew along 3 sides leaving top edge completely open and a 8cm gap in the other long edge for turning. Make boxed corners as with main bag.
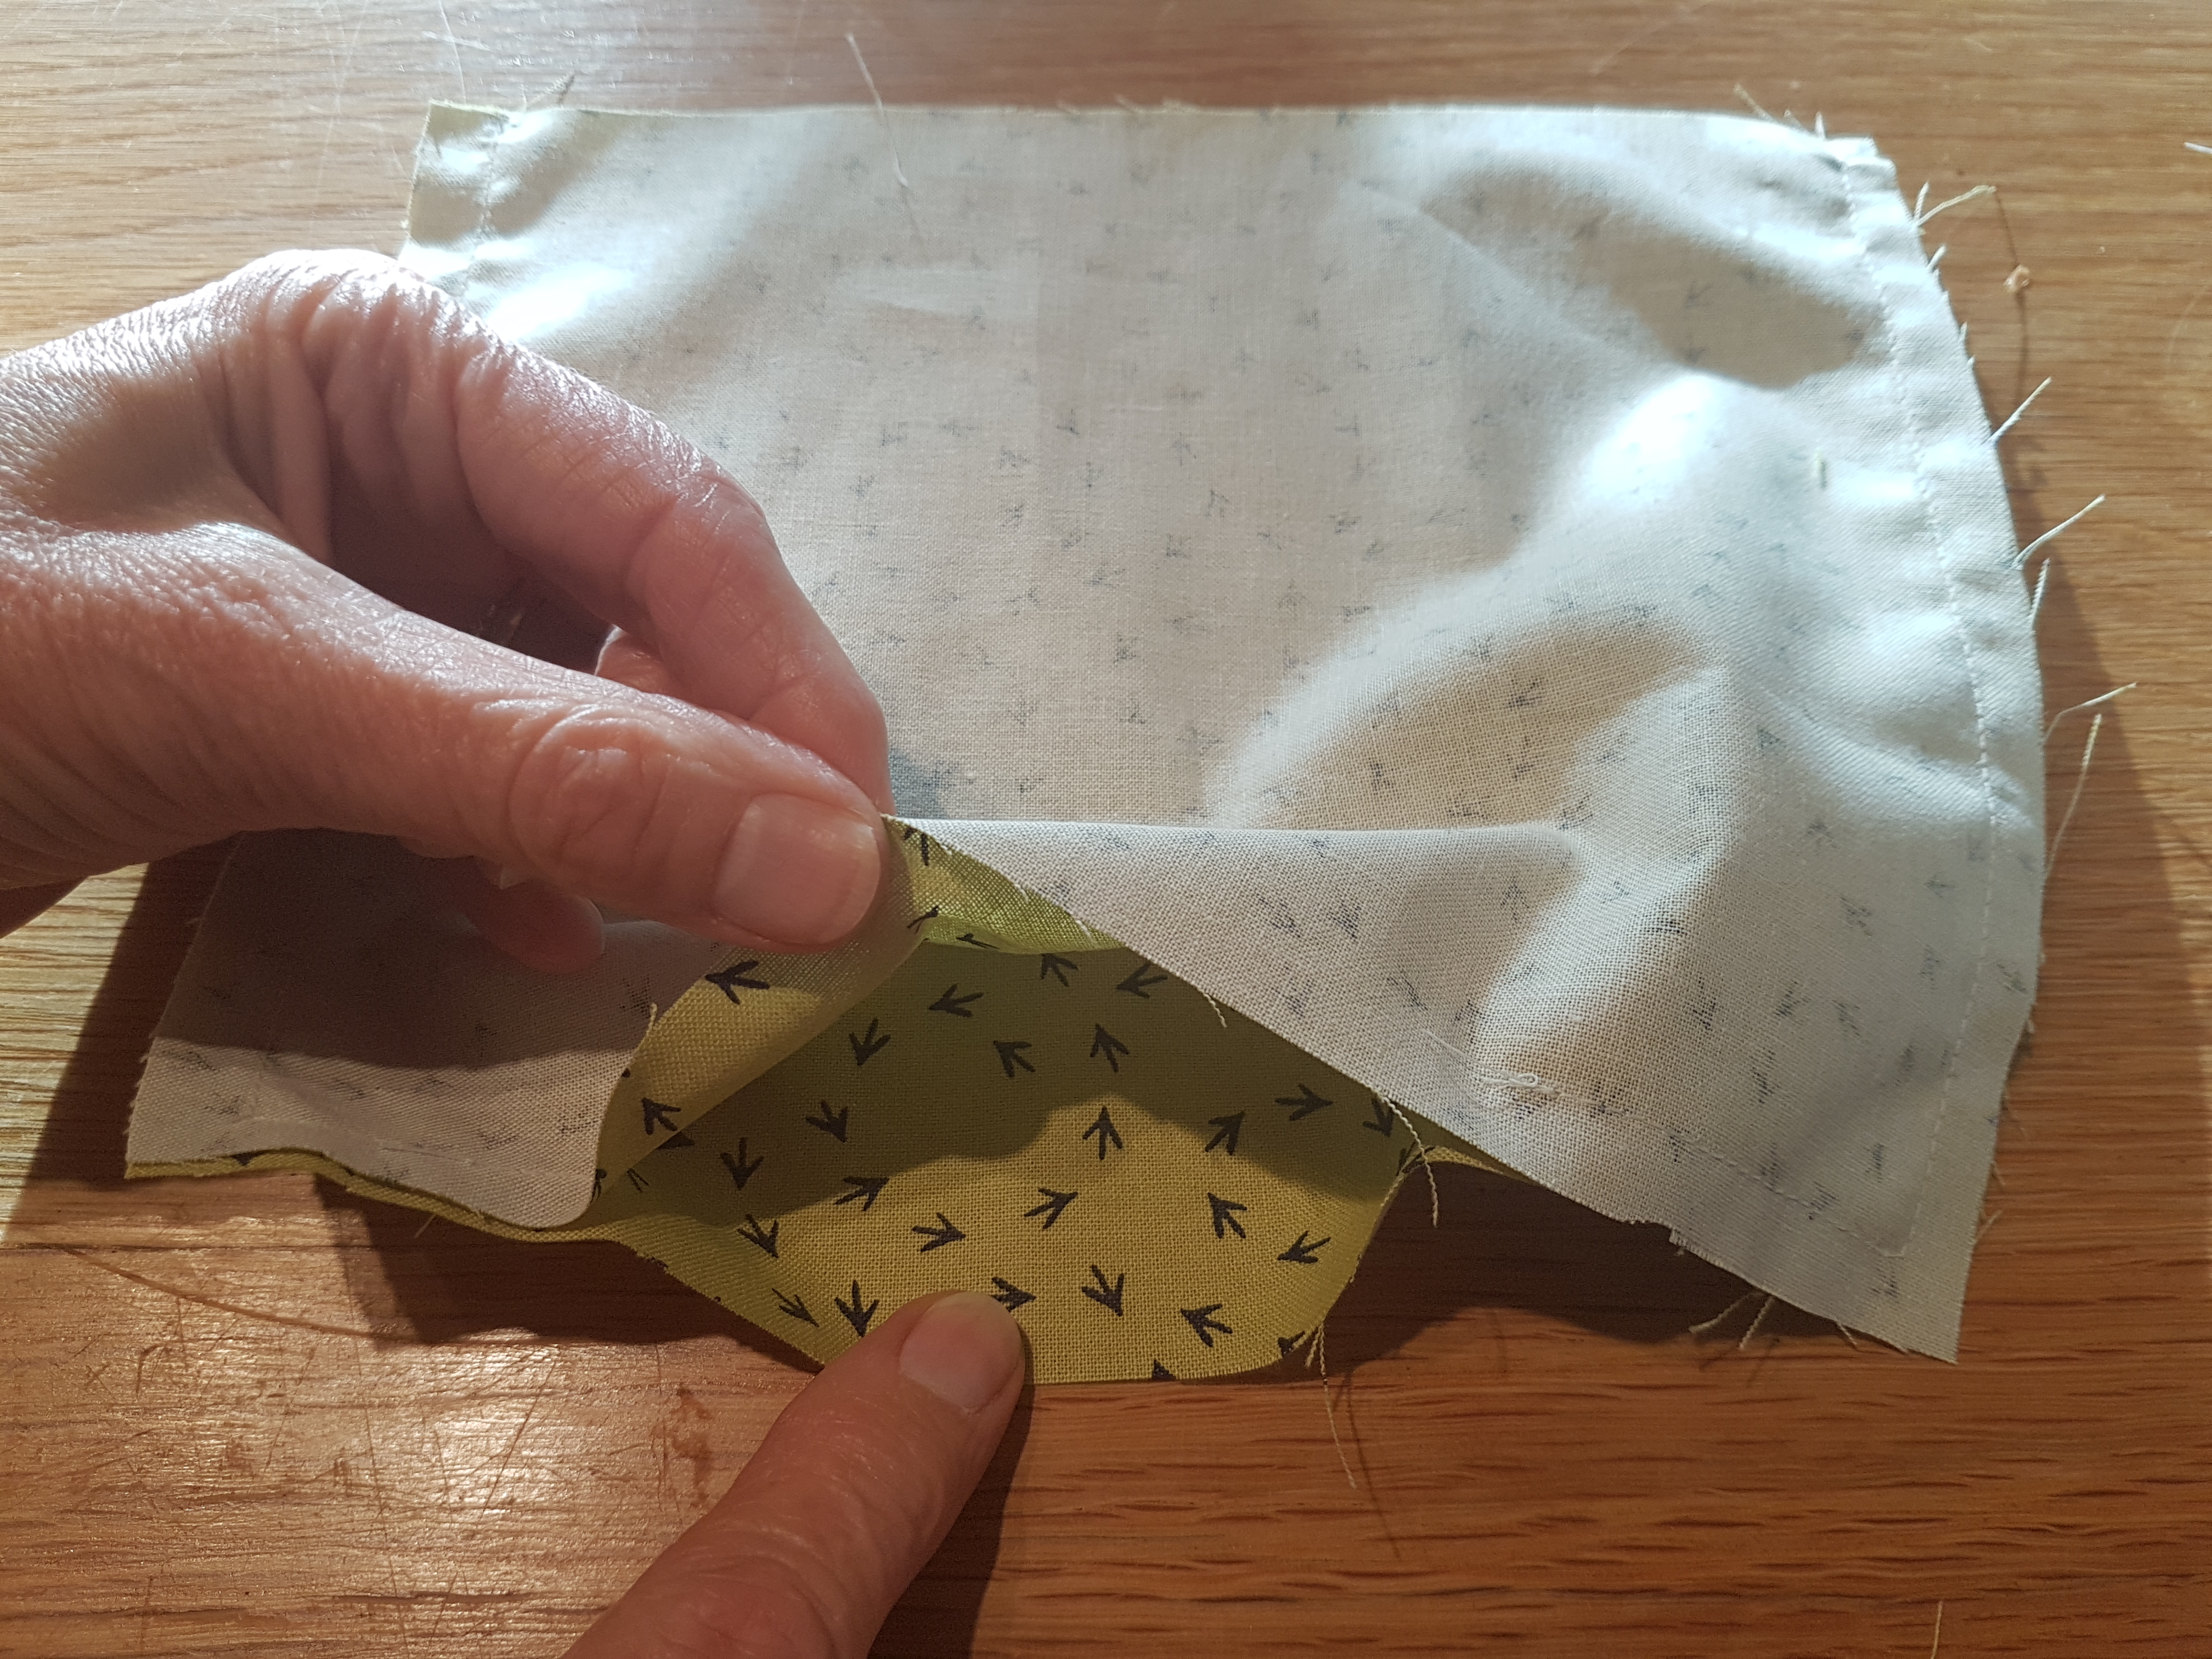
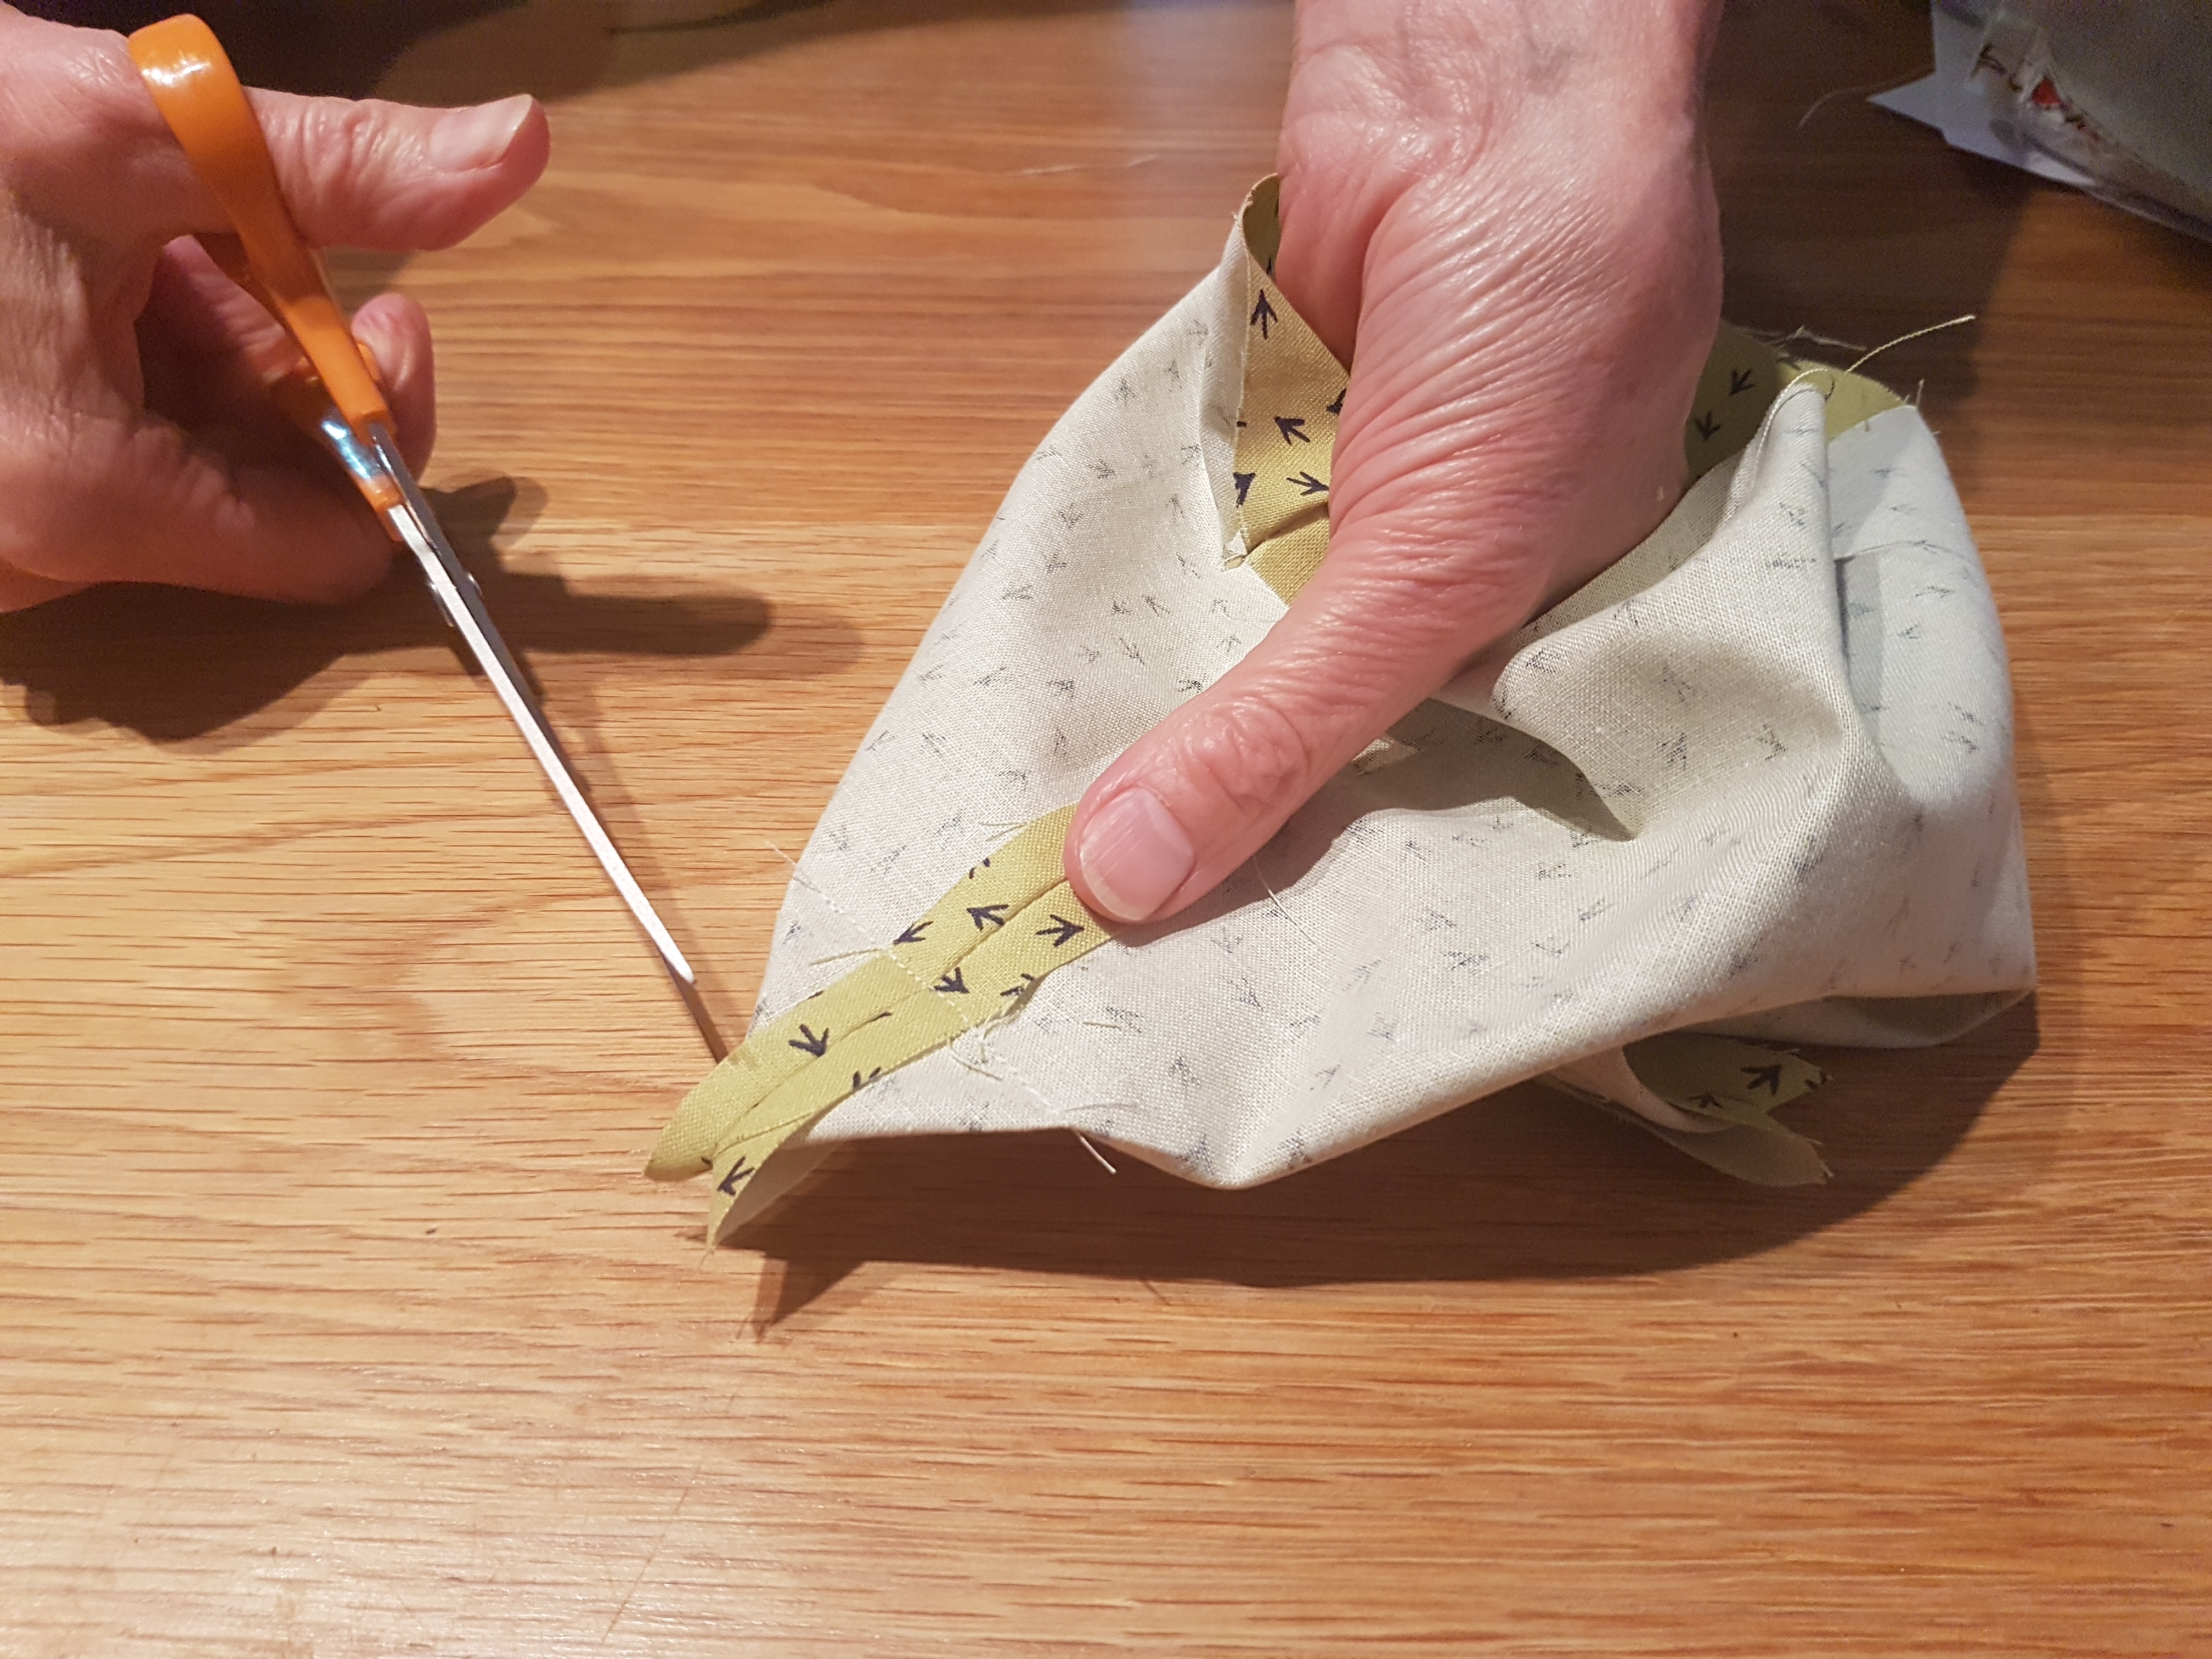
Put the main bag inside the lining bag right sides together, matching the side seams. Pin and sew together all around the top of the bag. You may find it easier using the free arm of your sewing machine.
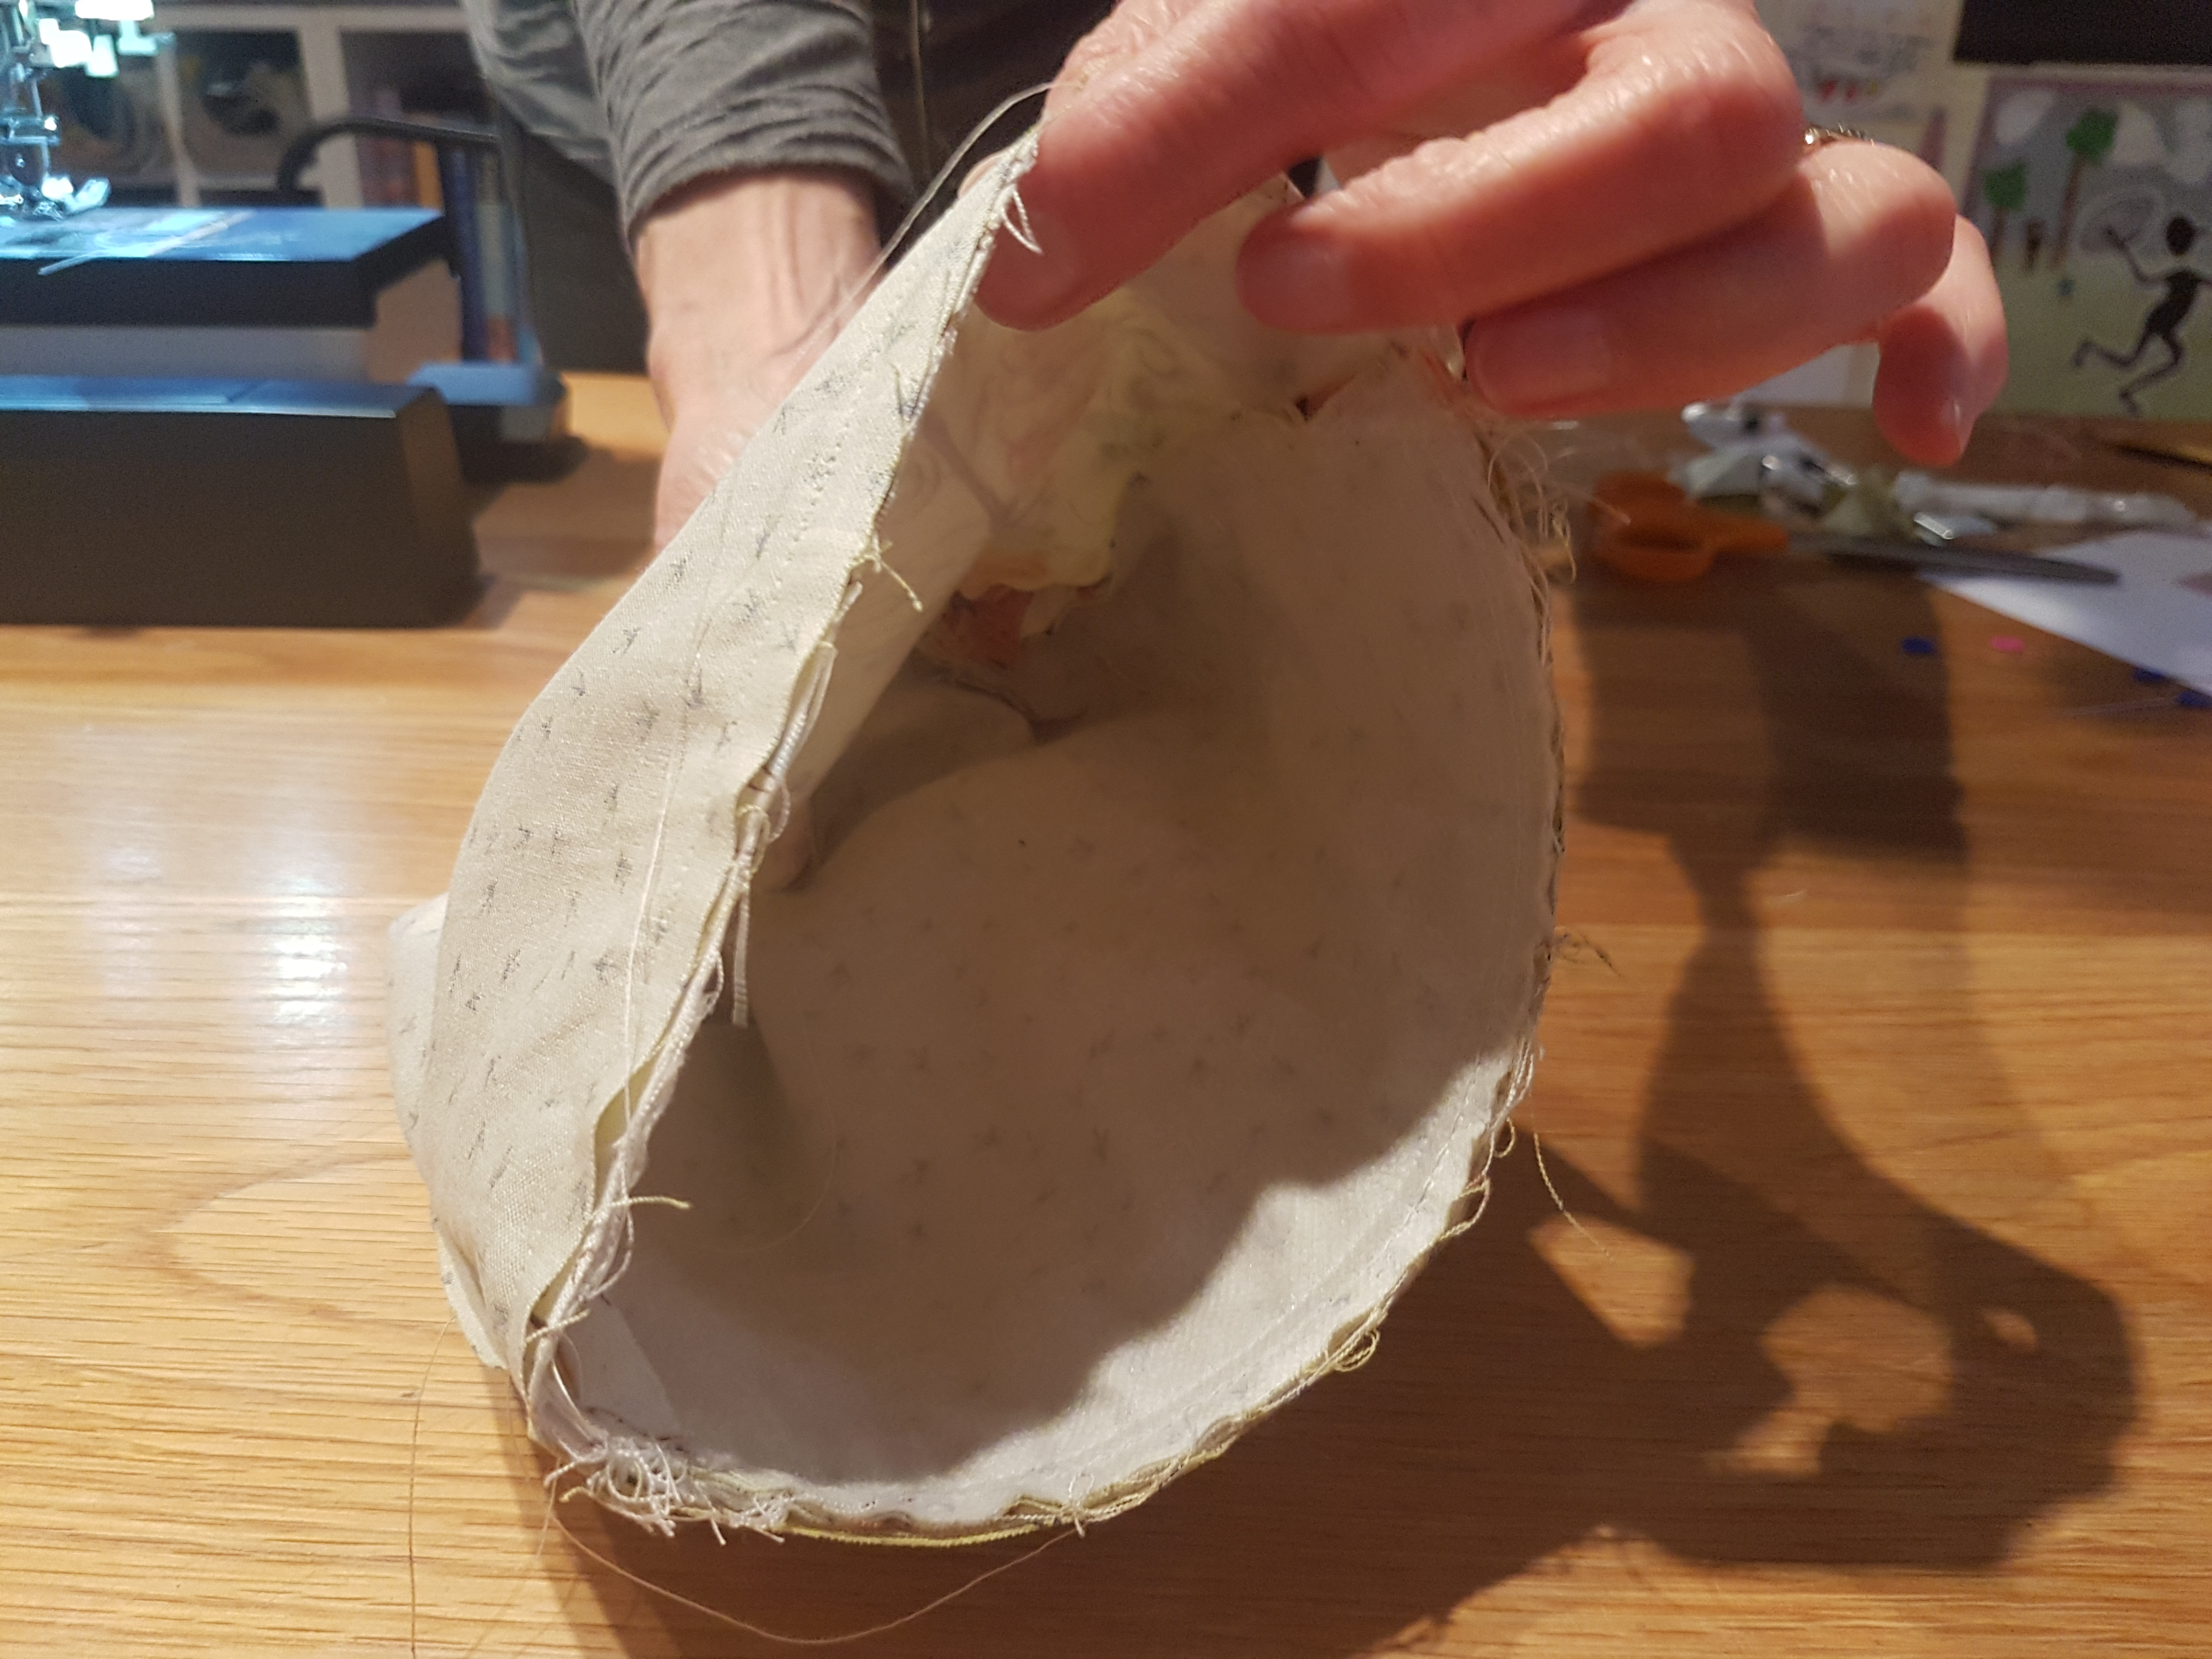
Turn out through the gap in the lining. Neatly sew the gap in the lining closed either by hand or machine.
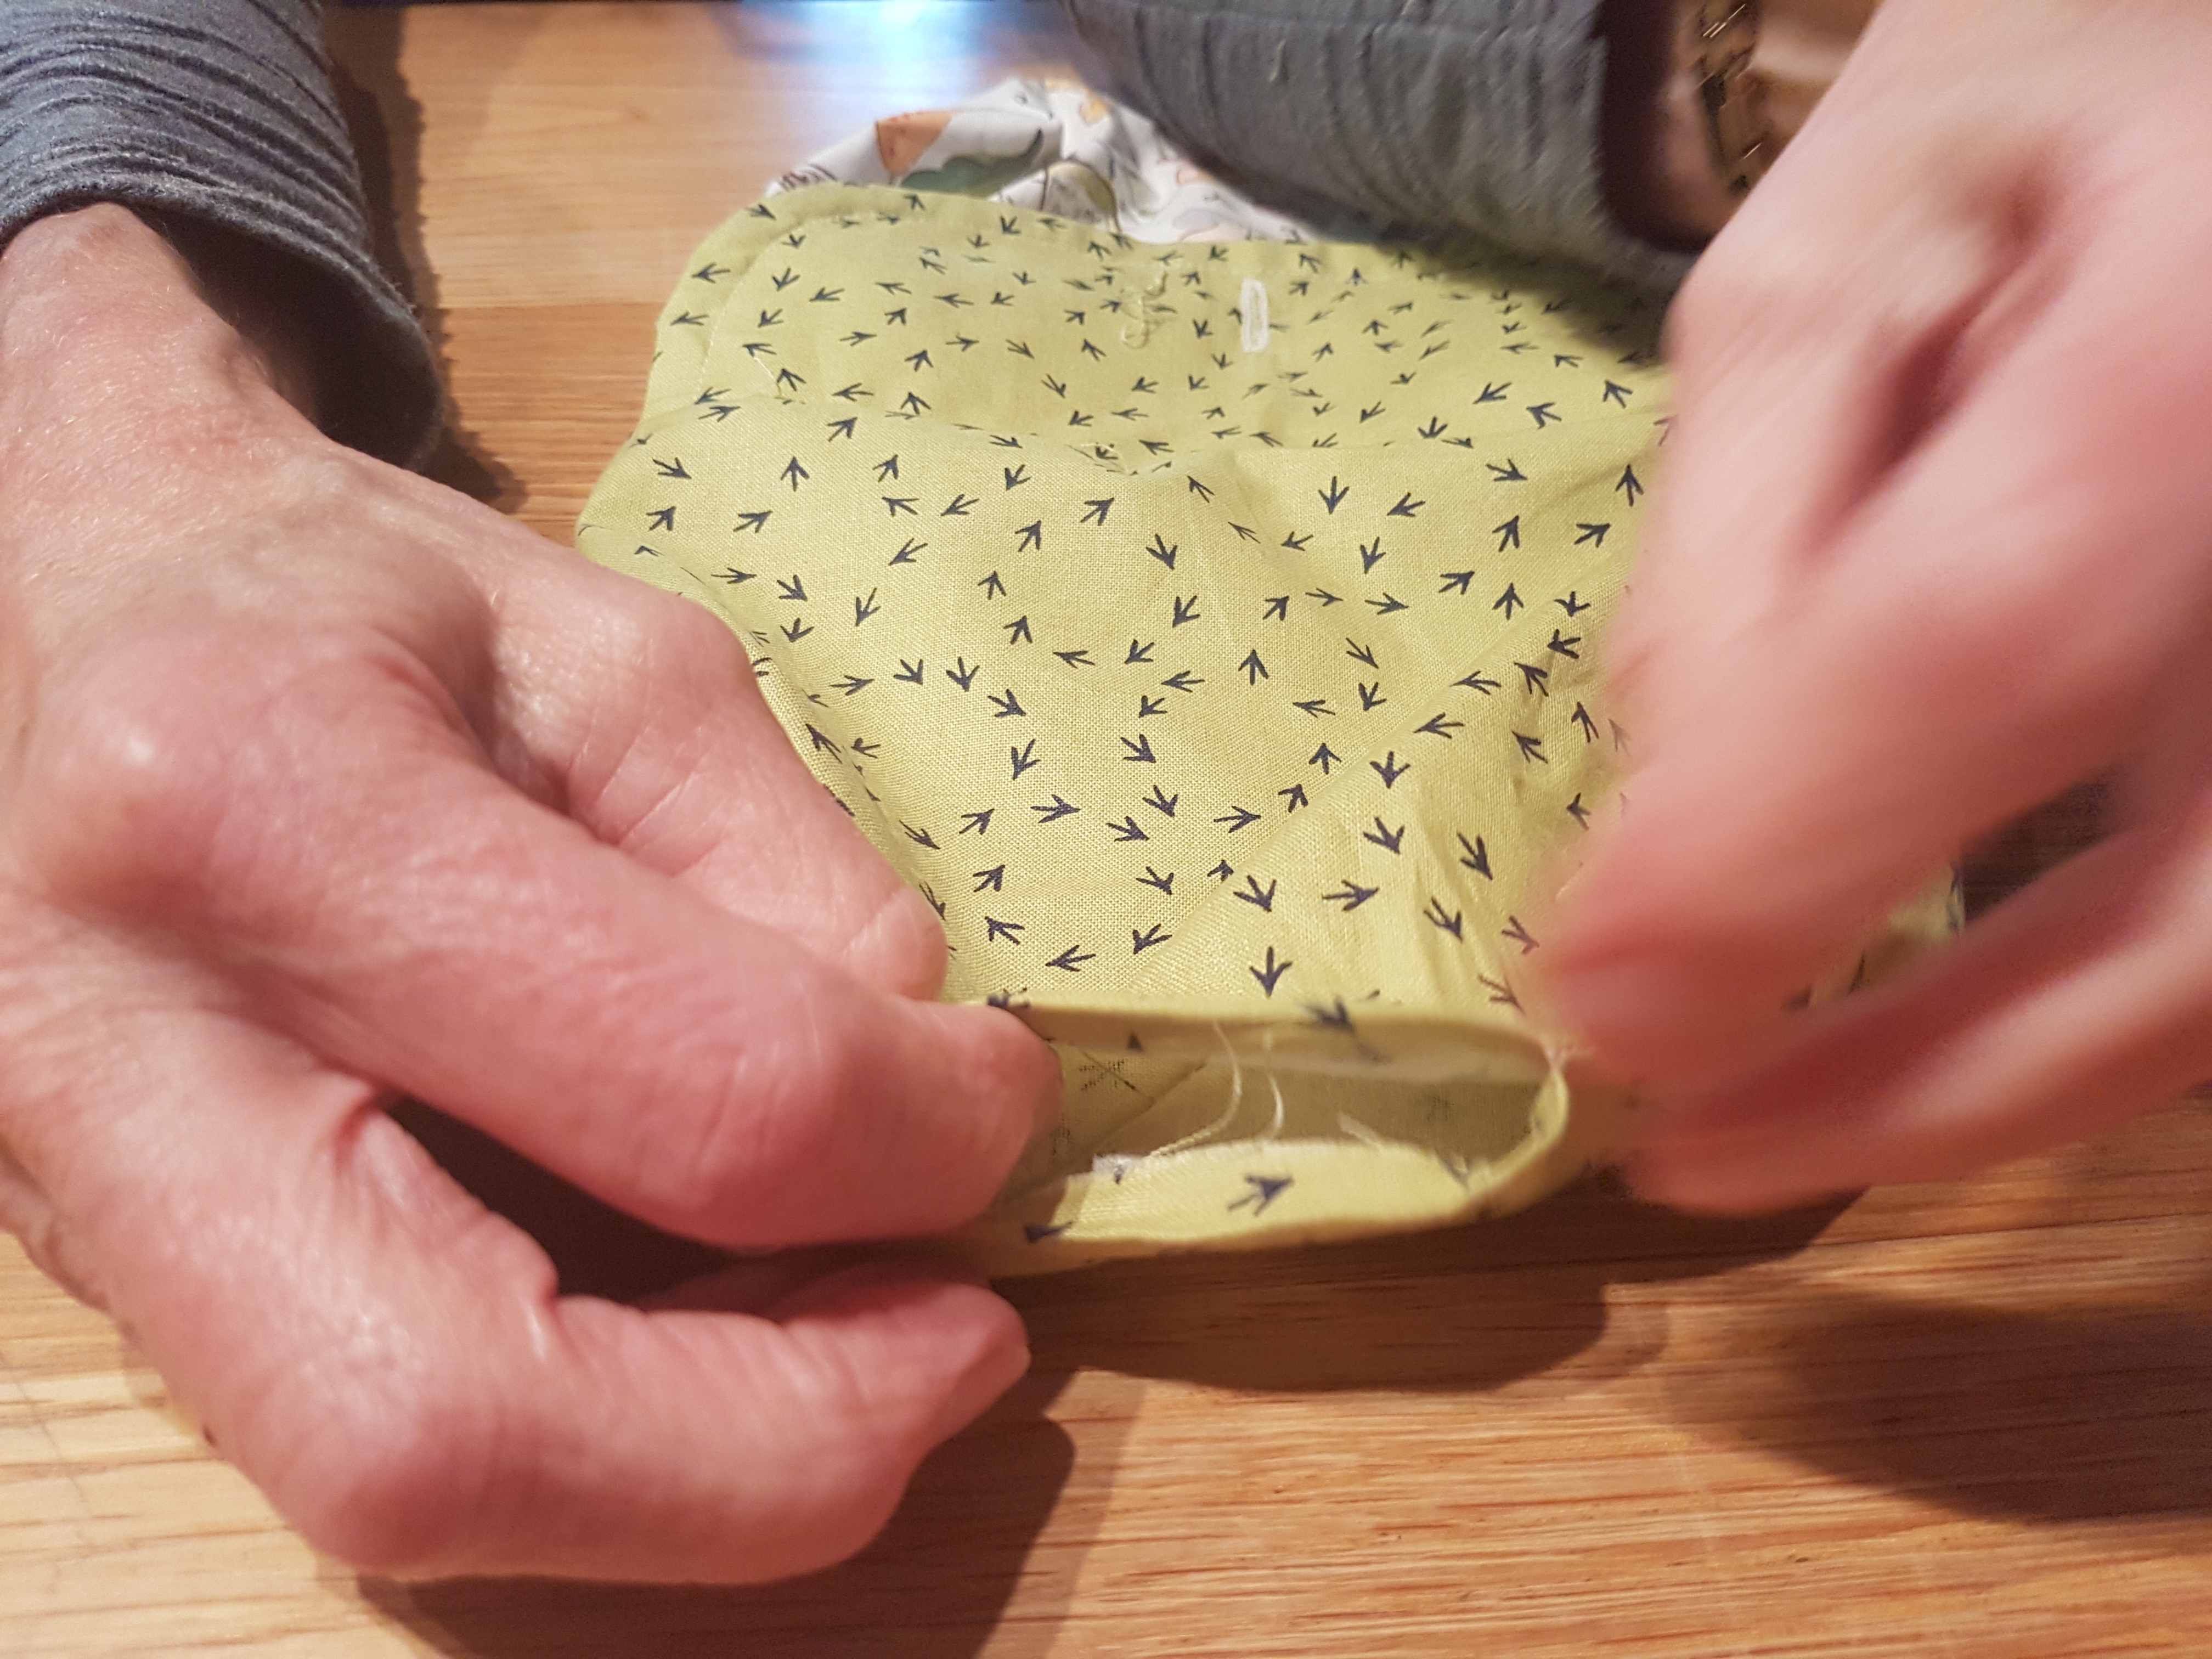
Carefully push out all the corners and press.
Top stitch around the top of the bag if you like.
To Finish:
Sew on a button matching it with the button hole if you made one or sew on your snap fastener or Velcro.
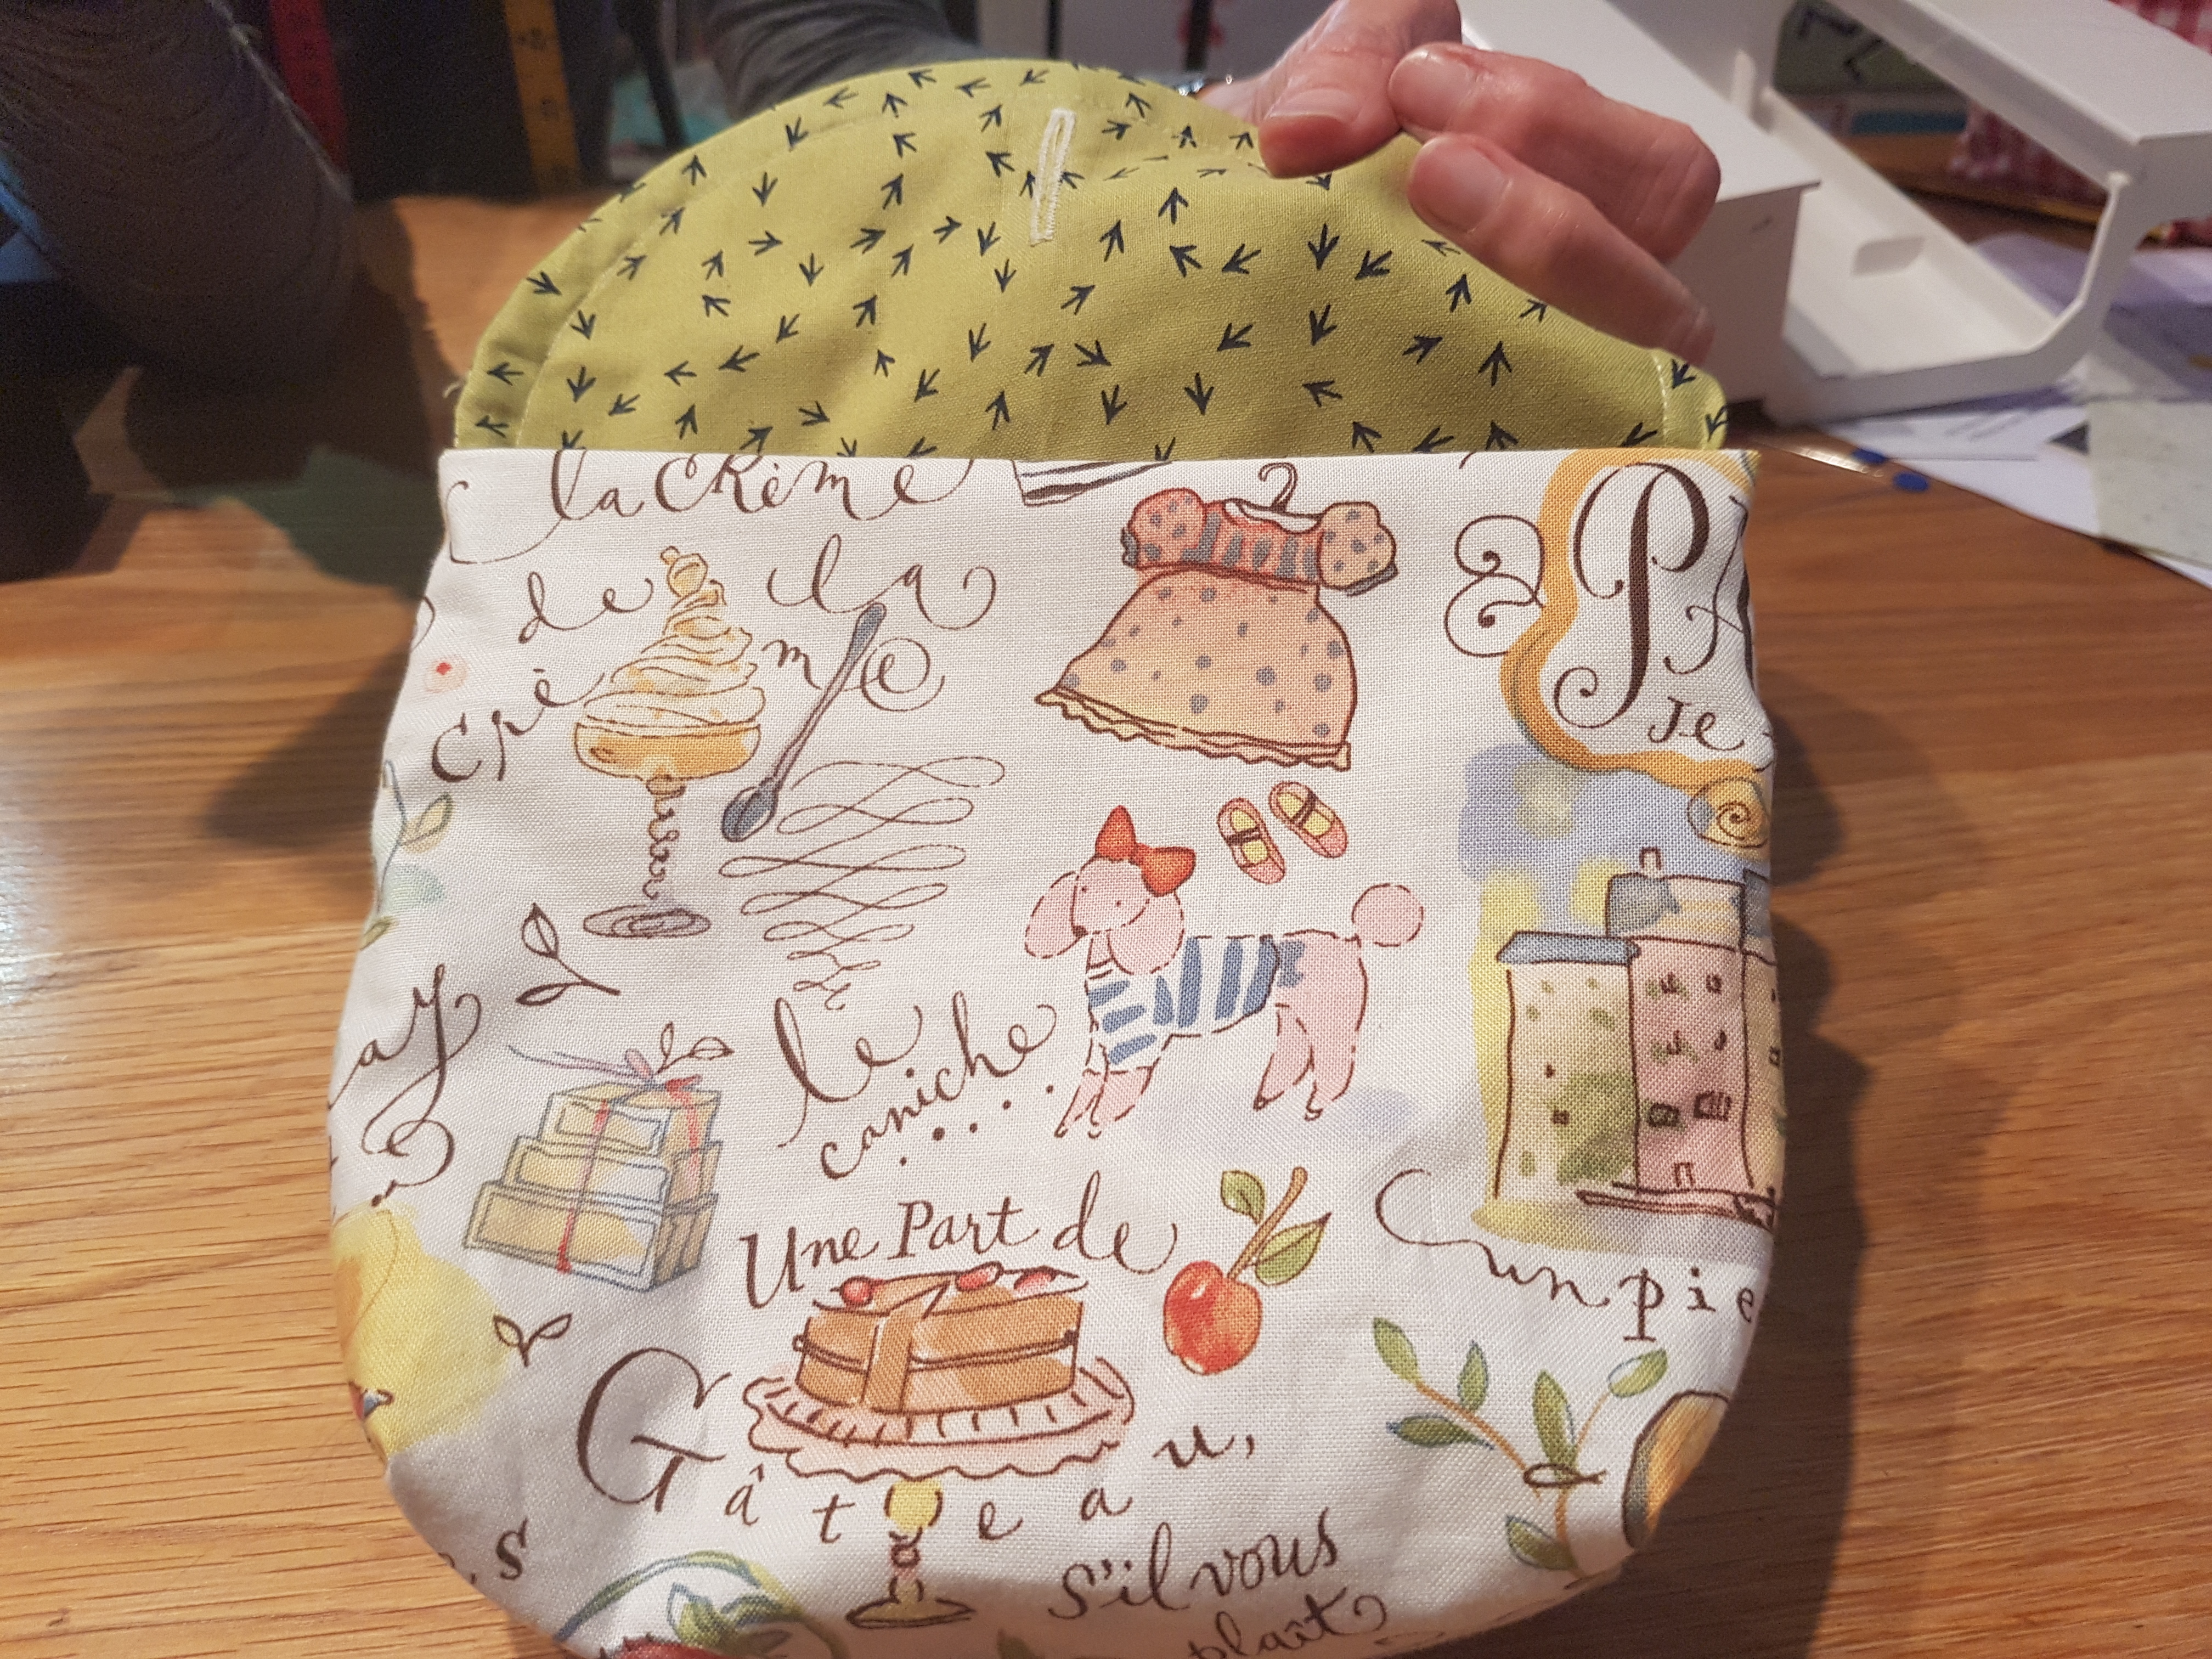
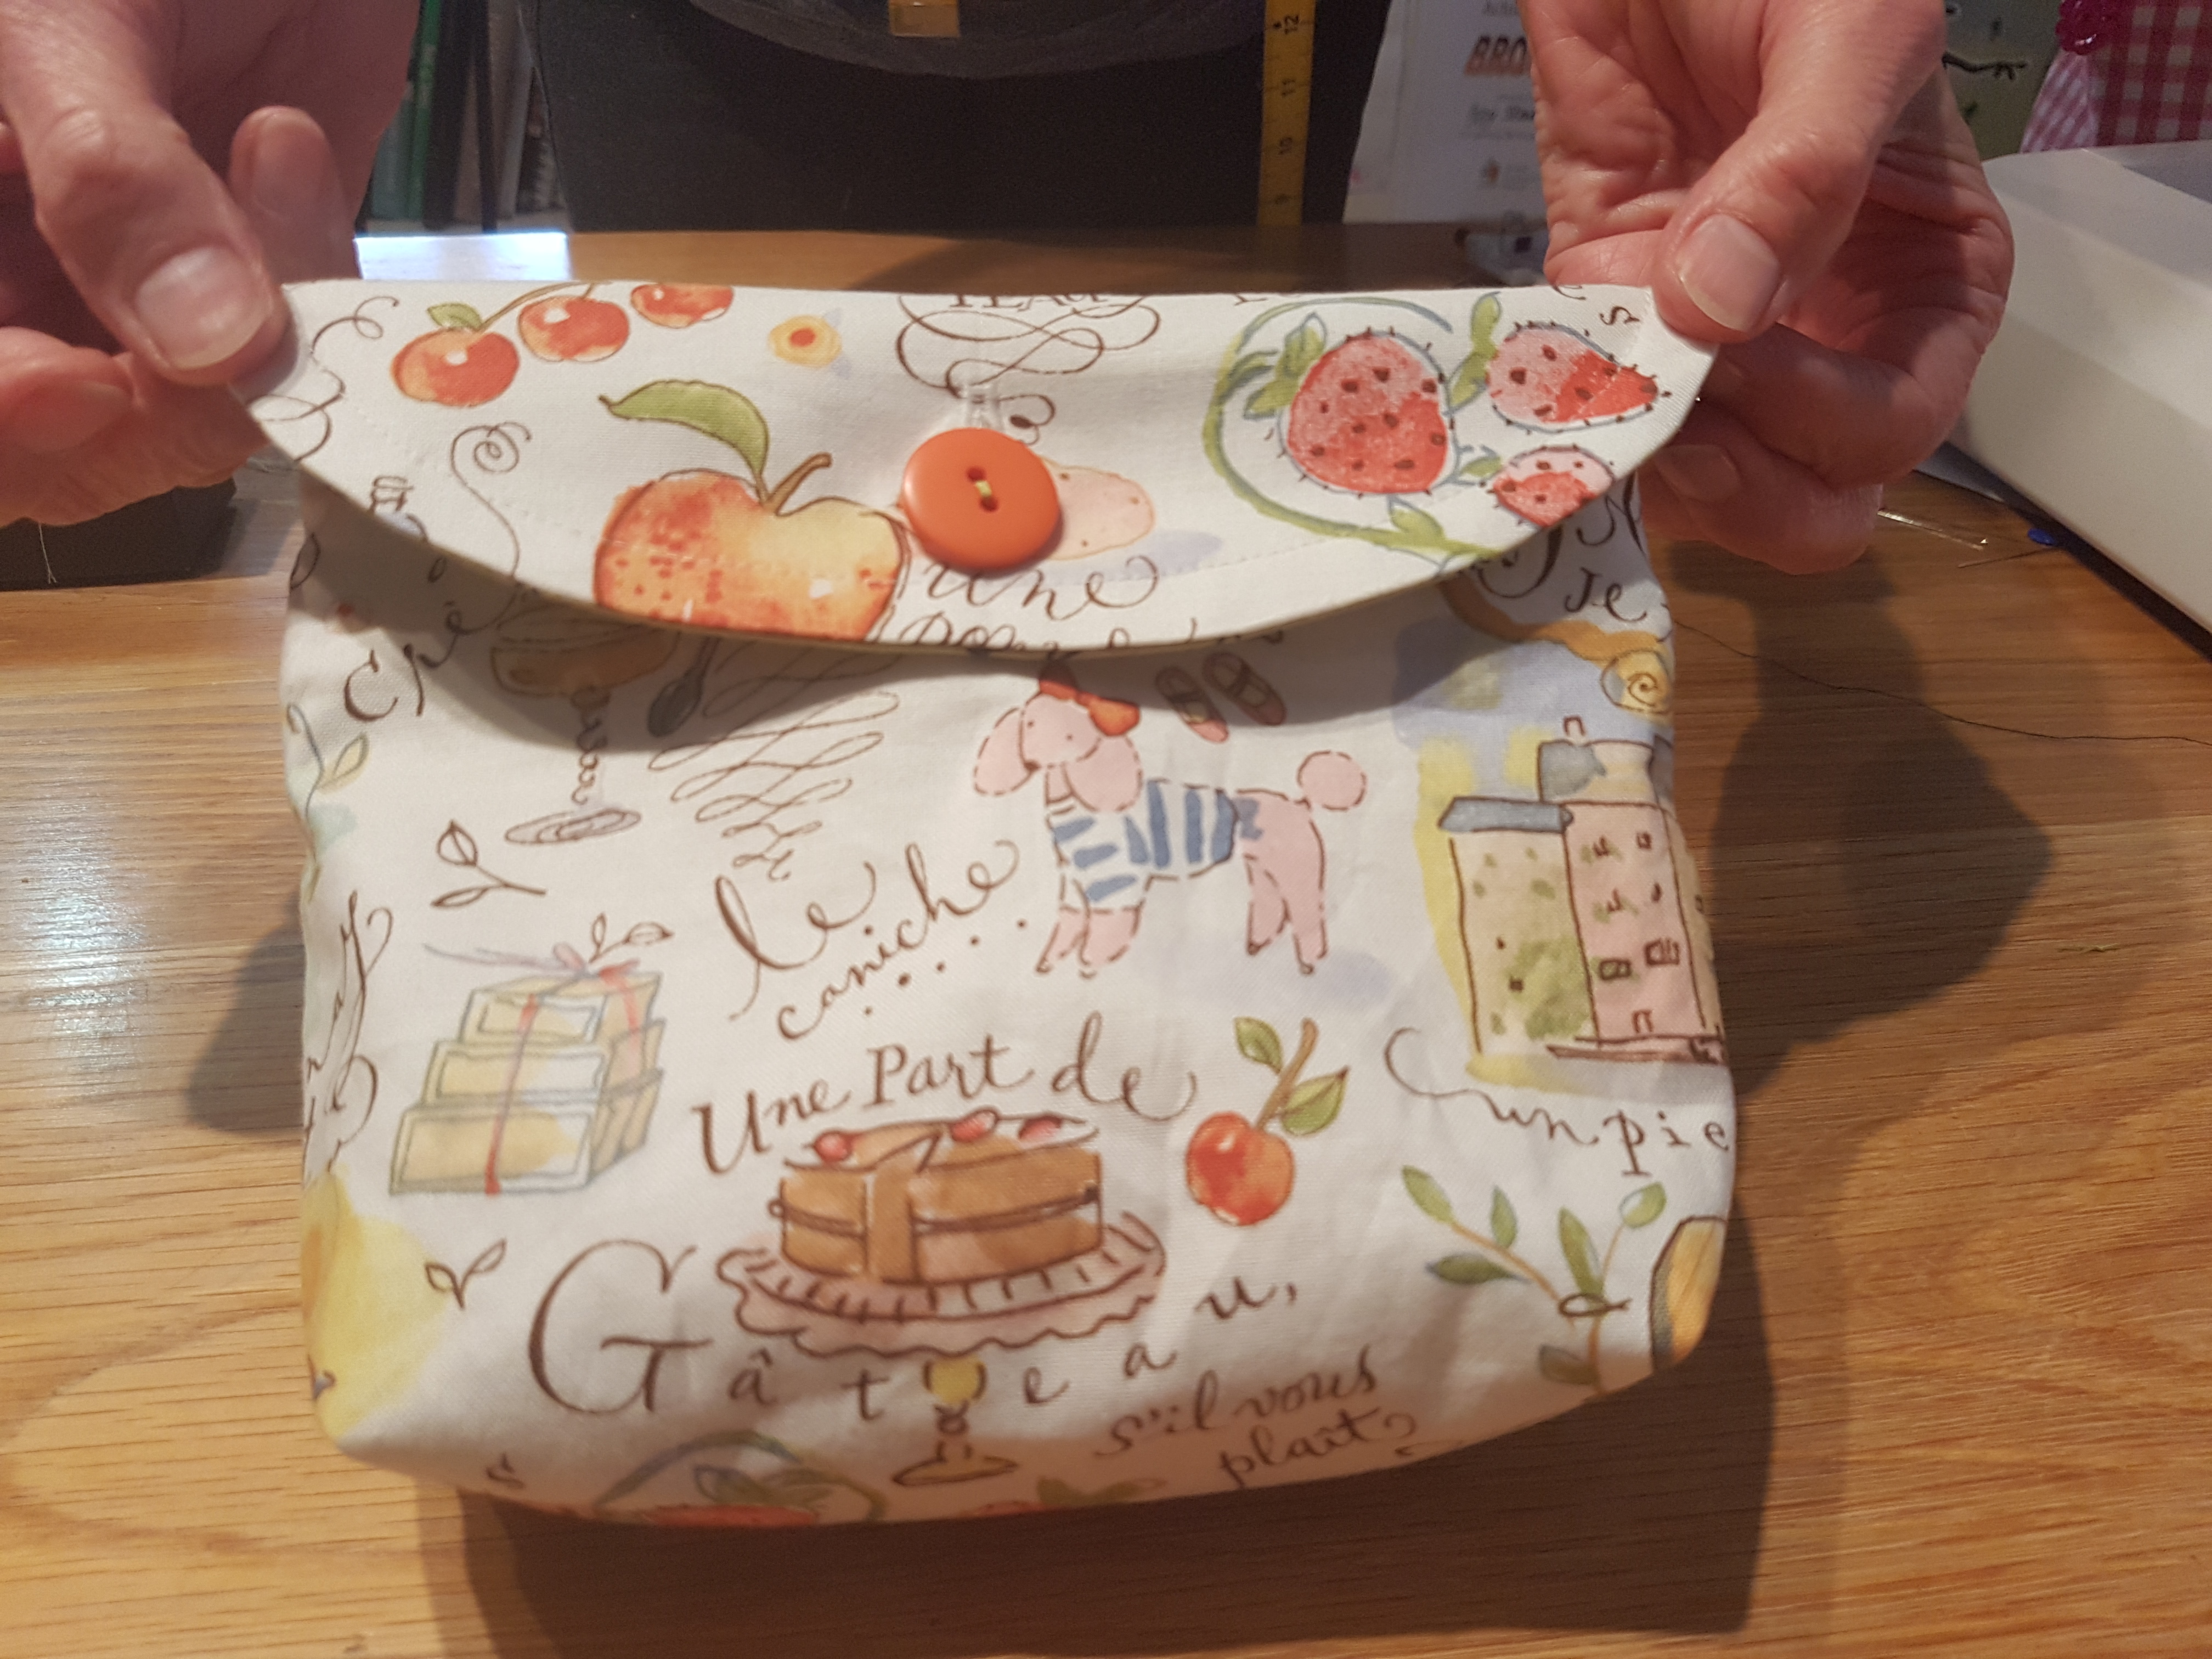
Fill with goodies. Perfect as a gift!
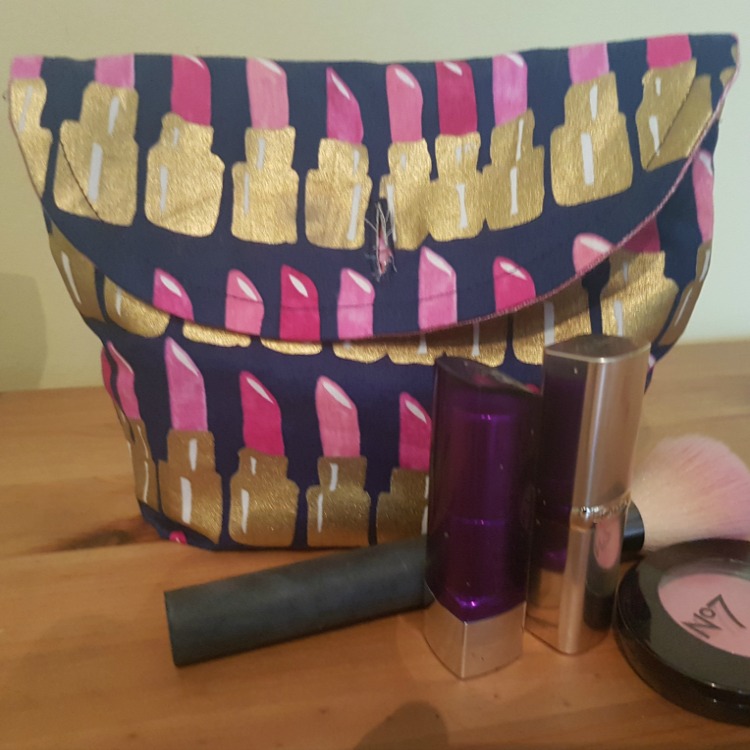
We made a quick little video overview to show you how its done!
Don't forget to share what you make on the Sew Scrumptious facebook and instagram pages.

