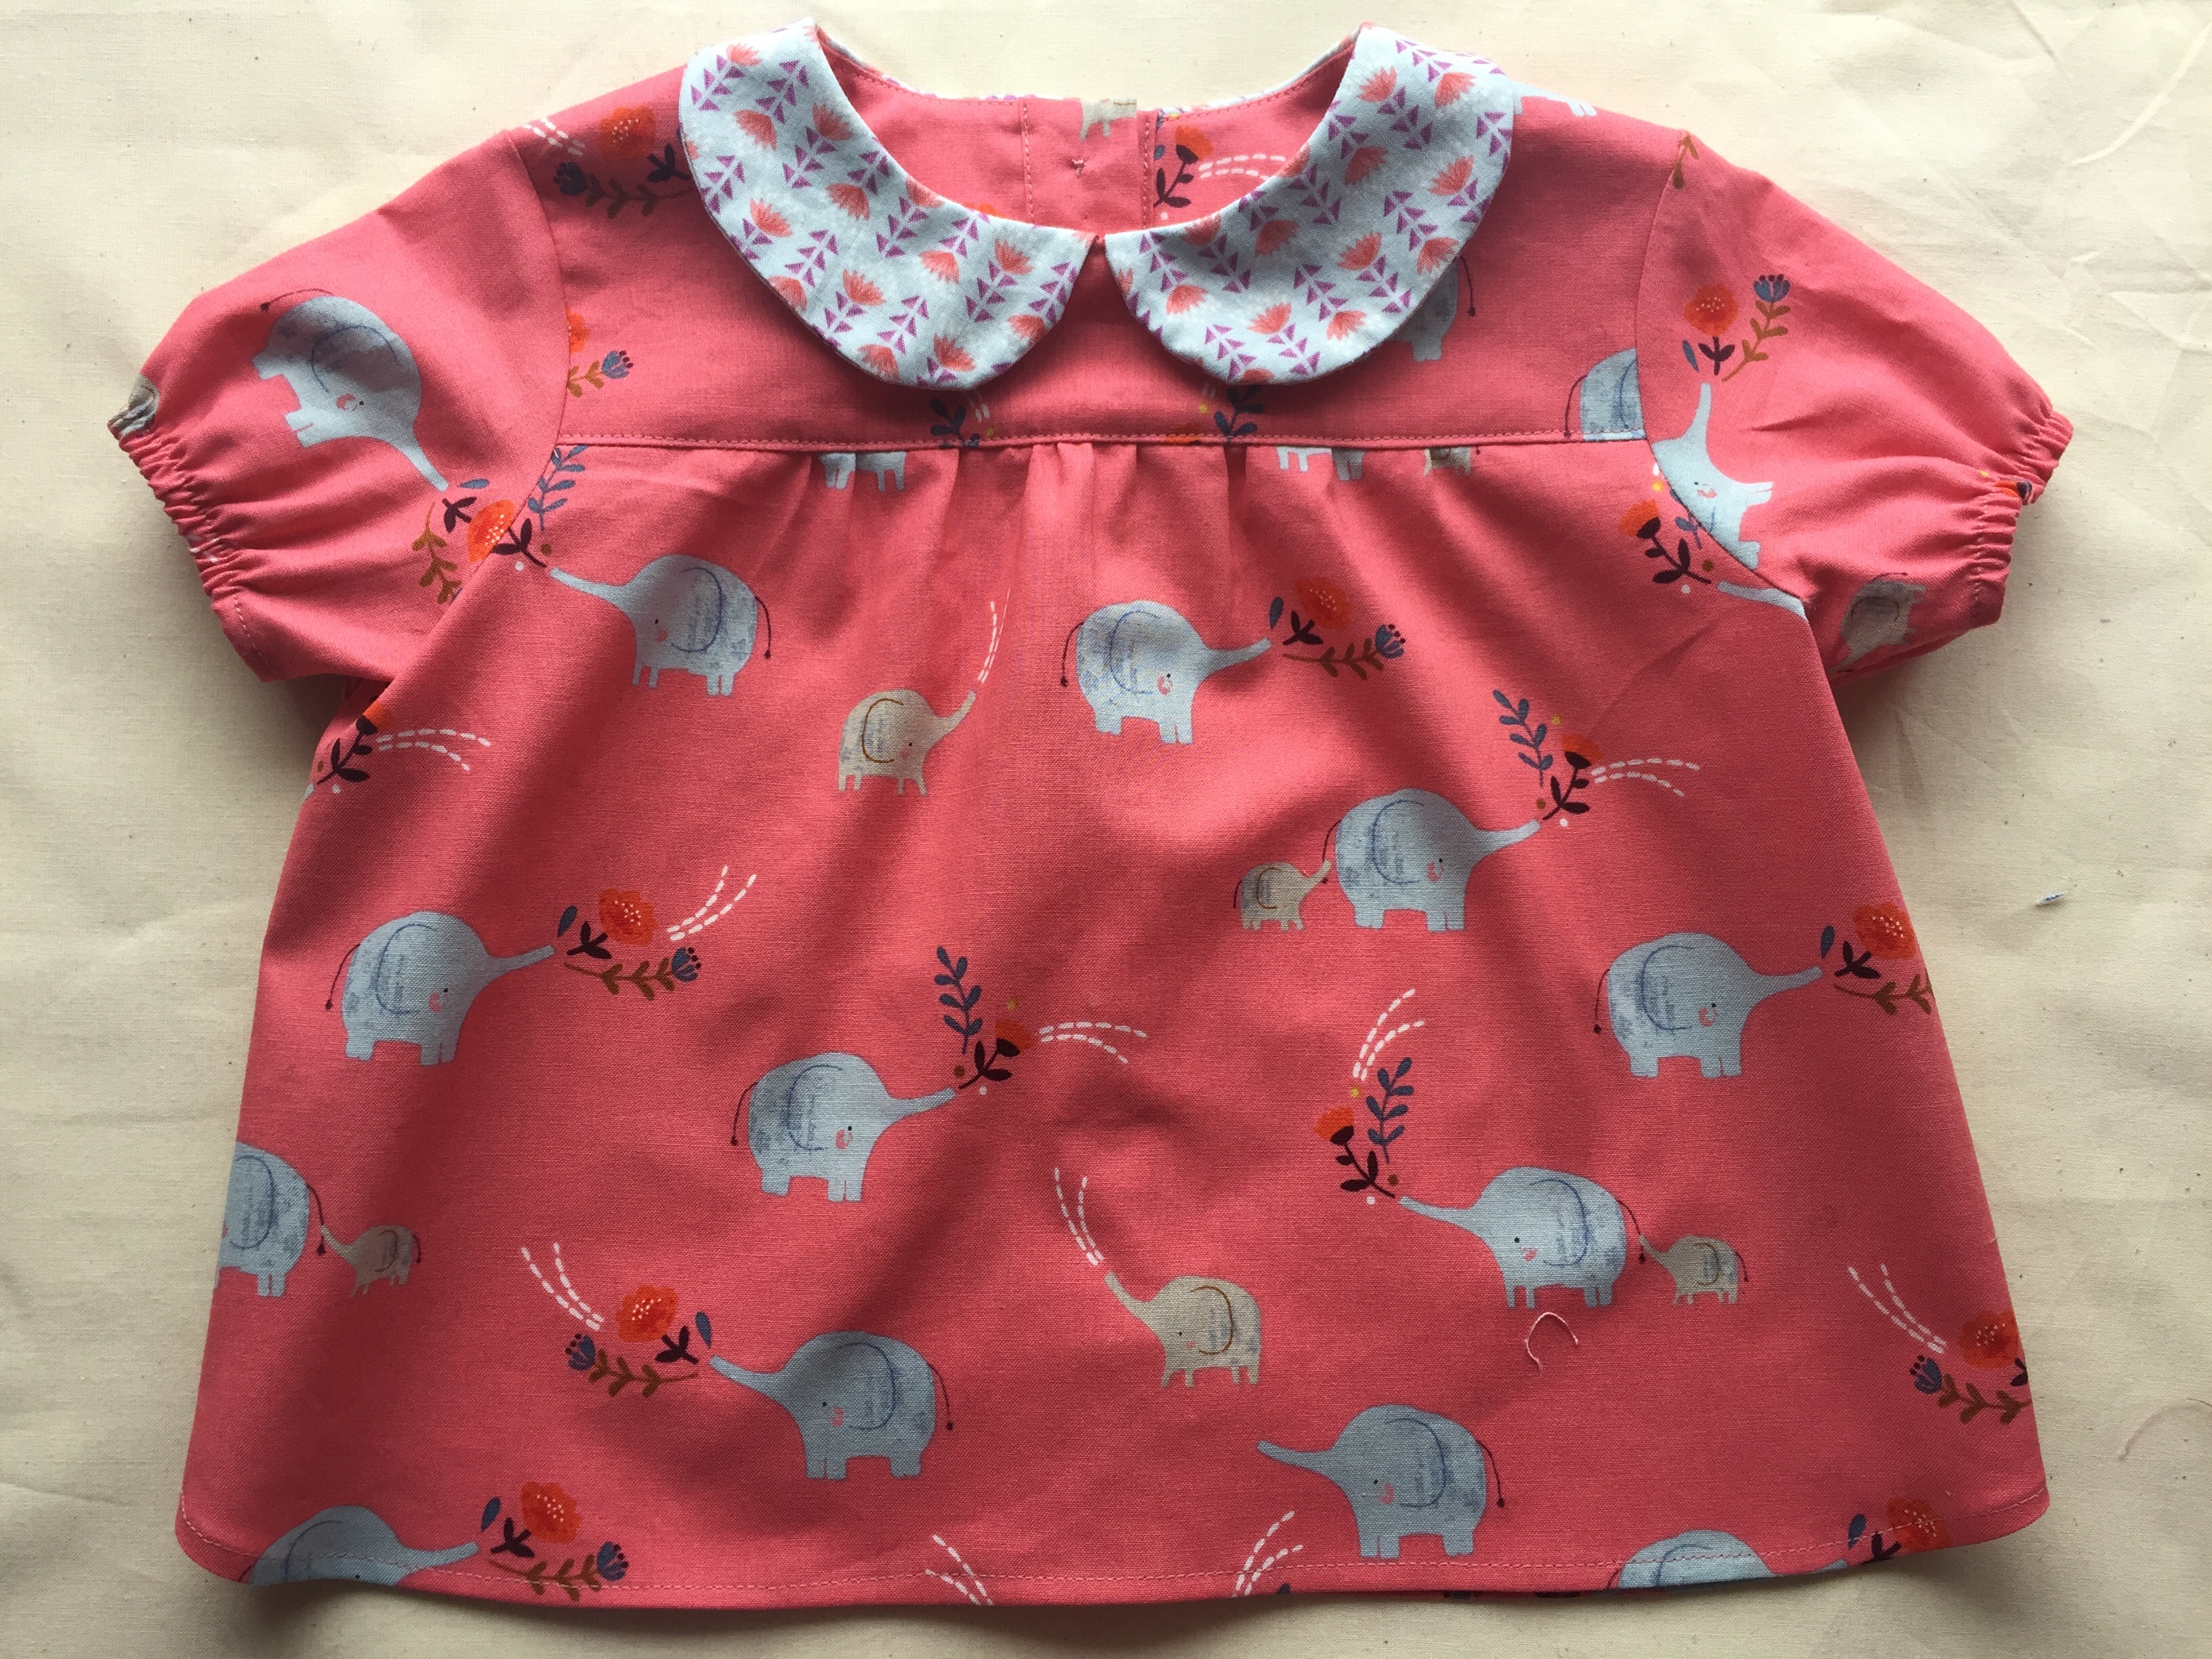
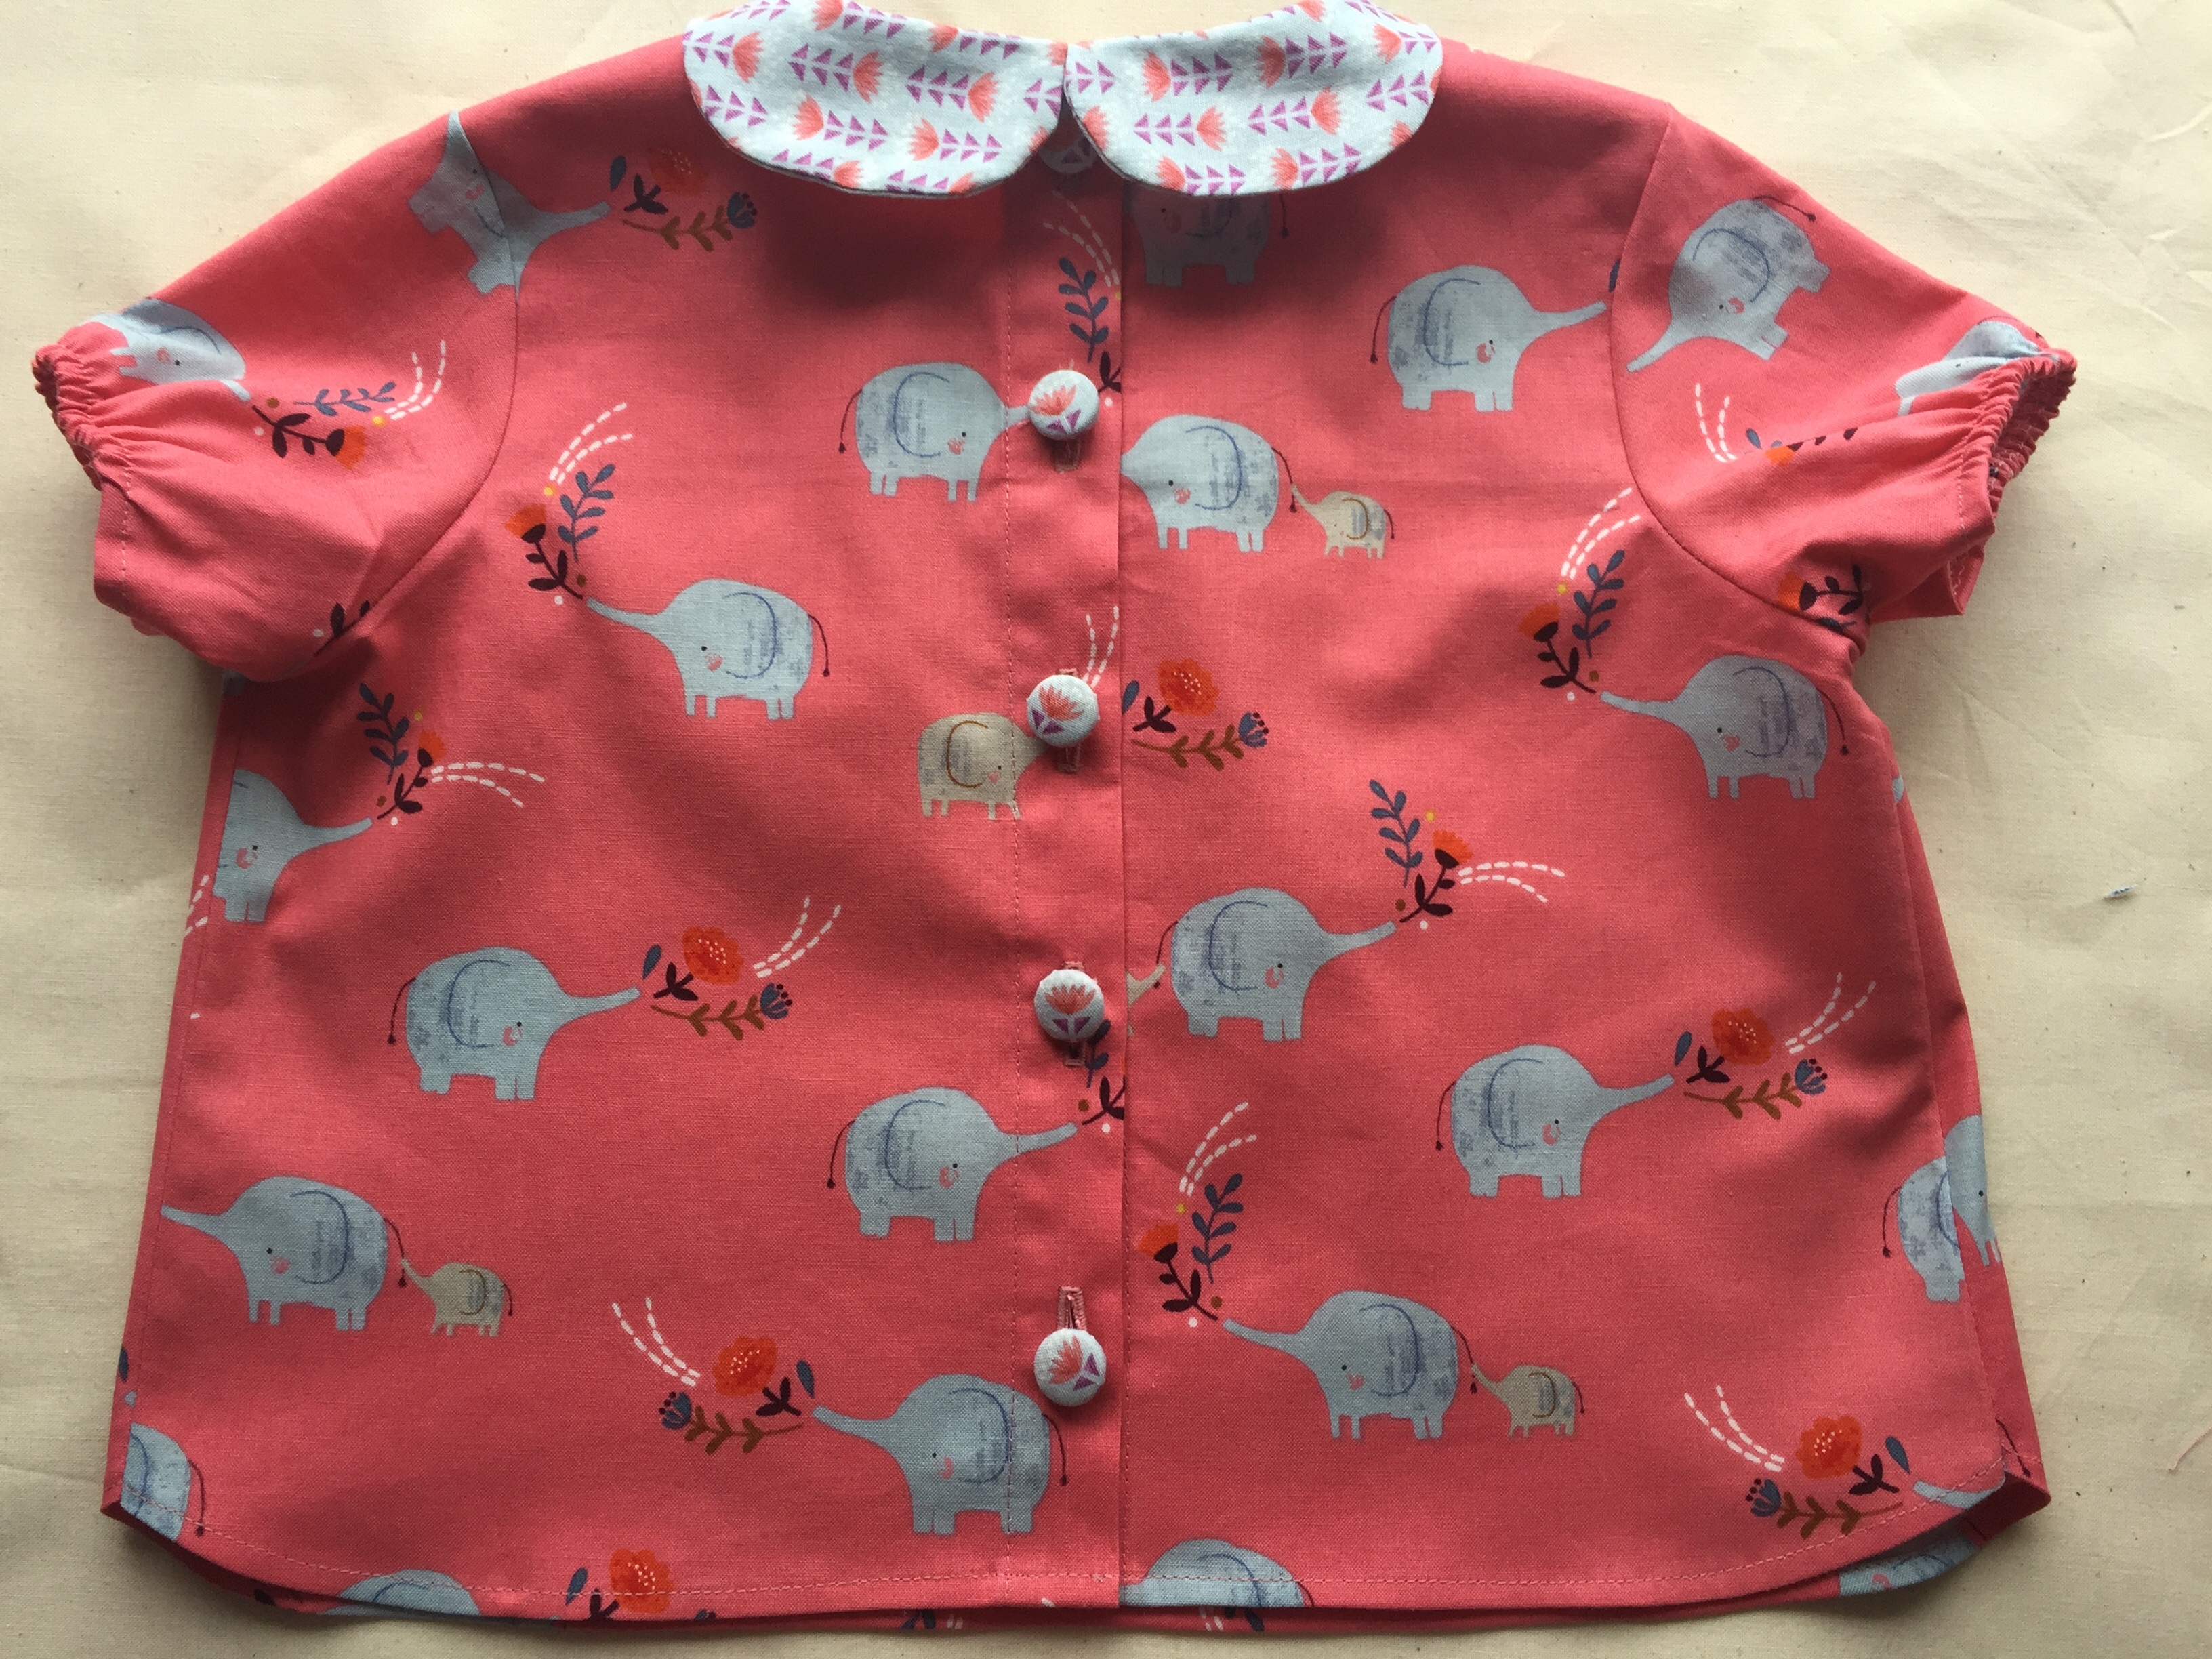
We have just added the Edie blouse and shirt dress to the patterns we stock from Two Stitches. It's a cute blouse or dress with a short or long sleeve option and a back button fastening. I have made up the short sleeve blouse version in Dashwood 'Safari Elephants' fabric with Lewis and Irene 'Desert Flower' fabric for a contrast collar and covered buttons.
It was a straightforward pattern with good instructions. I took photos as I went along which you may find helpful if you are a newish sewer and find diagrams difficult to visualise.
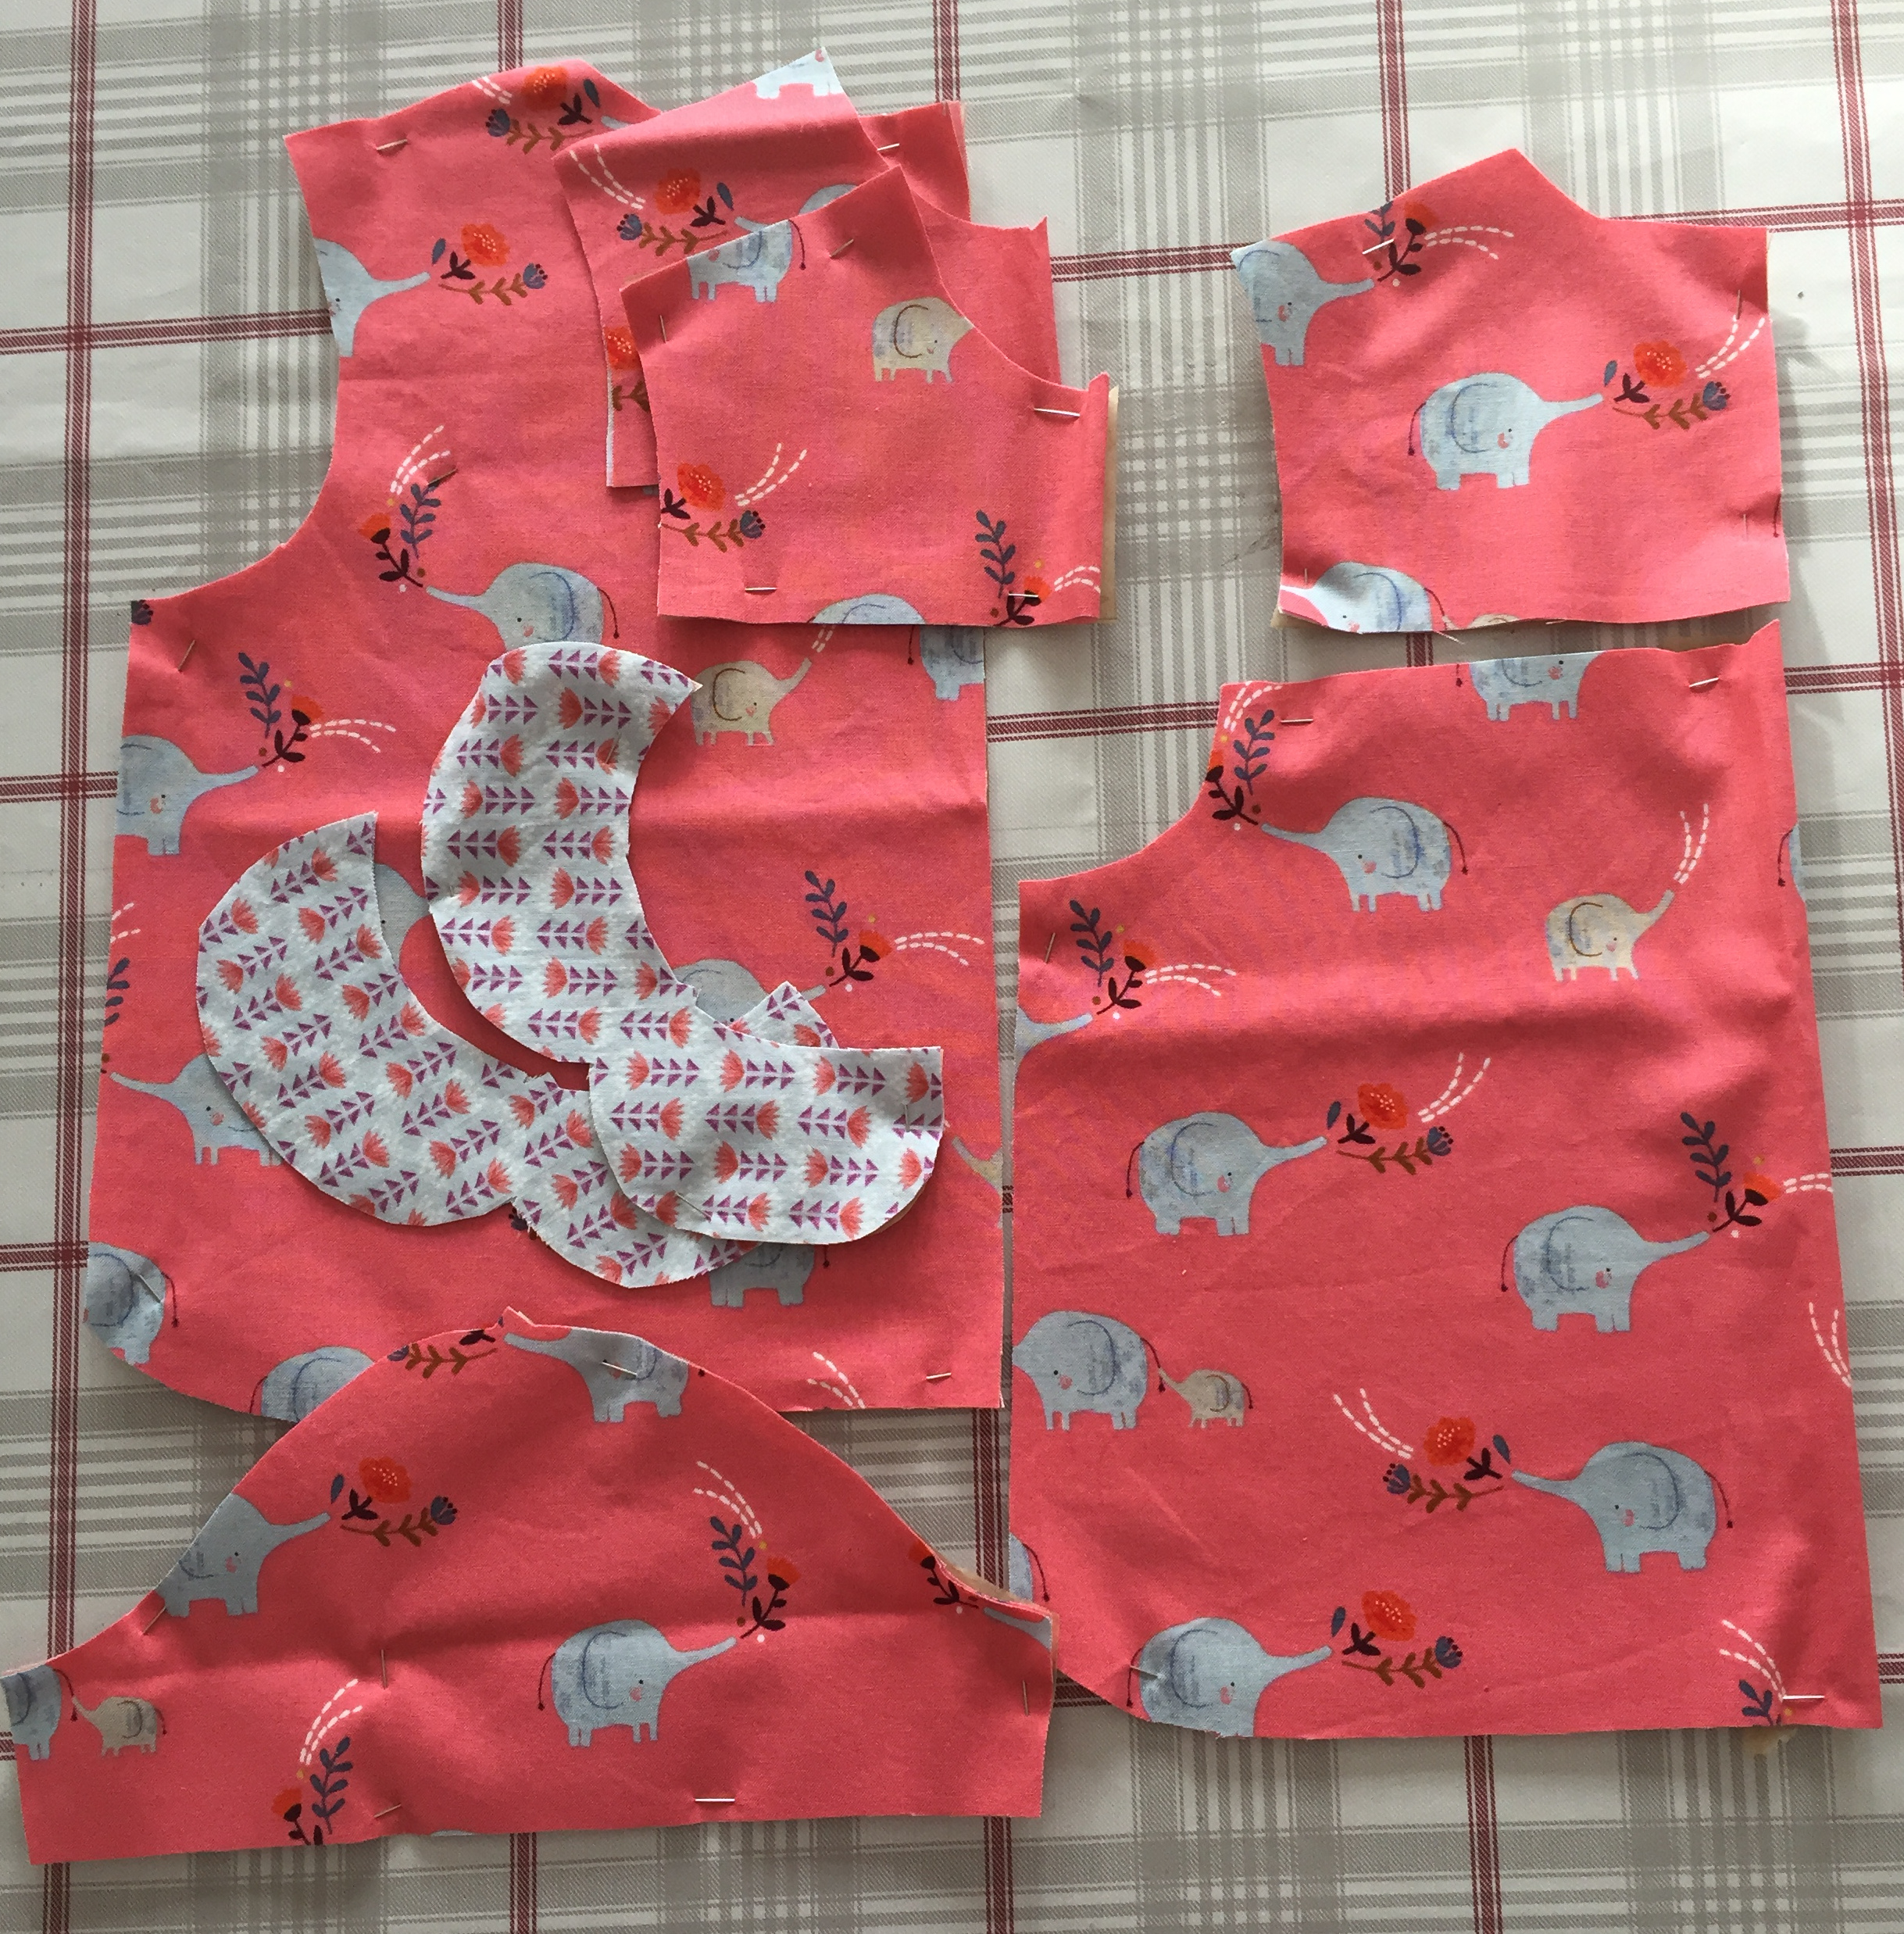
Cutting out
Trace your chosen size of pattern pieces onto grease proof paper or tracing paper.
Make sure you transfer all the markings onto your pattern and then onto the fabric using tailors chalk or other removable fabric marking pen.
The cutting layouts are quite clear so just follow the one for the fabric width you have.
All seams are 6mm except the seam joining the front yoke piece A to front piece B which is a 1cm seam
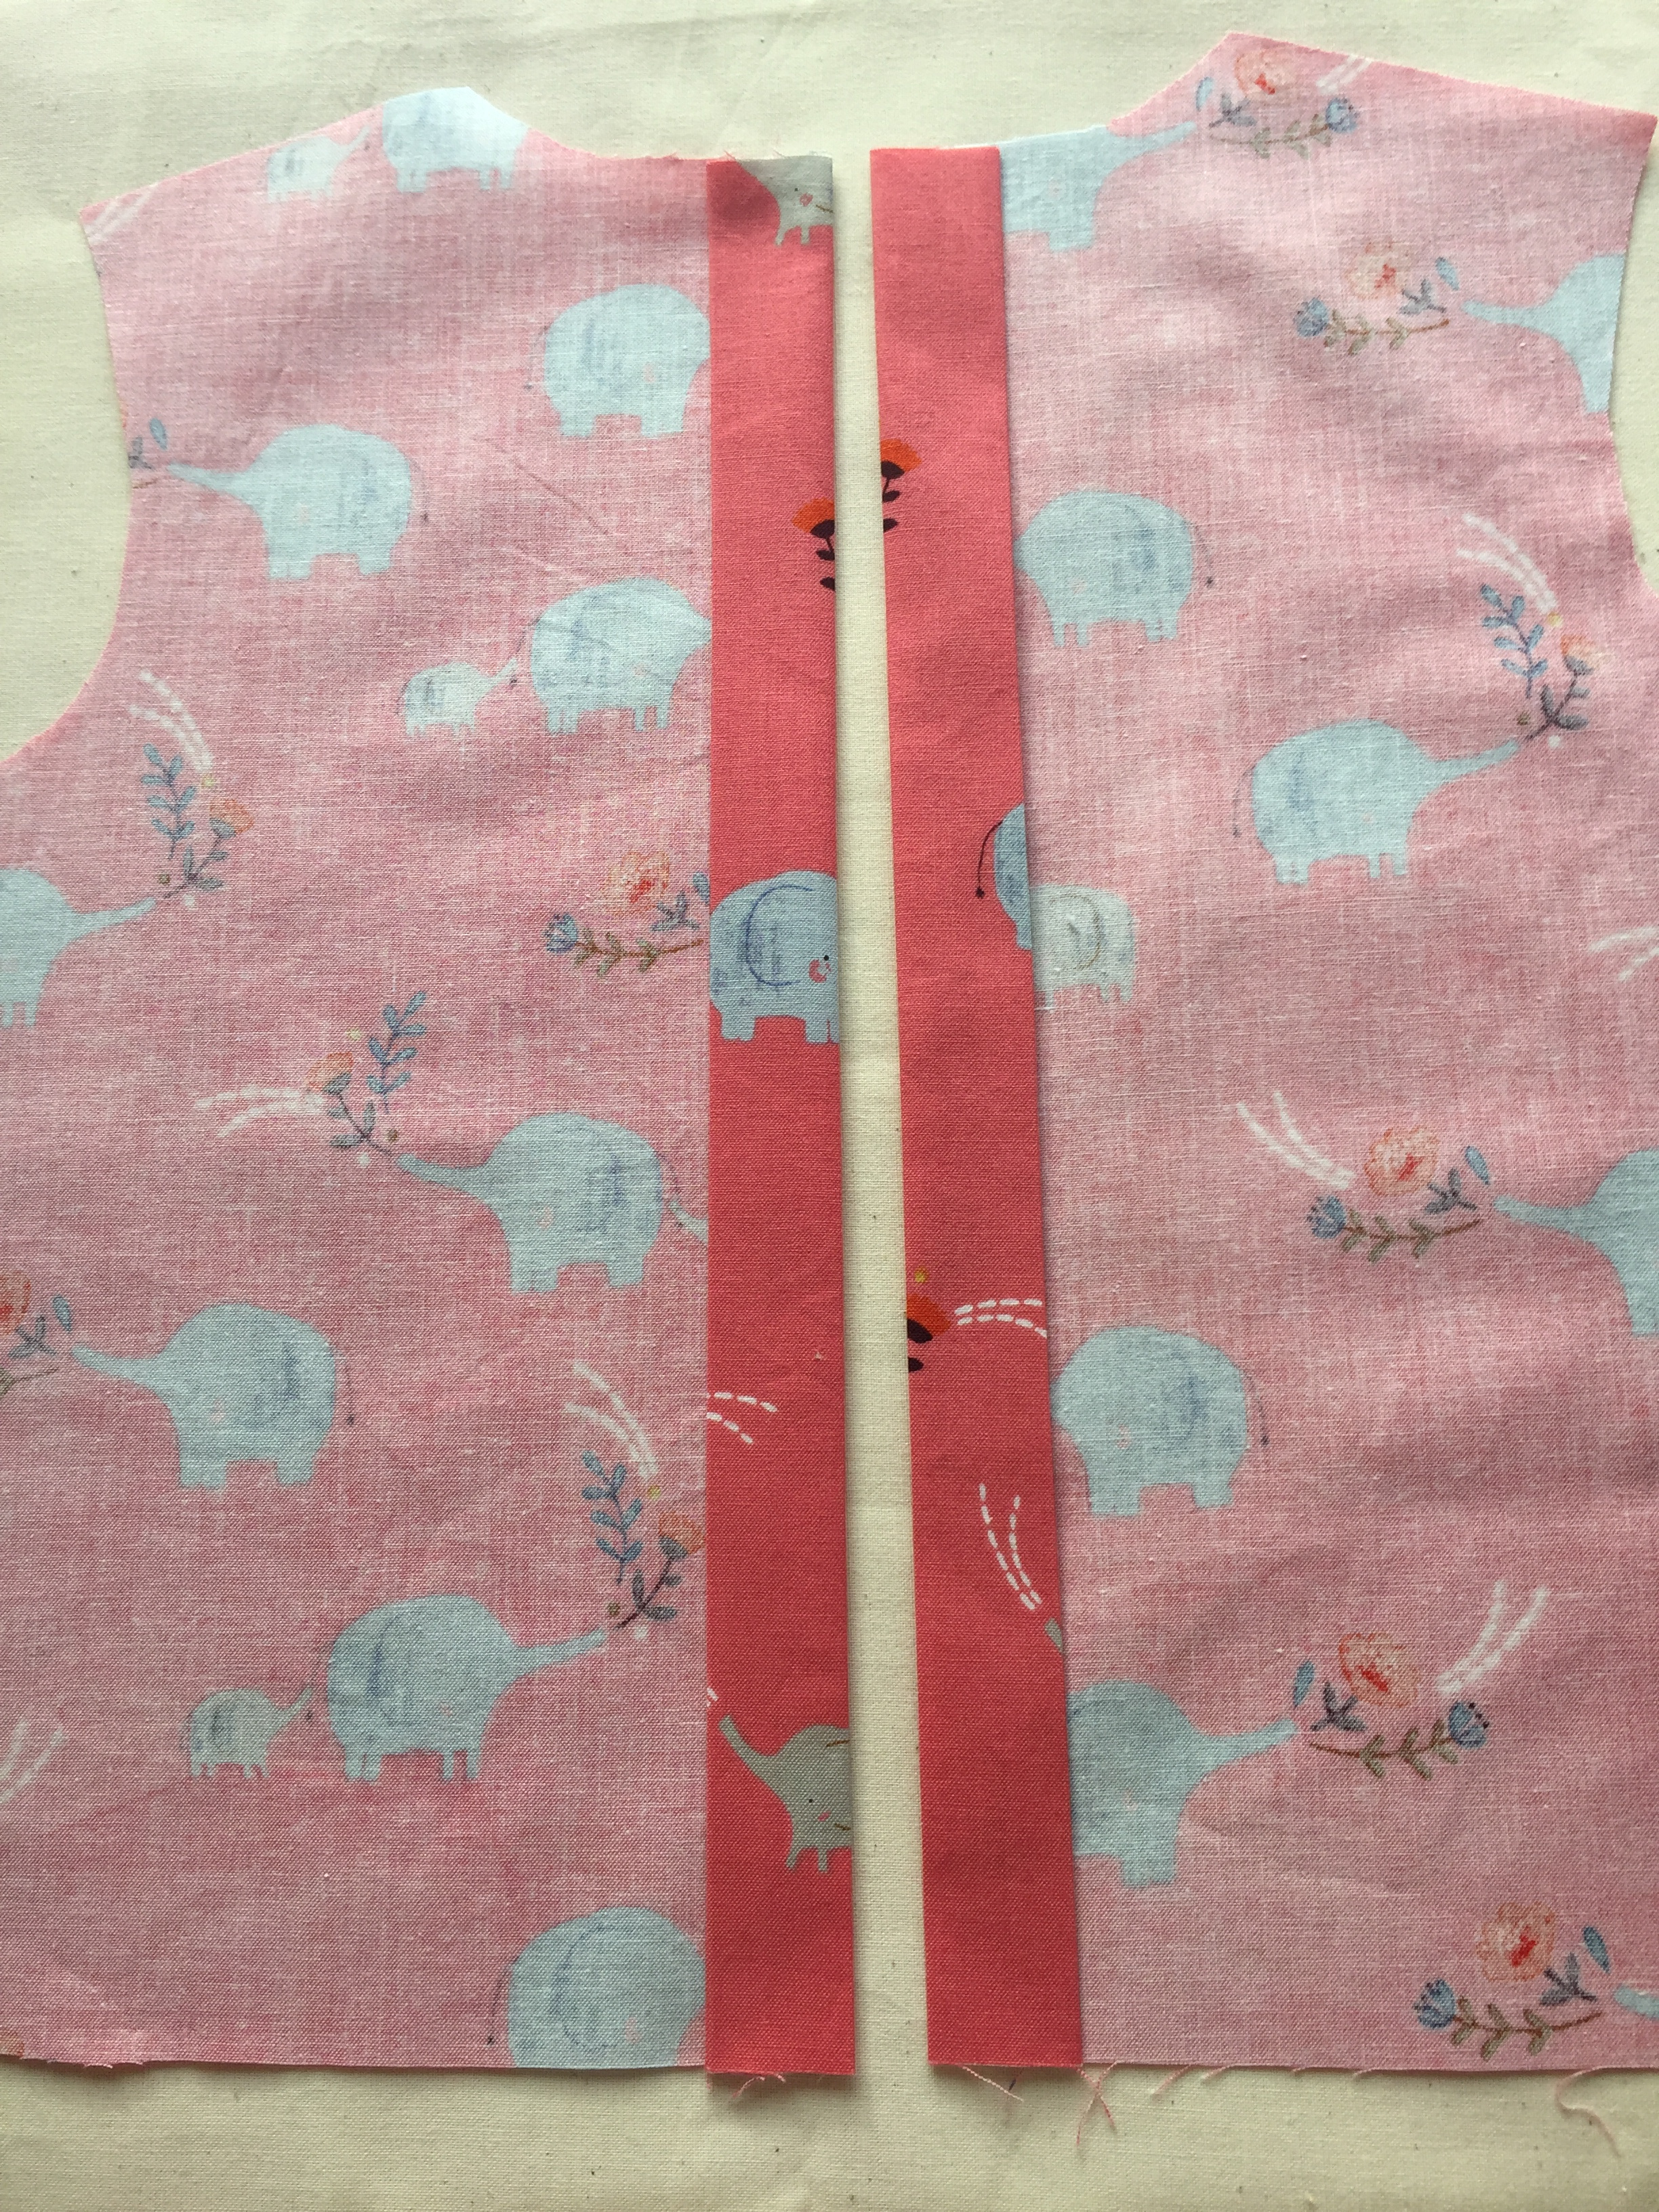
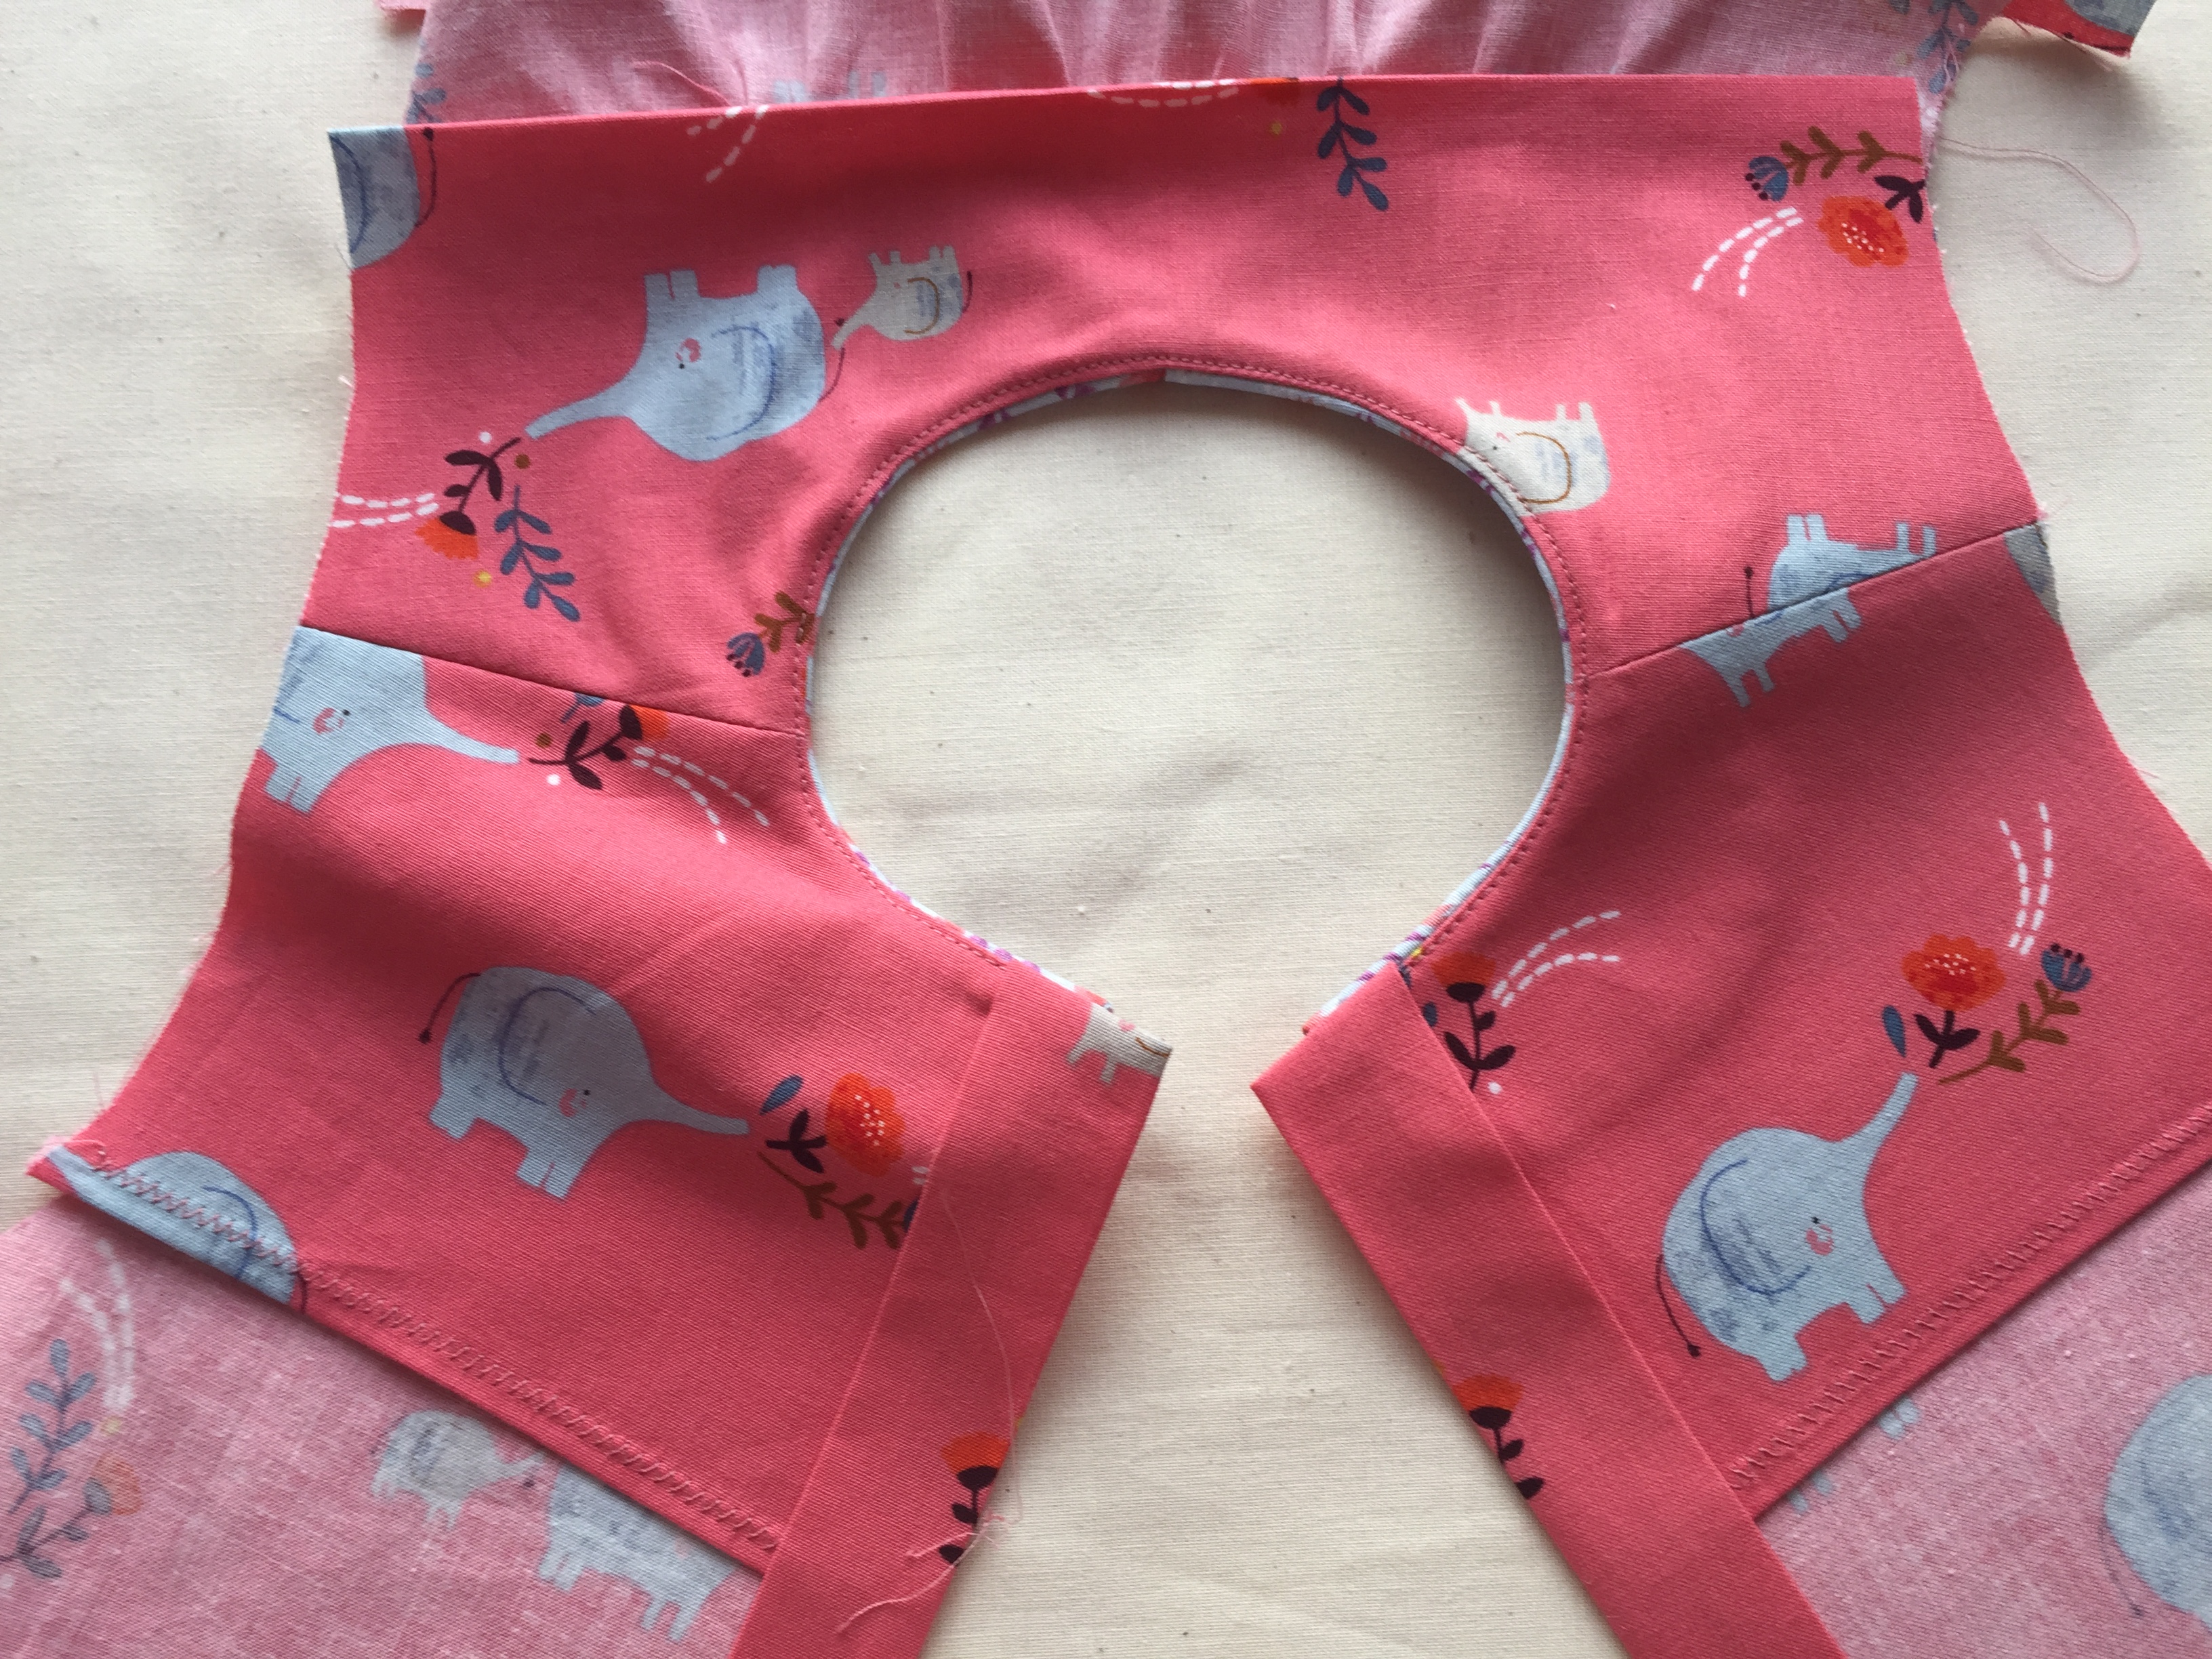
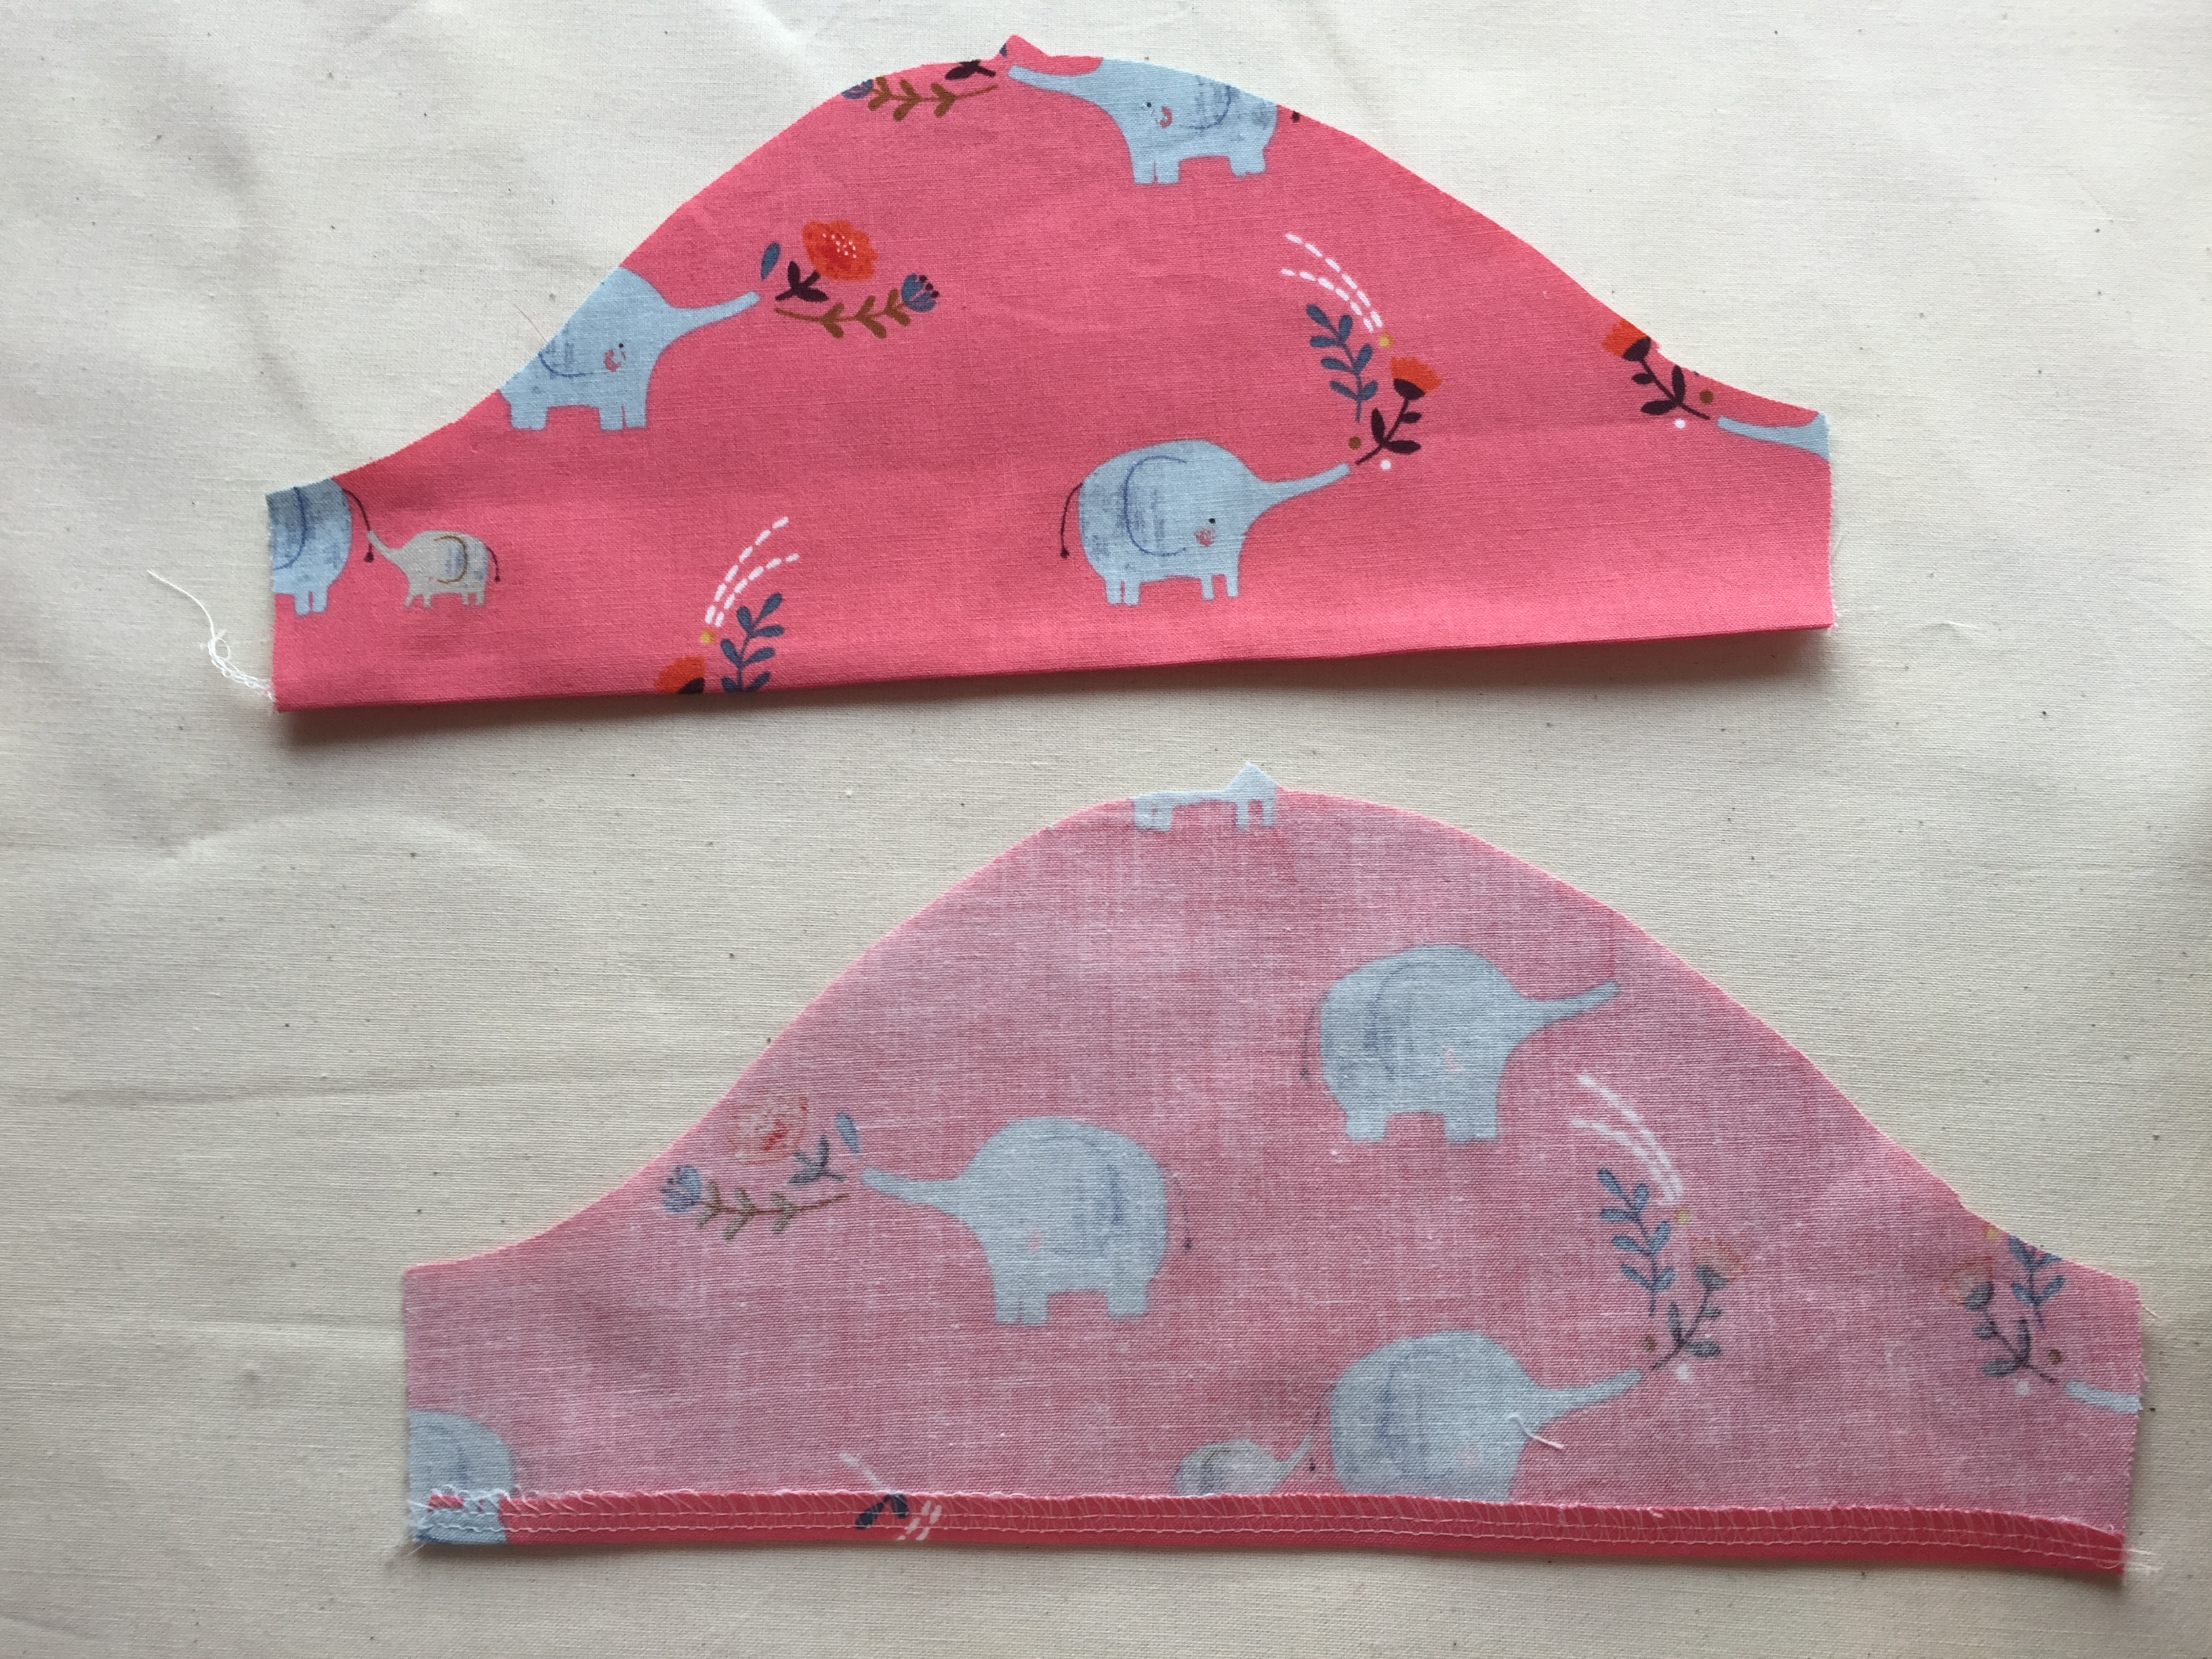
Here are my pieces all cut out.
Making up
The following numbers refer to the sections in the sewing instructions
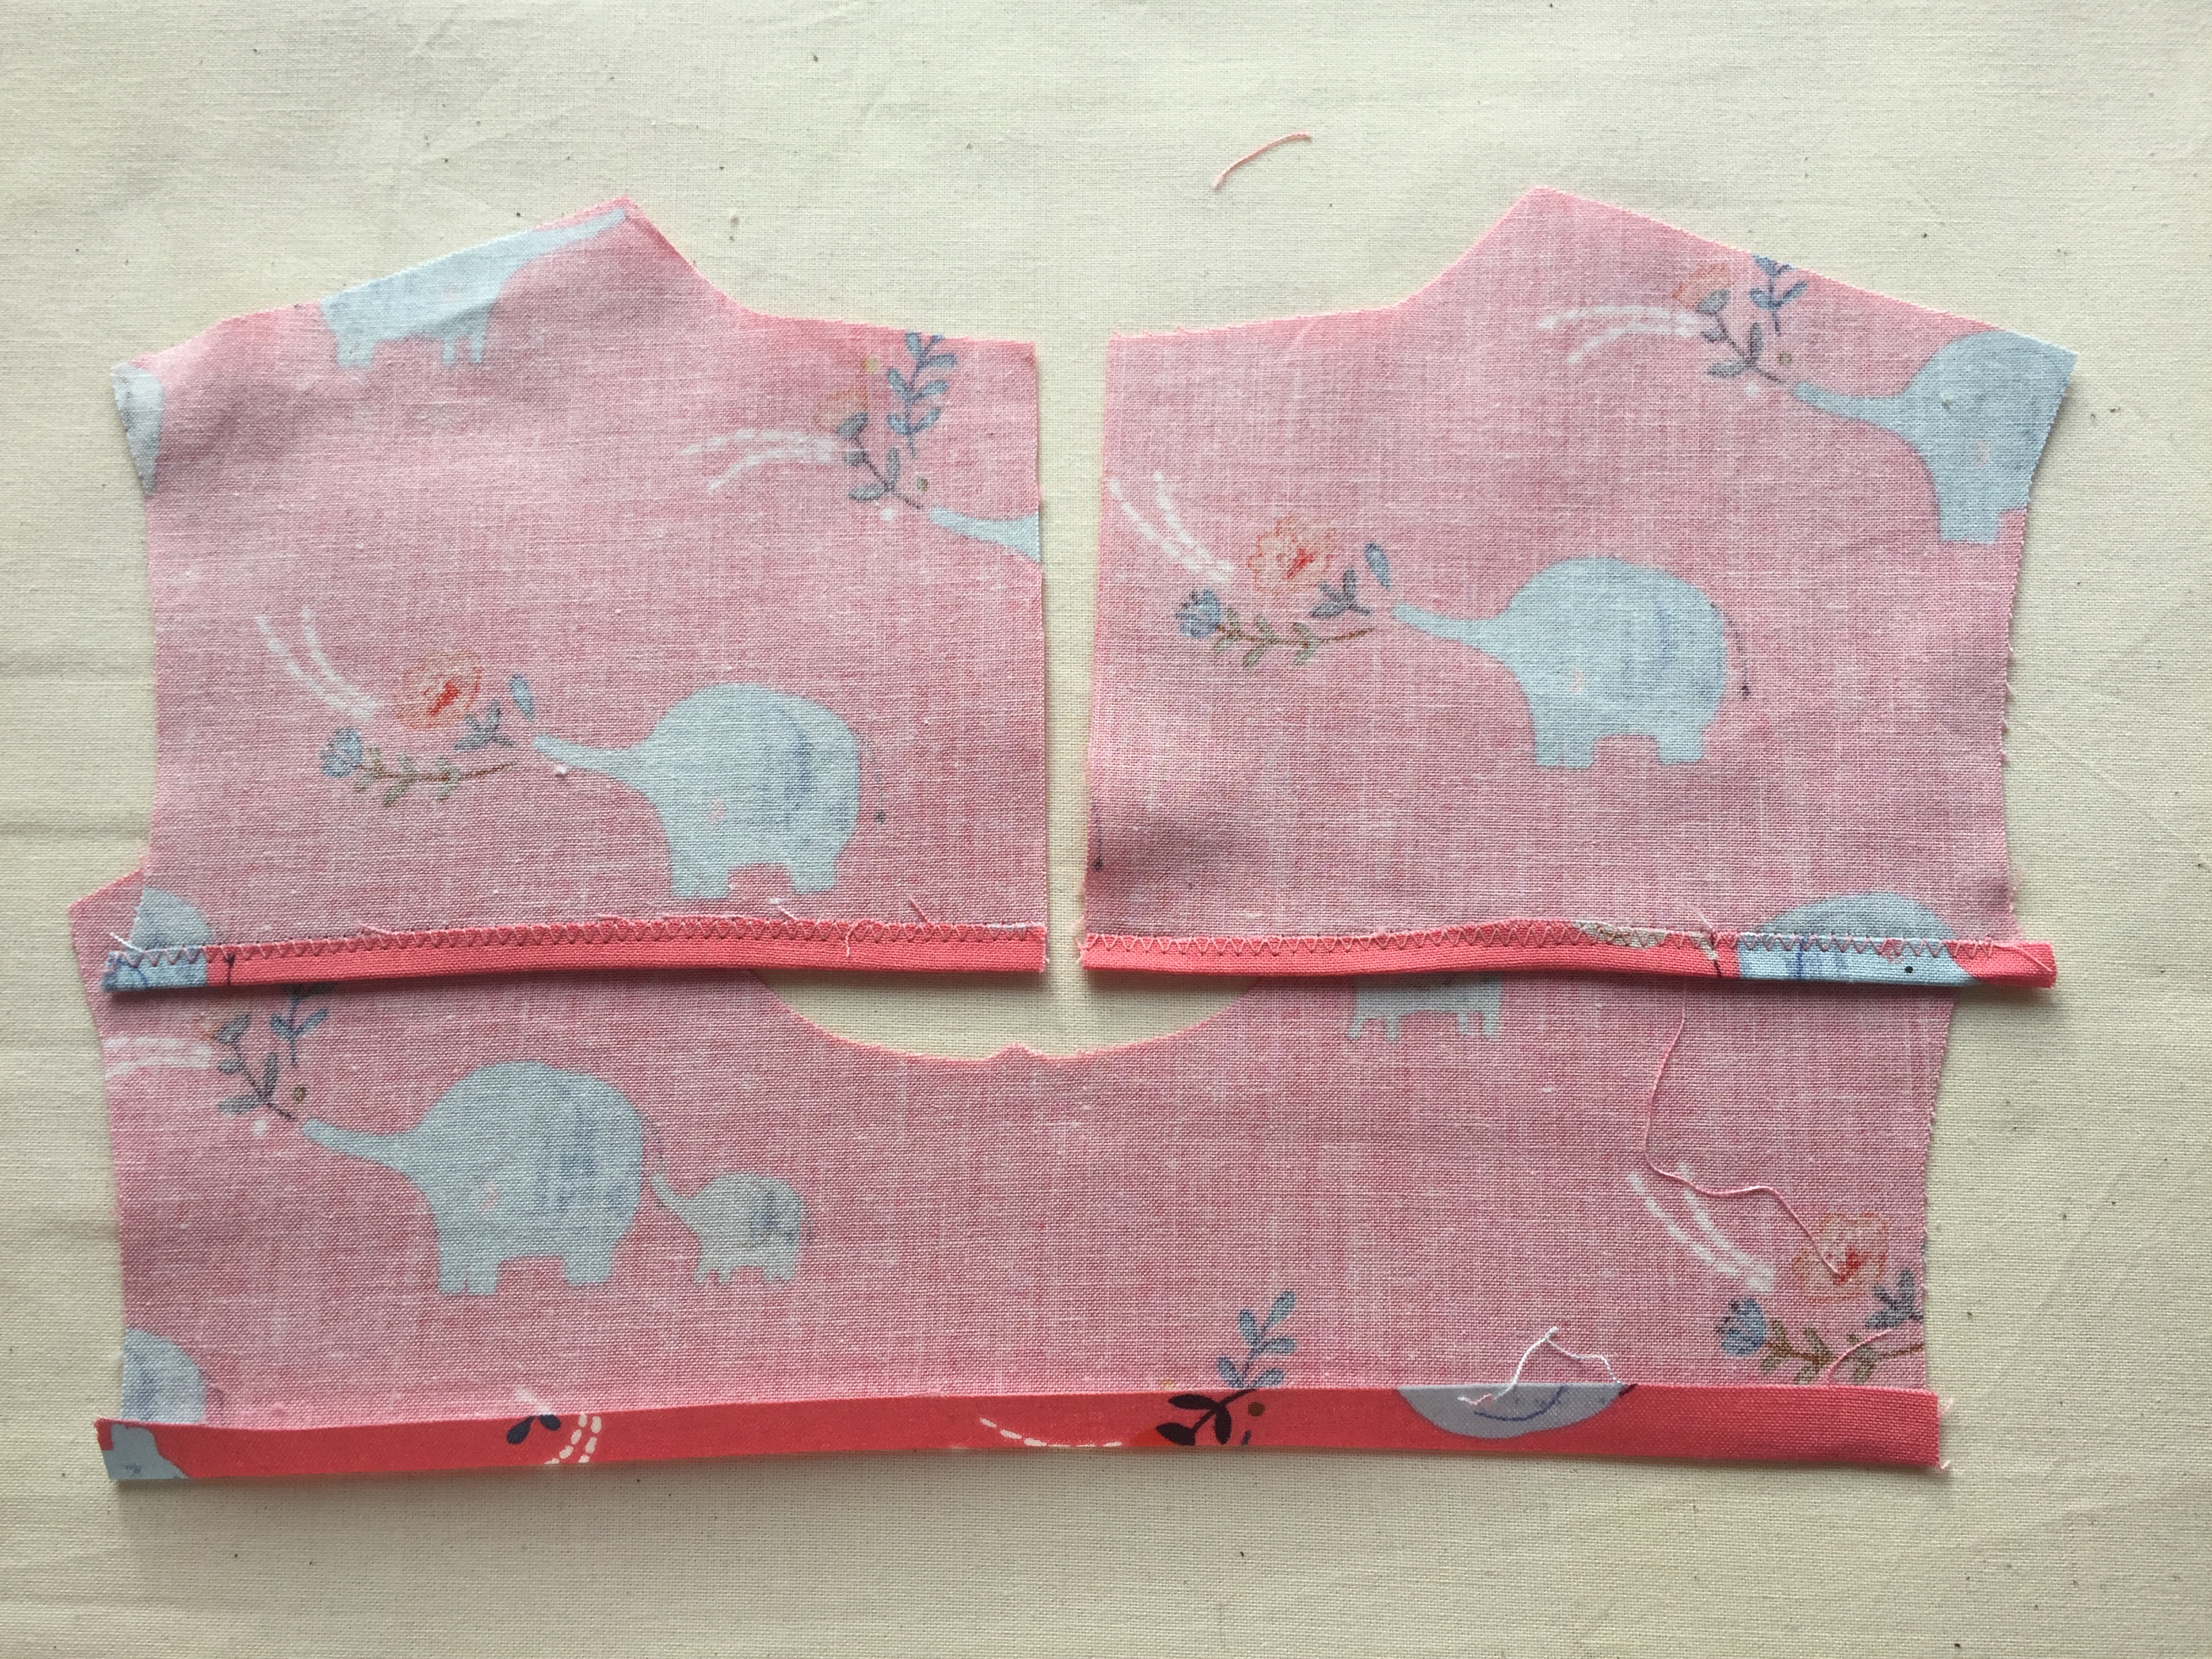
1. Gathering piece B - stitch the gathering threads as described. My tip to make even gathers is as follows:
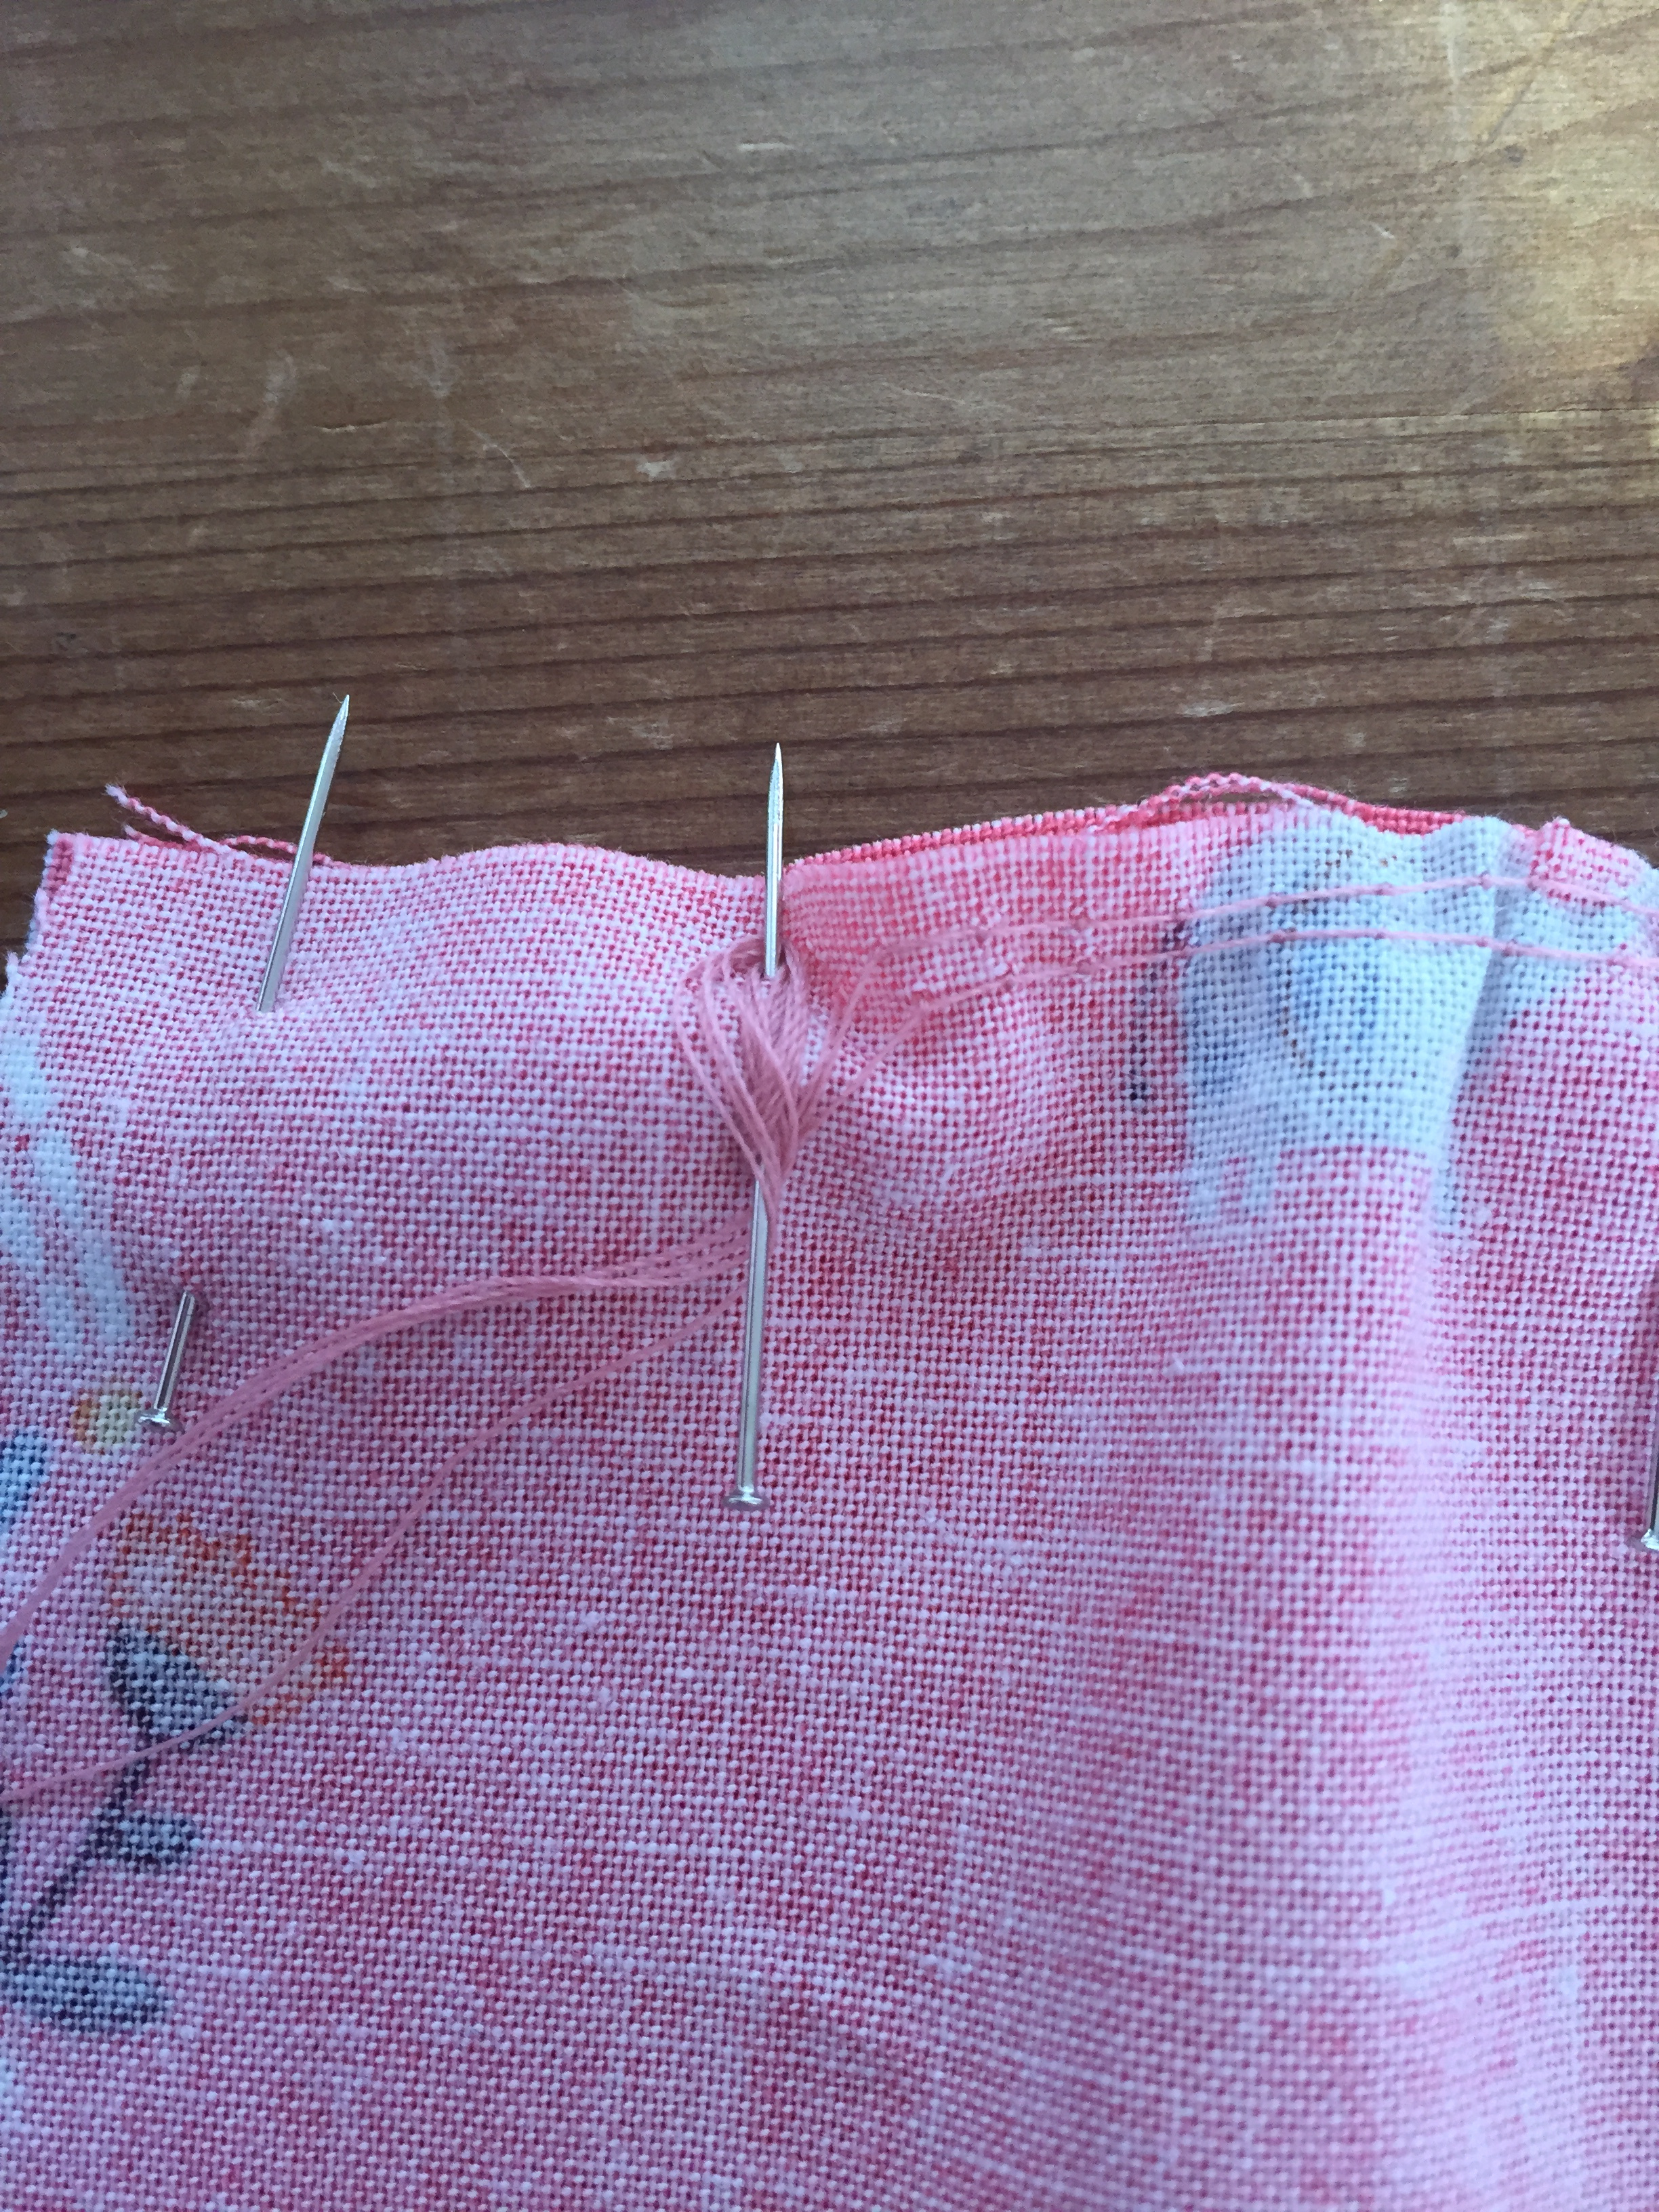
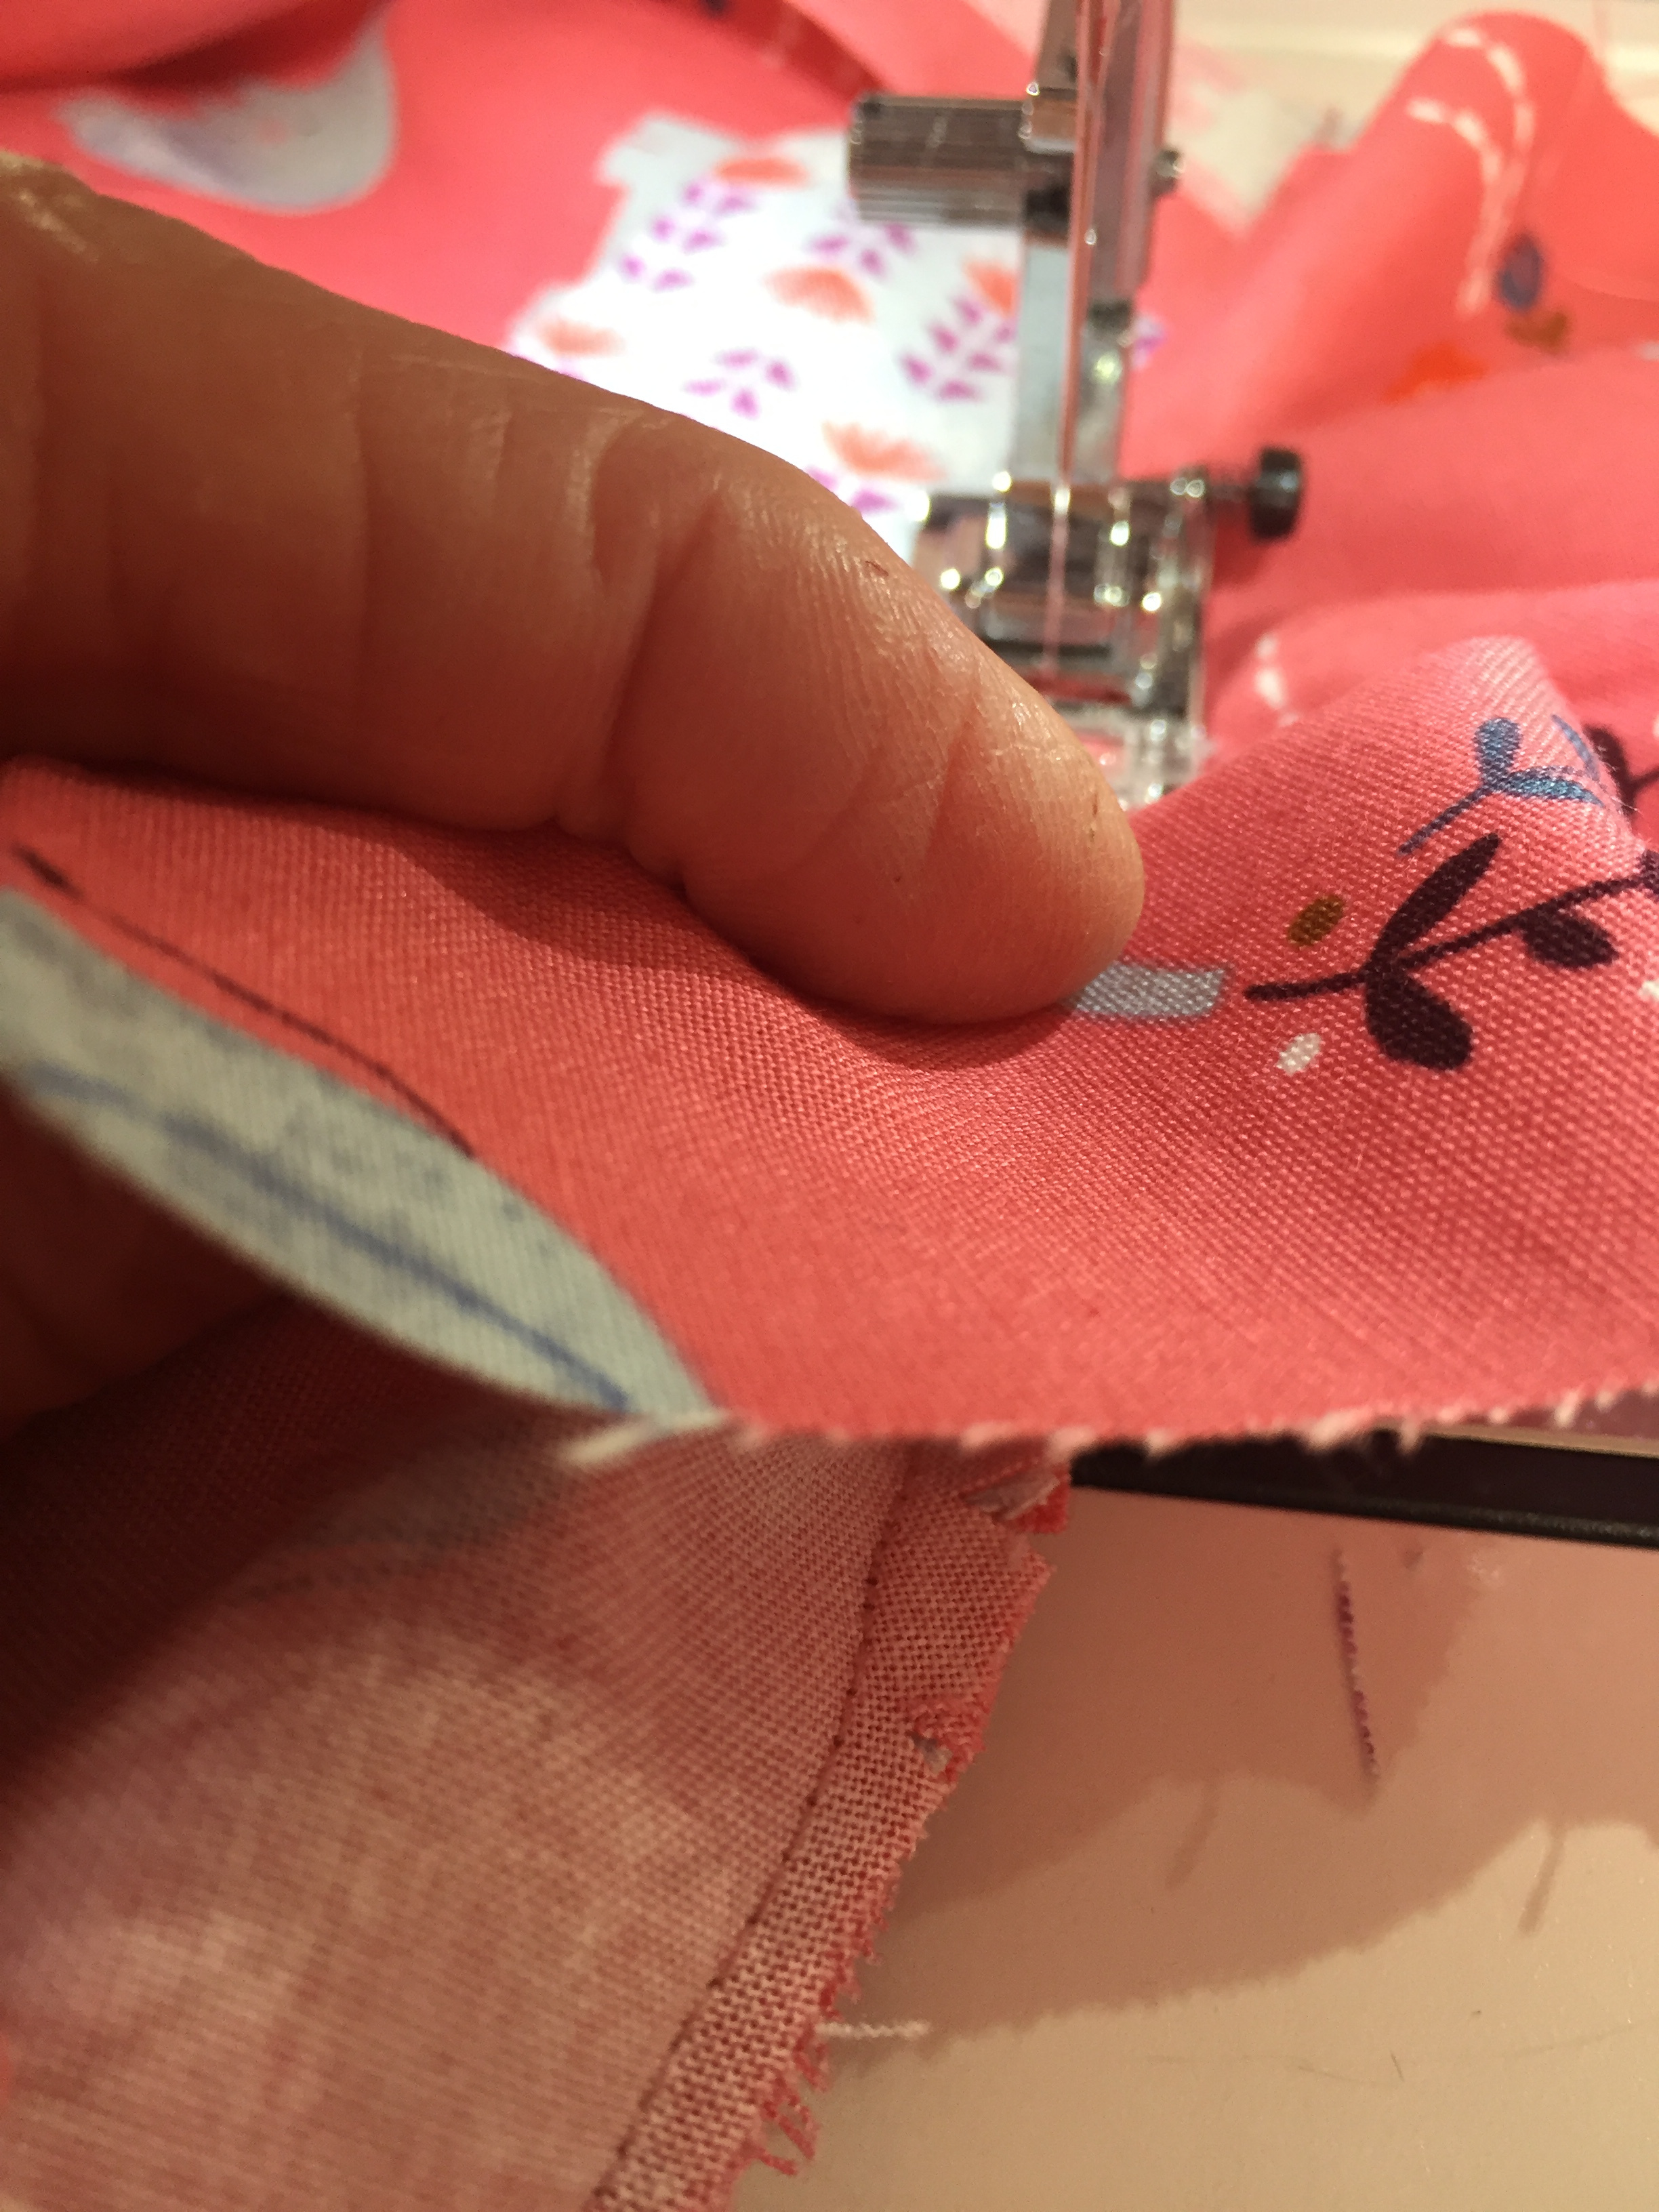
Pull the top thread to the wrong side so you have both top and bottom thread on the wrong side of he fabric. To do this turn your fabric over so the wrong side is facing you and gently pull the thread that is there (the bobbin thread). You should then see the loop of the upper thread appear, gently pull this through so you have both threads on this side as in photo below.
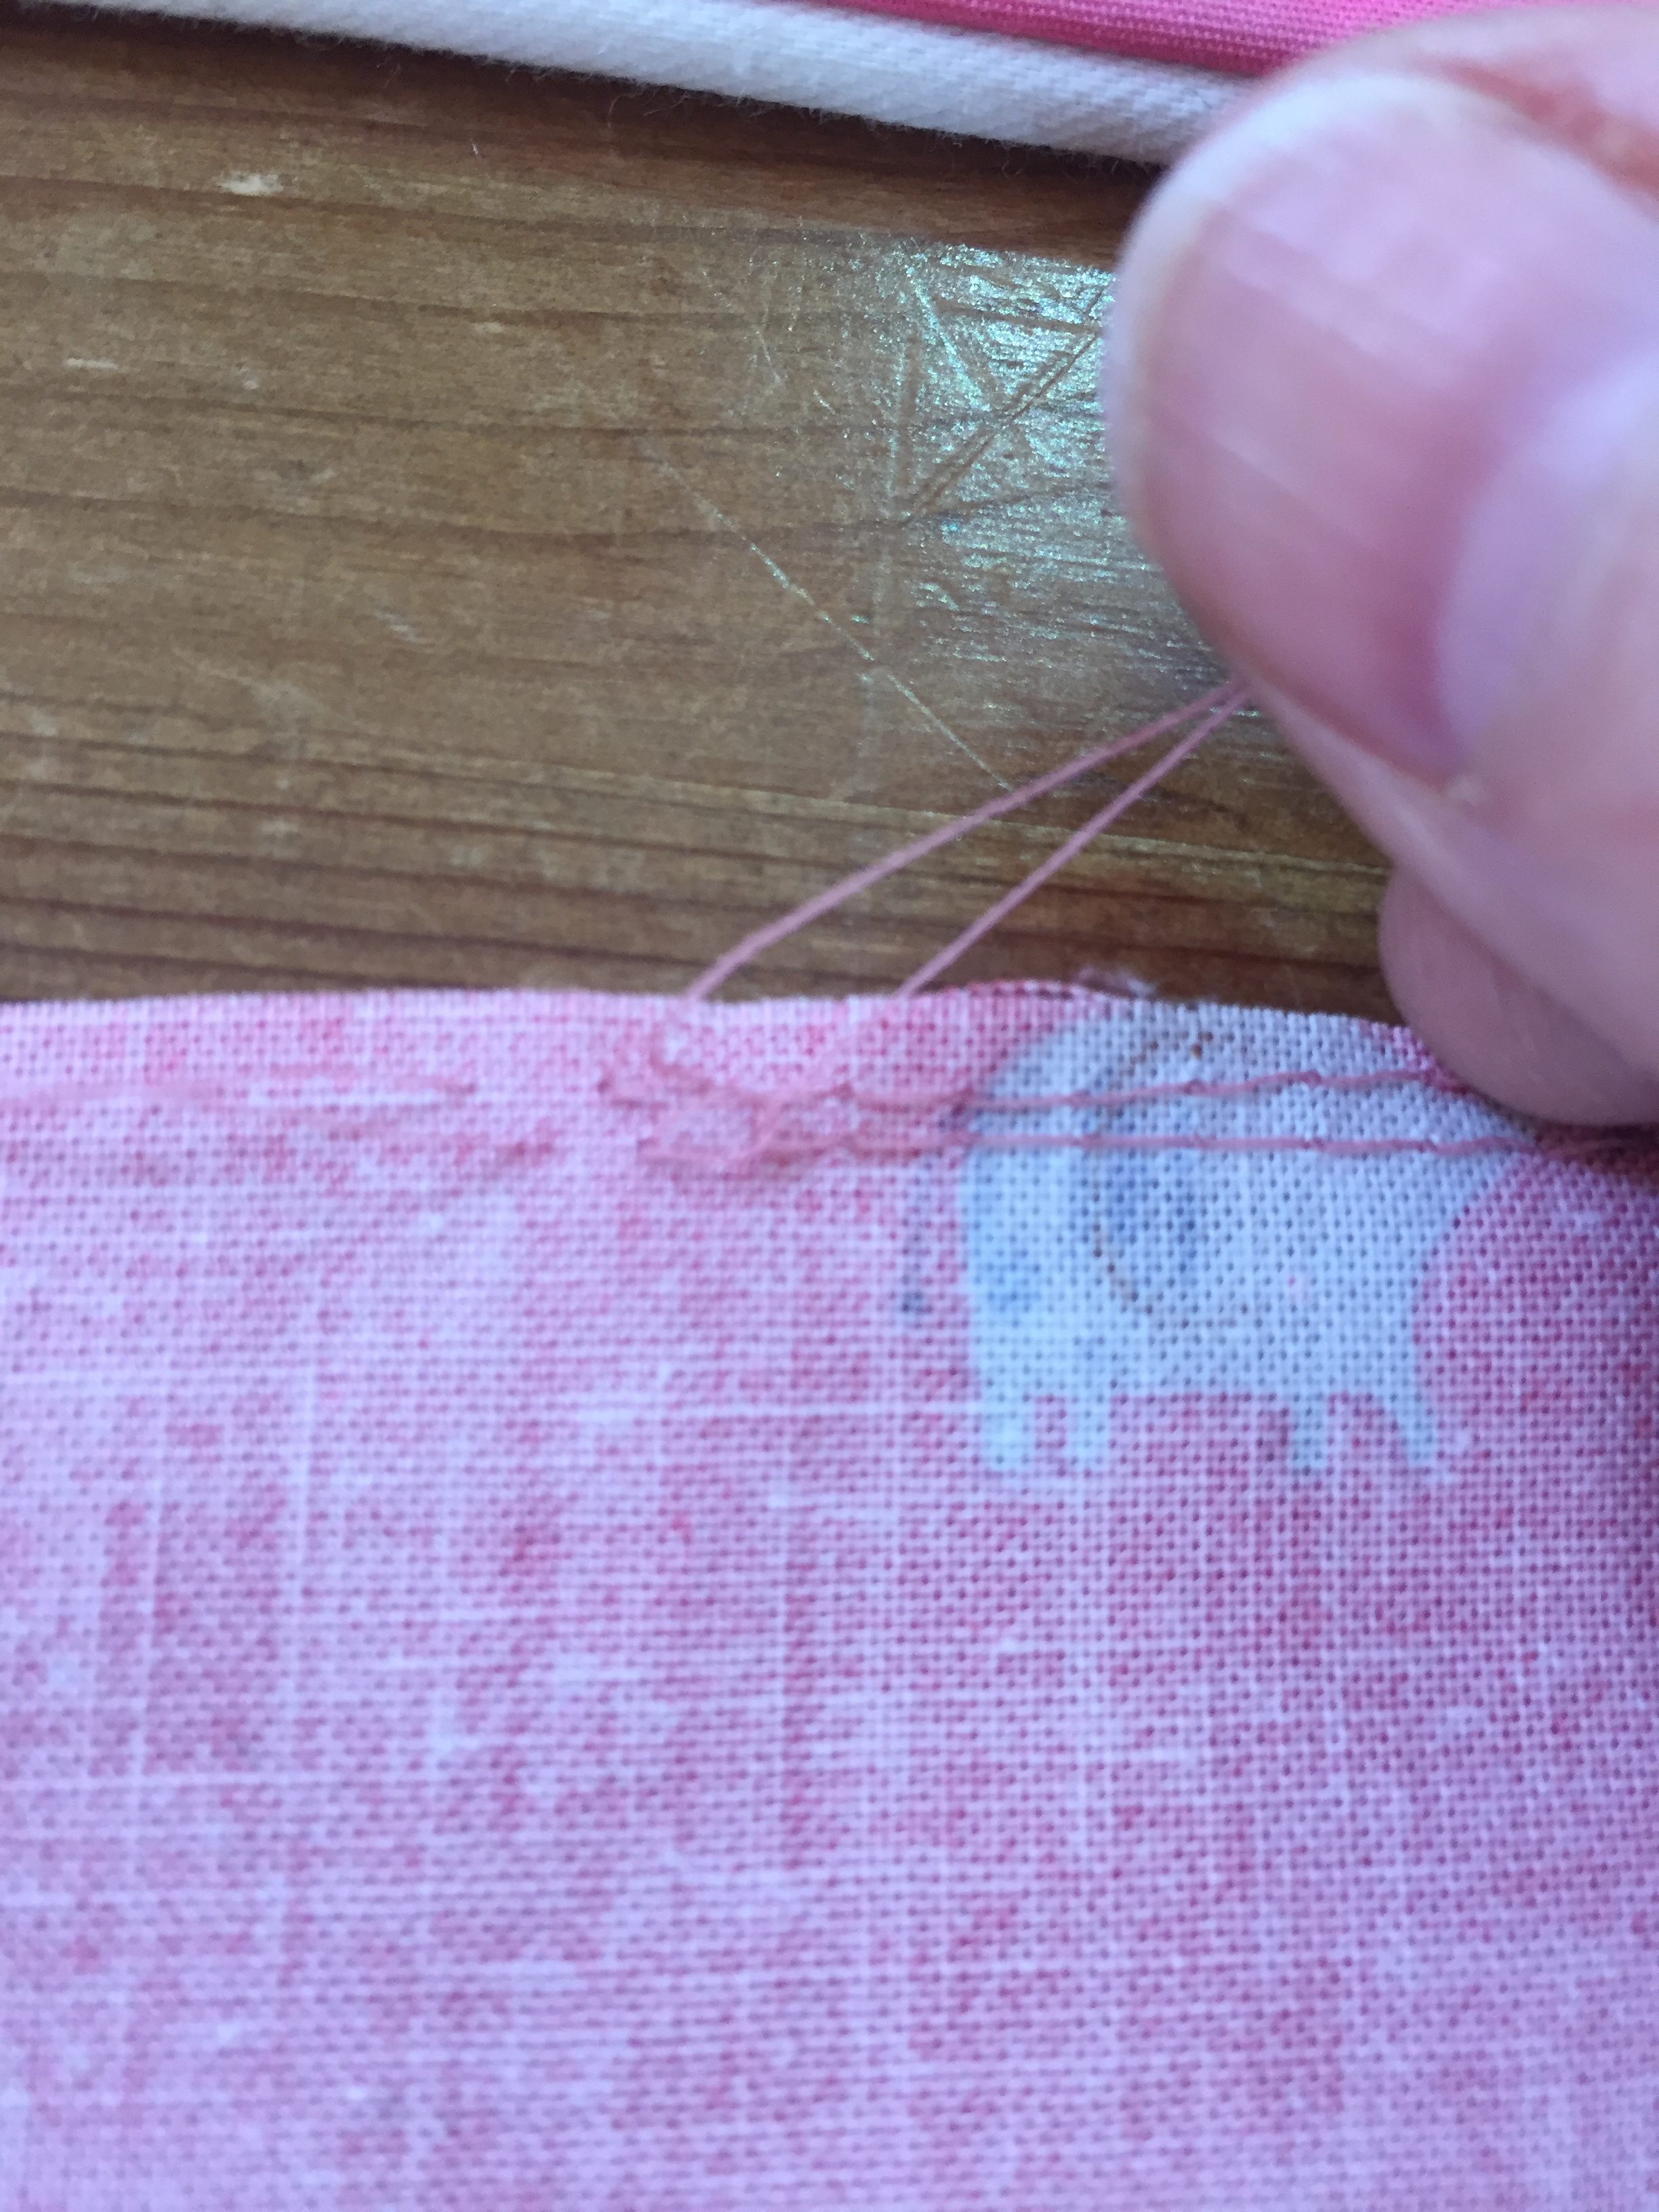
Now you can pull the bobbin threads - the ones I am holding in the picture- to make the gathers.
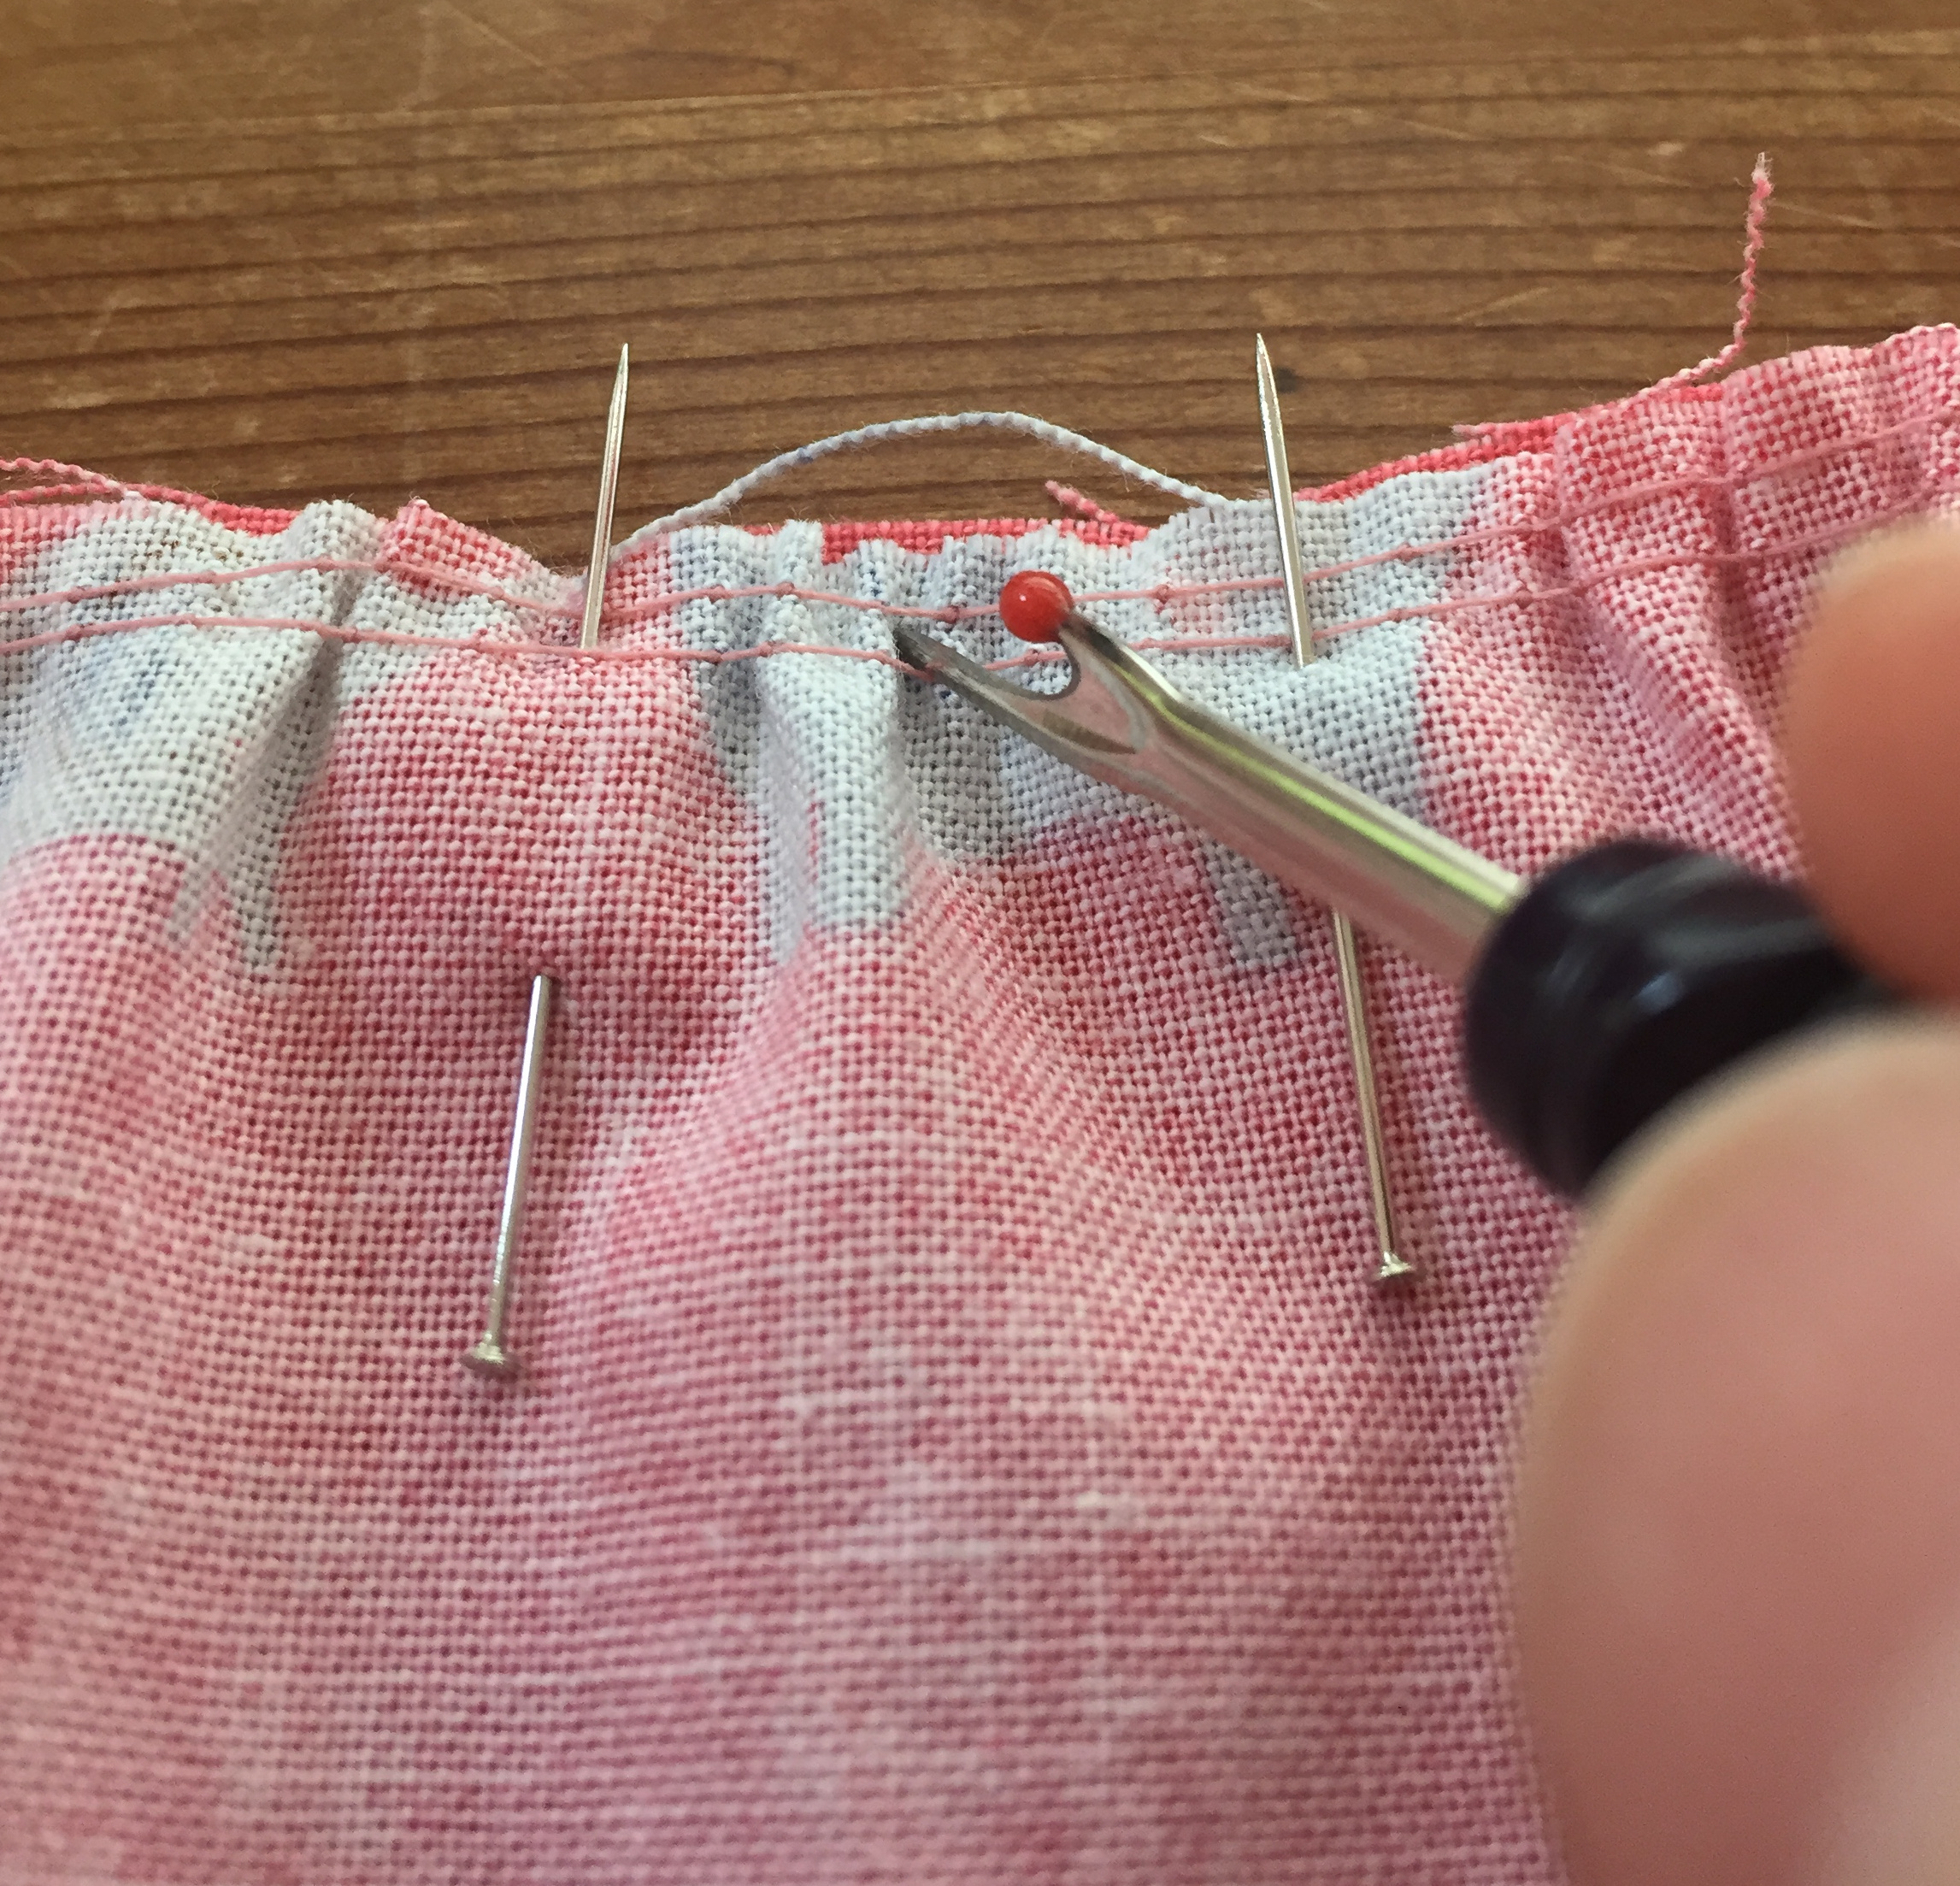
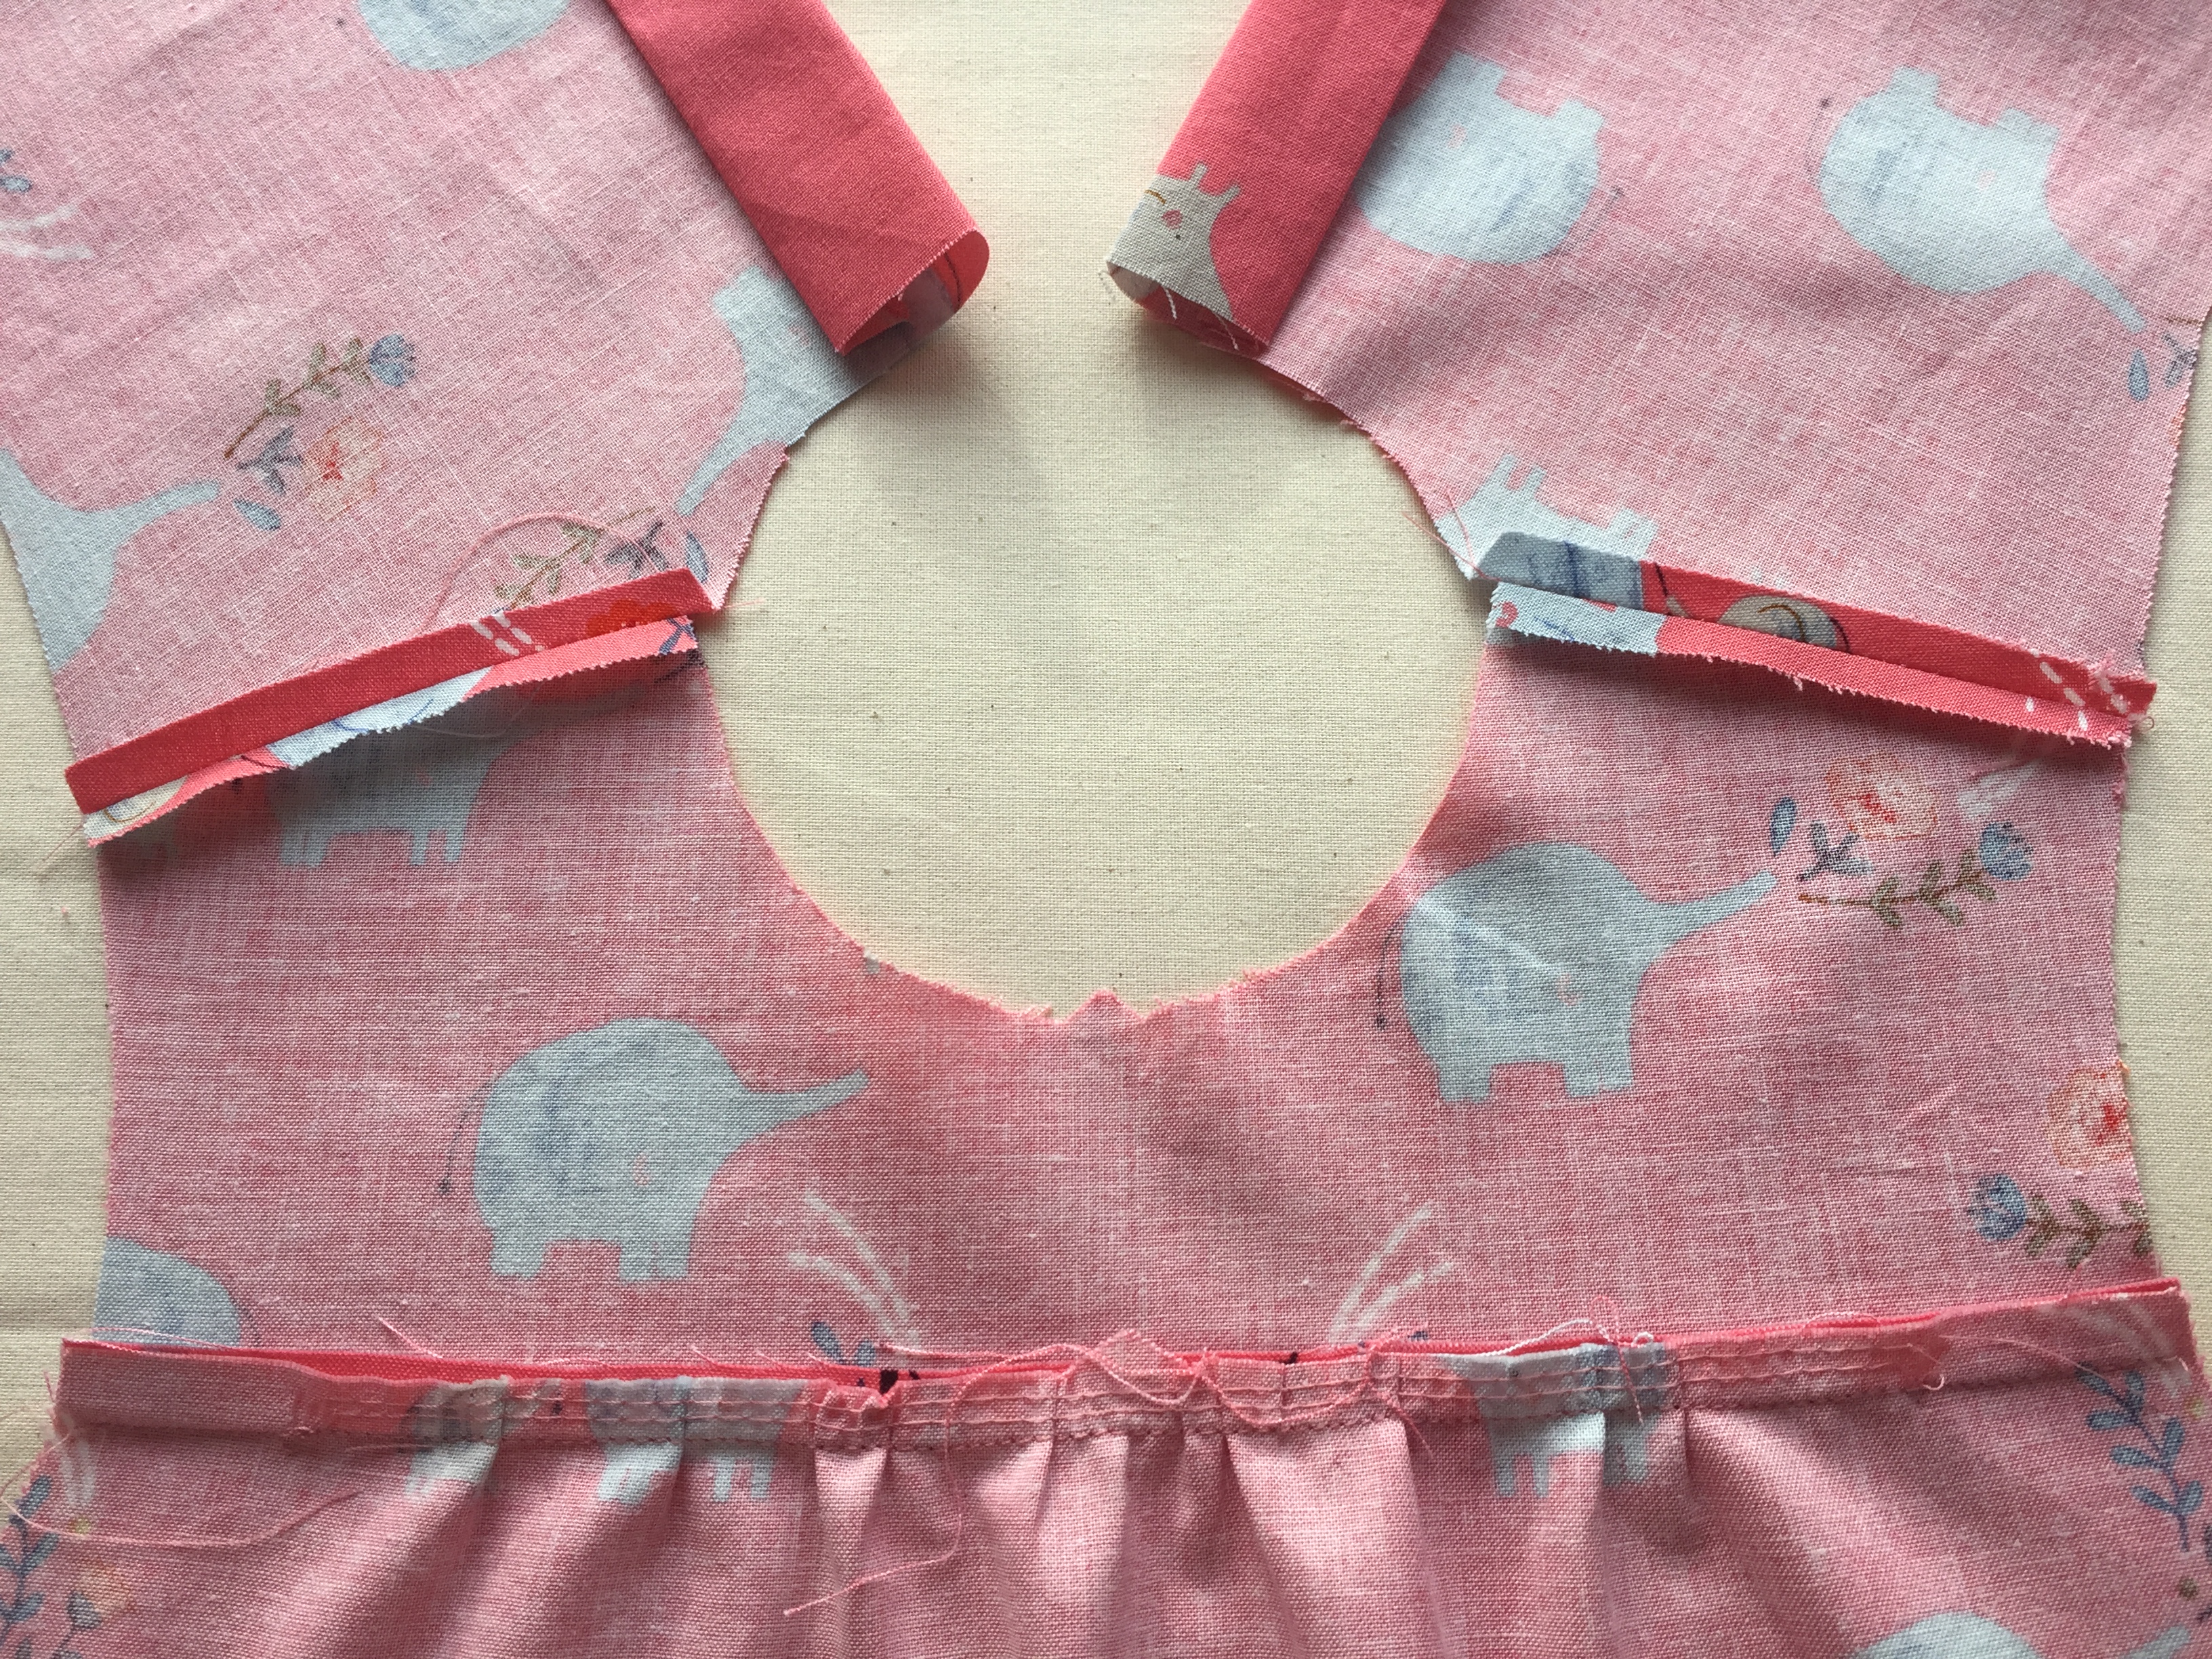
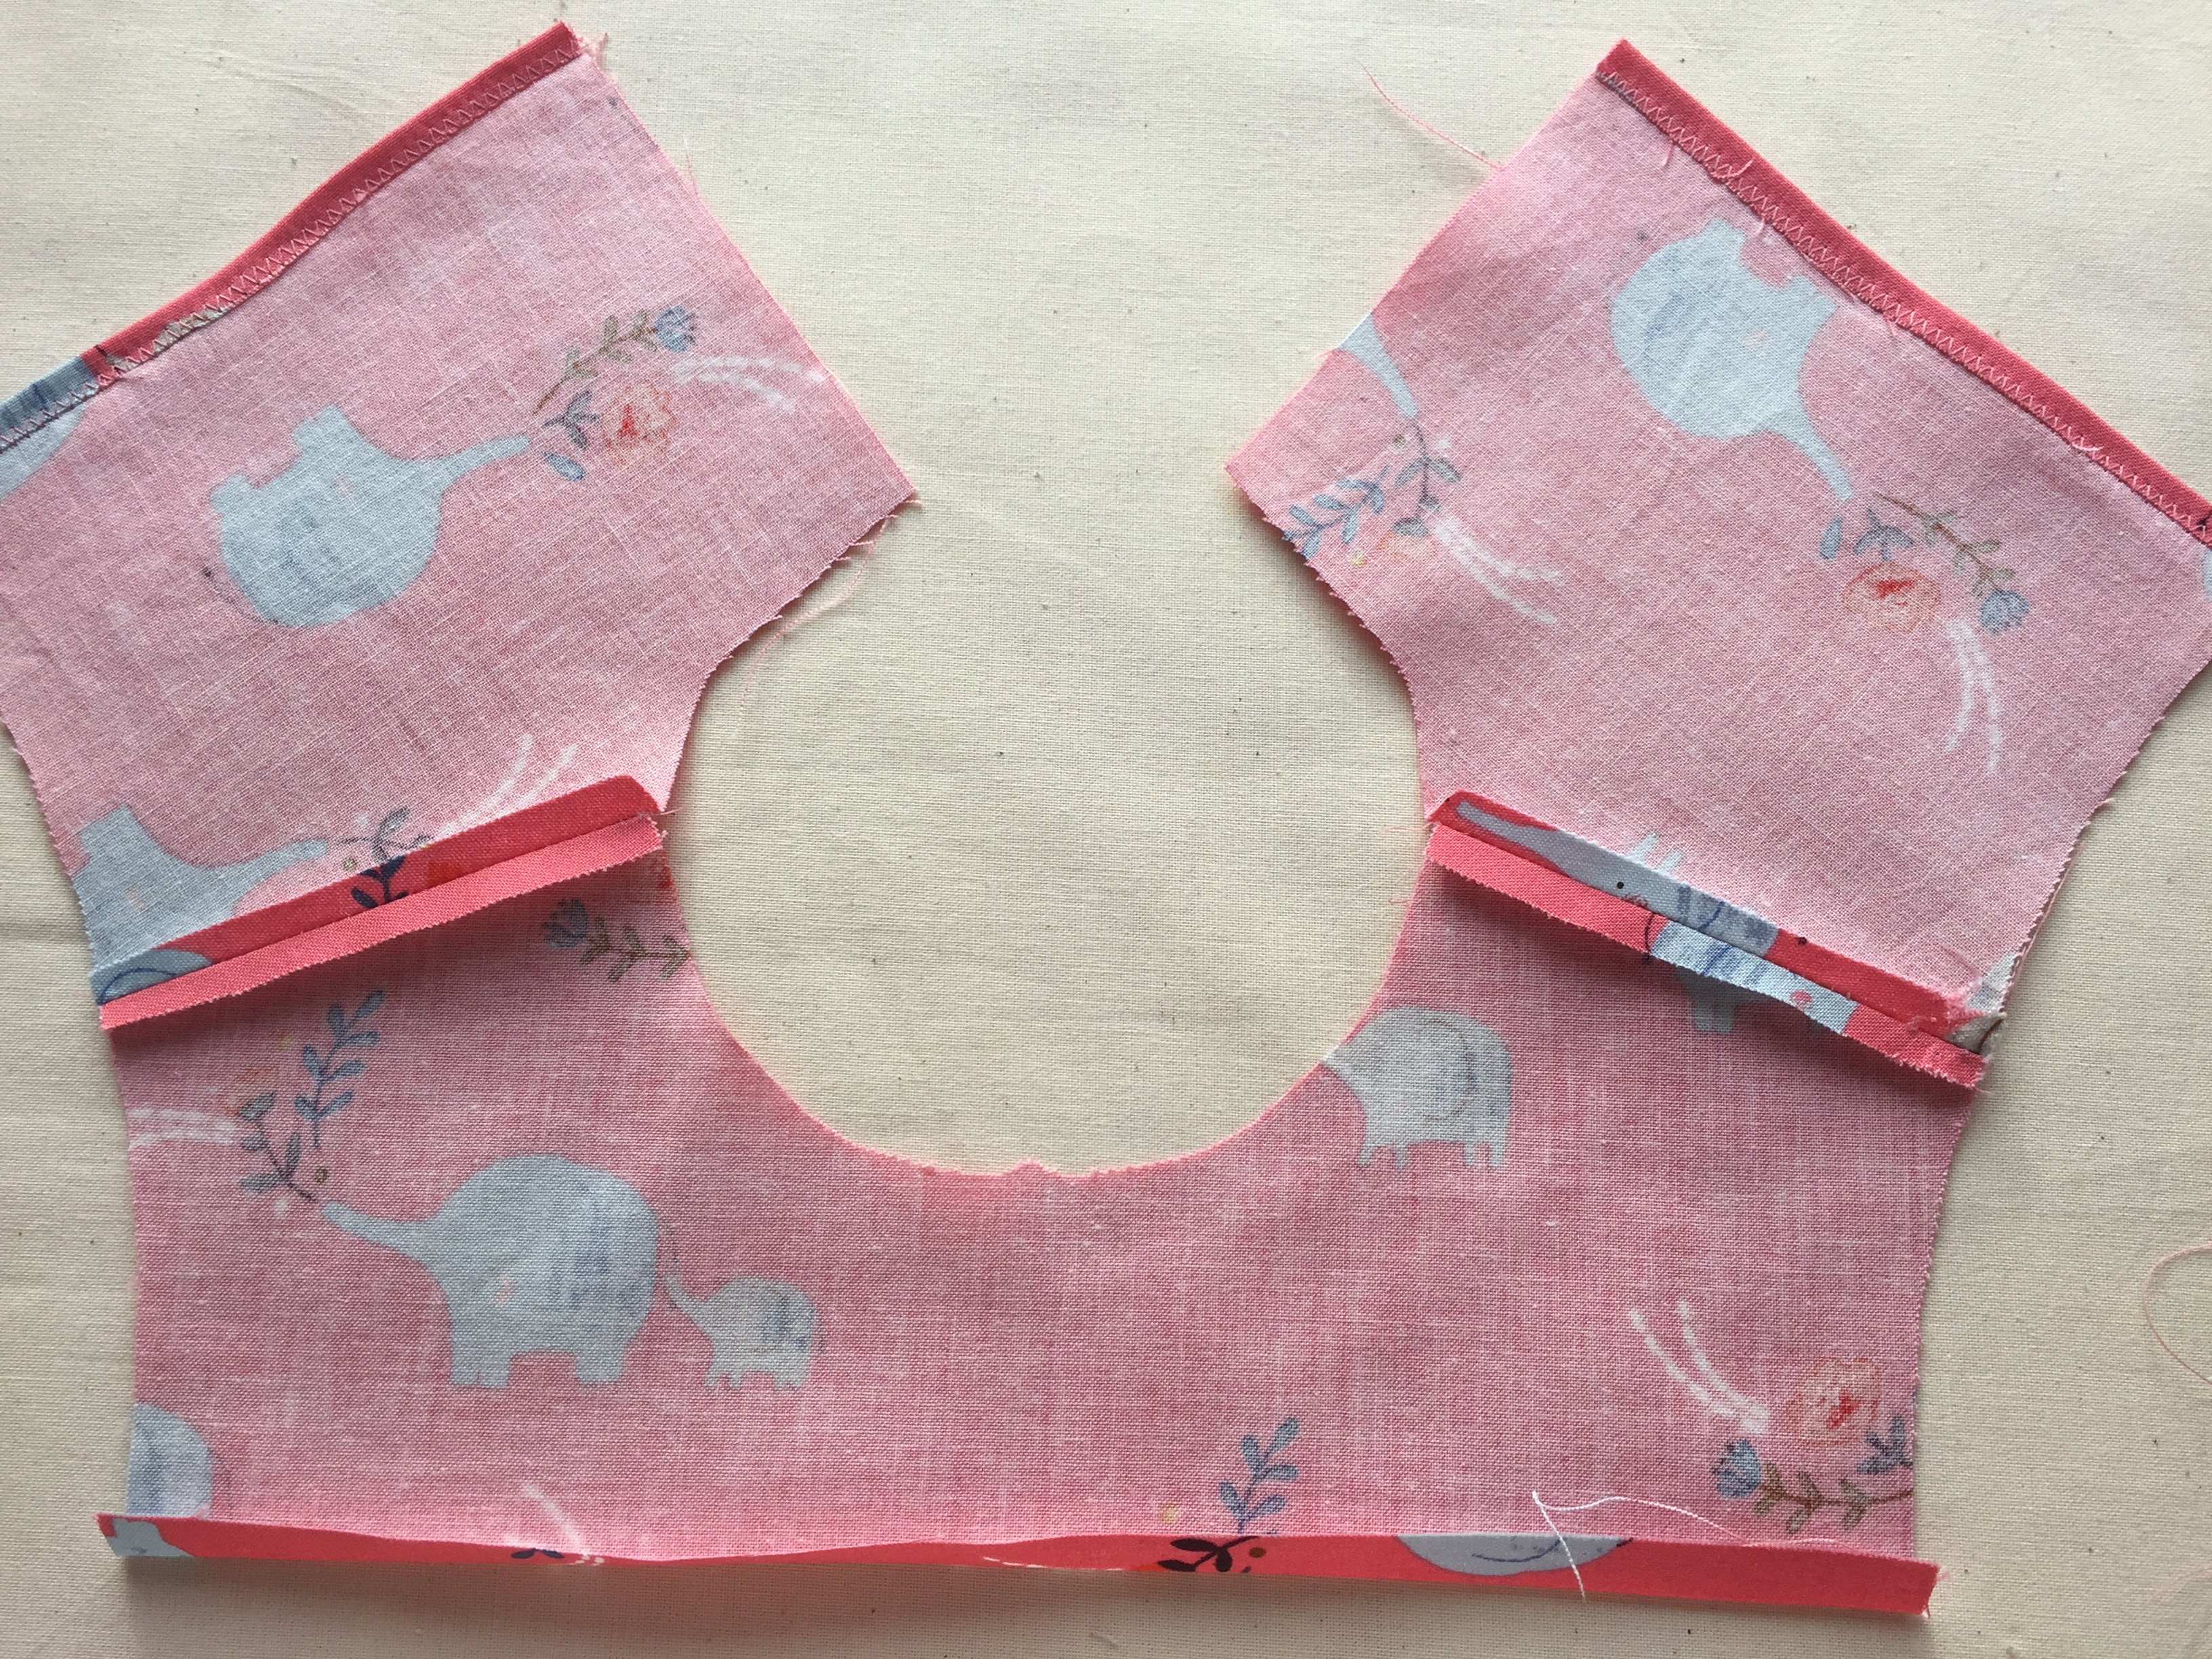
2. Line up your gathered piece B on top of one front yoke piece A. My next tip to help spread out the gathers evenly is to put a pin at each end of the gathers and wind your threads around them to keep the gathers tight while you spread them evenly across the front piece.
I use the point of a seam ripper to gently even out the gathers.
Now you can sew the seam. Note this is a 1cm seam here.
3. Placket
4. Bodice facings
5. Shoulder seams.
6. Facings.
7. Collar.
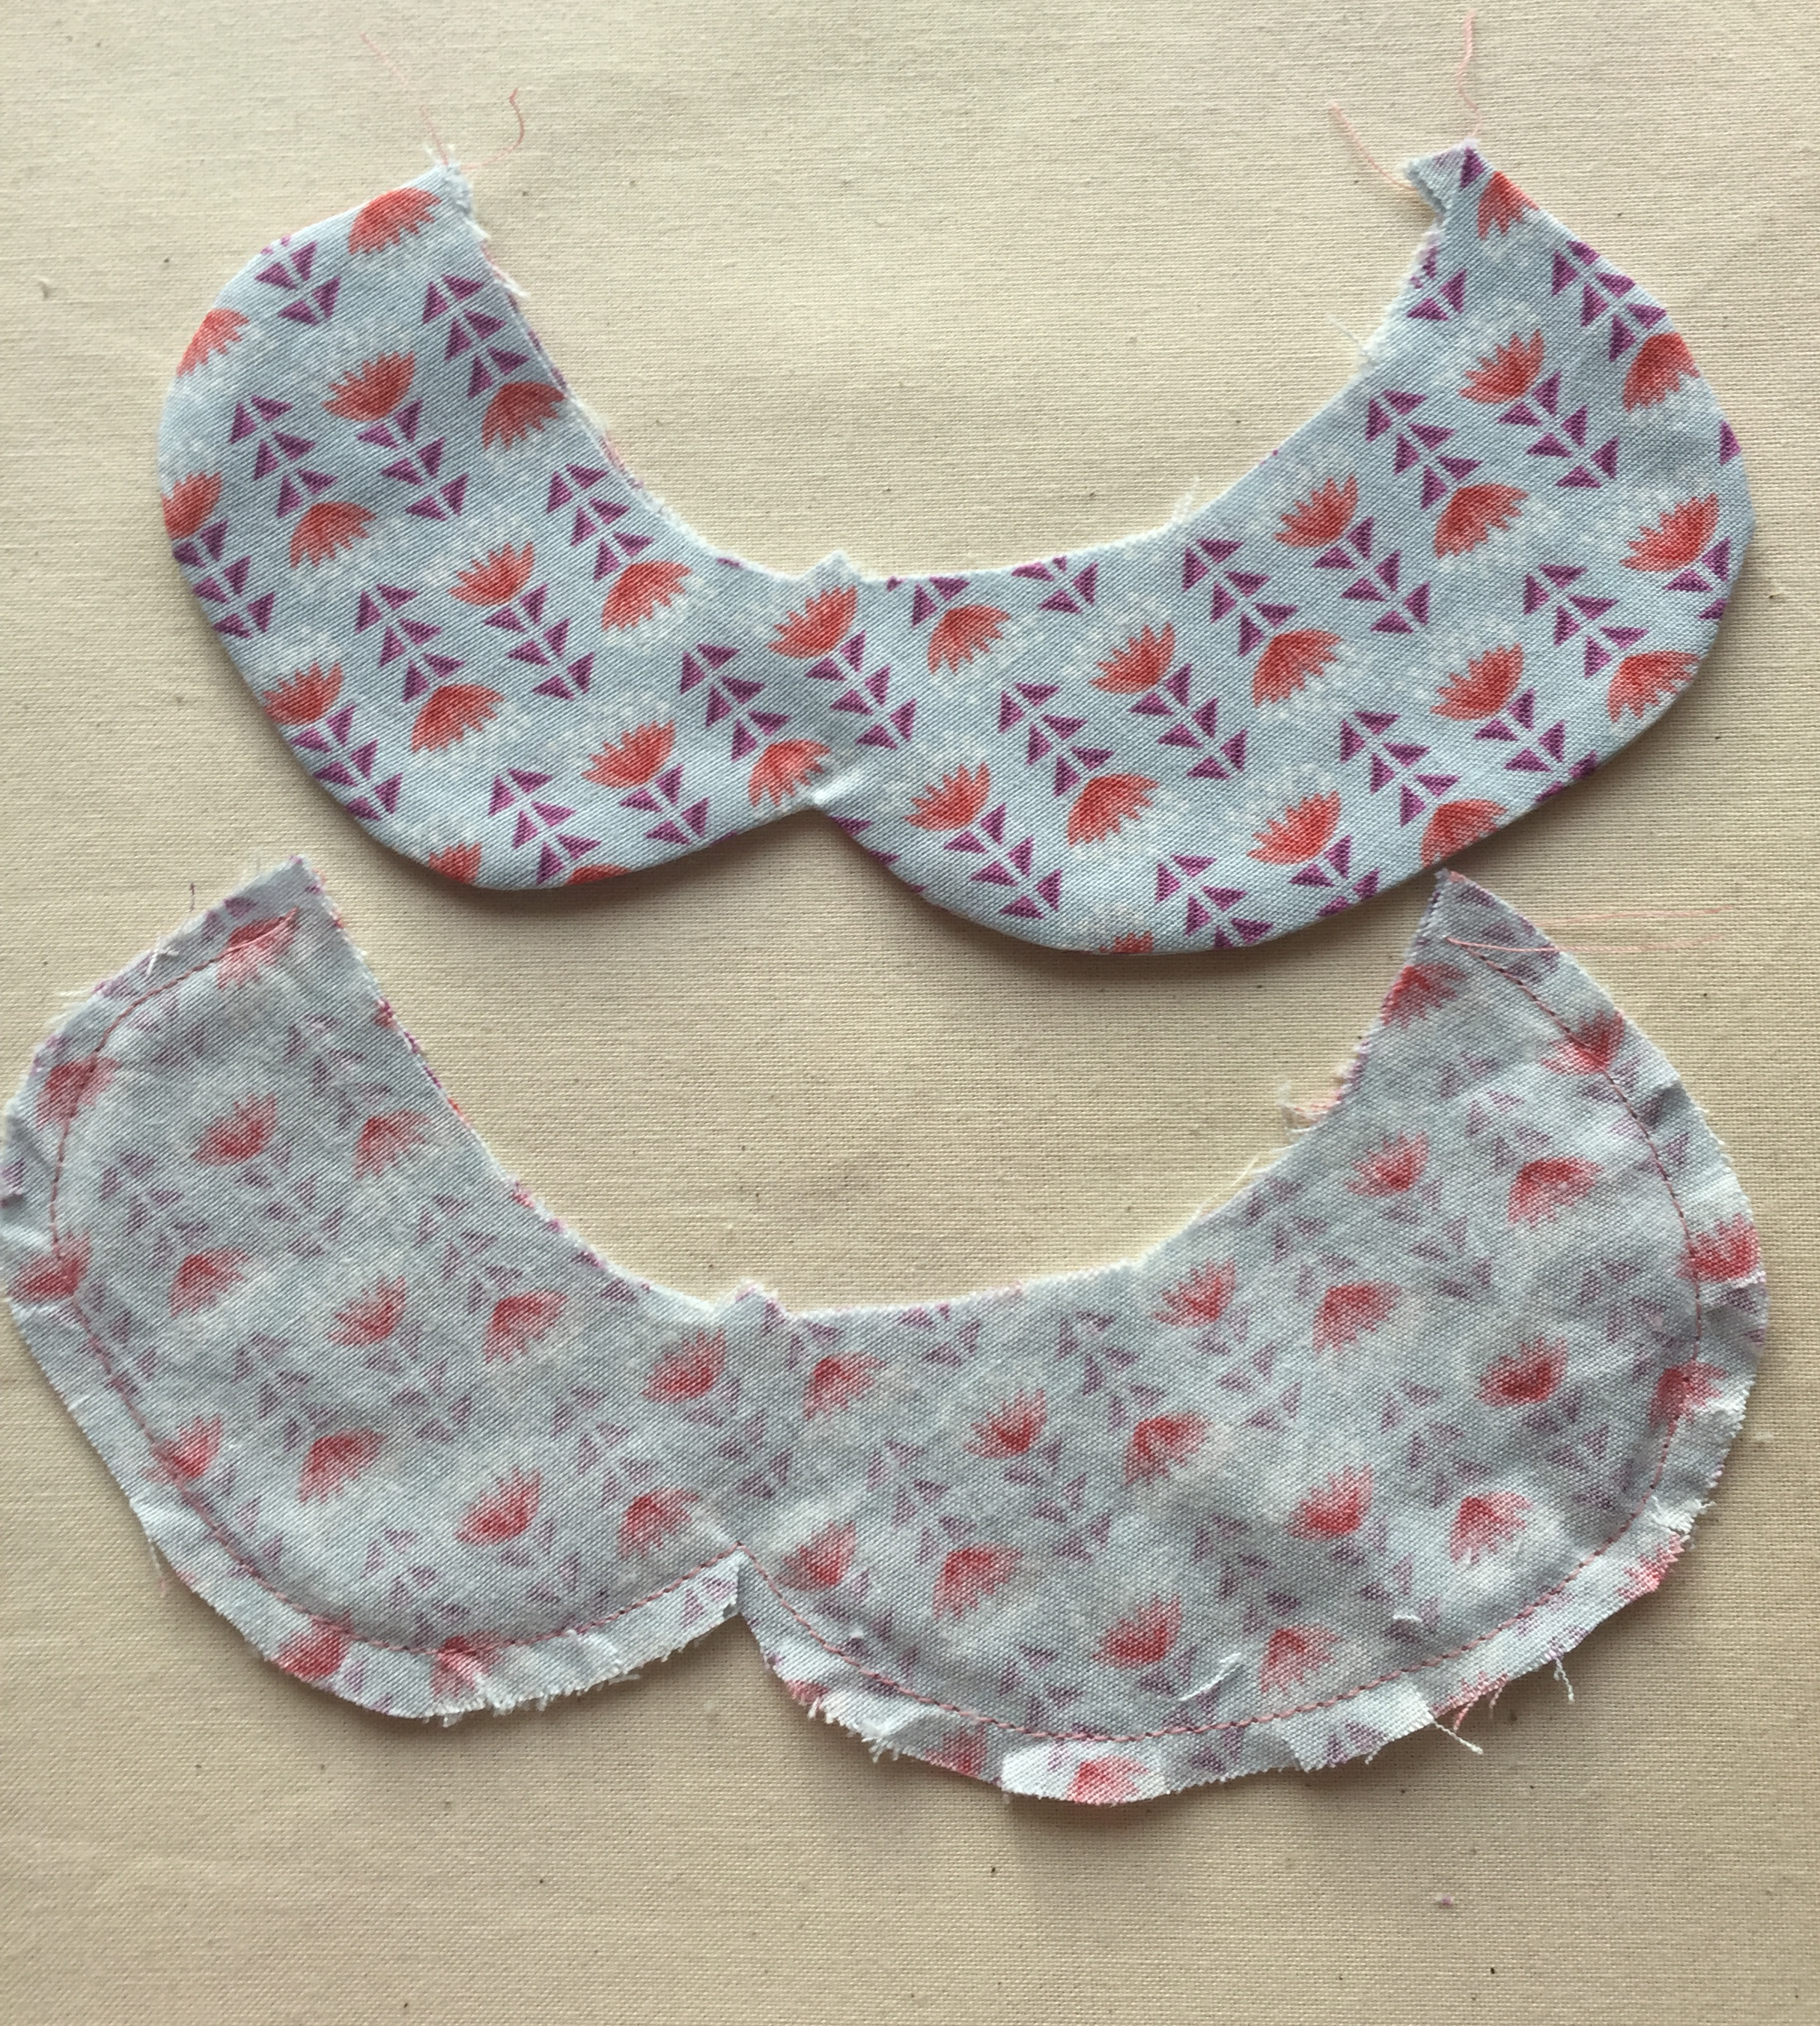
8. Attaching Collar.
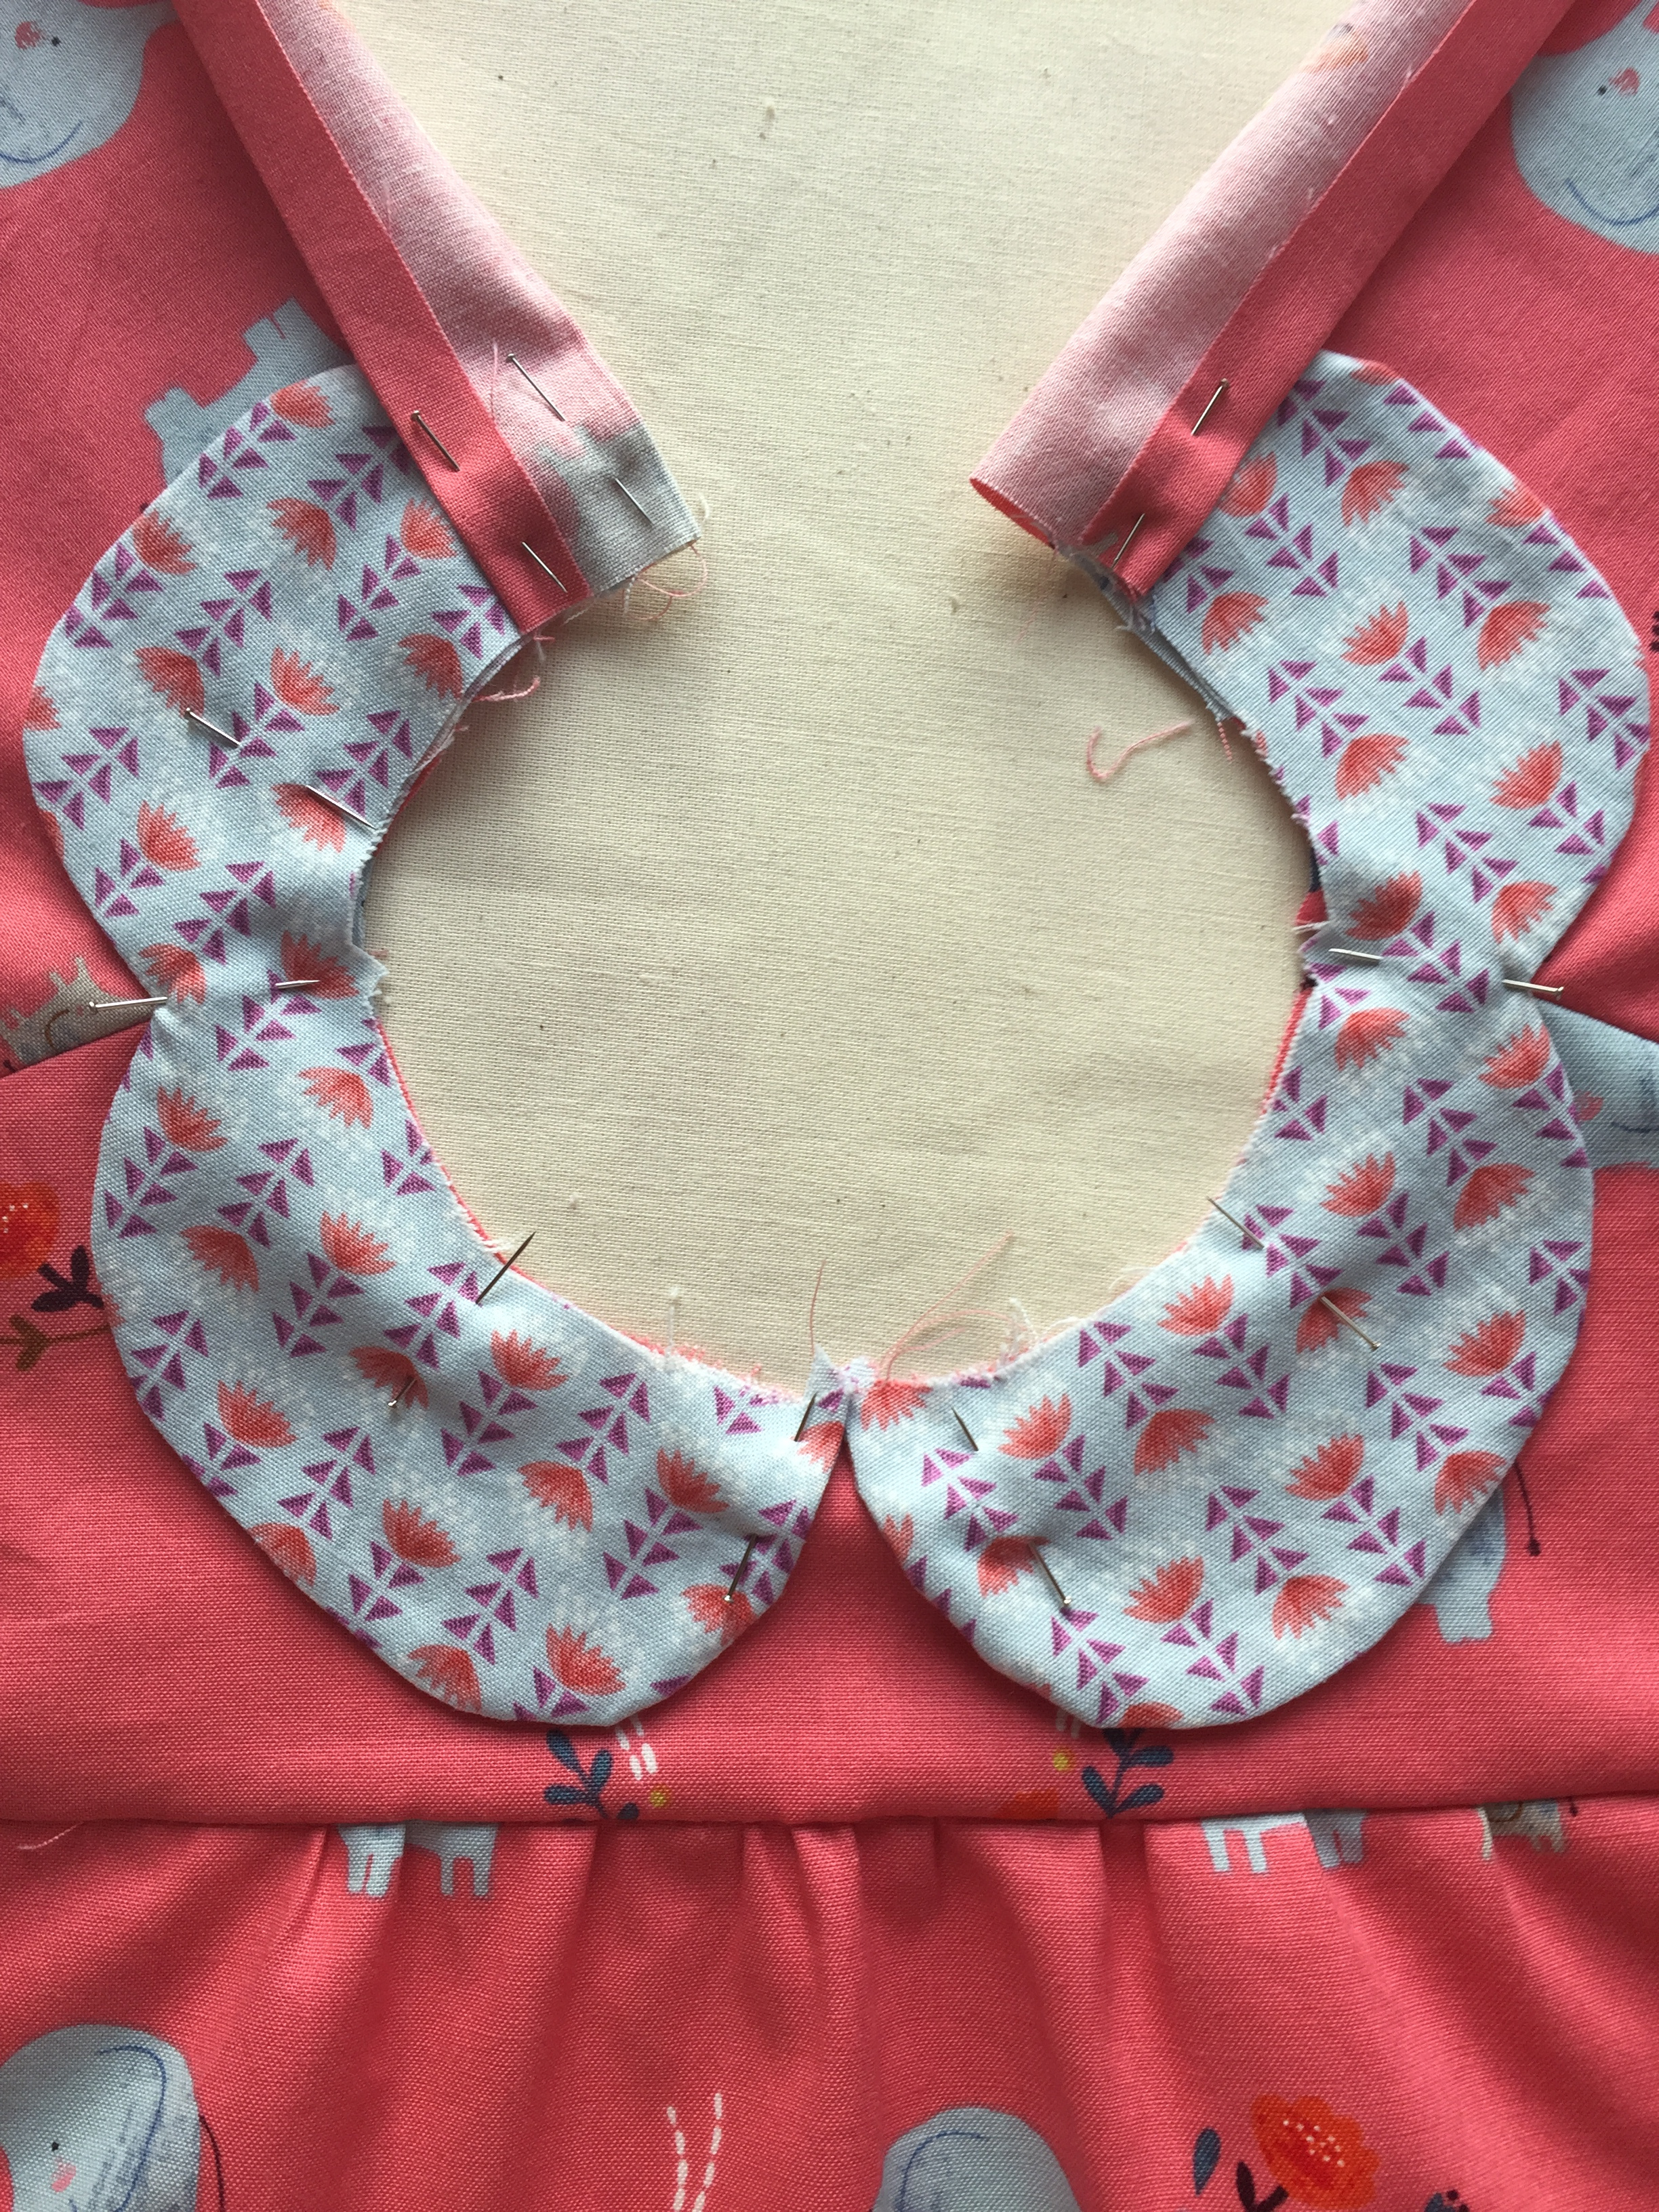
9. Attaching facing.
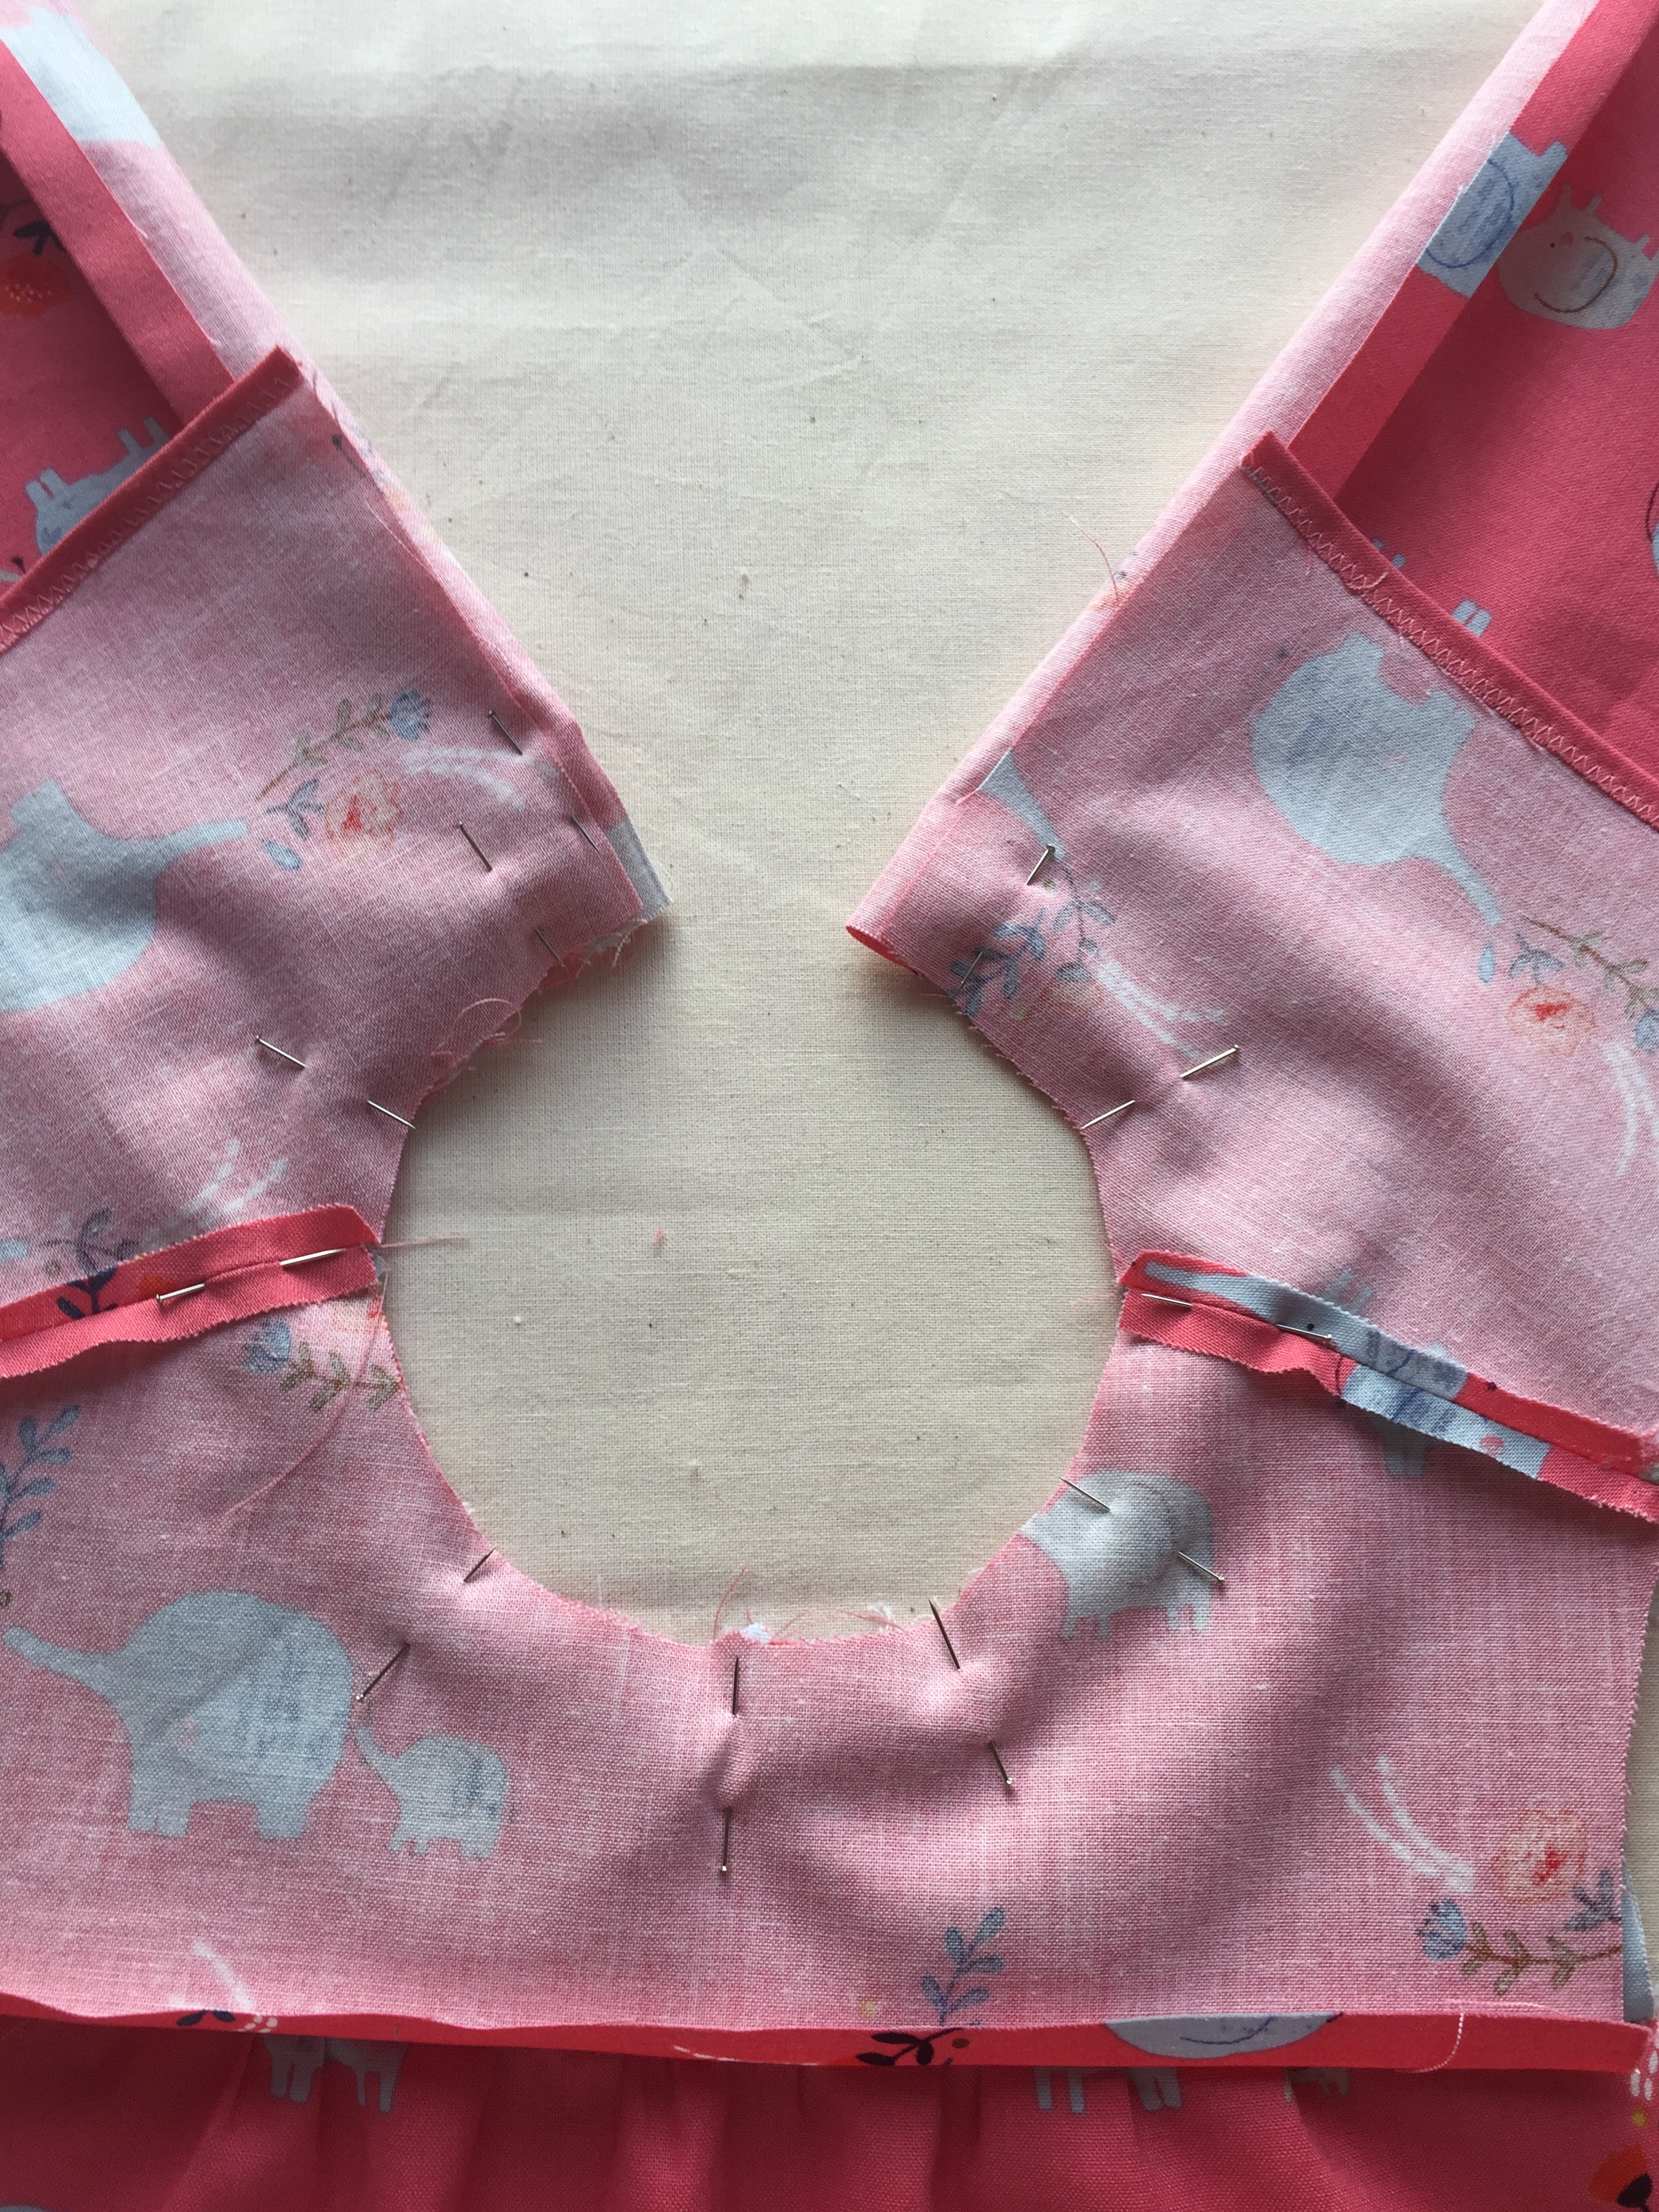
I did one extra step here after sewing the neckline and turning it out I understitched the neck facing as I think it gives a crisper finish.
Understitching is stitching a line close to the edge of a facing to keep it from rolling toward the outside. It comes in especially handy when sewing around a neckline. It keeps the facing, or lining, firmly on the inside of your garment without any stitches showing on the outside.
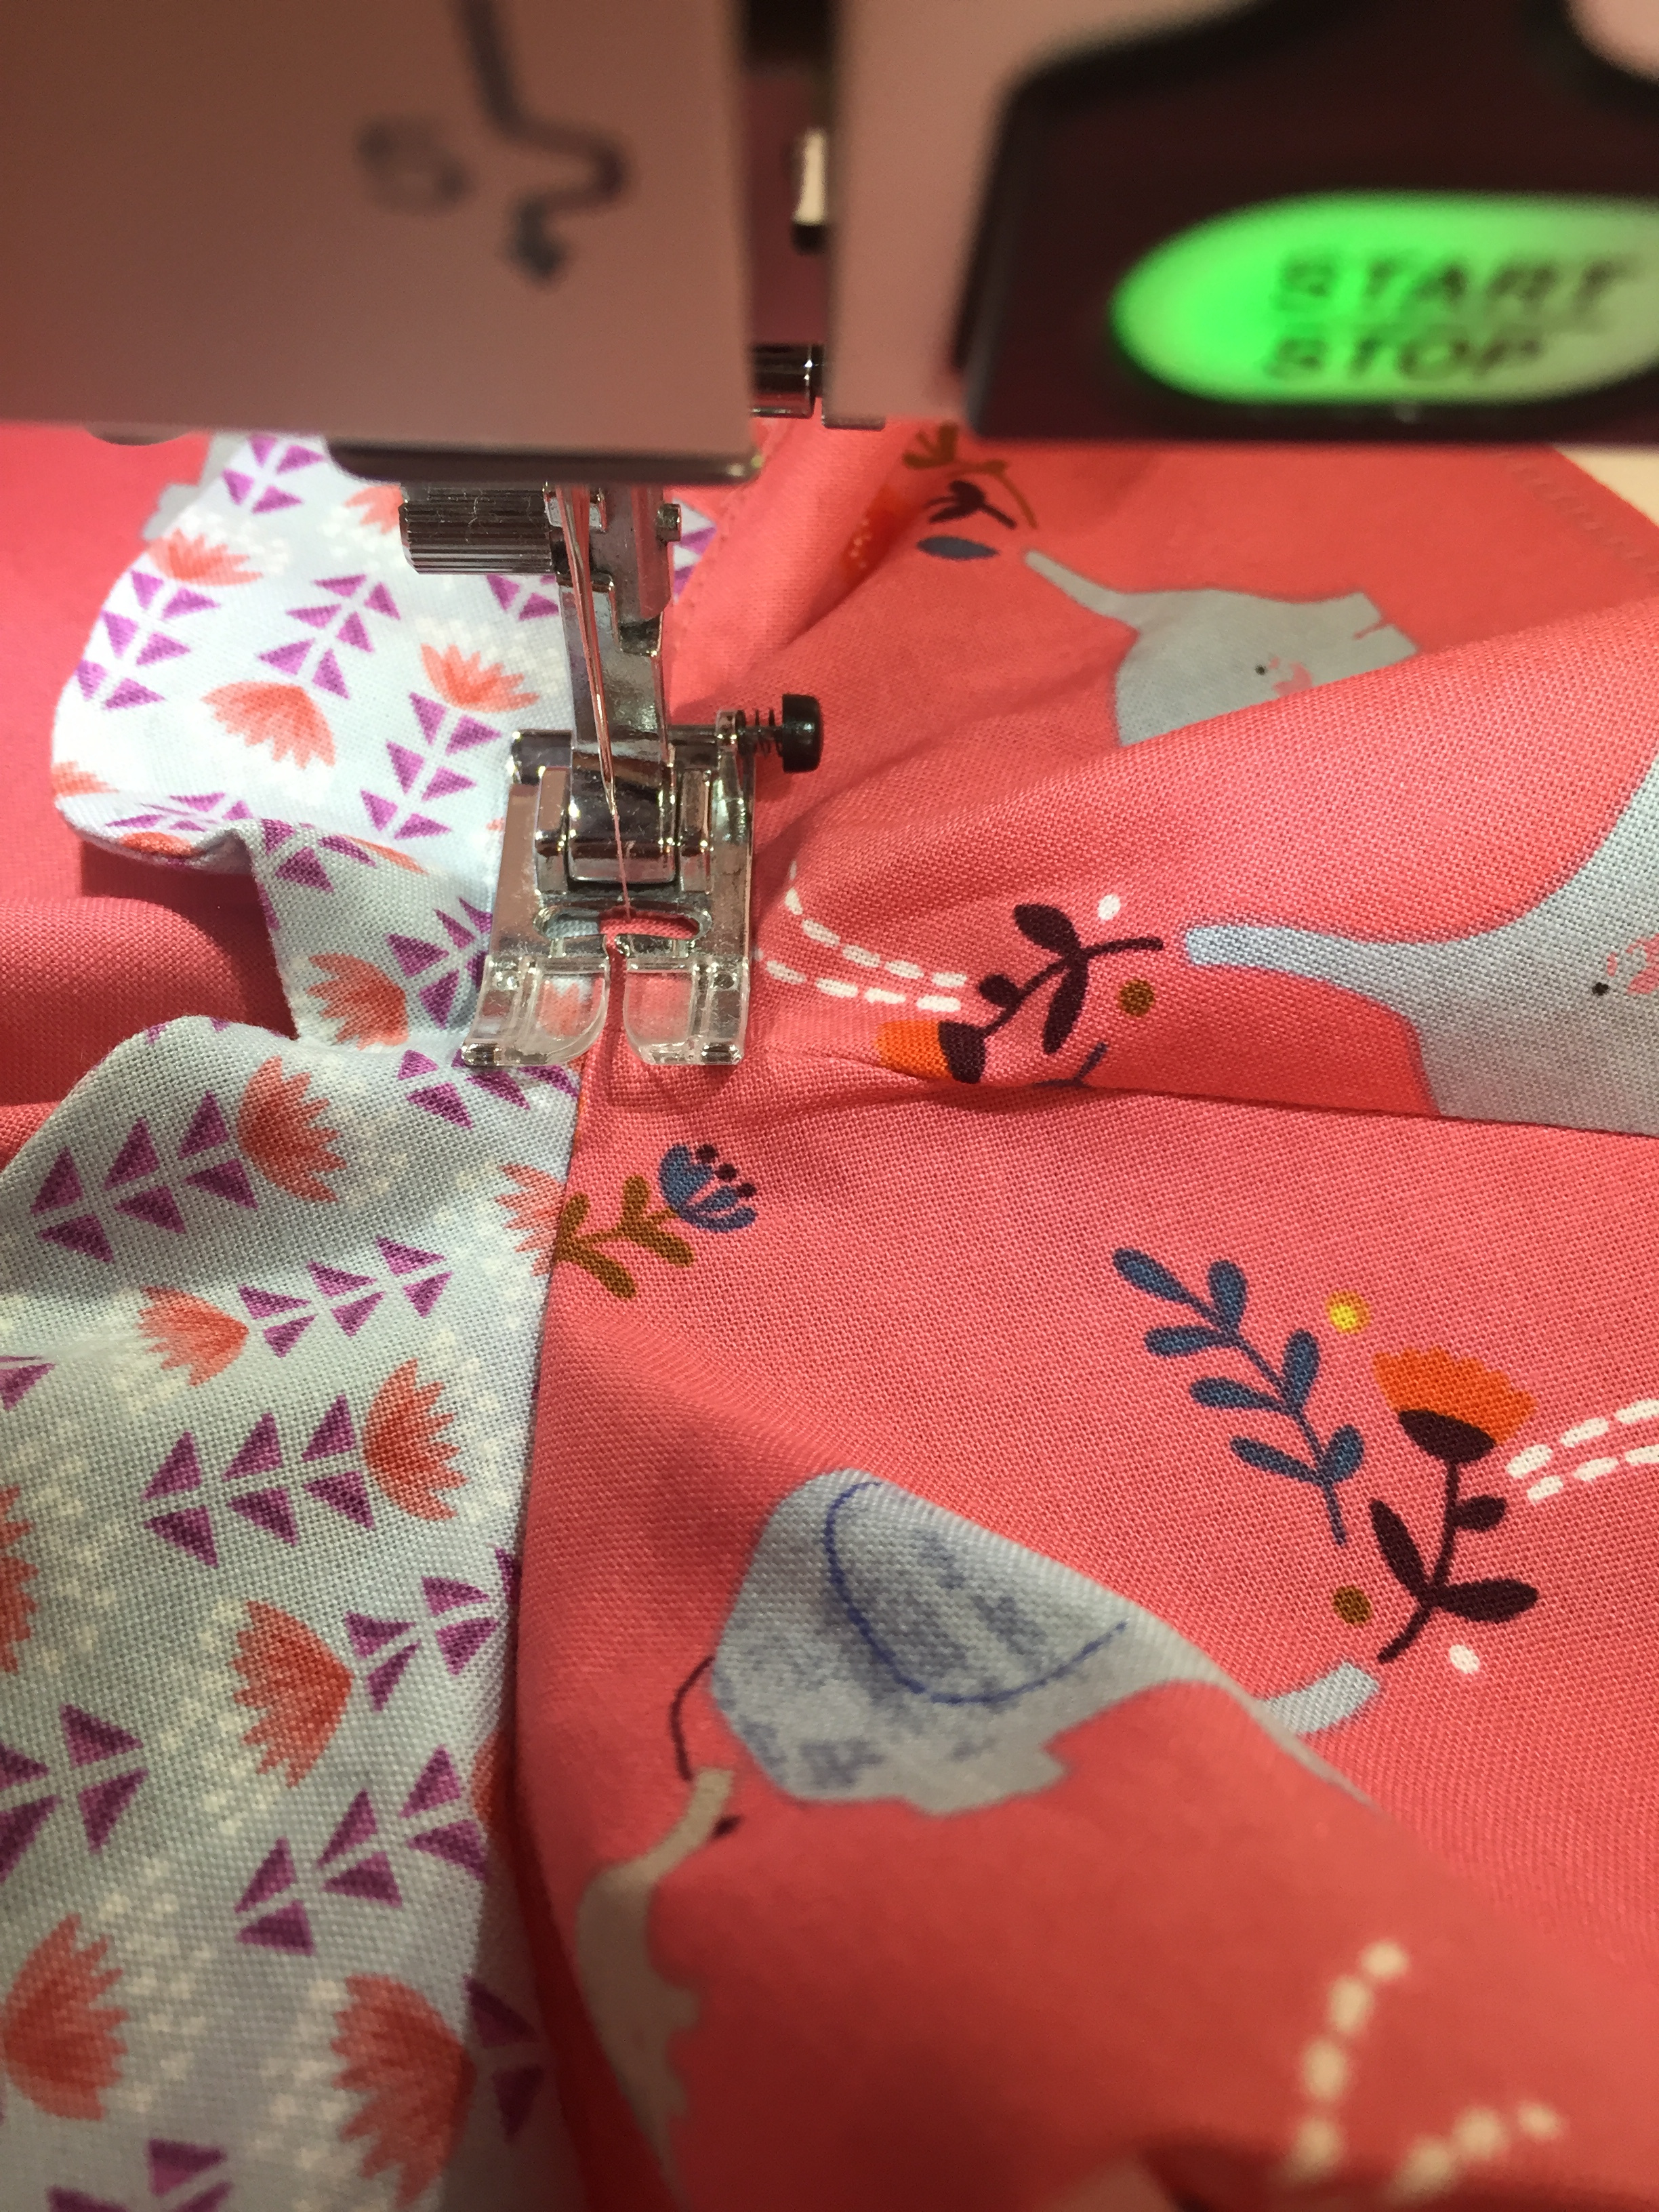
It's a bit difficult to show but the bodice top is to the right in this picture and the facing to the left with the collar sandwiched between the two. The neck seam is pressed towards the facing and the row of stitching you do is on the facing close to the neck edge and catching the seam to the facing.
Here you can see my row of under stitching. It is only visible on the inside of the neckline.
10.Stay stitch armhole.

11 & 12 Placket stitching and hems - as instructions - forgot to take photos but these bits are very straightforward!
13. Sleeves
I did the sleeve edge and elastic slightly differently as I didn't read the instructions fully! oops
so here is what I did ....
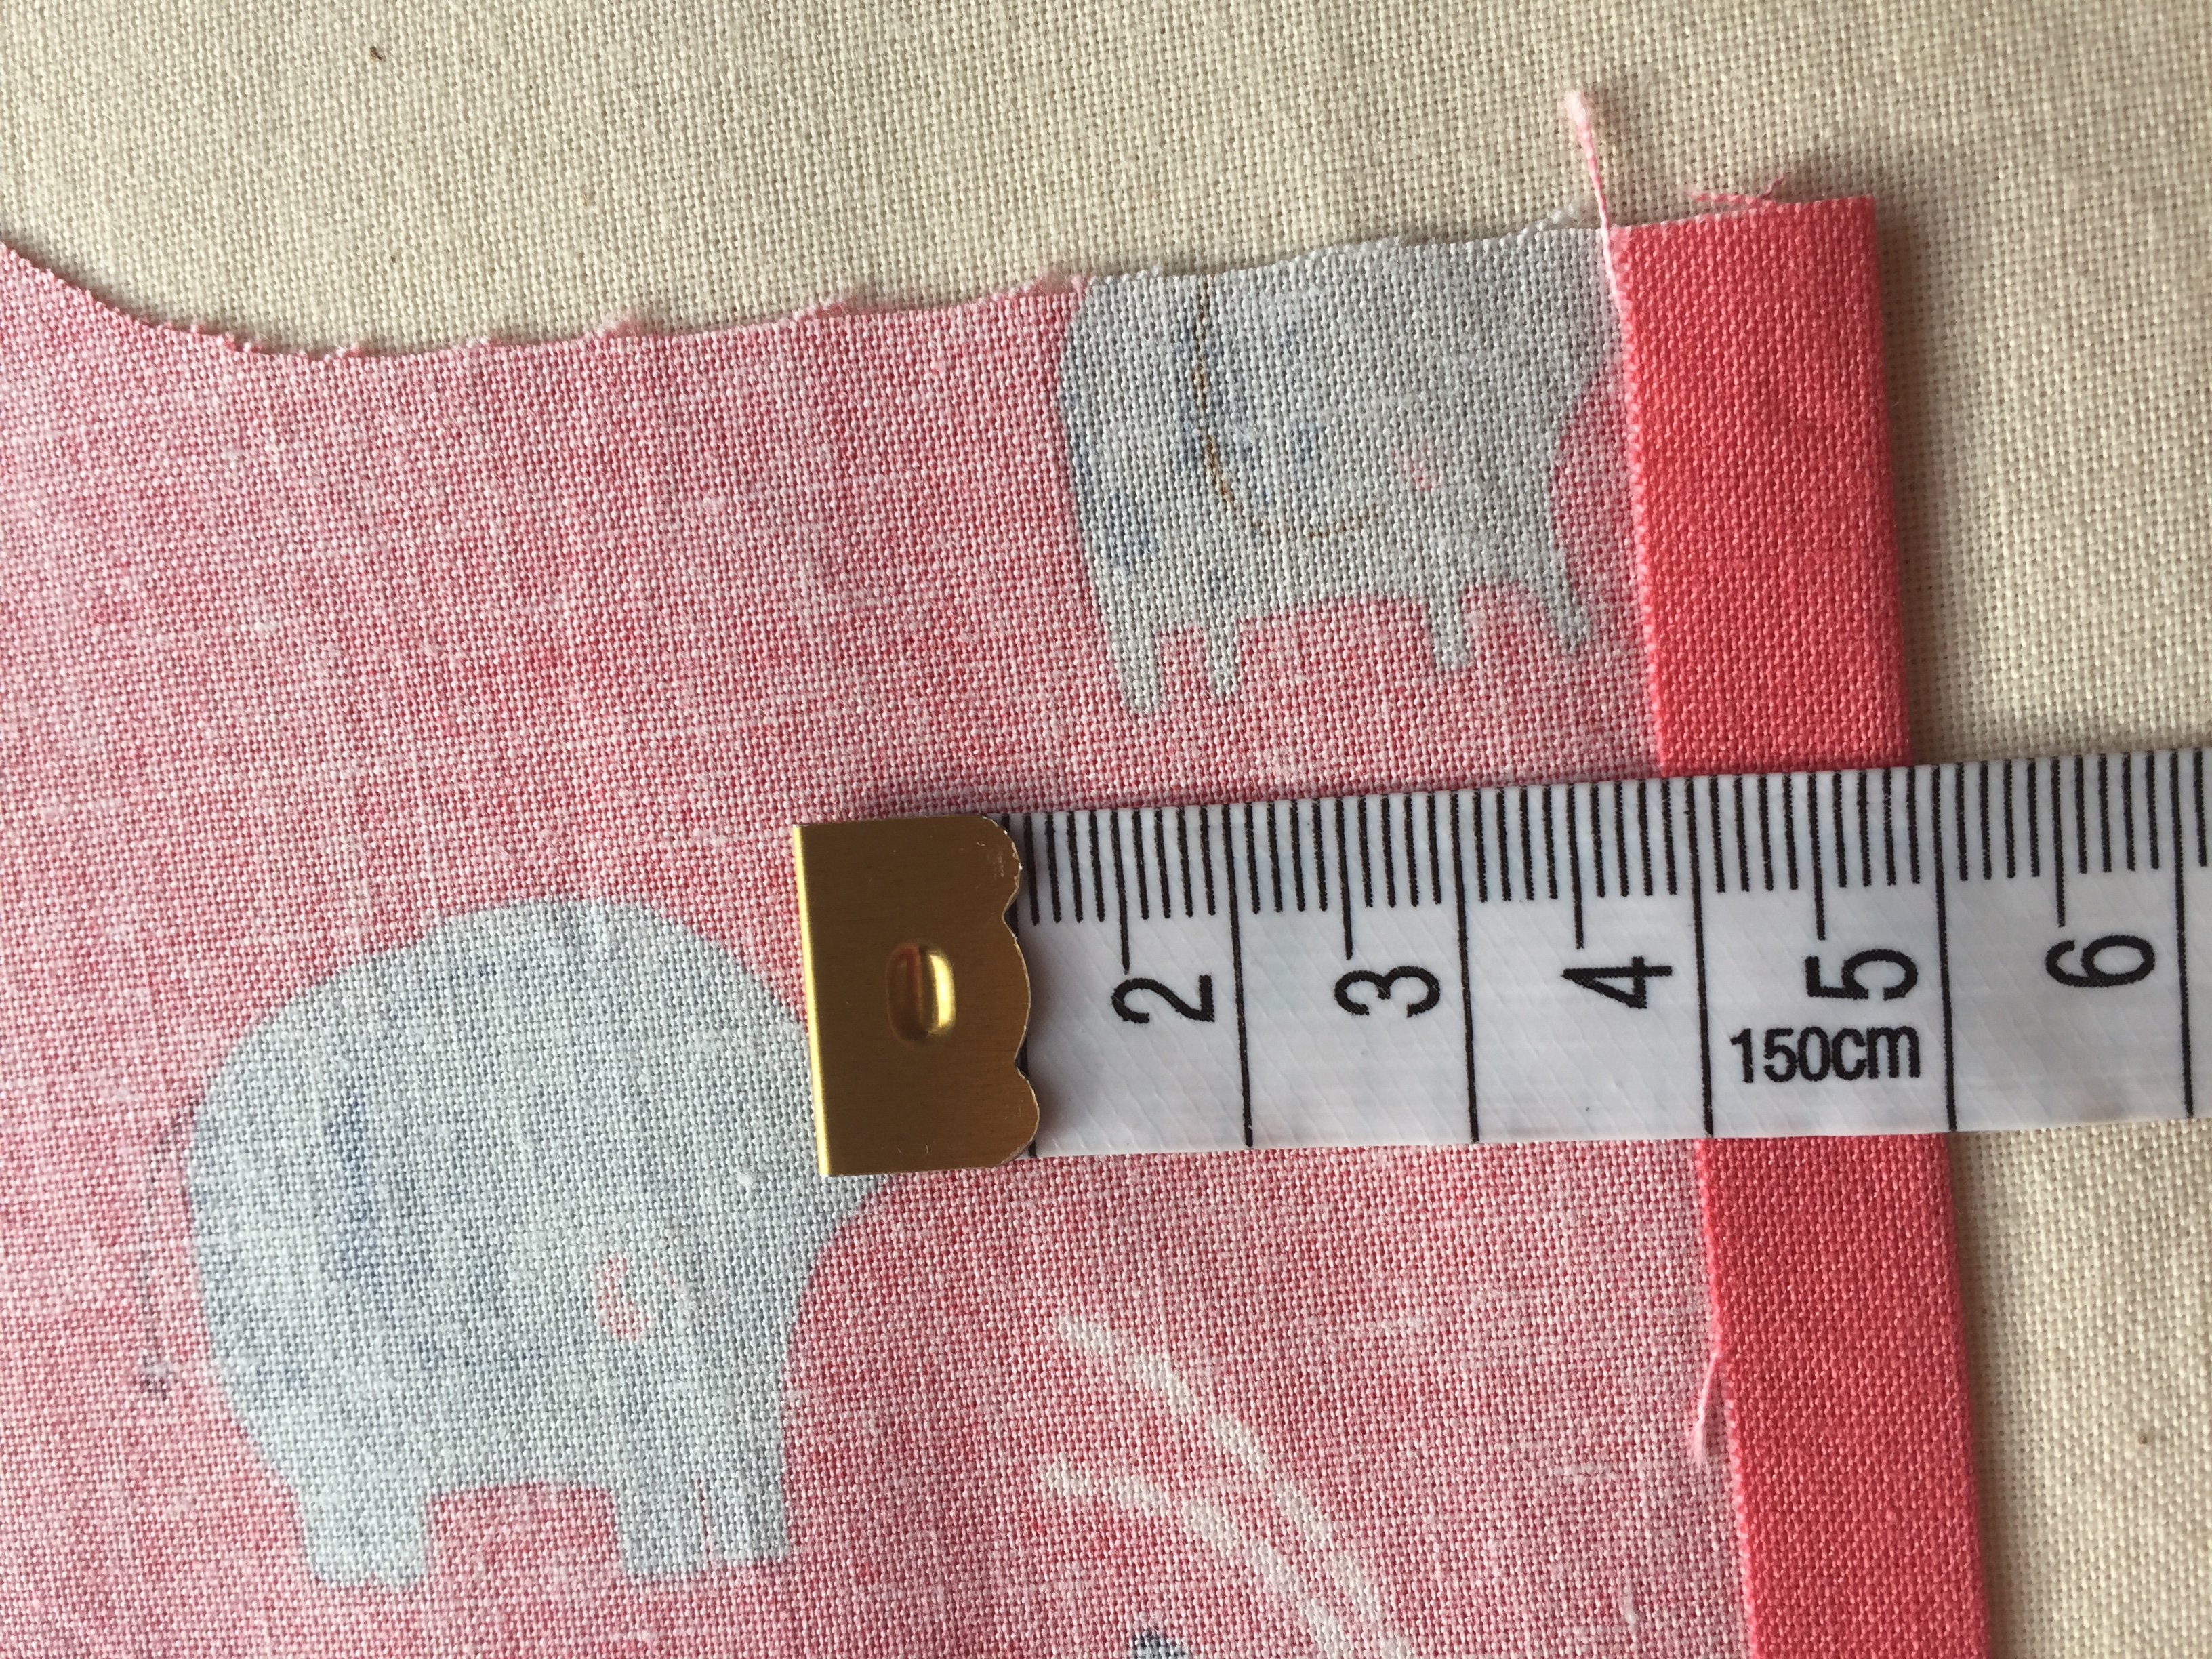
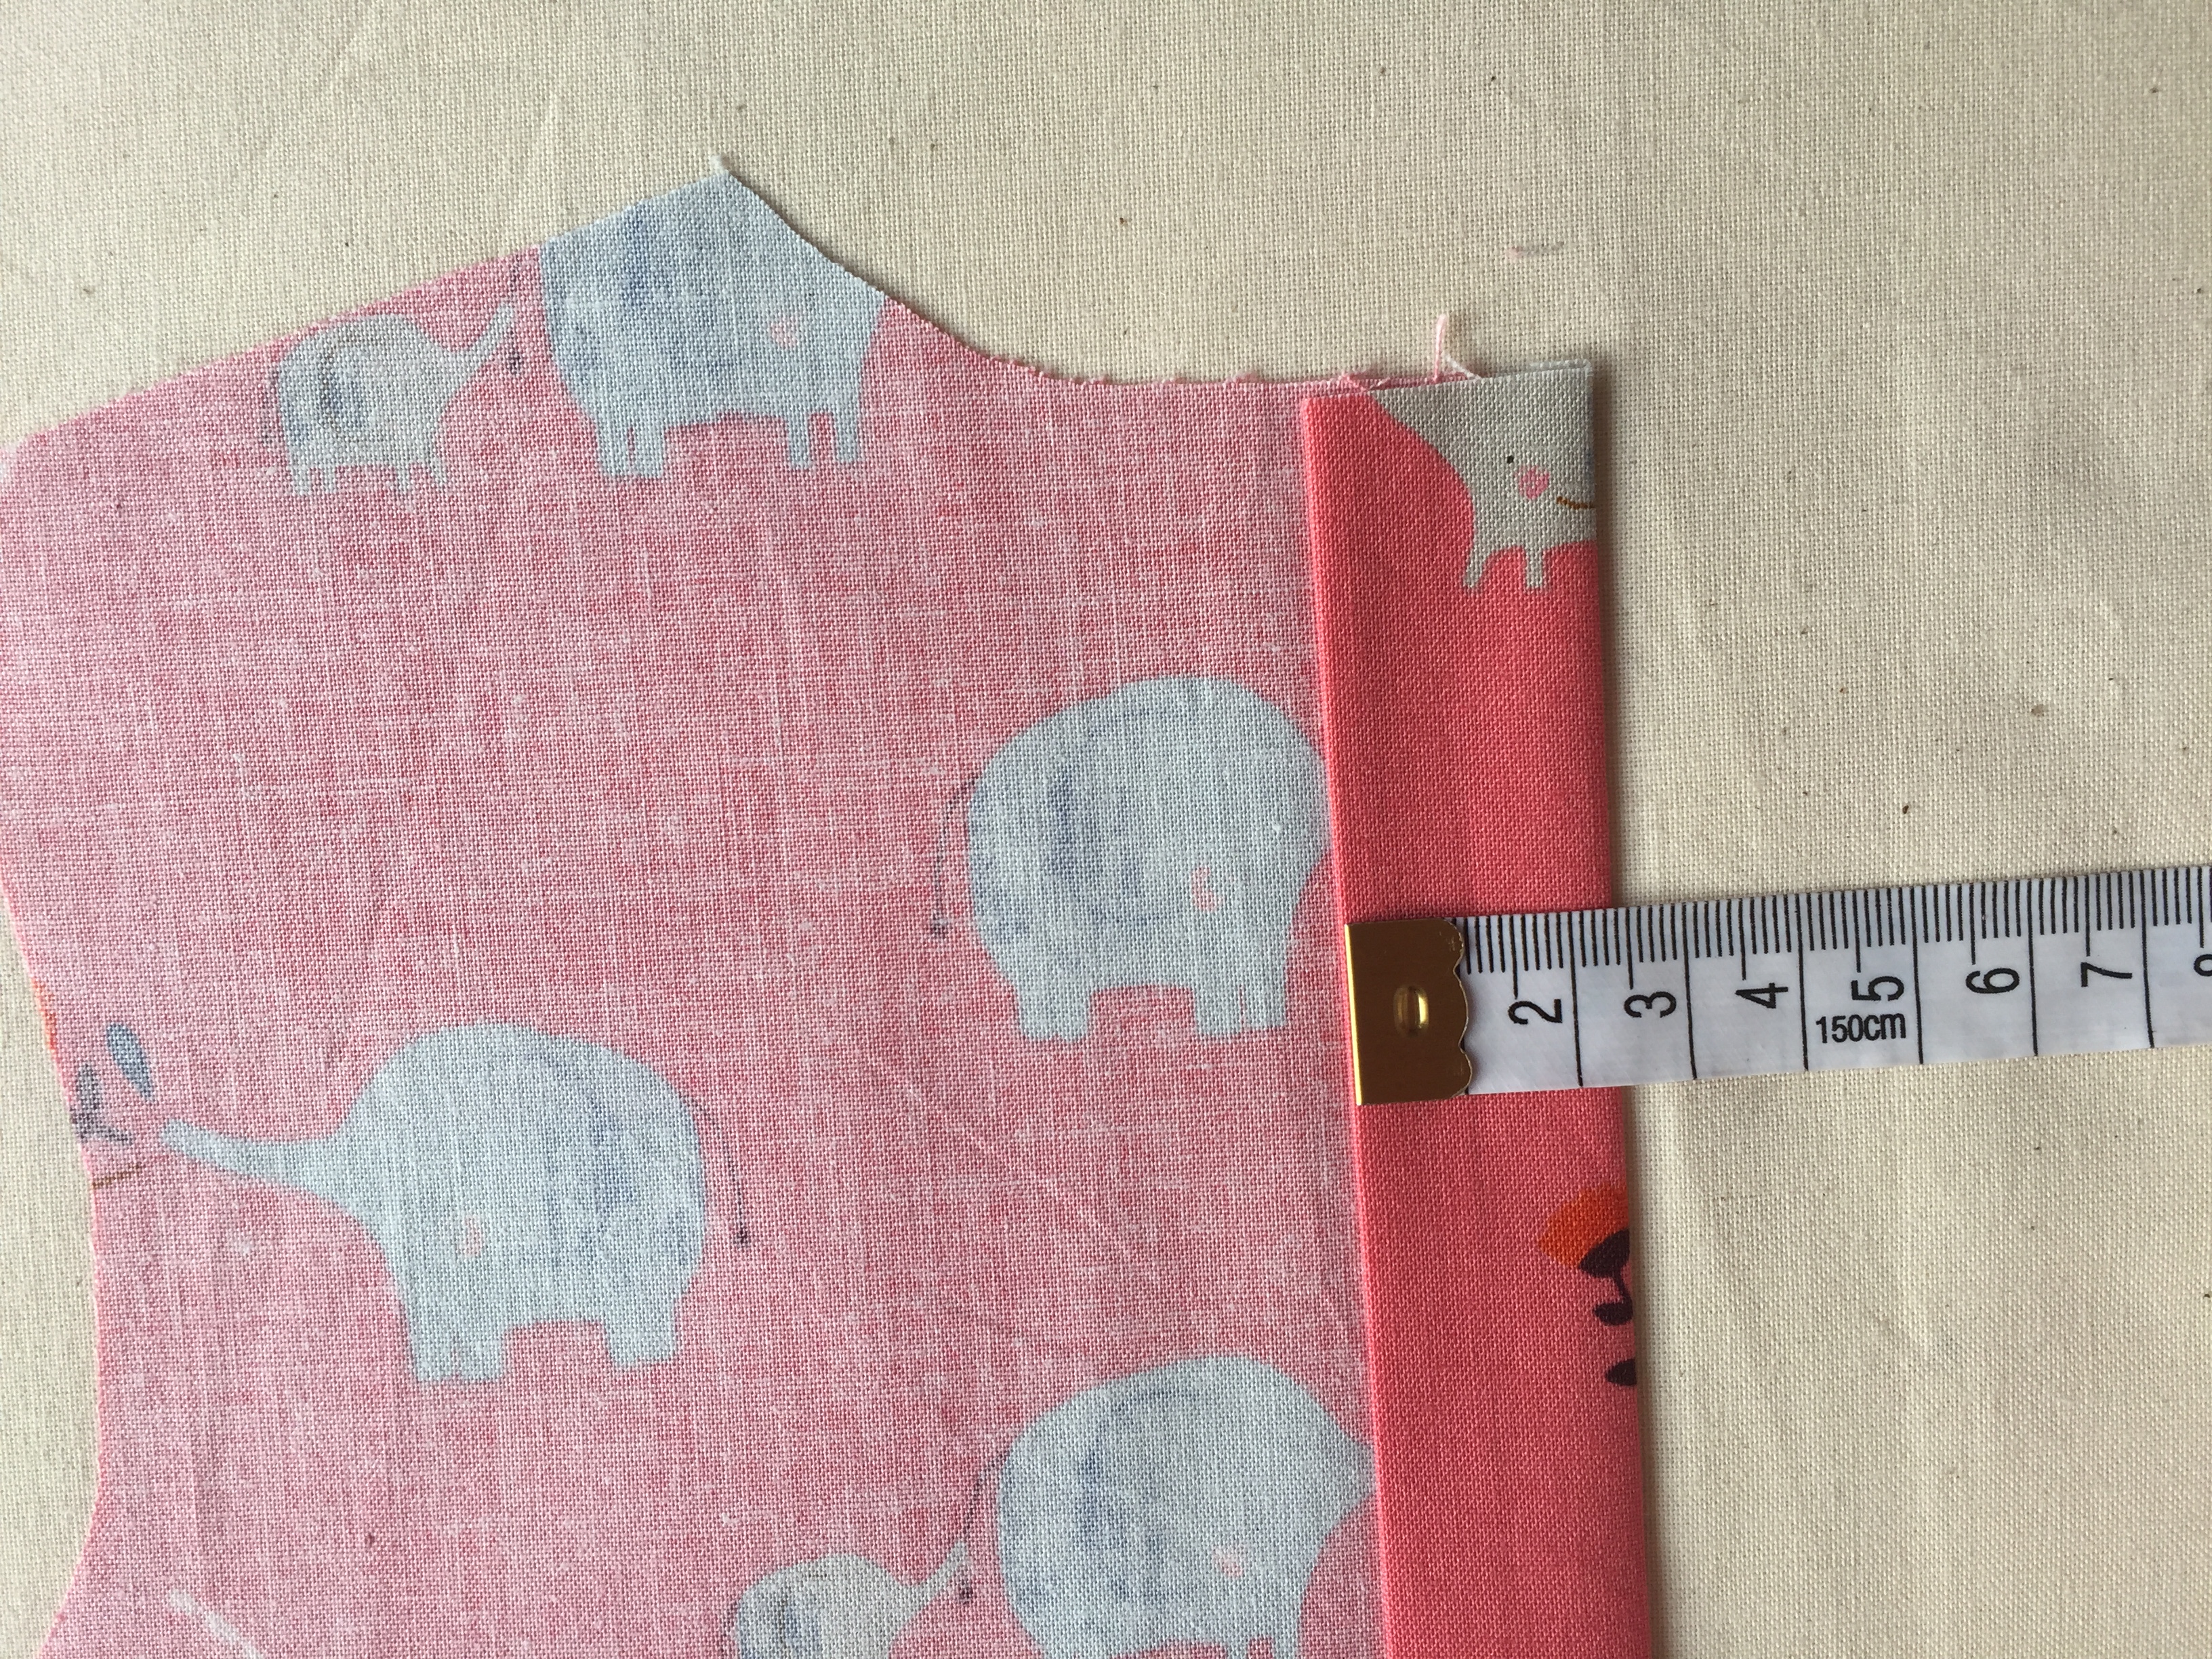
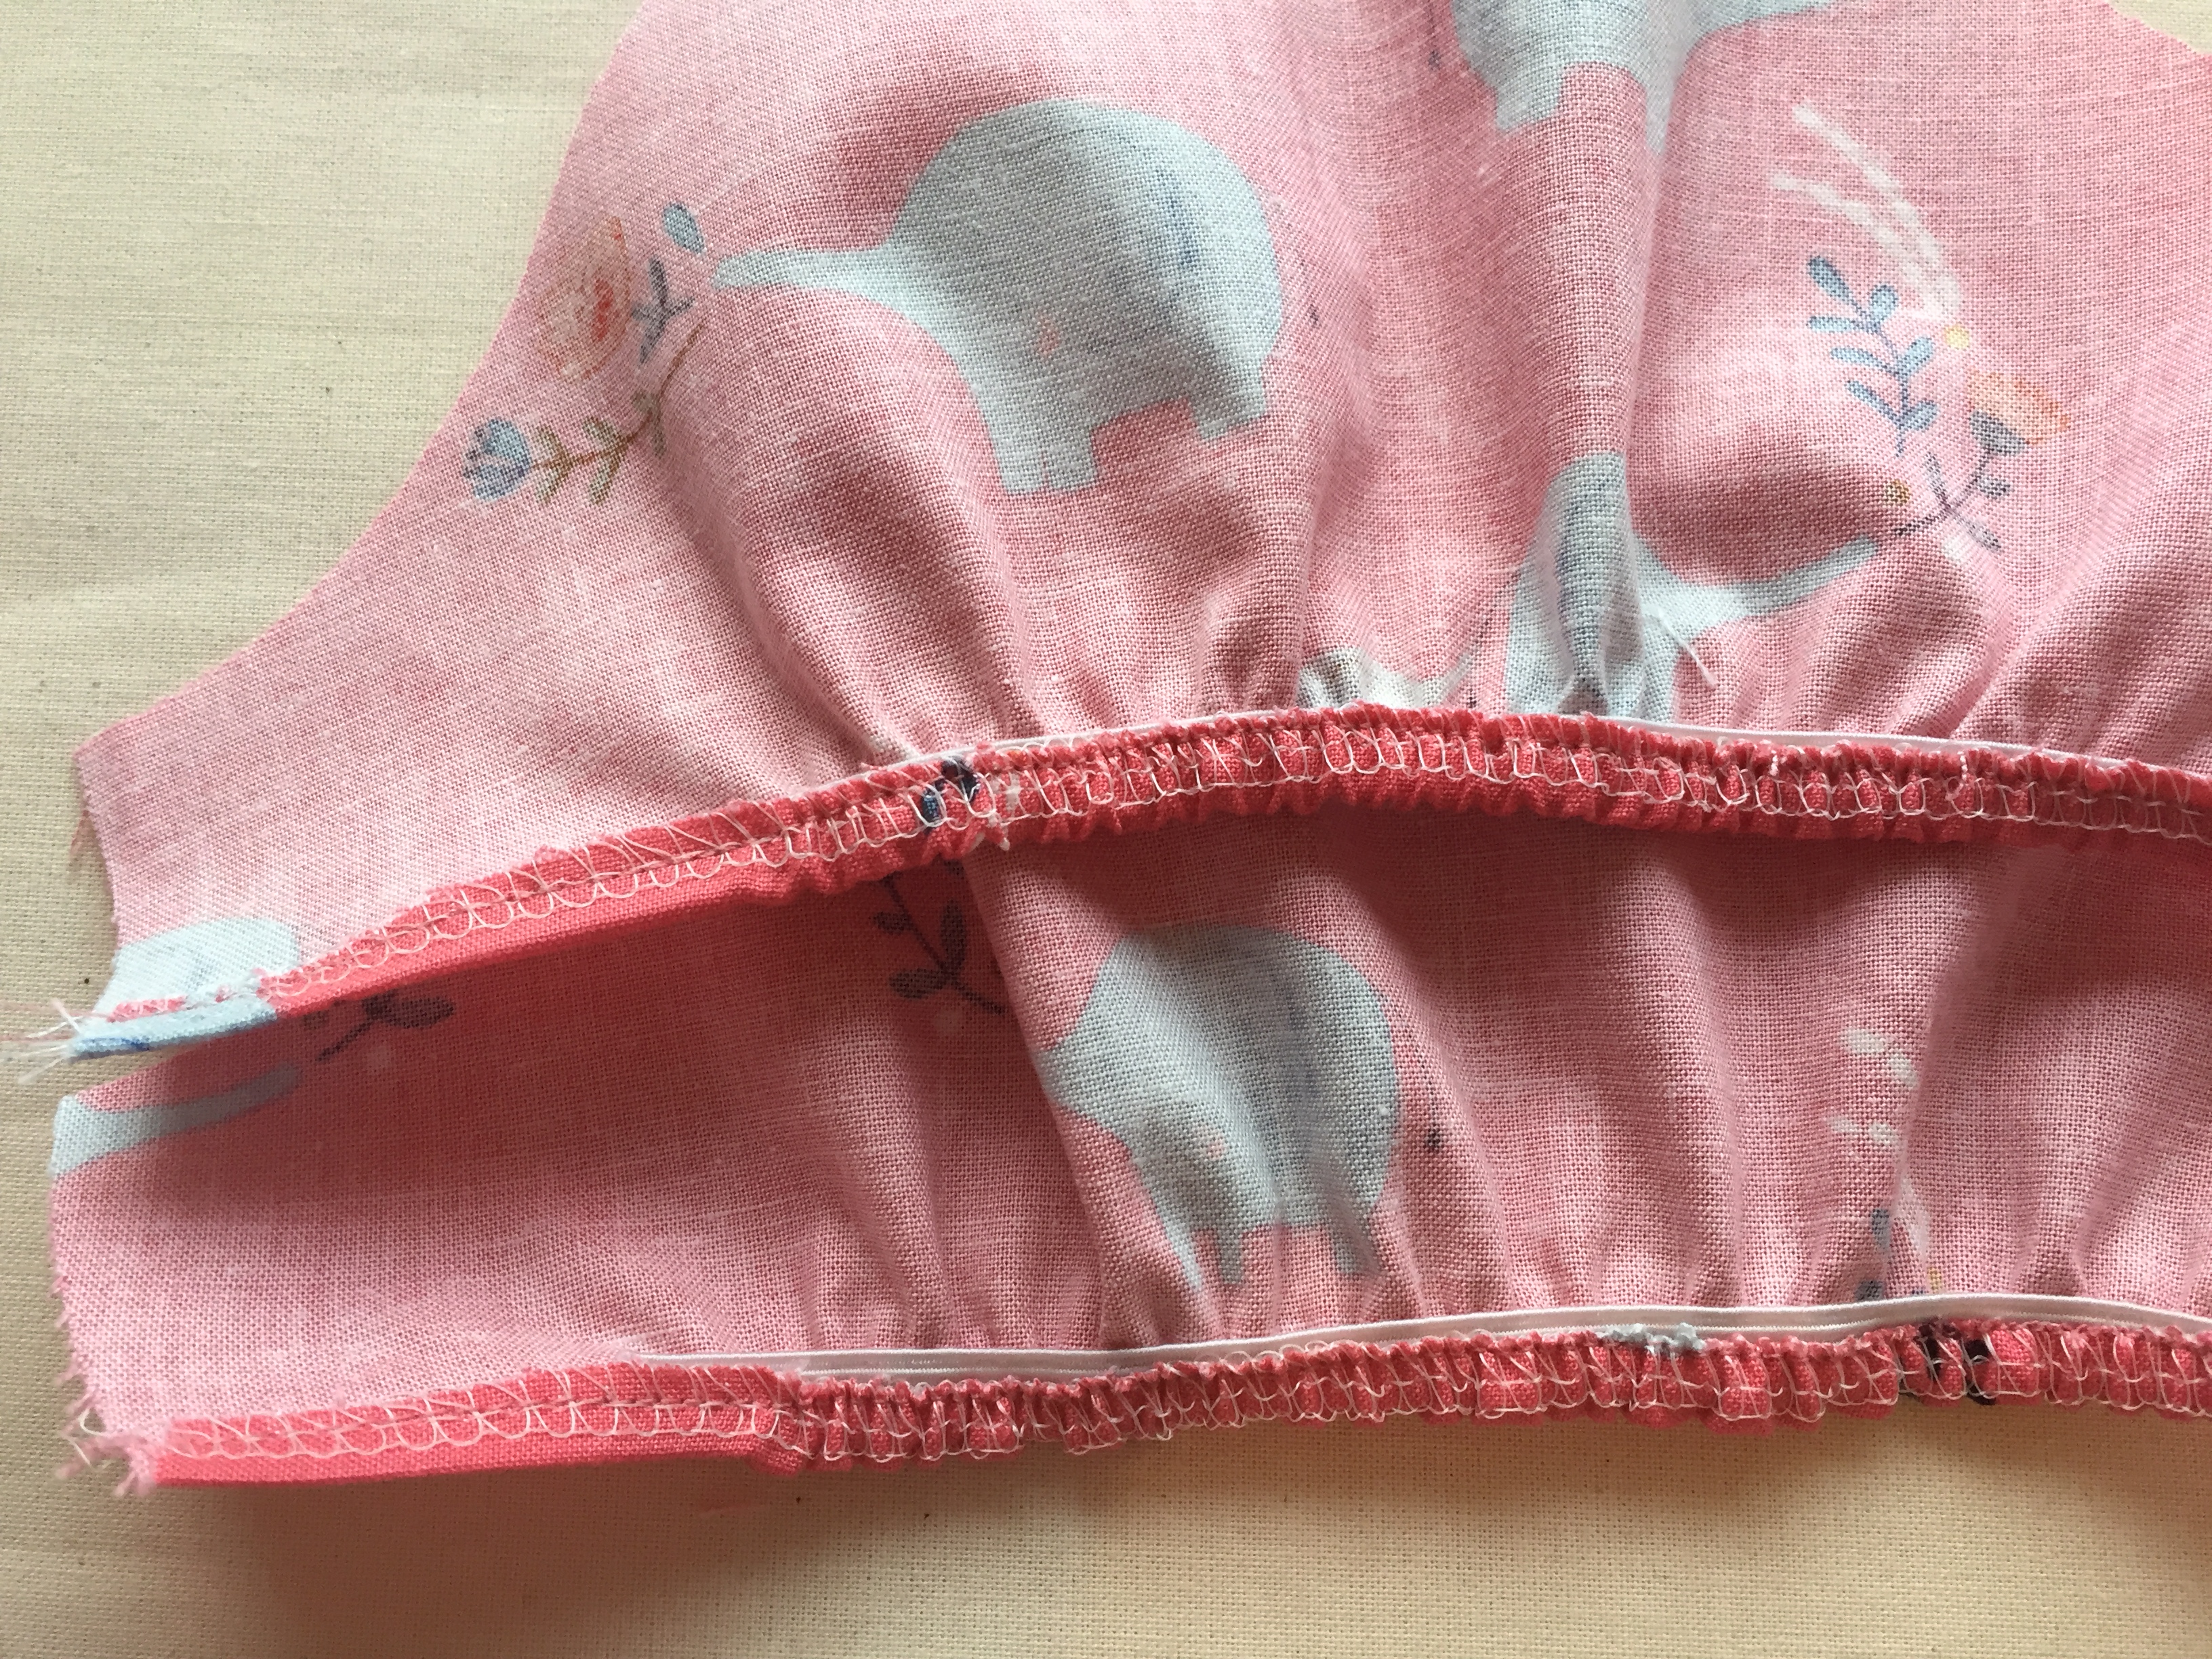
Firstly I neatened the edge using my overlocker but a zigzag would work just as well. Then I pressed up the edge 5mm.
I cut the elastic as stated but I tucked it into the folded hem rather than on top I pinned it in place 3cm from either end. I stitched the hem and elastic in place with a normal straight stitch whilst stretching it. It looks fine and quite neat.
So basically I missed out a step of turning the hem and stitched elastic up over the elastic and stitching again. It worked fine but next time I'd probably do as the instructions!
14. Sleeve insertion
The sleeves went in easily and as they go in 'flat' before the sides are sewn and I found I didn't need the gathering stitches.
15. Tie backs not needed for top.
16 &17 Side seams and buttonholes - as per instructions.
Finished Top
Hope the pictures were useful and you enjoy making the Edie pattern. You can buy the pattern on the Sew Scrumptious website.
Please share your finished Edie tops and dresses with us. We love seeing what you make!